Wall Art Guide, Wall Art Tutoriels
Tempered Glass Wall Art: Safety Glass Printed Designs
Mar
So I’ve been working with tempered glass wall art for like three years now and honestly it’s one of those things where I wish someone had just told me the real deal upfront instead of me figuring it out through expensive mistakes.
What Makes Tempered Glass Actually Different
Okay so tempered glass goes through this heating and rapid cooling process that makes it like 4-5 times stronger than regular glass. When it breaks – and I’ve seen this happen exactly twice in installations – it shatters into these tiny pebble-like pieces instead of giant shards. Which is why it’s called safety glass. My neighbor’s kid threw a baseball at one of my sample pieces once and it just… crumbled into basically harmless bits. Still terrifying but nobody needed stitches.
The thickness matters way more than I initially thought. Most wall art pieces come in 4mm, 6mm, or 8mm. For anything over 24×36 inches, don’t even bother with 4mm. I learned this the hard way when a client’s piece kept vibrating slightly from their HVAC system and it just looked cheap. 6mm is the sweet spot for most residential installations, 8mm if you’re doing something really large or in a commercial space.
The Printing Methods You’ll Actually Encounter
There are basically three ways they print on tempered glass and the difference is huge. UV printing is what you’ll see most often – they print directly onto the glass surface with UV-cured inks. The colors are vibrant, it’s durable, and it’s what I recommend for like 90% of situations. I have a piece in my own bathroom that’s been getting steam and moisture for two years and it still looks perfect.
Then there’s the infusion or ceramic print method where the ink is actually baked into the glass during tempering. This is permanent permanent – like you cannot scratch it off even if you tried. More expensive but if you’re putting something in a high-traffic area or a kitchen where grease and cleaning chemicals are gonna be an issue, this is worth it.
The third method is printing on vinyl and mounting it between two glass layers. I’m gonna be honest, I don’t love this for wall art. It’s fine for like commercial signage but for home decor it just doesn’t have the same depth and the edges can start lifting after a few years depending on humidity.
Color Accuracy Thing Nobody Talks About
Oh and another thing – the colors will look different on glass than they do on your screen or even on paper prints. Glass has this slight green tint naturally (look at the edge of any glass piece you’ll see it) and some manufacturers use low-iron glass to reduce this but it costs more. I always tell clients to request a small sample if they’re super particular about color matching. Had this whole situation with a client who wanted to match her Farrow & Ball wall color exactly and we went through three samples before getting it right.
Installation Real Talk
You need the right hardware and this is where people cheap out and then call me panicking. A 24×36 inch piece of 6mm tempered glass weighs about 15-20 pounds. That’s not going on the wall with command strips or whatever.
I use standoff mounts for probably 75% of my installations. These are the metal hardware pieces that hold the glass about an inch off the wall, creates this floating effect that’s really modern. They drill through the glass – yes through it, there are pre-drilled holes – and mount to wall anchors. You need to hit studs or use serious drywall anchors rated for like 50+ pounds each. I usually use four mounting points minimum.
French cleats are my second choice, especially for larger pieces. It’s a mounting system where one piece attaches to the wall and one to the back of the glass, they interlock. Super secure and you can adjust the positioning slightly which is nice. The glass needs a frame or backing plate for this method though.
There’s also adhesive mounting with heavy-duty silicone or mounting tape but I only do this for smaller pieces under 16×20 and even then I’m nervous about it. My cat knocked into a 12×12 piece I had adhesive-mounted and it held fine but the adrenaline spike was real.
Edge Finishing Matters More Than You Think
The edges of tempered glass can be polished, beveled, or just flat ground. Polished edges are smooth and slightly rounded – this is standard and what you want for most applications. Beveled edges have an angled cut that catches light really beautifully but adds to the cost. I did a whole gallery wall with beveled edge pieces last month and the client was obsessed with how the light moved across them.
Flat ground edges are cheaper but they’re not as smooth and you can sometimes feel a slight roughness. Not sharp exactly but not refined either. Fine if the edges are in a frame but for frameless mounting go with polished minimum.
Wait I Forgot to Mention Backings
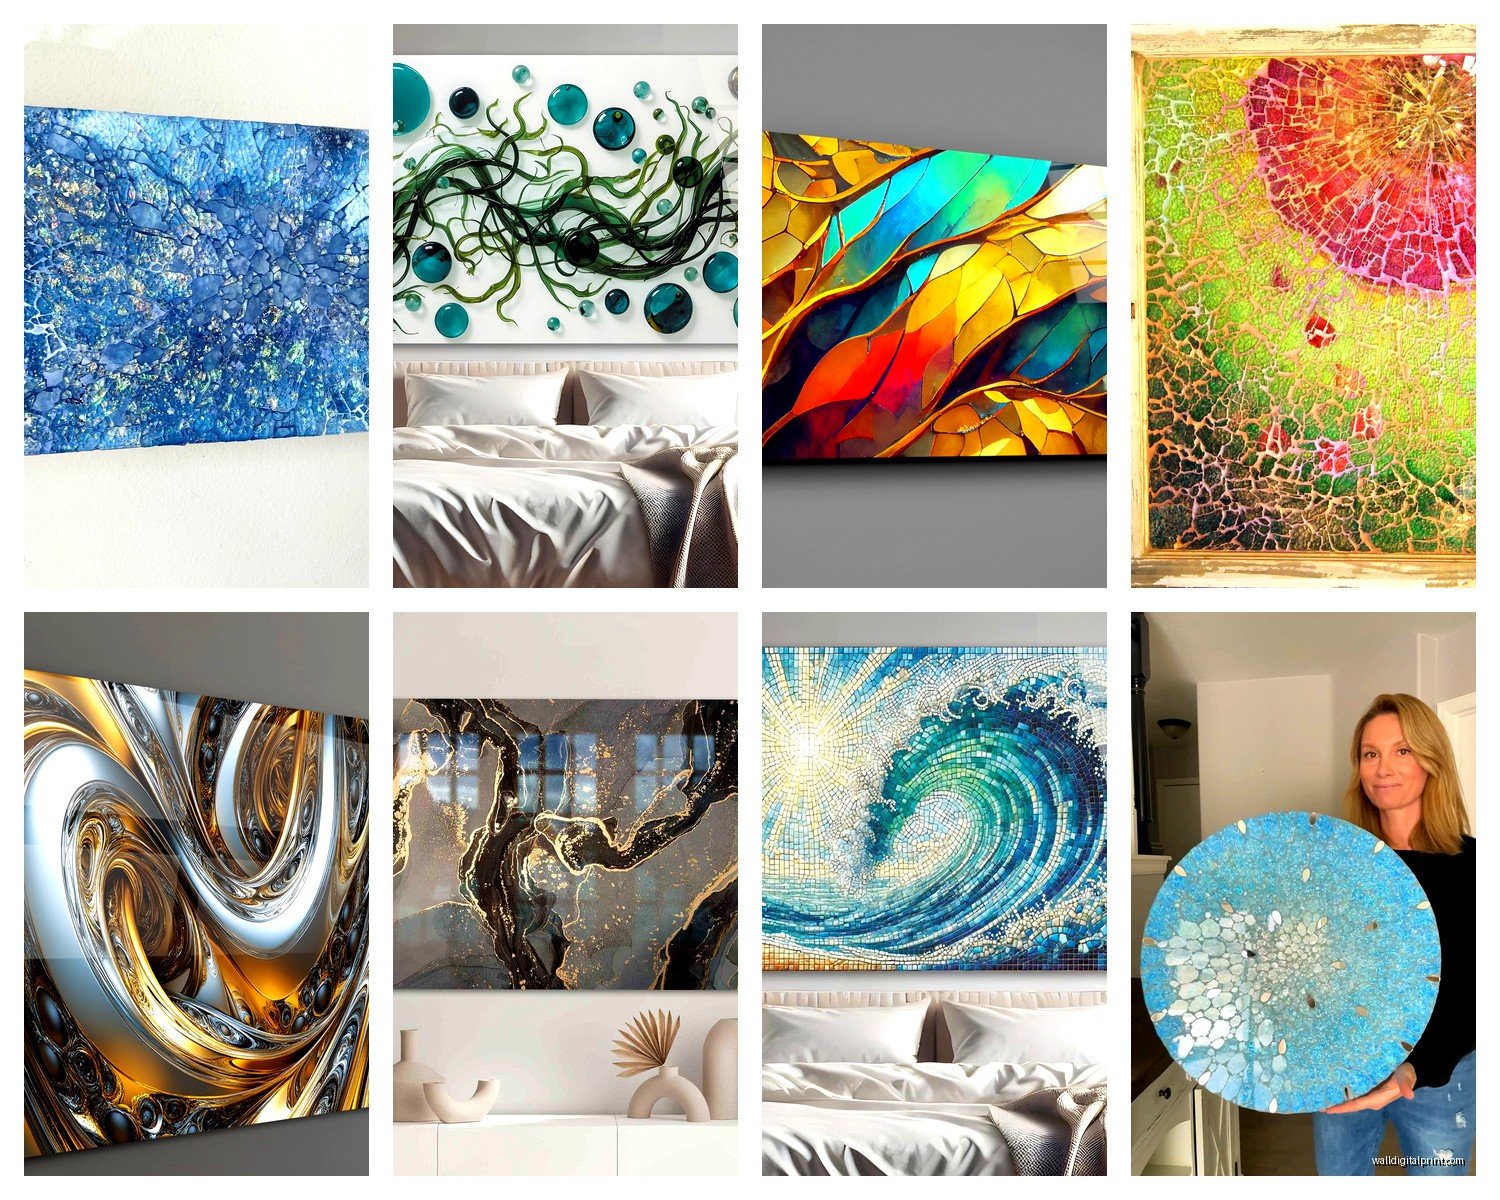
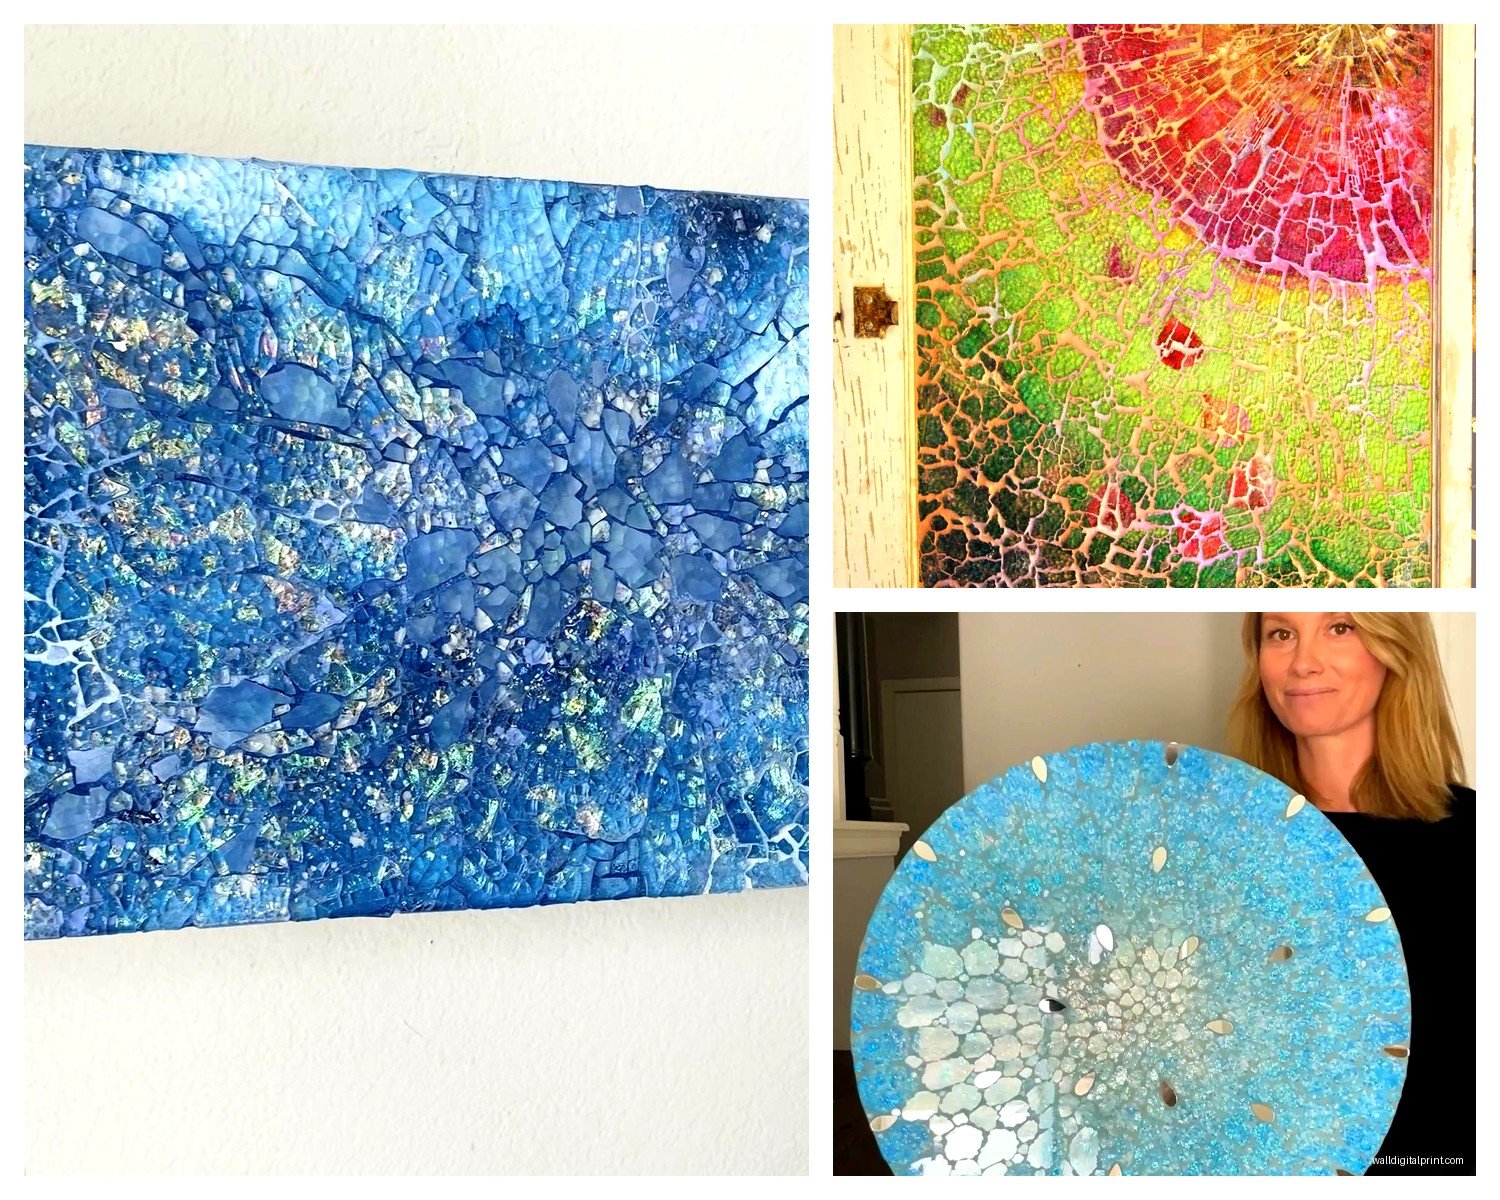
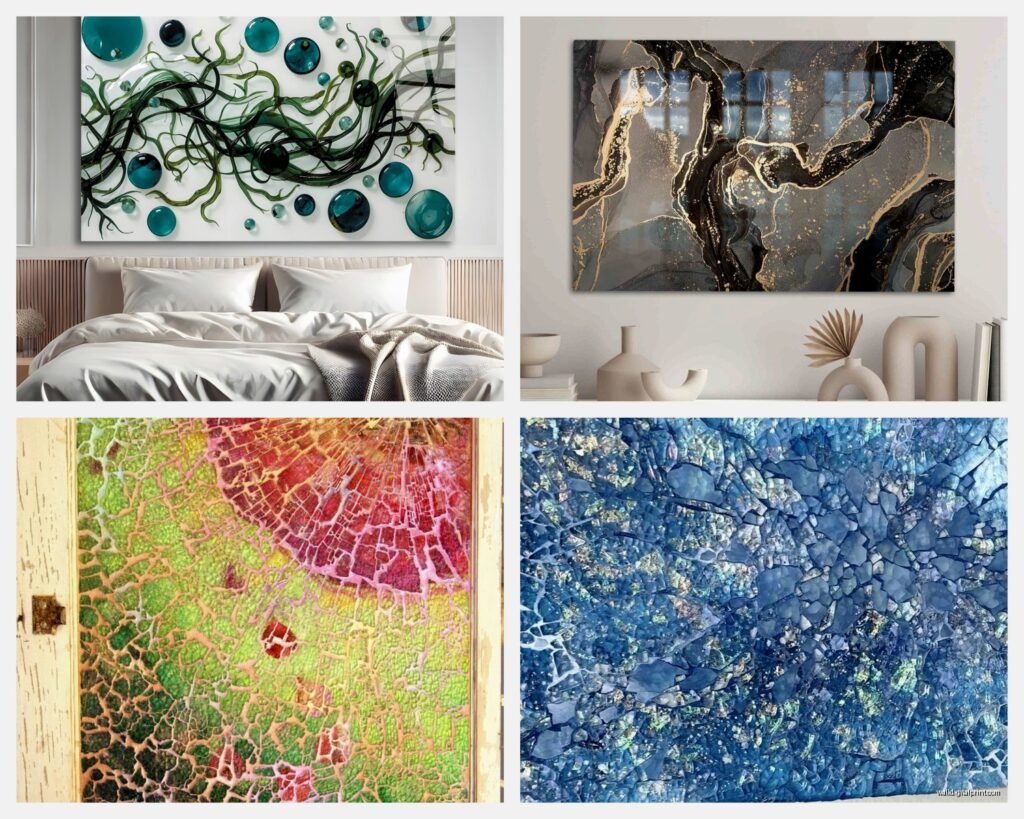
Some pieces come with painted backs, some have foil backing, some are completely clear. The painted back gives you solid opaque color which makes the image really pop. Foil backing (usually metallic) adds this subtle shimmer effect that I actually love for abstract pieces or anything with a lot of texture in the design.
Clear backing means you see through to whatever wall color is behind it. This can be really cool for layered installations or if you have an interesting wall texture, but it also means any imperfections in your wall show through. I did this once over a brick wall and it looked incredible but you gotta plan for it.
Cleaning and Maintenance Is Actually Easy
This is gonna sound too simple but regular glass cleaner and a microfiber cloth is all you need. I use the blue Windex stuff, sometimes just water and vinegar. The UV-printed surface is really durable so you’re not gonna damage it with normal cleaning.
Don’t use abrasive cleaners or scrub pads obviously. I had a housekeeper use one of those magic eraser things on a client’s piece once and it dulled the finish slightly. Not ruined but you could see it in certain light. Stick to soft cloths.
Dust builds up on the top edge if your piece has that floating mount installation. I just run a duster across it every few weeks. The glass itself doesn’t really hold static so it doesn’t attract dust like some materials.
Custom vs. Ready-Made Decision
Ready-made pieces from places like West Elm or CB2 are fine if you find something you love. They’re usually in standard sizes, limited designs, but the quality is decent for the price point. I’ve used them for staging projects where budget is tight.
Custom printing is where you can really get exactly what you want. You send them your image file – and it needs to be high resolution, like 150-300 DPI at the final print size or it’ll look pixelated and blurry. I always have clients send me their file first so I can check it because there’s nothing worse than spending $400 on a custom piece that prints grainy.
Etsy has a ton of sellers doing custom tempered glass printing now. Quality varies wildly so check reviews carefully. Look for sellers who show close-up photos of their actual products not just renderings. I’ve found a few really good ones but also received some questionable pieces where the color was way off.
Pricing Reality Check
A basic 16×20 inch UV-printed tempered glass piece runs about $80-150 depending on thickness and edge finishing. Jump to 24×36 and you’re looking at $200-350. Custom images add $50-100 usually. Ceramic printing or low-iron glass can double the price.
Installation hardware is another $30-80 depending on what mounting system you go with. Professional installation runs $75-150 for a single piece in most markets but honestly if you’re comfortable with a drill and a level it’s totally DIY-able.
Best Applications I’ve Actually Tested
Kitchens are amazing for tempered glass art, especially as a backsplash alternative or accent piece. It’s heat resistant (I mean it’s tempered specifically to handle temperature) and the smooth surface means grease and splatter just wipe right off. I installed a huge abstract piece behind a range once and it’s held up perfectly for like 18 months now.
Bathrooms work great too because of the moisture resistance. Just make sure you have good ventilation because while the glass itself is fine, the mounting hardware can rust if it’s constantly damp. Use stainless steel hardware in bathrooms always.
Living rooms and bedrooms are obvious but I especially love using glass art in spaces with limited natural light. The reflective quality bounces light around in a way that canvas or paper prints don’t. Makes the whole room feel brighter.
Outdoor installations are possible but tricky. The glass itself is fine but UV exposure can fade some printing methods over time. If you’re doing exterior work, confirm with the manufacturer that their inks are rated for outdoor use. And obviously make sure your mounting is weatherproof.
Common Problems I’ve Dealt With
Image distortion happens when people try to print photos that aren’t high enough resolution. That cute Instagram photo might look great on your phone but blown up to 30×40 inches it’s gonna be a blurry mess. Always work with the largest file size available.
Color shifts are real – what looks perfect on your monitor might print differently. This is partly because of the glass tint I mentioned but also just normal printing variation. Most good custom printers will do a proof or let you approve a sample for larger orders.
Mounting failures are almost always because someone didn’t use adequate anchors or hit studs. Drywall alone cannot support these pieces with just regular screws. Use toggle bolts minimum, hit studs when possible, and use more mounting points than you think you need. The one time I saw a piece fall it was because the installer used those plastic ribbed anchors that just aren’t rated for the weight.
oh and another thing – sometimes the holes for standoff mounting aren’t perfectly aligned from the manufacturer. I keep a level and measuring tape handy during installation because I’ve had to adjust mounting points on the wall to accommodate slightly off holes in the glass. Annoying but fixable.
Design Selection Tips That Actually Help
Abstract and geometric designs tend to work better on glass than super detailed photographic images in my experience. The reflective quality of glass adds this extra dimension that complements bold shapes and colors. Fine details can sometimes get lost.
High contrast images look incredible – think black and white photography, bold graphic designs, anything with strong light and dark areas. The depth of the glass really makes these pop.
Color gradients and watercolor effects are stunning on glass because the smooth surface lets the colors blend really beautifully. I have this blue-to-teal gradient piece in my hallway that everyone comments on.
Avoid images with a lot of text unless readability isn’t important. The slight reflectivity can make small text hard to read depending on lighting and viewing angle. If you’re doing text make it large and bold.
The thing is once you start using tempered glass art you kinda can’t go back to regular prints for certain applications. It just has this quality and durability that makes sense for modern spaces. Just gotta know what you’re actually buying and how to install it properly.