Wall Art Guide, Wall Art Tutoriels
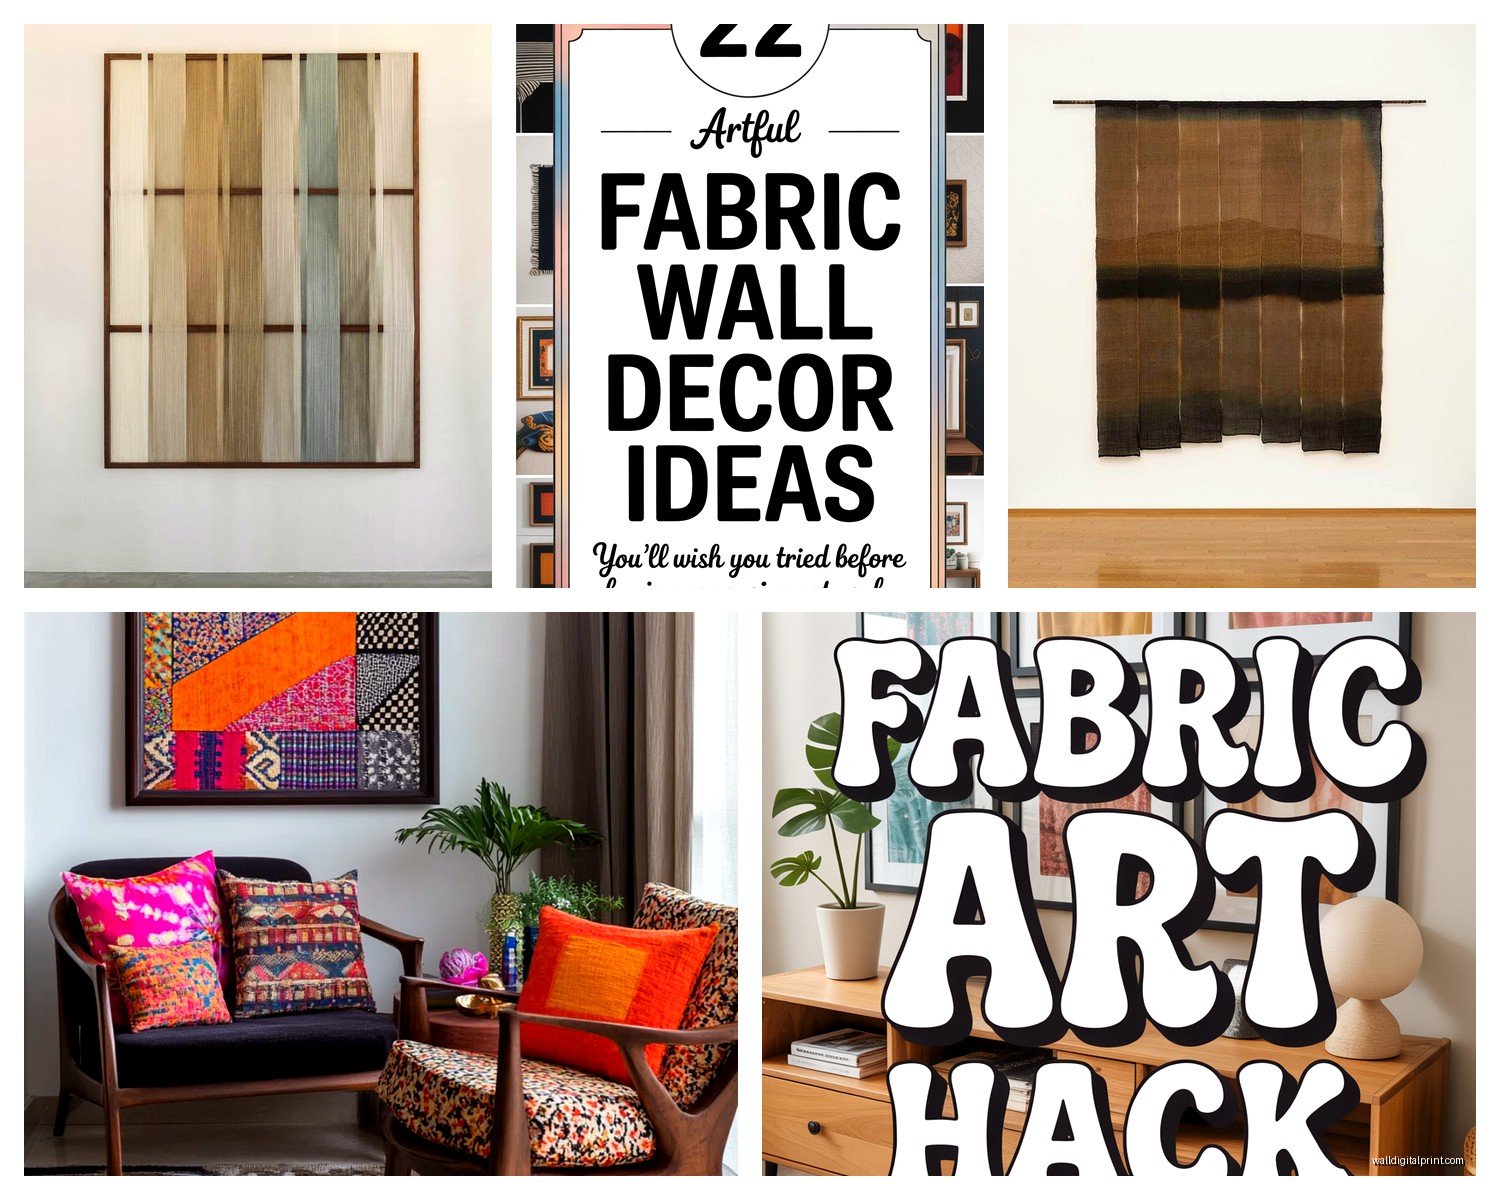
Cloth Wall Art: Textile Fabric Hanging Designs
Mar
So I’ve been messing around with cloth wall art for like three years now and honestly it’s one of those things where you don’t realize how much fabric matters until you hang something that looks amazing in your hands but completely wrong on the wall.
The Fabric Types That Actually Work
Okay so cotton is gonna be your baseline. I use it for probably 60% of my textile wall pieces because it holds dye well and doesn’t stretch weird over time. But here’s the thing – you want a tight weave. That loose gauzy cotton everyone loves for curtains? Terrible for wall art. It sags and shows every wrinkle. I learned this the hard way with a piece I made for my sister’s nursery that looked like a crumpled mess within two weeks.
Linen is where it gets interesting. It has this natural texture that photographs beautifully and adds depth you can’t get with cotton. The downside is it wrinkles if you even look at it wrong. I’ve started using a 50/50 linen-cotton blend for larger pieces and it’s been perfect – you get that textured look without the constant ironing situation.
Velvet though… wait I forgot to mention velvet catches light in this insane way that makes your wall art look different depending on time of day. I used a silk velvet (not the cheap polyester kind) for a piece in my living room and guests literally stop and touch it. The depth is unreal. But it shows every fingerprint so maybe not ideal if you have kids or if you’re like me and can’t resist touching things.
Weight and Drape Considerations
This is gonna sound weird but I keep a notebook where I track fabric weight versus hanging method because I got so tired of things pulling weird or not laying flat. For lightweight fabrics under 4 oz per yard, you need a different approach than medium-weight stuff.
Lightweight fabrics (silk, chiffon, thin cotton) work best when you’re doing layered pieces or want that floaty ethereal look. I sandwich them between a backing and a frame or use multiple layers. Single-layer lightweight fabric on a wall just looks… sad and wrinkly.
Medium-weight (standard cotton, linen, light canvas) is your sweet spot for most wall hangings. They hold their shape, don’t need complicated mounting, and work with basically any design style. I probably use 10-12 oz canvas weight for 70% of my projects now.
Heavy fabrics (upholstery weight, thick wool, heavy canvas) create these dramatic statement pieces but you gotta think about your mounting system from the start. I tried hanging a wool tapestry with regular curtain rod hardware and it literally pulled out of the wall. My cat was not amused by the 2am crash.
Texture Combinations That Don’t Fight Each Other
Oh and another thing – when you’re mixing textures in one piece you can’t just throw everything together and hope it works. I spent like three hours last Tuesday (my client canceled so I had time) testing different combinations and here’s what actually looks good:
- Smooth silk with rough burlap – the contrast is chef’s kiss
- Matte cotton with shiny satin – but keep the satin to like 20% max
- Linen with raw edge denim – very modern farmhouse without being cheesy
- Velvet with cotton canvas – adds depth without being too much
What doesn’t work: velvet with satin (too shiny together), burlap with burlap (boring), multiple prints unless you really know what you’re doing.
The Backing Fabric Nobody Talks About
This is huge and nobody mentions it. Your backing fabric matters almost as much as your front fabric. I use cotton muslin for most backings because it’s cheap and stable but here’s the trick – pre-wash it twice. Muslin shrinks like crazy and if you don’t pre-wash, your whole piece will warp after the first humid day.
For pieces that need more structure, I use a medium-weight interfacing or even a thin cotton duck as backing. It adds just enough stiffness that your main fabric doesn’t pull or distort. I made a geometric piece last month with silk and the only reason it’s not a saggy mess is the cotton duck backing.
Natural vs Synthetic Fibers
Okay so I’m gonna be real with you – synthetic fabrics get a bad rap but polyester velvet is actually amazing for wall art. It doesn’t fade, doesn’t attract dust like natural velvet, and costs like a quarter of the price. I use it for clients who have big windows with direct sun exposure.
But for natural light situations or if you want that organic vibe, you gotta go with natural fibers. Cotton, linen, wool, silk – they age differently. They get this patina that synthetics never achieve. I have a linen piece in my bedroom that’s been up for two years and it’s developed this beautiful soft fade that makes it look vintage even though I made it.
The thing about natural fibers is they’re more sensitive to humidity and temperature. My wool hanging in the bathroom (bad idea, don’t do this) started smelling funky after like six months. Moved it to the hallway and it’s fine now.
Specific Natural Fiber Notes
Cotton: Easiest to work with, takes dye perfectly, doesn’t stretch. Use it for your first few projects.
Linen: Beautiful texture but expensive and wrinkly. Worth it for statement pieces.
Wool: Amazing for texture and warmth but can be scratchy and moths are a real concern. I lost a piece to moths once and I’m still mad about it.
Silk: Gorgeous drape and sheen but difficult to work with and shows every imperfection. Also expensive as hell.
Pre-Treatment and Preparation
This part is boring but super important – you gotta prep your fabric properly or everything else is pointless. I wash all my fabric before starting a project unless it’s something that specifically says dry clean only. Even then, I steam it thoroughly.
For cotton and linen: hot water wash, tumble dry on medium, iron while slightly damp. This gets all the shrinking out of the way.
For synthetic fabrics: warm water, gentle cycle, air dry. They don’t shrink much but you wanna get any manufacturing residue off.
For delicate stuff like silk or velvet: steam the hell out of it. I have a handheld steamer that’s gotten more use than any other tool in my studio.
Mounting Methods Based on Fabric Type
The mounting method you choose has to match your fabric weight and the look you’re going for. I’ve tried literally every method and here’s what works:
Rod Pocket Method
Best for medium to lightweight fabrics that you want to hang like a banner. You sew a pocket at the top, slide a rod through, and hang it. Super simple but only works if your fabric has enough body to hang straight. I use this for cotton and light linen pieces.
Stretched Canvas Method
This is my go-to for creating that gallery look. You stretch your fabric over a wooden frame like you would canvas. Works best with medium-weight fabrics that have minimal stretch. I use canvas stretcher bars from the art store and a staple gun.
Pro tip: pull from the center of each side outward, alternating sides. If you start at corners you’ll get weird puckers. Found this out the hard way on a piece for a client’s dining room and had to completely redo it.
Wooden Dowel + Clips Method
For heavier fabrics or when you want that casual vibe. Attach a wooden dowel at top and bottom, use decorative clips or just let the weight of the bottom dowel keep it taut. I love this for wool pieces or thick tapestries.
Frame Mounting
When you want a polished look, mount your fabric in a regular picture frame. This works for any weight fabric but you need to back it properly. I use foam core board and fabric glue for lightweight stuff, batting and staples for heavier pieces.
Color Considerations and Fading
Natural dyes fade faster than synthetic dyes, which is both good and bad depending on what you want. I made a piece with indigo-dyed cotton and it’s faded to this beautiful soft blue over time. But if you want colors to stay vibrant, go with modern synthetic dyes or keep your piece out of direct sunlight.
Speaking of sunlight – UV protection spray is your friend. I spray all my pieces before hanging them and it really does make a difference. The brand I use is Scotchgard UV protectant but honestly any fabric UV spray works.
Also test your fabrics for colorfastness before combining them. I learned this when I made a piece with white linen and red cotton and the red bled during steaming. Had to start completely over.
Texture Creation Techniques
If you want more than just flat fabric on your wall (which is fine but kinda basic), here are techniques I use constantly:
Layering: Multiple fabrics stacked and stitched together creates shadow and depth. I usually do 2-3 layers max or it gets too bulky.
Gathering: Running a gathering stitch creates texture and dimension. Works great with lightweight fabrics like silk or cotton voile.
Fraying: Intentionally fraying edges gives that modern raw look. Linen and cotton fray beautifully. Synthetics just look messy when frayed so don’t bother.
Pleating: Creating structured pleats with medium-weight fabrics adds architectural interest. I pin, press, and top-stitch to keep pleats in place.
Macramé elements: Okay so funny story, I resisted the macramé trend forever but incorporating knotted elements into fabric wall art actually works. Just keep it minimal.
Maintenance and Long-term Care
Nobody thinks about this until their beautiful wall piece is covered in dust or looking dingy. Different fabrics need different care approaches.
Cotton and linen pieces I vacuum with the upholstery attachment every few months. If they’re removable, I’ll wash them annually. For velvet, I use a lint roller gently or steam to refresh. Silk gets steamed only – never vacuum silk.
If you live somewhere humid, check your pieces regularly for mold or mildew especially if they’re in bathrooms or basements. I had to toss a piece once because I ignored some spots that turned out to be mold. Not worth trying to save at that point.
Budget-Friendly Fabric Sources
You don’t need to spend a fortune on fabric for wall art. Here’s where I actually shop:
Fabric stores during sales – I stock up when Joann has their 60% off home dec fabric sales. Online fabric wholesalers sell by the bolt but you can find good deals on remnants. Thrift stores for vintage fabrics and textiles – I’ve found amazing pieces for under $10. Estate sales are goldmines for unique textiles. My favorite piece in my studio is made from vintage linen napkins I got at an estate sale for like $3.
The expensive designer fabrics are beautiful but honestly for wall art you can get similar effects with mid-range fabrics if you pay attention to weave and texture.
Common Mistakes I Still See
Using fabric that’s too thin without backing – it always looks cheap. Hanging heavy pieces with inadequate hardware – just use proper wall anchors. Not considering your wall color – a cream fabric on cream walls disappears. Test your fabric in the actual space before committing. Ignoring grain lines – fabric has a direction and fighting it creates warping and weird pulls.
Oh wait I should mention that mixing too many different fabric types in one piece usually looks chaotic unless you really plan it out. Stick to 2-3 fabric types max per project.