Wall Art Guide, Wall Art Tutoriels
Metal Wall Art: Steel Aluminum Sculpture Complete Guide
Mar
So I’ve been working with metal wall art for like six years now and honestly the steel versus aluminum thing still trips people up constantly. Last week a client texted me at 11pm asking which one she should get for her coastal condo and I realized I should probably just write this all down somewhere.
Steel vs Aluminum – What Actually Matters
Okay so here’s the thing nobody tells you upfront. Steel looks more substantial, feels heavier, and has this industrial vibe that aluminum just doesn’t match. But steel rusts. Like, it WILL rust unless it’s properly treated, and even then you’re gambling if you live anywhere humid. I learned this the hard way with a gorgeous steel piece I hung in a bathroom… had to replace it after eight months because the rust started bleeding through the powder coating.
Aluminum though, it’s lighter which sounds like a downside but actually makes installation so much easier. You can hang a massive 4-foot aluminum sculpture with regular drywall anchors. Try that with steel and you’re gonna need to find studs or use serious toggle bolts. The weight difference is wild – a 3×3 foot steel piece might be 25-30 pounds while aluminum is like 8-12 pounds.
The rust situation with steel
If you’re buying raw steel or “rustic” steel that’s meant to develop a patina, you need to seal it. I use a matte clear coat spray, usually two coats minimum. Some people like the rusted look which… okay fine, but seal it anyway or you’ll have rust stains running down your wall. My dog knocked over a can of sealant once and I had to redo an entire piece but that’s another story.
Powder-coated steel is your safer bet for indoor use. The coating protects against moisture and gives you color options. Just check the coating quality – cheaper pieces have thin powder coating that chips easily.
Finishes and Treatments You’ll Actually Encounter
This gets confusing because sellers use different terms for the same things. Here’s what I’ve figured out:
Brushed finish – looks like someone took a wire brush to the metal in one direction. Shows fingerprints like crazy on aluminum but looks really modern and clean. Steel with brushed finish is my go-to for contemporary spaces.
Polished/mirror finish – super reflective, almost chrome-like. Only works in specific spaces because it reflects EVERYTHING including your overhead lighting which can be distracting. Had a client insist on a polished aluminum tree sculpture and it reflected her ceiling fan so weirdly we had to move it three times.
Powder coating – this is baked-on color essentially. Durable, comes in any color you want, hides the metal completely. Good for outdoor use or if you want specific colors to match your decor.
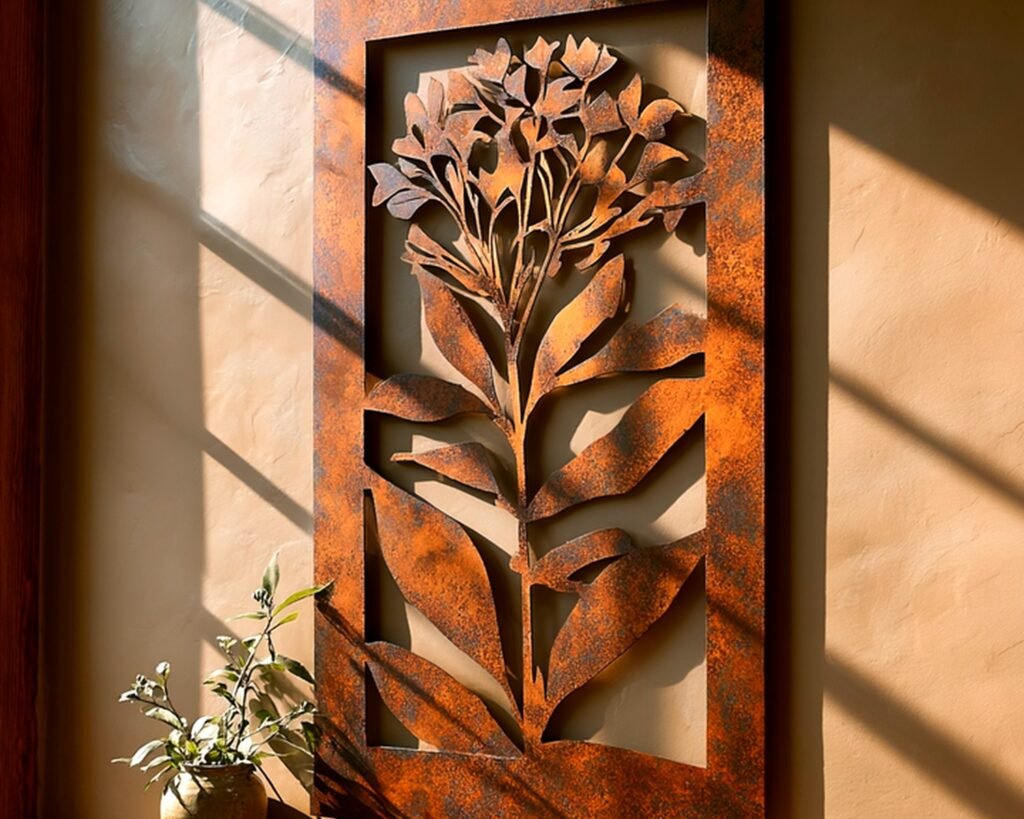
Patina/oxidized – for steel this means controlled rust, for aluminum it’s a chemical treatment that creates color variations. The blue-green patina on copper-infused pieces is actually really pretty but expensive.
Oil-rubbed bronze finish
Wait I forgot to mention this one because I literally just hung a piece yesterday with this finish. It’s usually steel with a dark brown/black coating that has bronze highlights. Looks expensive, hides imperfections, doesn’t show fingerprints. Probably my most recommended finish for people who can’t decide.
Size and Scale – Don’t Mess This Up
Everyone thinks they want bigger than they actually need. I’m guilty of this too. General rule I follow now: measure your wall space, then go about 2/3 that size for the artwork. A 6-foot wall section looks best with a 4-foot piece, not a 5.5-foot piece.
For living rooms over sofas, the art should be roughly 2/3 the width of your sofa. So a 90-inch sofa needs like a 60-inch wide piece or a grouping that adds up to that. Going too small makes it look like you just stuck something random up there.
Thickness matters more than you think
Thin metal art (like under 1/8 inch) can look cheap and flimsy from certain angles. I try to stick with pieces that are at least 1/8 inch thick, ideally 3/16 inch. The shadows they cast on the wall add so much depth. Those super thin laser-cut pieces from Amazon? They’re fine for small accent areas but don’t expect them to be a focal point.
Installation Real Talk
Nobody wants to talk about this but installation is where most people screw up, pun intended I guess.
For lightweight aluminum under 10 pounds, regular picture hanging strips work fine. I’ve used Command strips successfully on pieces up to about 8 pounds. Just use more strips than you think you need and clean the wall with rubbing alcohol first.
Heavier pieces need actual hardware:
- 10-20 pounds – heavy duty picture hangers or drywall anchors rated for the weight
- 20-40 pounds – toggle bolts or find studs with a stud finder
- Over 40 pounds – you’re definitely mounting to studs with lag bolts
Most metal art comes with D-rings or sawtooth hangers on the back. D-rings are better for heavier pieces because the weight distributes more evenly. Sawtooth hangers are easier to hang level but they can pull out of lighter metals over time.
The level situation
Use a real level, not the app on your phone. I know it seems like the app should work but trust me it’s not accurate enough. Also hang the piece slightly higher than you think – most people hang art too low. The center of the piece should be at eye level which is usually 57-60 inches from the floor.
Oh and another thing, if your metal art has multiple pieces that hang separately to create one image, lay them out on the floor first and take a photo. Then use painter’s tape on the wall to mark where each piece goes before you start drilling holes. Learned that one after creating like twelve unnecessary holes in a client’s wall.
Where to Actually Buy Quality Pieces
This is gonna sound weird but some of the best metal wall art I’ve found is on Etsy from small fabrication shops. They’ll often do custom sizes and you’re supporting actual metalworkers instead of mass production factories.
For budget-friendly options, Wayfair and Overstock have decent selections. Quality is hit or miss though – read reviews carefully and look at customer photos not just the professional shots.
Higher end sources:
- West Elm – their metal art is consistently good quality, modern designs
- CB2 – more contemporary, interesting geometric options
- Local metal artists at art fairs – this is actually how I found my favorite pieces, you can see the quality in person
Amazon has a million options but the quality varies wildly. Stick with sellers that have hundreds of reviews and look for pieces that show the mounting hardware in the photos. If they’re hiding the back of the piece, that’s usually a red flag.
Style Types That Actually Work
Abstract geometric
These are the circles, rectangles, overlapping shapes kind of pieces. Work in basically any modern or contemporary space. The trick is matching the finish to your existing metals – if you have brushed nickel hardware, get brushed aluminum art.
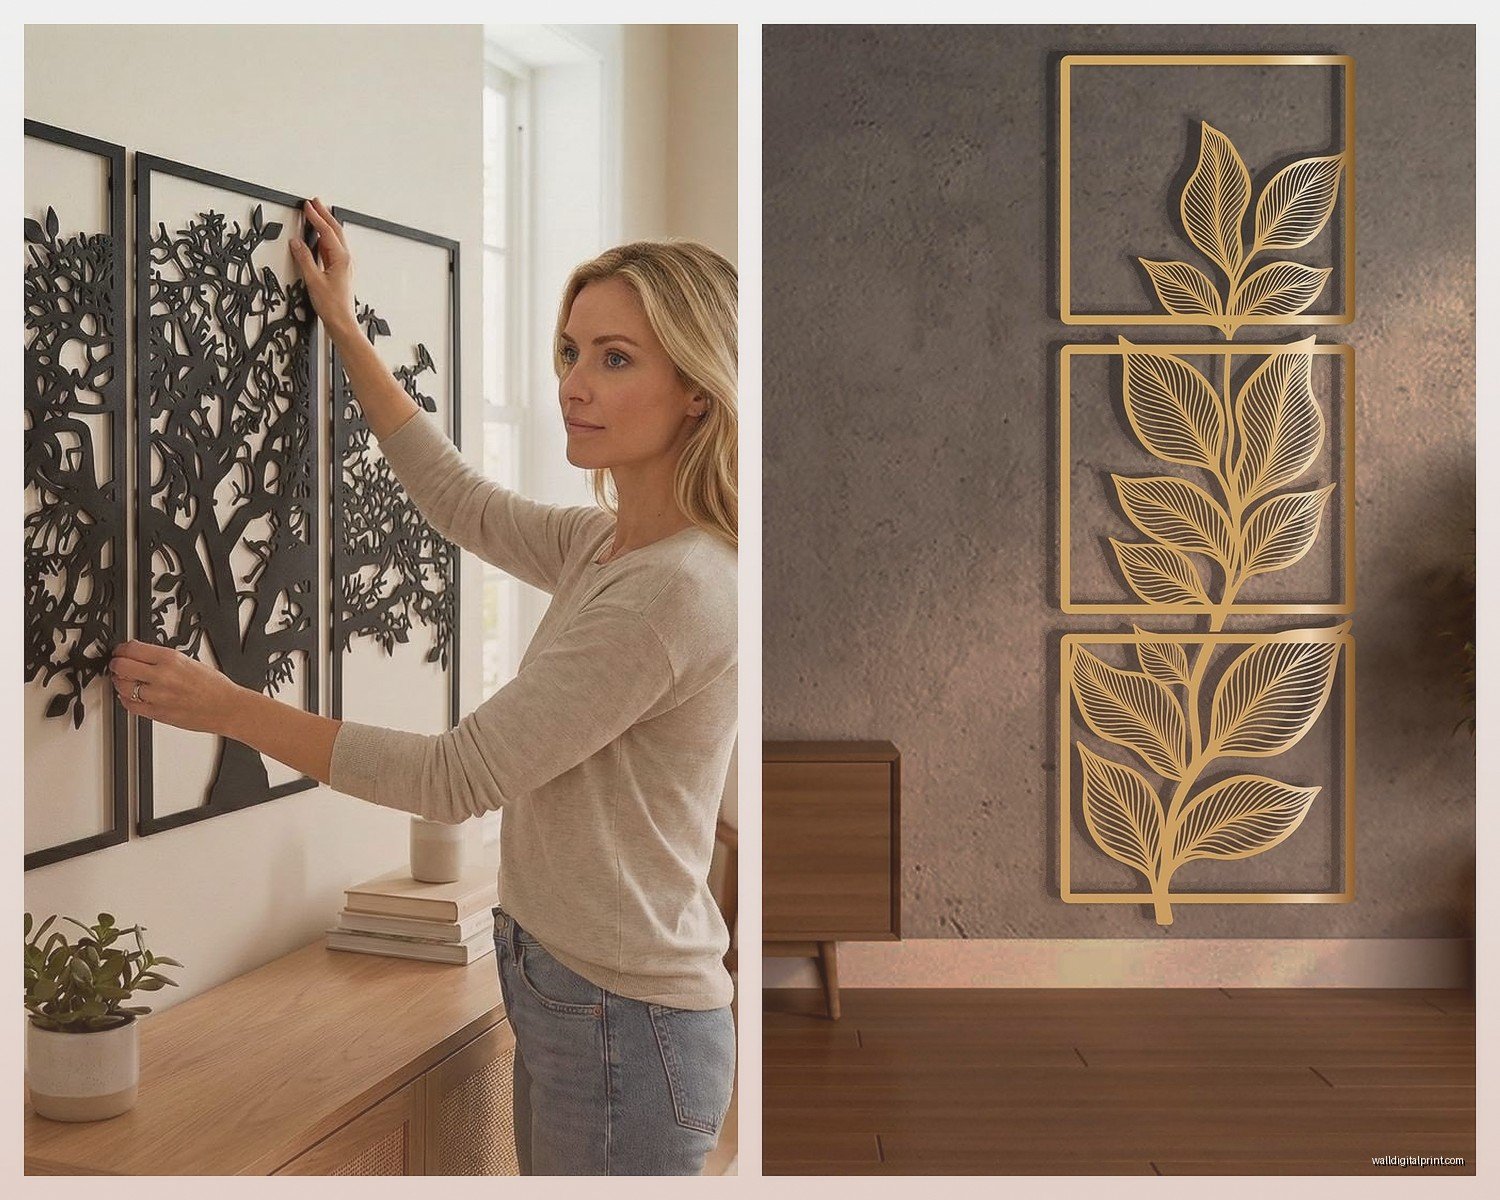
Nature-inspired
Trees, leaves, birds, mountains. Can look either really elegant or really tacky depending on the execution. The silhouette-style pieces in matte black steel are usually safe choices. The ones with too much detail or weird color combinations… I’d skip those.
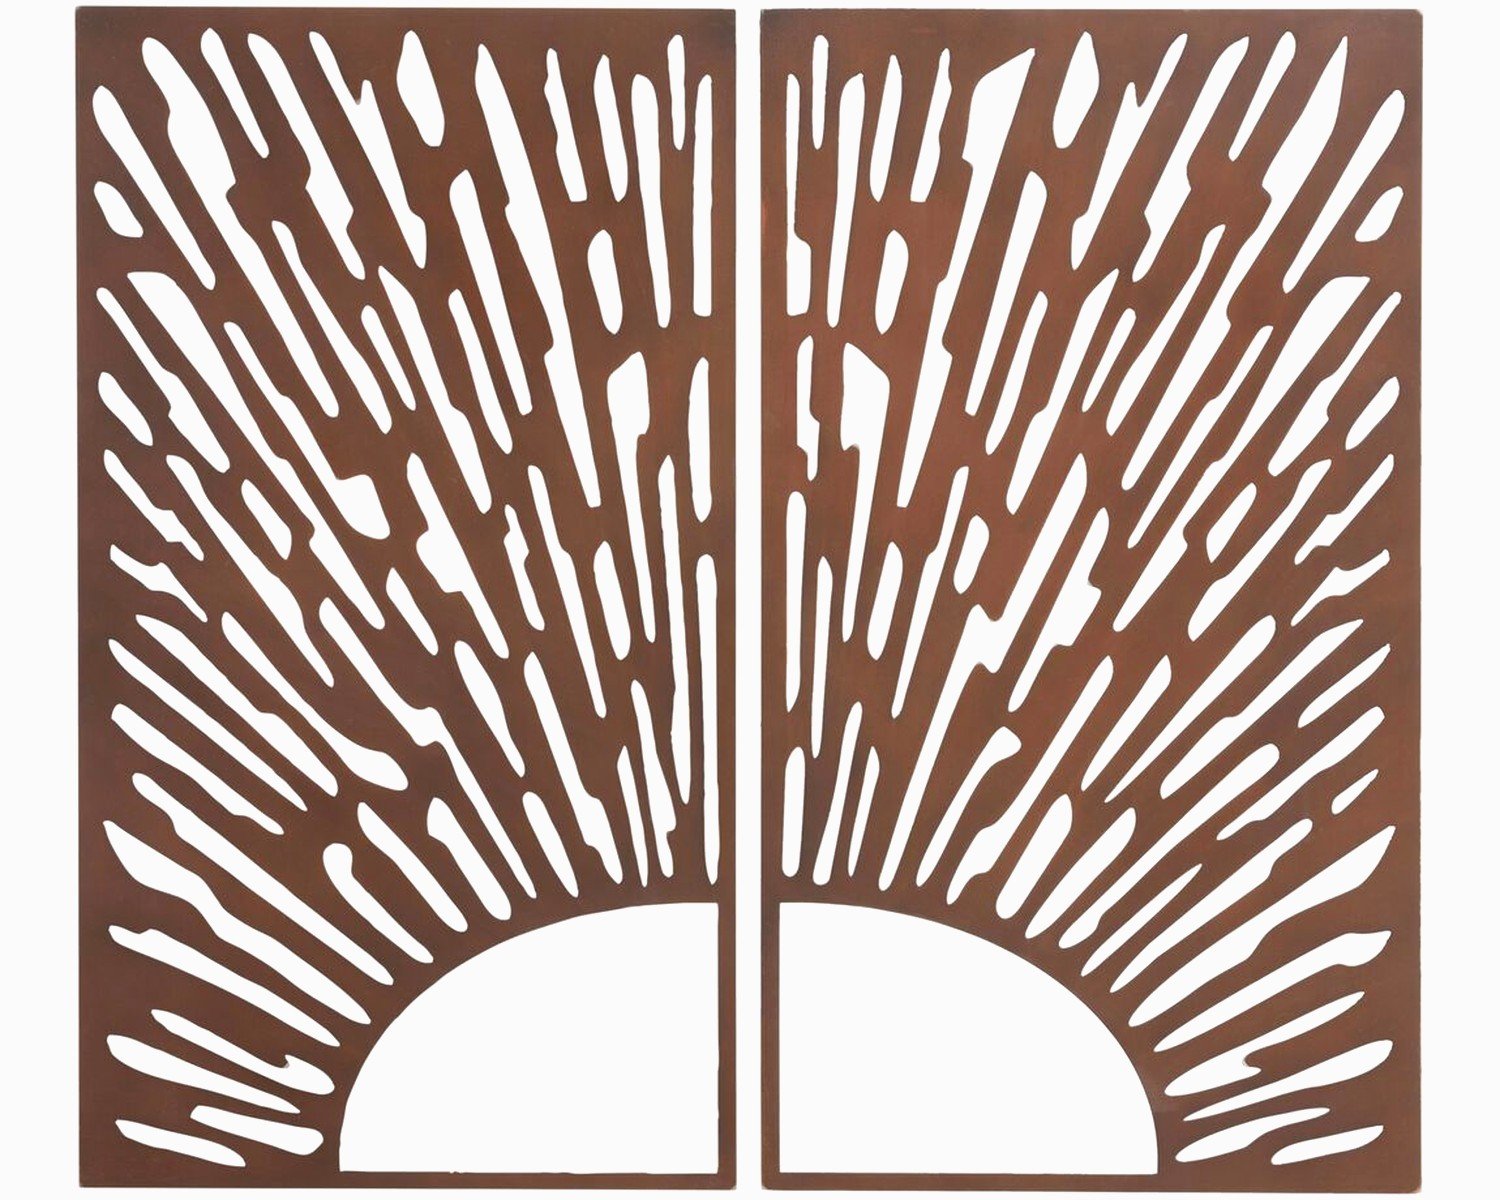
Industrial/rustic
Raw steel, visible welds, sometimes incorporating reclaimed materials. These work great in lofts, modern farmhouse spaces, or anywhere with exposed brick. Just make sure the “rustic” look is intentional and not just poorly finished metal.
Typography and words
Okay so I have mixed feelings about these. “Home” and “Family” in cursive metal letters can work in entry ways but they’re becoming dated. If you go this route, choose more unique phrases or go abstract with the letterforms.
Outdoor Considerations
If you’re hanging metal art outside, aluminum is usually your best bet unless you specifically want the rusted steel aesthetic. Even powder-coated steel will eventually show wear in outdoor conditions.
For coastal areas, aluminum is basically your only option unless you want to replace the piece every couple years. Salt air destroys steel so fast. I have a client in Miami who learned this expensive lesson.
Make sure outdoor pieces have drainage holes if they have any recessed areas where water can collect. Water sitting in metal = eventual problems regardless of the material.
UV-resistant finishes matter for colored pieces. Regular powder coating can fade in direct sunlight over time. Ask specifically about UV protection if the piece will get full sun exposure.
Maintenance Nobody Tells You About
Dust accumulates in the crevices and textured areas of metal art like you wouldn’t believe. Every few months I use a microfiber cloth or a soft brush attachment on a vacuum to clean pieces. For stuck-on stuff, barely damp cloth and immediate drying.
Polished finishes need occasional buffing to maintain the shine. I use a metal polish like Brasso maybe twice a year on high-shine pieces. Brushed finishes don’t need anything special, just dusting.
If you notice any rust spots forming on steel pieces, address them immediately. Wire brush the area gently, touch up with paint or sealant. Rust spreads faster than you’d think.
What’s Actually Worth Spending Money On
Here’s where I think you should spend more versus save:
Spend more on:
- Large statement pieces over sofas or in entryways – these are focal points, quality shows
- Outdoor pieces – weather resistance costs more but pays off
- Intricate designs with lots of detail work – cheap versions look obviously cheap
Save money on:
- Simple geometric shapes – a circle is a circle, basic designs don’t need premium pricing
- Small accent pieces – less noticeable if quality isn’t top tier
- Temporary solutions – if you rent or change decor frequently, mid-range is fine
The price range is crazy wide. I’ve seen similar-looking pieces range from $40 to $400. Generally you’re paying for thickness of metal, complexity of design, finish quality, and whether it’s mass produced or handmade.
Common Mistakes I See All The Time
Hanging metal art too close to heating vents or radiators – metal conducts heat and can get hot enough to damage wall paint or the finish on the piece itself.
Mixing too many metal finishes in one room – if you have brass light fixtures, chrome cabinet pulls, and brushed nickel faucets, adding bronze metal art is just chaos. Stick to 2-3 metal finishes max per space.
Not considering the wall color – dark metal on dark walls disappears, especially in low light. You need contrast. Light metal on light walls has the same problem unless the piece has significant dimension that creates shadows.
Forgetting about the negative space – the empty space around and within the metal design is part of the composition. Don’t cram a detailed piece into a tiny wall section.
Oh wait, I should mention the thing about mounting height in rooms with vaulted ceilings because I literally dealt with this yesterday. In rooms with high or angled ceilings, you still want the art at normal eye level, not centered on the total wall height. I see people hang art way too high in these spaces trying to center it on the whole wall.
The metal wall art thing is really about finding pieces that match your space’s vibe while being practical about material and installation. Steel when you want weight and presence, aluminum when you want easier handling and outdoor durability. And honestly, sometimes you just gotta see pieces in person because photos don’t show the dimensional quality that makes metal art interesting in the first place.