Wall Art Guide, Wall Art Tutoriels
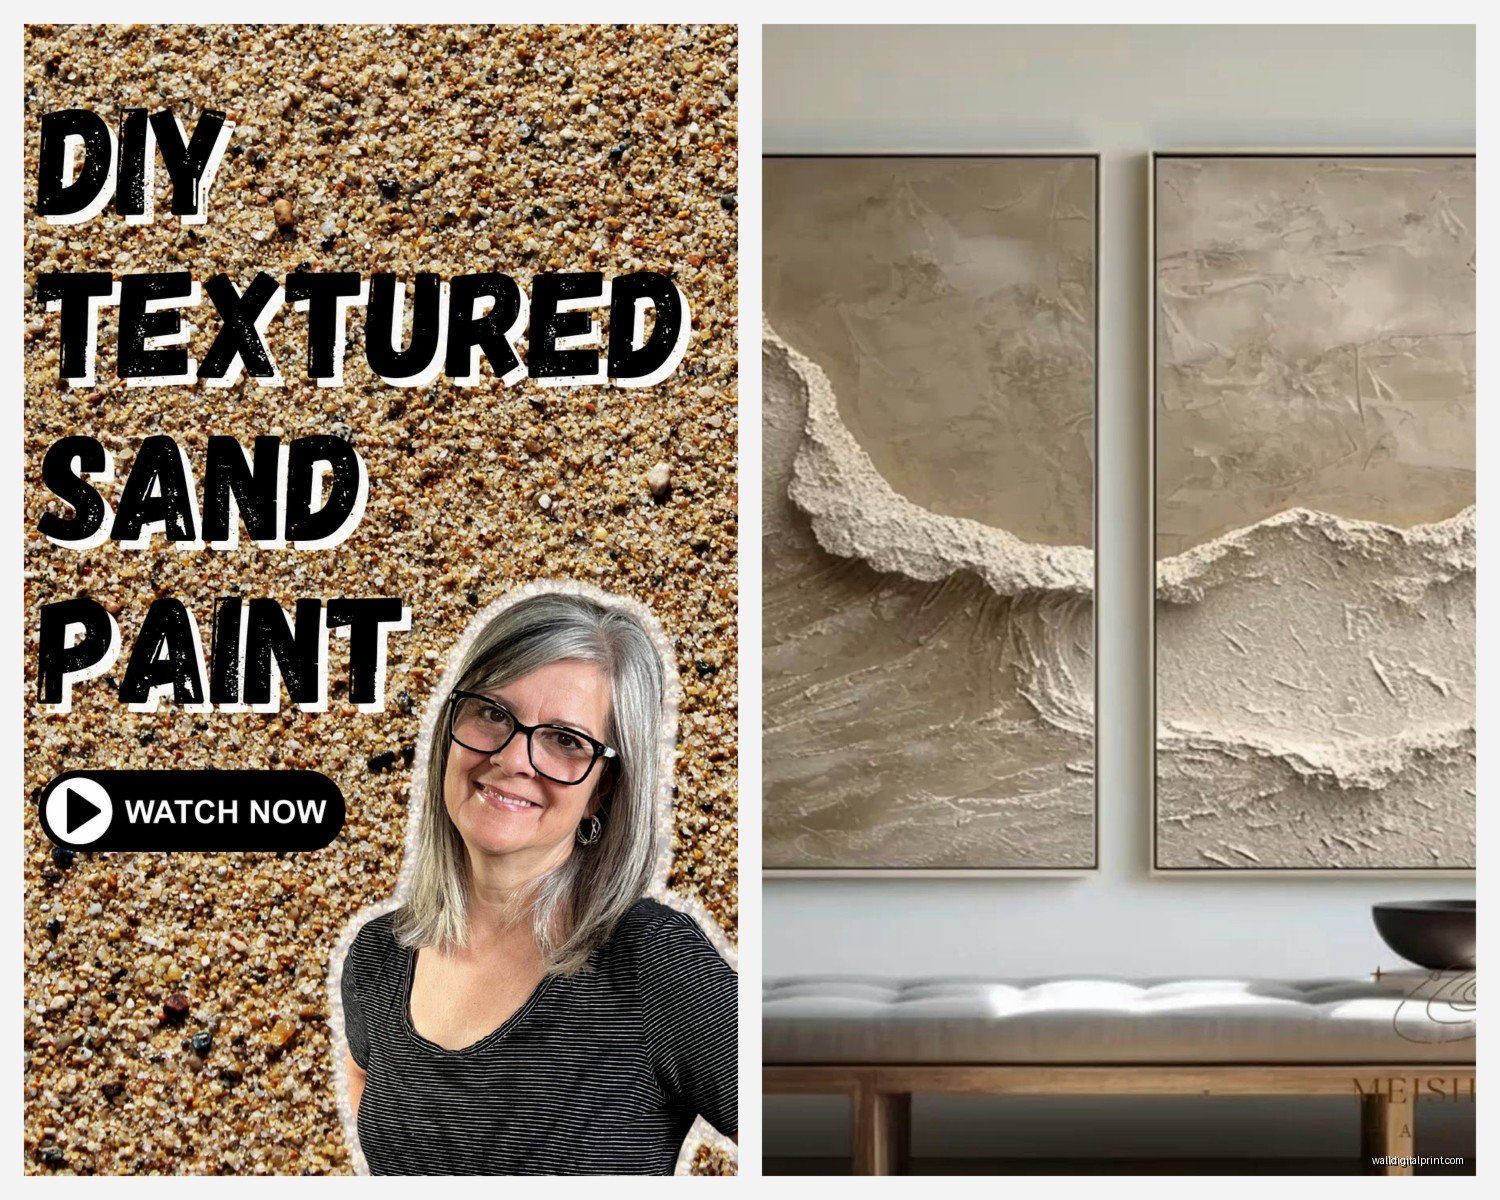
Sand Wall Art: Beach Texture Desert Natural Designs
Mar
So I’ve been working with sand wall art for like three years now and honestly it started because a client wanted this whole coastal vibe but didn’t want the typical seashell nonsense everywhere. Let me tell you what actually works and what’s a complete waste of money.
The Materials That Don’t Suck
Okay so first thing, real sand versus craft sand versus textured medium. Real sand from the beach seems romantic but it’s actually kind of a nightmare? Like you’d think oh I’ll just collect some from my vacation and make art but beach sand has salt and moisture and sometimes tiny organisms that will literally make your art smell weird after a few months. Found that out the hard way with a piece I made for my sister’s apartment.
Craft sand from Michael’s or Hobby Lobby is way more consistent. They have different grades and the medium grit is what you want for most projects. The fine stuff looks cool but doesn’t create enough texture and the coarse stuff just falls off no matter what adhesive you use. I usually grab the natural tan color and then the white if I’m doing layered pieces.
Adhesives That Actually Hold
This is where everyone screws up. Regular Mod Podge? Nope. It works for like two weeks and then you’ll find sand all over your floor. I’ve tested probably fifteen different adhesives at this point because my cat knocked over one of my early pieces and it was just… sand explosion everywhere while I was watching The Great British Baking Show and couldn’t deal with it right then.
What actually works is heavy gel medium from Golden or Liquitex. The matte version specifically because glossy looks weirdly plastic with sand. You want it thick enough that the sand embeds into it but not so thick that it takes five years to dry. Mix ratio should be like 60% gel medium to 40% sand if you’re premixing, or you can paint the medium on and sprinkle sand over it which gives you more control honestly.
For really heavy texture pieces, construction adhesive works but you gotta be okay with it being permanent. Like this isn’t coming off your canvas without taking the canvas with it. I use Liquid Nails for Projects for anything I’m mounting directly to wood panels.
Base Surfaces Matter More Than You Think
Canvas is fine but stretched canvas has this bounce to it that makes textured pieces crack over time. If you’re gonna use canvas, go for canvas boards or mount your canvas to a solid backing. I learned this when a desert landscape piece I made literally cracked down the middle after someone’s kid poked it at an art show.
Wood panels are honestly superior for sand art. Birch plywood from the hardware store works great if you seal it first with gesso. The 1/4 inch thickness is enough to feel substantial but not so heavy that hanging becomes an engineering project. Oh and another thing, MDF works too but it’s heavier and if you live somewhere humid it can warp.
Prep Work You Can’t Skip
Sand the wood panel lightly, wipe it down with a damp cloth to get rid of dust, then two coats of gesso. Let each coat dry completely which is annoying but necessary. I usually do this part while I’m doing other stuff around the studio because watching gesso dry is not a vibe.
If you want the sand to stick to specific areas and not others, you can use tape or frisket film but honestly I just paint carefully with the gel medium. More control that way and you don’t get the weird tape lines.
Actually Creating the Designs
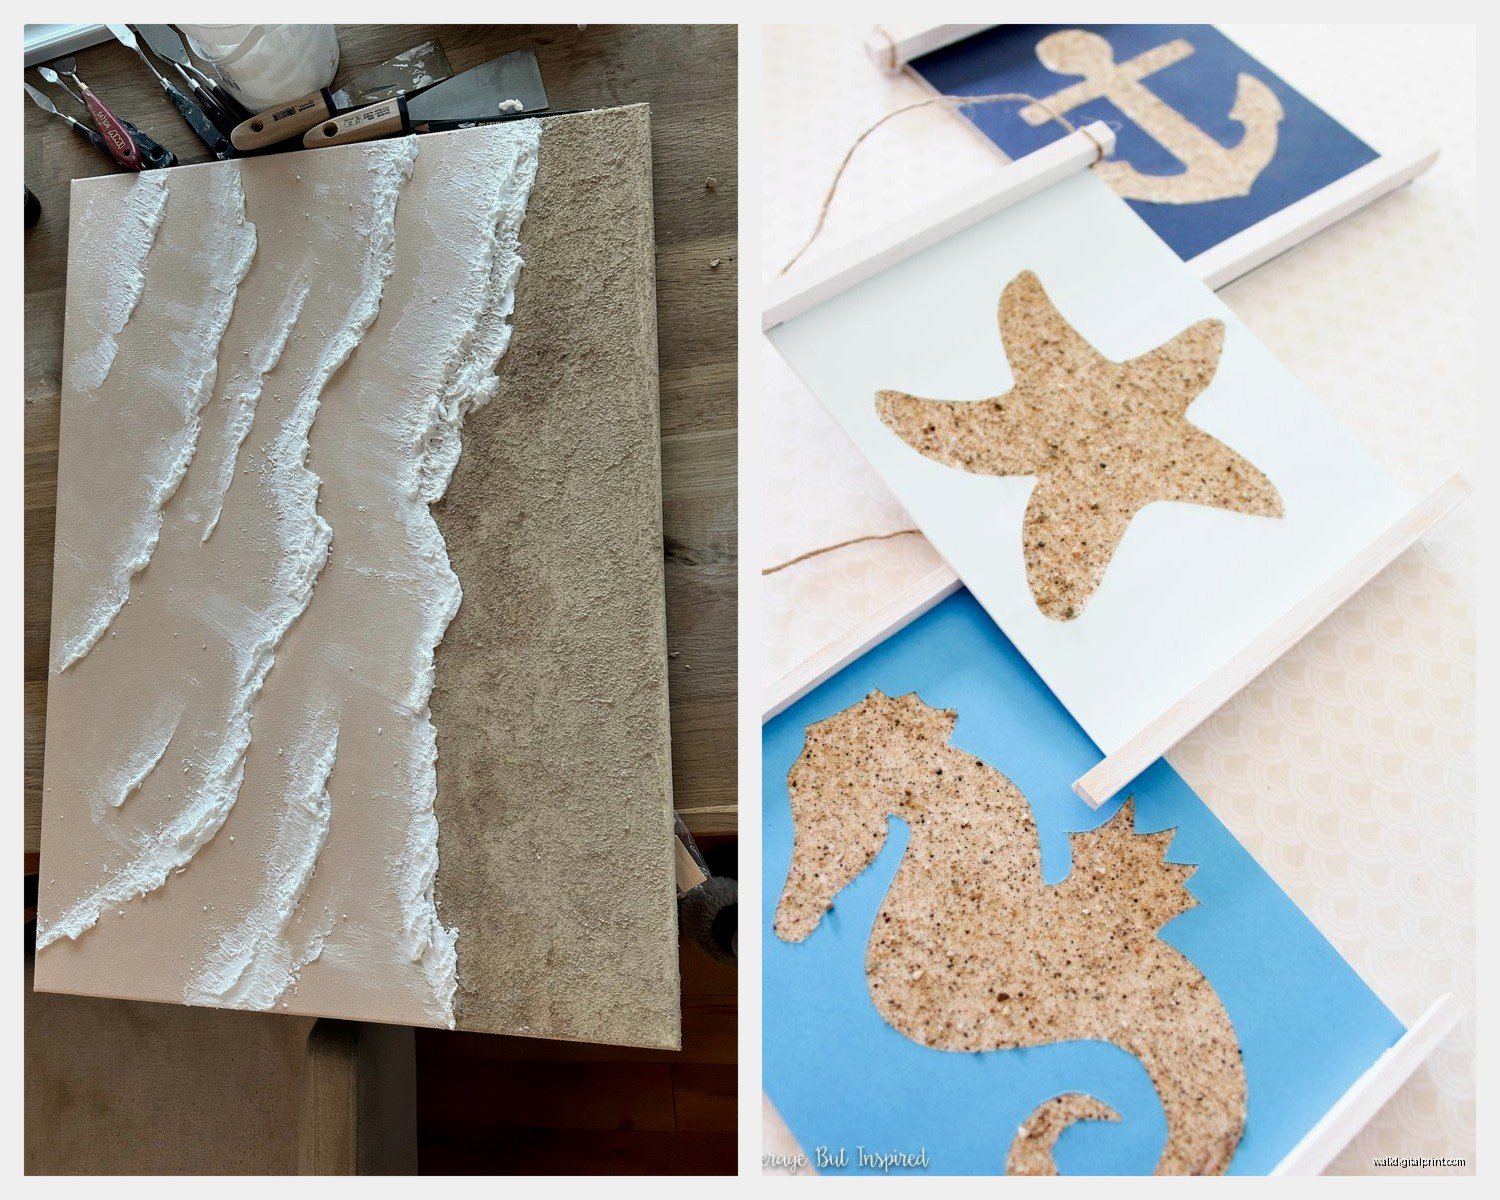
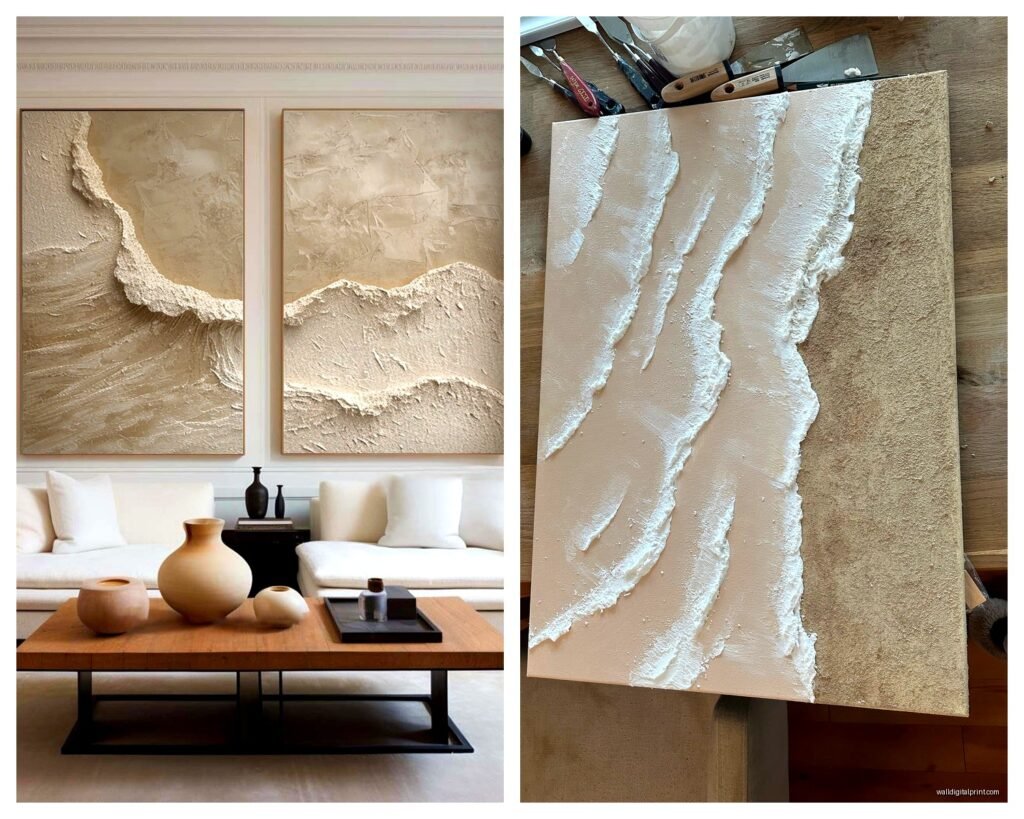
Beach texture designs are probably the easiest starting point. You’re basically creating horizontal layers that suggest water meeting sand. I use different colors of acrylic paint as the base, let that dry completely, then add the sand texture on top.
For a basic beach scene you want three zones. Sky area gets no sand obviously, water area gets very fine sand or sometimes no sand just glossy medium to suggest wetness, and beach area gets your main sand texture. The transition between water and sand is where you gotta pay attention because that’s what makes it look real versus crafty.
Wait I forgot to mention, you can tint your sand before applying it. Mix acrylic paint into the sand when it’s dry, spread it on newspaper, let it dry again. This is how you get those sunset colors or grey storm beach colors. Takes forever but the effect is worth it.
Desert Designs Are Trickier
Desert pieces need more variation in texture and color because deserts aren’t just one flat tan color despite what people think. I usually work with three to five different sand tones, ranging from almost white to deep terracotta.
The technique that works best is building up layers. Bottom layer is your base color painted on, then you add sand texture in specific areas like dunes or rock formations. While that’s still slightly tacky you can sprinkle different colored sand on top for variation. Creates this realistic depth that flat sand can’t achieve.
For dune shapes you can actually sculpt with the gel medium before adding sand. Get a palette knife and create ridges and valleys. The sand will follow those contours and catch light differently which is what makes dunes look three dimensional in real life.
Color Palettes That Work
Okay so funny story, I once made a desert piece with bright orange sand because the client said they wanted “vibrant desert energy” and it looked like a Cheeto exploded on canvas. Natural doesn’t mean boring but it does mean staying within a believable range.
Beach palettes should include soft blues, greens, tans, whites, maybe some grey. I like adding just a tiny bit of pink or lavender to beach pieces because that’s what you actually see at sunset beaches and it keeps things from looking too expected.
Desert palettes need warm tones obviously but the key is variation. Cream, tan, terracotta, burnt sienna, raw umber, touches of sage green for vegetation. If you’re doing a Southwest desert vibe you can add more red tones, if you’re going Sahara style stick with golds and tans.
Metallic Accents
This is gonna sound weird but adding tiny amounts of gold or copper metallic paint mixed into your sand creates these subtle sparkle effects that mimic mica in real sand. Don’t go overboard, just like 5% metallic to 95% regular sand. It catches light and makes the whole piece feel more dynamic.
Tools You’ll Actually Use
Palette knives in various sizes are essential. The straight edge ones for smoothing, the angled ones for creating texture. Cheap ones from Amazon work fine, you don’t need fancy Kemper tools or whatever.
Old credit cards make great scrapers for creating horizontal lines in sand texture. I have like five expired gift cards that are my go-to tools now.
Brushes get destroyed by sand so use cheap ones. The chip brushes from hardware stores are perfect for applying gel medium in large areas. They cost like 50 cents each so you don’t feel bad tossing them when they get too crusty.
Spray bottle with water for keeping things workable. Sand dries out gel medium faster than you’d think so a quick mist helps extend your working time.
Sealing and Finishing
Once everything is completely dry, and I mean wait at least 48 hours even though it looks dry after 24, you gotta seal it. Unsealed sand art just sheds forever and gets dusty.
Spray sealers work better than brush-on for textured pieces. Krylon Matte Finish or Golden Archival Varnish spray are both good. Do thin coats, like 3-4 light coats instead of one heavy coat that’ll drip and pool in the texture. Do this outside or in a really well ventilated area because my client canceled once and I thought I’d be smart and seal pieces in my studio and gave myself a headache for two days.
The matte finish keeps that natural sand look. Glossy or satin makes it look plasticky which defeats the whole natural texture vibe you’re going for.
Mounting and Hanging
If you’re mounting to wood panels you can attach a wire hanger on the back before you start the piece or after, doesn’t matter much. D-rings with wire are more secure than sawtooth hangers for heavier pieces.
French cleats are the way to go if you’re making large pieces. Way more secure and the piece sits flush against the wall which looks more professional.
Common Problems and Fixes
Sand falling off after everything’s dry means you didn’t use enough adhesive or the wrong type. You can try sealing it heavily but honestly if it’s shedding a lot you gotta scrape off the loose sand and redo that section.
Cracking happens when the adhesive layer is too thick or the base wasn’t properly sealed. Prevention is easier than fixing but you can sometimes fill small cracks with more gel medium and re-sand that area.
Colors looking muddy usually means you mixed too many sand colors together or applied them while previous layers were still wet. Let each layer dry completely before adding the next one.
Advanced Techniques Worth Trying
Resin coating over sand creates this wet sand effect that’s really cool for beach pieces. You gotta seal the sand first though or the resin will soak in weird and discolor everything. This adds cost and complexity but the depth effect is pretty amazing.
Embedding objects like small shells, stones, or driftwood pieces can work if you do it sparingly. Too much and it looks like a tourist trap gift shop. One or two carefully placed elements though can add interest without being cheesy.
Creating shadow effects with darker sand or paint in the texture makes dunes and waves look more dimensional. Think about where light would hit and where shadows would fall, then use your darker tones in those shadow areas before applying the main sand texture.
Oh and I’ve started experimenting with adding dry pigment powder to sand for really intense colors that still look natural. The pigments from Earth Pigments or Natural Earth Paint mix in without making the sand clumpy like regular acrylic paint can.
The key with all of this is honestly just testing stuff on small boards before committing to a big piece. I have a stack of like 8×10 test panels where I try new techniques or color combos and it’s saved me from so many disasters on actual commissioned work.