Wall Art Guide, Wall Art Tutoriels
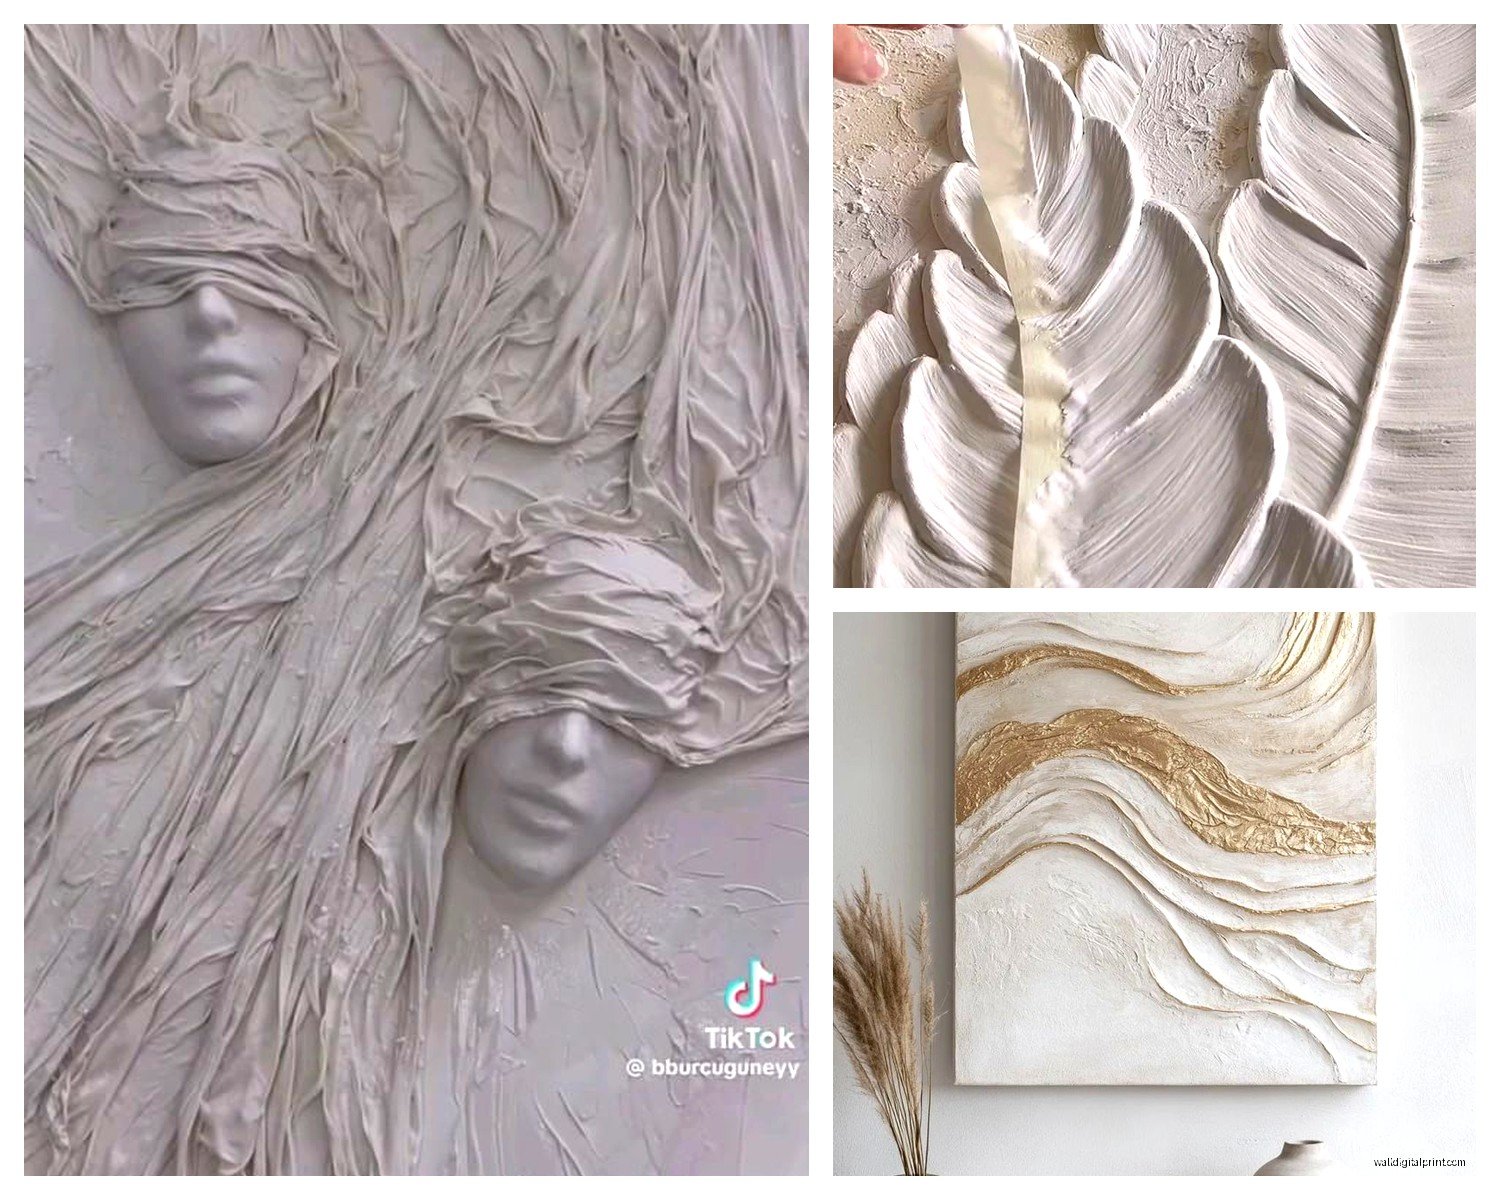
Plaster Wall Art: Relief Sculptural Dimensional Designs
Mar
So I’ve been working with plaster wall art for about three years now and honestly it’s one of those materials that looks intimidating but once you get the hang of it, you’re gonna wonder why you waited so long to try it.
The Basic Materials You Actually Need
Okay so first things first, you need plaster. I’ve tried probably six different brands and here’s what I found – joint compound from the hardware store works totally fine for beginners. Like the pre-mixed stuff in the bucket. It’s not “real” plaster but for decorative wall relief it does the job and doesn’t set as fast which means you won’t panic while working.
If you want actual plaster though, I use Plaster of Paris for smaller pieces and USG Hydrocal for bigger installations. The Hydrocal is stronger, takes detail better, but you gotta work faster because it sets in like 20-30 minutes. My dog knocked over a whole bucket of it once while I was mid-project and I literally just… had to start over because that stuff hardens FAST.
For tools you need:
- Trowels in different sizes – I have a 4-inch, 6-inch, and 10-inch
- Palette knives (the metal ones from art stores, not kitchen ones)
- Mixing bucket and drill with paddle attachment
- Spray bottle with water
- Sandpaper in 80, 120, and 220 grit
- Primer and paint obviously
The palette knives are honestly the secret weapon here. You can create these really crisp edges and fine details that trowels just can’t do.
Preparing Your Wall Surface
This is gonna sound obvious but your wall needs to be clean and primed. I learned this the hard way when a whole relief panel just… fell off a client’s wall because I skipped proper prep. So embarrassing.
Use a bonding primer if you’re working on painted walls. I like Zinsser Gardz or even just regular PVA primer. Let it dry completely – like wait overnight even though the can says 2 hours. Trust me on this.
If you’re doing a large relief design, I actually recommend screwing a piece of cement board to the wall first. It gives you better adhesion and if you mess up, you can just replace the board instead of repairing drywall. The cement board also doesn’t absorb moisture from the plaster as much so you get more working time.
Design Transfer Methods That Work
So there’s a few ways to get your design onto the wall. I used to try freehand and it was a disaster every single time because once plaster is up there, moving it around gets messy.
Method one: Use a projector. Seriously just trace your design with a pencil while it’s projected. I got a cheap one on Amazon for like $60 and it’s been worth every penny.
Method two: Print your design in sections, poke holes along the lines with a pin, tape it to the wall, and pat chalk dust through the holes. Old school but it works.
Method three: Draw directly on the wall with pencil if you’re confident. I do this now for simple geometric stuff but yeah it took practice.
Building Up Layers
Here’s the thing about plaster relief work – you can’t just slap on a thick layer and hope for the best. Well you CAN but it’ll crack and probably fall off eventually.
Start with a base layer maybe 1/8 inch thick. Let it dry. This takes like 2-4 hours depending on humidity and how thick you went. Then add your second layer where you want dimension. Each layer should be mostly dry before adding the next.
I usually work in three layers for moderate relief (about 1/2 inch projection) and up to five for deeper sculptural pieces. Wait I forgot to mention – anything over 1 inch projection and you really should be using a reinforcement like fiberglass mesh tape or even chicken wire for big pieces.
My client last month wanted this huge wave design that projected like 3 inches from the wall and we had to use wire mesh armature underneath otherwise the weight would’ve been too much. That project took two full days just for the plaster work.
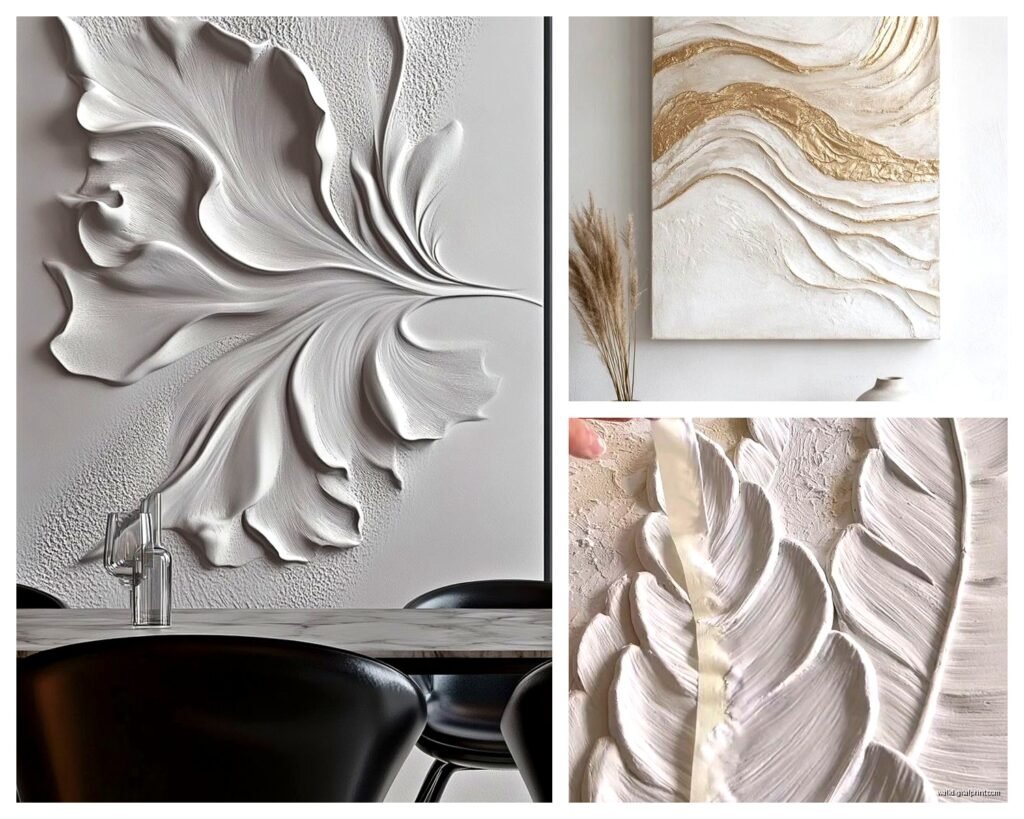
Texture Techniques I Actually Use
This is where it gets fun. You can create so many different textures and effects:
Smooth modern look: Use a wet trowel and keep smoothing in overlapping strokes. Spray with water as you work. Sand between layers with 220 grit. This takes forever but looks so clean and contemporary.
Organic texture: Use a wadded up plastic bag, sponge, or even crumpled paper to dab the surface while it’s still wet. Creates this really natural stone-like texture.
Linear patterns: Drag a notched trowel or a piece of cardboard with teeth cut into it through the wet plaster. I made custom combs from old plastic containers for different patterns.
Sculptural details: This is where those palette knives come in. You can carve, scrape, add little bits of plaster, shape edges… it’s basically like sculpting with clay but you have less time.
Oh and another thing – if you want really crisp geometric edges, use painter’s tape to mask off sections. Apply plaster, let it get to the leather-hard stage (not wet, not dry, kinda firm), then carefully remove the tape. If you wait until it’s fully dry the tape can pull off chunks.
The Drying Process Nobody Warns You About
Okay so this is important. Plaster shrinks as it dries. Not a lot but enough that cracks can happen if you rush it.
For thin applications (under 1/4 inch), you’re looking at maybe 6-8 hours before it’s dry to touch but 24 hours before you should paint. For thicker sculptural work, I wait 48-72 hours minimum.
You’ll know it’s dry when the color is uniform – wet plaster looks darker. Also the surface will feel cool to touch if it’s still drying because of evaporation.
I usually run a fan in the room but not pointed directly at the plaster because forced drying can cause cracks. Just air circulation to help things along. And don’t try to speed it up with a heat gun or hair dryer unless you want a cracked mess.
Fixing Cracks and Imperfections
Speaking of cracks… they happen. Even to me and I’ve done this for years.
Small hairline cracks: Mix up a tiny bit of plaster really thin, almost like heavy cream consistency, and work it into the crack with your finger. Wipe off excess. Let dry and sand.
Bigger cracks or chunks that fell off: You gotta dig out the crack a bit to give it tooth, wet it down really well, then fill with fresh plaster. This is why I always mix more than I need and keep some in the fridge for repairs – it stays workable for like 2 days if you cover it well.
Bumps or rough spots you don’t want: Sand them. I go through SO much sandpaper on these projects. Start with 80 grit to knock down high spots, then 120 to smooth, then 220 for the final surface. Wear a mask because plaster dust is nasty stuff.
Painting and Finishing
Once everything is completely dry and sanded, you need to seal it before painting. I use regular primer – the same stuff you’d use on drywall. Two coats usually.
For paint I’ve tried everything and here’s my honest take:
Matte finish: Best for showing off the texture and shadows. I use Benjamin Moore Regal Select in matte. The shadows from the relief work are more dramatic with no sheen.
Eggshell or satin: Good if the piece is in a high-traffic area because it’s easier to clean. Dulls the shadow effect slightly but still looks good.
Metallic or specialty finishes: This is where things get really interesting. I’ve done pieces with metallic plaster (add mica powder to the final layer), gilding wax rubbed into recessed areas, even color-washed effects with thinned paint.
One technique I love is painting the whole thing one color, then dry-brushing a lighter shade over the high points. Creates this really subtle dimensional effect that looks expensive.
Common Mistakes I Made So You Don’t Have To
Working too thick too fast – everything will crack and possibly fall off
Not mixing plaster thoroughly – lumps are the worst and you can’t smooth them out once they set
Forgetting to clean tools immediately – plaster turns tools into useless rocks if you let it dry on them
Using cheap trowels – they rust and leave marks, spend the extra $10 for stainless steel
Not testing on a sample board first – I cannot stress this enough, test your technique on scrap before going on the wall
Painting too soon – if there’s any moisture left in the plaster, your paint will look weird and might peel later
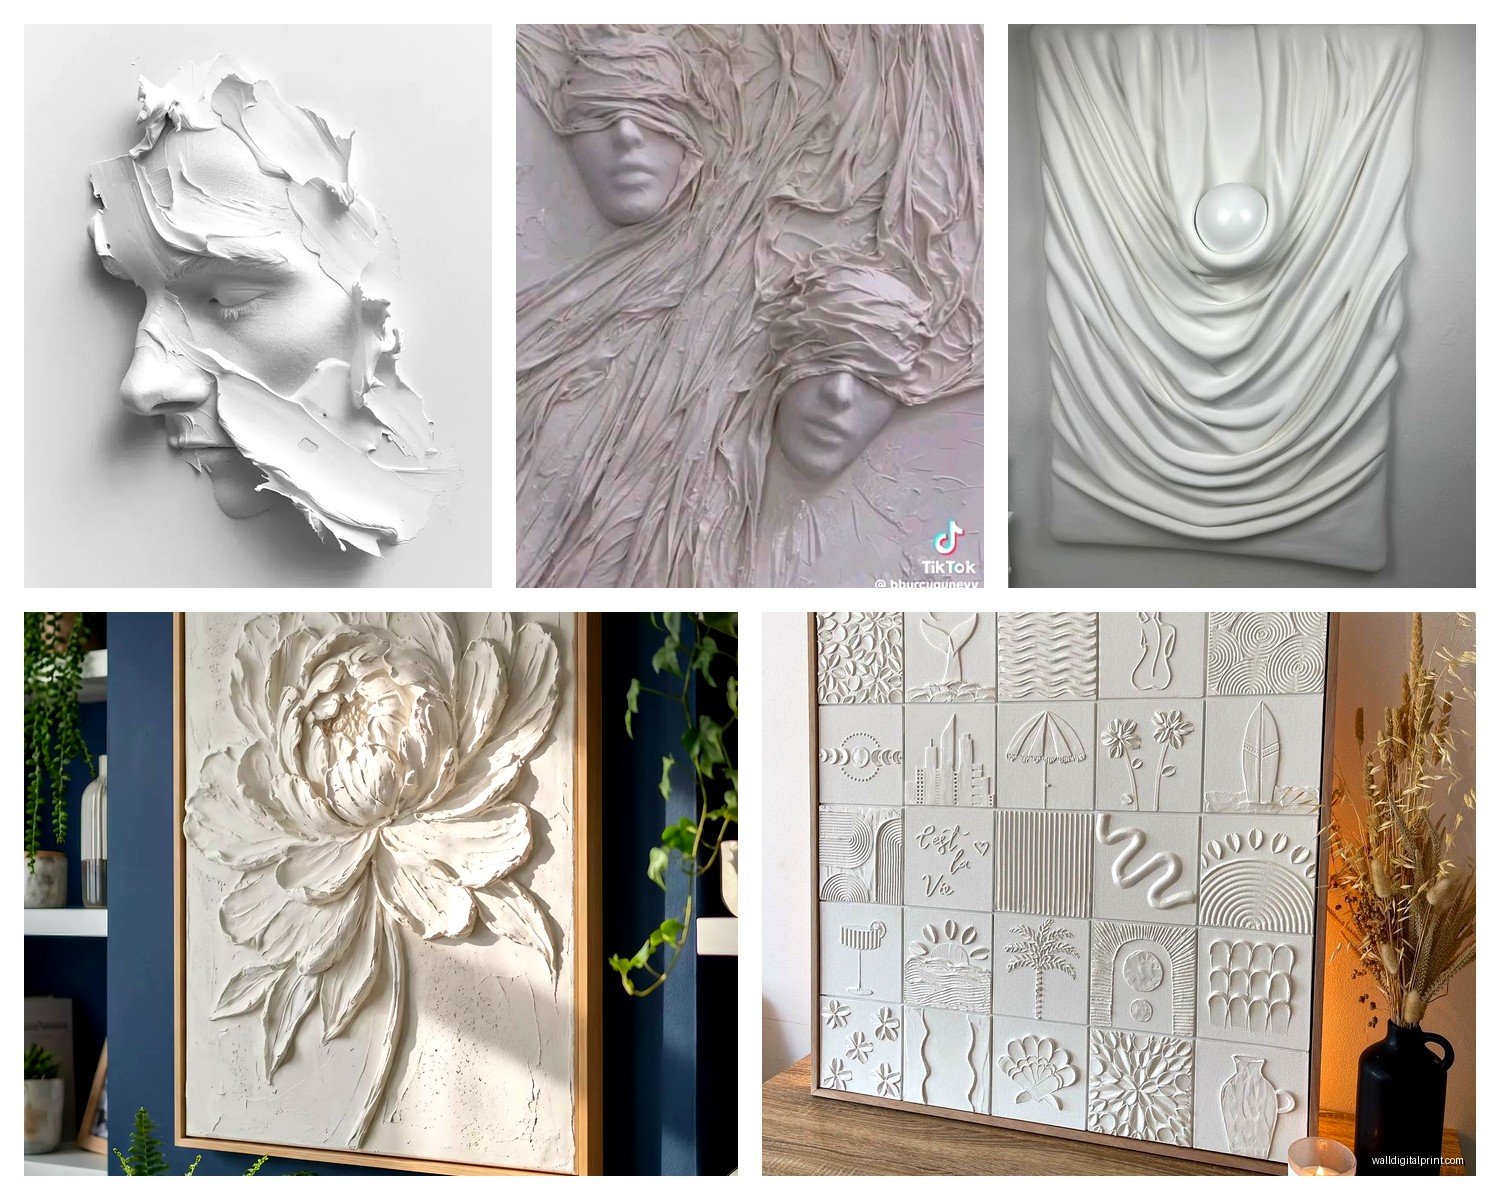
Project Ideas By Difficulty Level
If you’re just starting out, try a simple geometric panel design. Like a series of raised rectangles or a sunburst pattern. Low risk, still looks impressive.
Intermediate would be something like abstract organic shapes, waves, or botanical-inspired reliefs. These are forgiving because they’re supposed to look natural and imperfect.
Advanced projects are like full wall murals with multiple depth levels, figurative work, or intricate patterns. I did this elaborate art deco inspired piece last year that took three weeks and honestly I was watching true crime documentaries the entire time because it was so tedious.
Where to Actually Install These
Not every wall is a good candidate for plaster relief work. You need:
- Solid backing – no flimsy drywall or old plaster walls that are crumbling
- Low moisture areas – bathrooms are usually a no unless you seal really well
- Walls that won’t have furniture bumping into them constantly
- Good lighting to show off the shadows and dimension
I’ve installed pieces in living rooms, bedrooms, dining rooms, entryways, even commercial spaces like restaurants and offices. The key is considering how light hits the wall throughout the day. A relief design looks completely different in morning light versus evening light versus artificial light.
Oh wait I should mention – if you’re doing this in a rental, maybe create your relief on a large panel that can be removed instead of working directly on the wall. I’ve made pieces on plywood panels that clients took with them when they moved.
Maintenance and Long-Term Care
Once it’s painted and sealed, plaster relief art is actually pretty low maintenance. Dust it occasionally with a soft brush or microfiber cloth. Don’t use wet cleaning methods unless you’ve sealed it with something waterproof.
If you didn’t seal it well and it gets water damage… honestly you might have to redo that section. Plaster and water don’t mix once it’s set. It won’t dissolve but it can soften and crumble.
I’ve had pieces I installed five years ago that still look perfect. The material is durable if you prep and install it correctly. Way more permanent than wallpaper, that’s for sure.
Anyway that’s basically everything I’ve learned through trial and error and some pretty spectacular failures. The first piece I ever did looked like a lumpy disaster but I kept practicing and now it’s like muscle memory. You just gotta start and be okay with messing up the first few attempts because you will definitely mess up and that’s totally normal.