Wall Art Guide, Wall Art Tutoriels
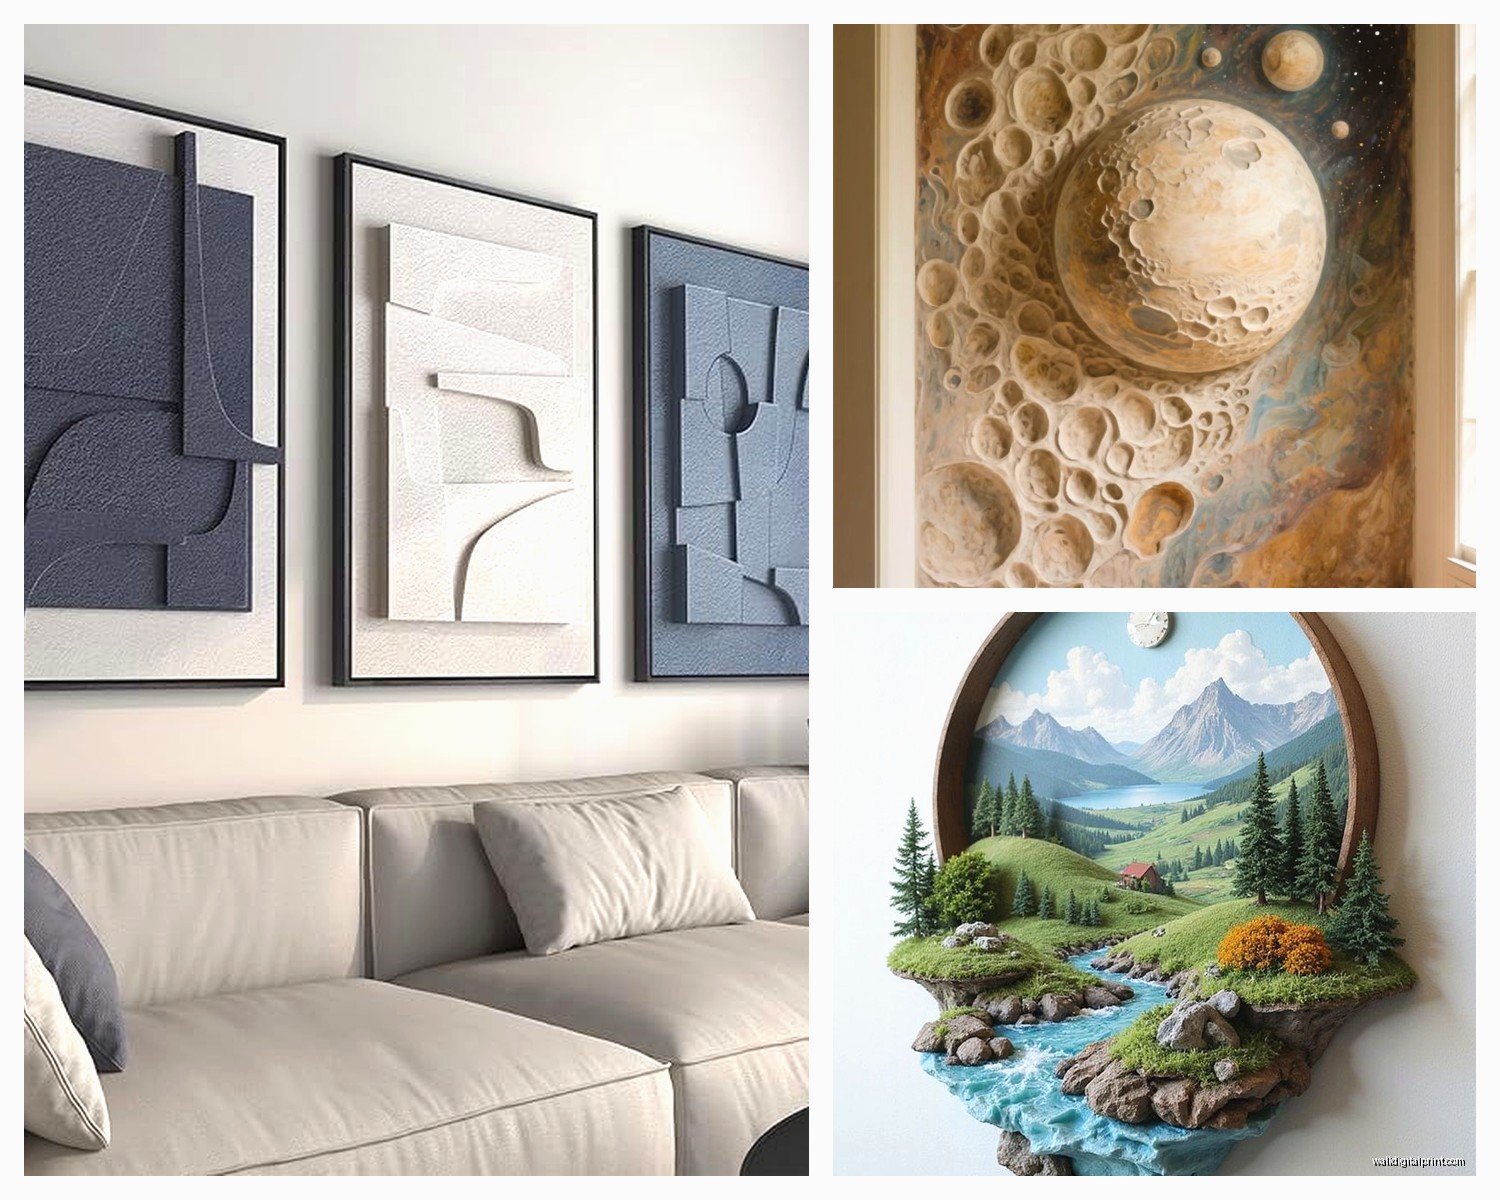
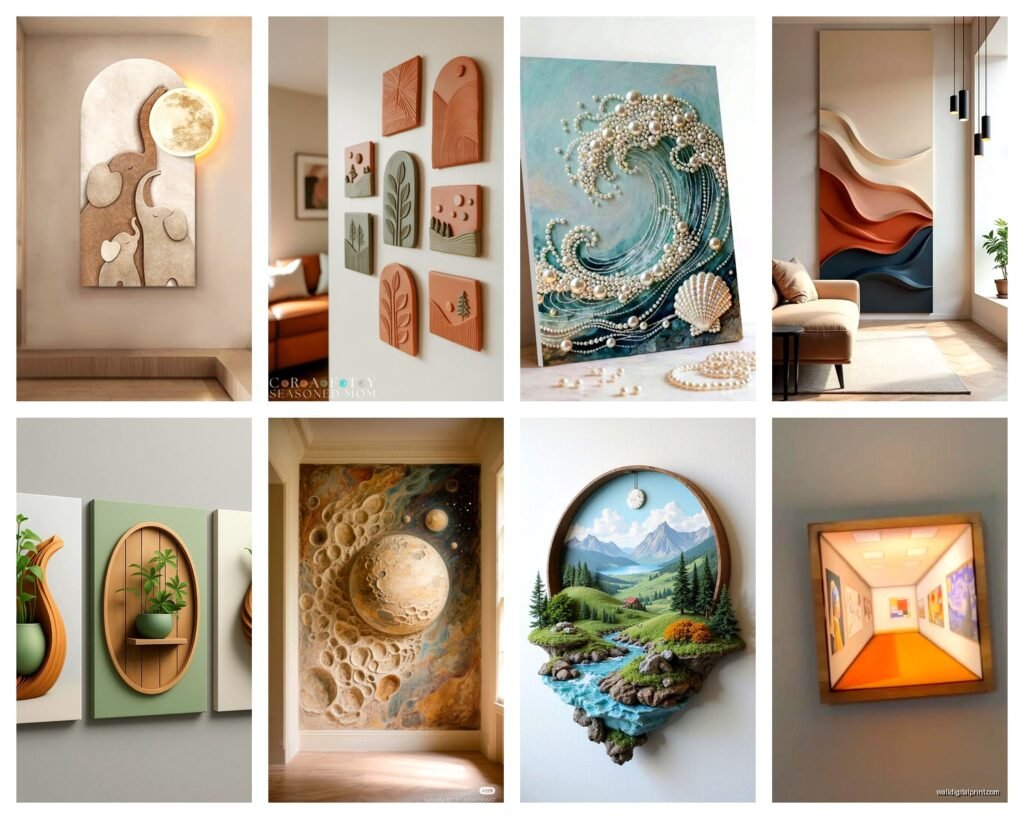
3D Wall Art Decor: Dimensional Layered Relief Designs
Mar
So I’ve been totally obsessed with 3D wall art lately and honestly it’s one of those things where the materials make or break the whole project. Like, I learned this the hard way after spending way too much on some gorgeous laser-cut wood pieces that warped within a month because I didn’t seal them properly.
The Main Materials You’ll Actually Use
Okay so there’s basically a few categories here and they all behave completely differently which nobody tells you upfront.
Wood and MDF
Wood is probably what you’re gonna see most often in stores. The layered look comes from stacking different cut pieces at varying depths. I’ve worked with both solid wood and MDF (medium-density fiberboard) and here’s the thing – MDF is actually better for most people? It’s cheaper, doesn’t warp as much, and takes paint really evenly. Solid wood looks amazing but you gotta be ready to deal with the grain potentially showing through paint and the fact that it expands and contracts with humidity.
For MDF I usually go with 1/4 inch thickness for the base layers and then 1/8 inch for detail pieces. Anything thinner gets too fragile when you’re cutting intricate designs. My dog knocked over a piece I was working on last week and the 1/8 inch stuff survived but I’m pretty sure 1/16 would’ve shattered.
The adhesive situation is crucial here – don’t use regular white glue because it doesn’t dry fast enough and your layers will shift. Wood glue or E6000 are your friends. E6000 smells absolutely terrible though so open a window or you’ll get a headache. I learned that one while binge-watching The Crown and had to pause because my eyes were watering.
Foam Board and Foam Core
This is like the secret weapon material that art supply stores don’t push enough. Foam board is SO lightweight which matters when you’re hanging stuff on drywall. I’ve done entire geometric mountain ranges with foam board and the whole piece weighs maybe two pounds.
You can get it in black or white usually. The white shows edges when you stack it which can look really cool for certain designs or really amateur for others – depends on what you’re going for. If you want clean edges you gotta paint the sides between layers or use black foam board to begin with.
Cutting foam board requires a sharp blade and I mean SHARP. Replace your X-Acto blade like every 20 minutes of cutting or you’ll get those raggedy compressed edges that look terrible. Also cut on a self-healing mat because this stuff will destroy a regular cutting surface.
The downside is it dents if you look at it wrong. Not great for high-traffic areas or if you have kids who throw things.
Acrylic and Plexiglass
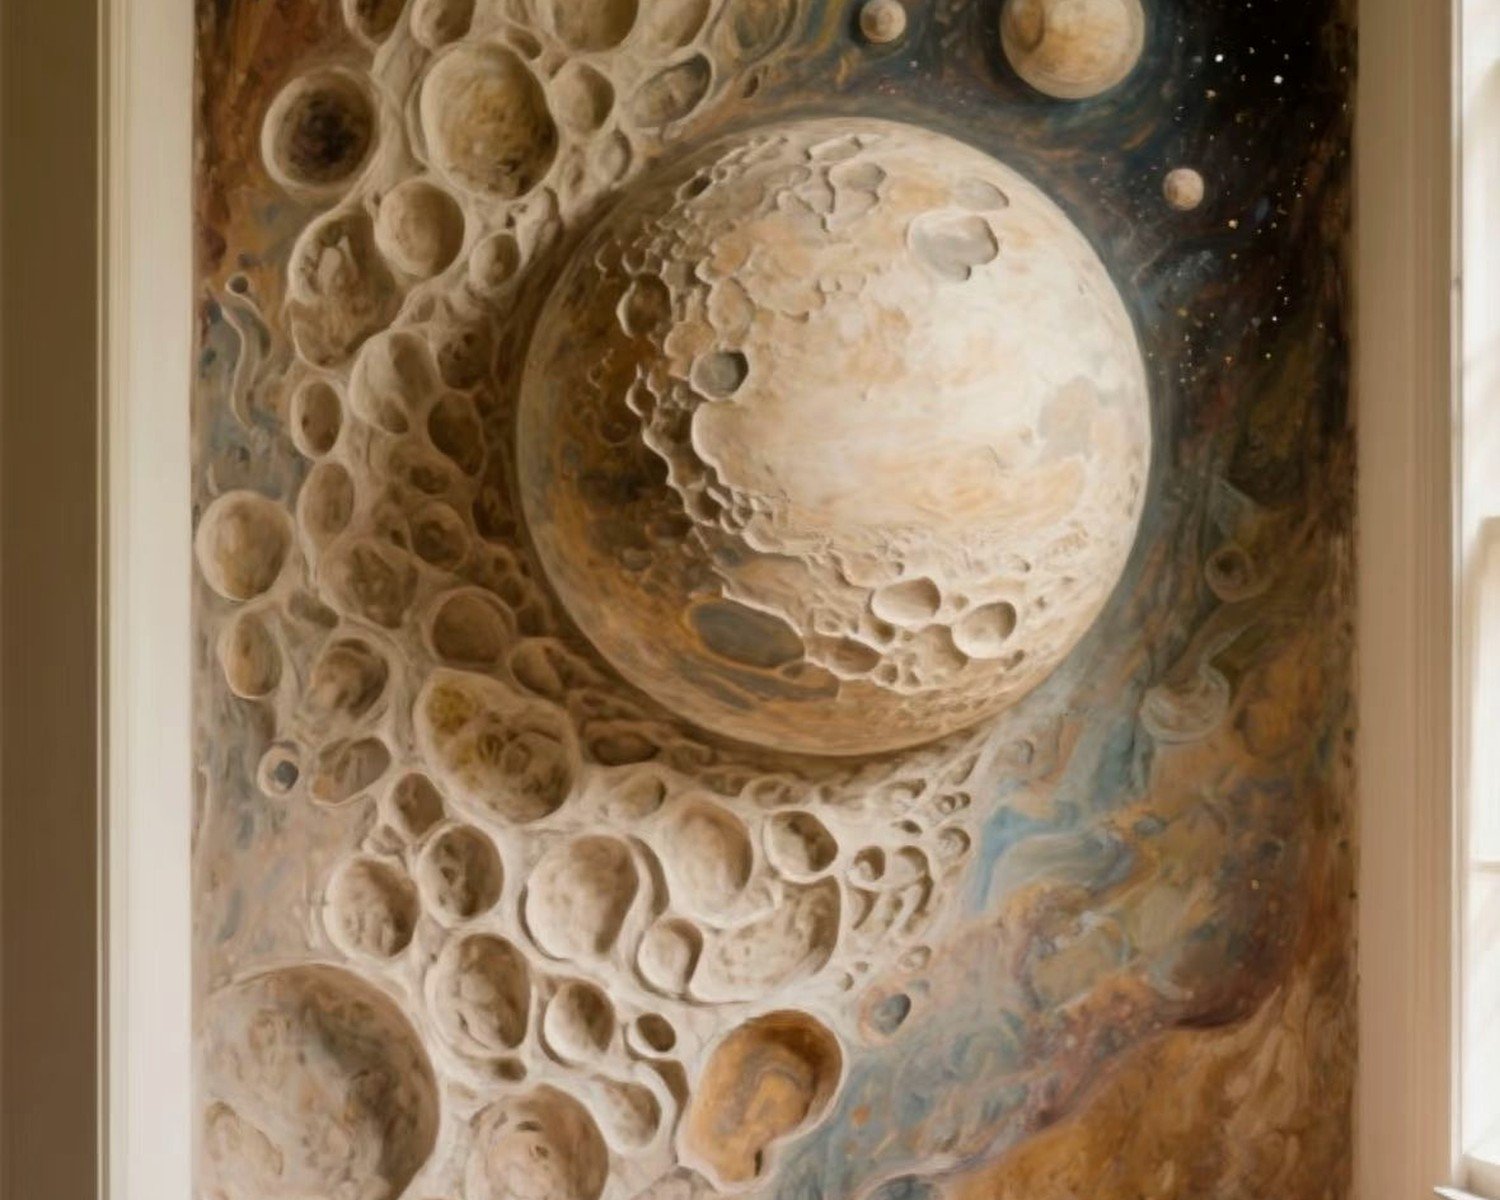
Oh and another thing – acrylic creates this really modern sophisticated look because you can play with transparency and color in ways you can’t with opaque materials. I just finished a project for a client using layered frosted and clear acrylic and the depth effect is insane.
Here’s what’s annoying about acrylic: it’s expensive, it scratches easily, and cutting it yourself is a pain unless you have proper tools. You basically need a table saw or laser cutter access. I use a local makerspace for this because buying a laser cutter isn’t happening on my budget.
The cool part is you can get it in literally any color and different finishes – glossy, matte, frosted, mirrored. For relief designs I like mixing matte and glossy layers because it creates subtle contrast even when you use the same color.
You’ll need acrylic cement to bond the layers which is different from regular glue – it actually melts the acrylic slightly to fuse pieces together. Sounds scary but it creates the strongest bond.
Metal
Metal wall art is having a moment right now. Usually you’re looking at aluminum or steel. Aluminum is lighter and doesn’t rust which makes it better for most indoor applications. Steel looks more industrial and substantial but it’s heavy and you need serious wall anchors.
I don’t typically work with raw metal myself because you need specialized cutting tools, but you can buy pre-cut metal shapes from craft suppliers or Etsy and assemble your own designs. The patina on copper and brass as they age is gorgeous if you’re into that lived-in look.
For adhesive you’re gonna need industrial strength stuff – E6000 works but metal epoxy is better for anything heavy. And seriously consider the weight before you commit. I watched someone’s steel art piece rip right out of their wall because they used regular picture hanging strips. Not pretty.
The Assembly Process Nobody Explains Properly
Wait I forgot to mention the actual technique for creating the layered effect because that’s probably why you’re reading this right?
So the basic concept is you’re stacking multiple cutout shapes with spacers between them to create depth. The spacers are key – this is what gives you that shadow and dimension. You can use:
- Foam mounting tape (easy but limited thickness options)
- Small wooden blocks or dowels cut to size (more control)
- Cork pieces (lightweight and easy to cut)
- Cardboard strips (cheap but can compress over time)
I usually use foam mounting tape for smaller pieces because it’s got adhesive already on both sides and comes in different thicknesses. For larger installations I prefer cutting my own spacers from wood because the structural integrity matters more.
The order of layering depends on your design but generally you want your largest background pieces first, then build forward with progressively smaller or more detailed elements. Think of it like… okay so imagine a forest scene. Your back layer might be solid trees in silhouette, next layer is mid-ground trees with more detail, then foreground has individual leaves or branches.
Color and Finish Considerations
This is gonna sound weird but the finish you choose affects the perceived depth almost as much as the actual spacing. Matte finishes absorb light and make layers recede. Glossy finishes reflect light and make layers pop forward. I did a monochrome piece once using only white materials but varied the finish from matte to satin to gloss and the dimensional effect was wild.
For painting, spray paint gives the most even coverage on foam and MDF. Brush painting works but you’ll see brushstrokes which might be the vibe you want or might look unfinished. Acrylic craft paint is fine for small detail work.
If you’re using wood and want to keep the grain visible, go with stains or wood dyes instead of paint. Seal everything with polyurethane or spray sealant – this is not optional if you want your piece to last. My client canceled last month so I spent like an hour comparing different sealants at the hardware store and honestly the spray-on stuff is more forgiving for textured surfaces.
Design Planning Tips
Okay so before you start cutting anything you gotta plan your design. I sketch everything first but I’m also gonna say that digital planning is way easier for complex pieces. You can use:
- Adobe Illustrator if you have it
- Inkscape which is free and almost as good
- Even Canva works for simple geometric designs
The advantage of digital is you can assign different colors to different layers and literally see your stack before you build it. Export each layer as a separate file and you’ve got your cutting templates ready.
For hand-drawn designs, trace each layer on tracing paper so you can overlay them and check your composition. I still do this sometimes because there’s something about physically moving paper around that helps me visualize better than a screen.
Scale and Proportion
Here’s something I wish someone had told me earlier – the spacing between layers needs to increase proportionally with the size of your piece. A 12-inch piece might only need 1/4 inch spacers but a 4-foot piece needs at least an inch between layers or it looks flat.
Also consider viewing distance. Art that’ll be seen from across a room can have bolder, simpler shapes. Stuff that people will look at up close needs more intricate details to stay interesting.
Hanging and Installation
The hanging method depends entirely on your materials and weight. Lightweight foam pieces can use command strips honestly. Medium weight MDF or wood needs proper picture hanging wire and wall anchors. Heavy metal or thick wood absolutely requires finding studs or using toggle bolts.
For really large installations I attach a French cleat to the back – it’s basically two interlocking pieces where one mounts to the wall and one to your artwork. Super secure and the art sits flush against the wall.
One trick I use is to attach a thin backing board to smaller layered pieces first, then hang the backing board. This distributes weight better and protects the dimensional elements during installation. Nobody wants to crush their carefully constructed layers while trying to get a nail in the wall.
Lighting Considerations
Oh and lighting is everything with 3D wall art. The shadows created by your layers are what make the piece come alive and without proper lighting it can look kinda flat. I almost always recommend adding a picture light or positioning existing room lights to create side lighting or uplighting.
Direct front lighting kills the dimensional effect. You want light coming from an angle – usually 30 to 45 degrees works best. I’ve installed small LED strip lights behind pieces before for a halo effect which looks super dramatic but isn’t for everyone.
Common Mistakes to Avoid
Using too many layers is a real thing. More isn’t always better. I’ve seen designs with like 10+ layers and it just looks muddy and confused. Usually 3-5 layers is the sweet spot for readability.
Not sealing materials before assembly – do this first or you’ll have a nightmare trying to seal all those crevices and edges after construction.
Forgetting about wall texture. Your beautiful flat-backed art piece won’t sit right on a textured wall. Either add spacers around the entire perimeter or attach it to a backing board first.
Using the wrong adhesive for your material combo. Not everything sticks to everything else and weight matters. Testing your adhesive on scrap pieces before committing is worth the extra 10 minutes.
Where to Source Materials
For wood and MDF I hit up home improvement stores – Lowes and Home Depot have decent selections and will cut pieces for you if you don’t have tools. For foam board and specialty papers, art supply stores obviously but also Dollar Tree has basic foam board that works fine for practice pieces.
Acrylic I order online from plastics suppliers because it’s way cheaper than craft stores. You can buy full sheets and have them cut to size or buy scraps if you’re doing smaller projects.
Metal pieces I mostly get from Etsy sellers who do custom laser cutting. You send them your design files and they ship you the cut pieces. More expensive than doing it yourself but accessible if you don’t have equipment.
Oh wait another thing about sourcing – check architectural salvage yards for interesting materials. I’ve found old ceiling tiles, decorative moldings, and random geometric cutouts that became part of wall art pieces. The patina and history adds character you can’t replicate with new materials.
The hardware for hanging (wire, D-rings, sawtooth hangers, mounting tape) I just buy from Amazon in bulk because you’ll use it constantly and buying single packs at craft stores gets expensive fast.
Honestly the material choice comes down to your specific design, budget, and skill level with tools. Start with something forgiving like foam board or MDF, test your design and technique, then level up to more challenging materials once you know what you’re doing. I still make test pieces for complicated designs because wasting expensive acrylic or hardwood on a concept that doesn’t work is just painful.