Wall Art Guide, Wall Art Tutoriels
Personalized Wall Art: Custom Designs & Photo Options
Mar
So I’ve been down this personalized wall art rabbit hole for like three years now and honestly there’s so much more to it than just uploading a photo to one of those sites you see on Instagram ads at 2am.
First thing – and I learned this the hard way after a client put a blurry iPhone photo on a 40×60 canvas – you gotta understand resolution. Your image needs to be at least 300 DPI at the size you want to print. Most phone photos are like 72-150 DPI which looks fine on your screen but turns into a pixelated mess on a wall. I use this free calculator online where you input your image dimensions and it tells you the max print size. Saved my butt so many times.
Canvas Prints vs Everything Else
Okay so canvas is what everyone thinks of first but honestly it’s not always the move. Canvas gives you that gallery wrapped look where the image continues around the edges which is cool but the texture can obscure fine details. I did a family portrait on canvas once and you couldn’t see the kids’ eyelashes properly – switched to a metal print for the reorder and wow, completely different vibe.
Metal prints are actually insane for modern spaces. The colors are SO vibrant because they’re infused into the aluminum. They’re also scratch resistant which is clutch if you have kids or a dog who gets the zoomies (my sister’s golden retriever knocked over a metal print and it was totally fine). Downside is they’re pricey and kinda heavy, like you need proper wall anchors.
Acrylic prints give you this depth thing that’s hard to explain until you see it in person. The image is printed on the back and you view it through clear acrylic so there’s this floating effect. Super high-end looking but they show fingerprints like crazy and cost about the same as metal.
The Paper Print Situation
Don’t sleep on good old fashioned paper prints though. I’m talking museum-quality giclée prints on fine art paper, not the stuff from your home printer. These are perfect for gallery walls where you’re mixing different frame styles. The paper texture adds this organic quality that canvas sometimes lacks.
For paper you want either:
- Cotton rag paper – archival, won’t yellow, slight texture
- Baryta paper – smooth, high gloss, insane detail
- Watercolor paper – if you want that painterly look
Most print shops offer sample packs for like $20 where they send you small prints on different papers. Do this. I thought I wanted matte everything until I saw how glossy baryta made colors pop.
Where to Actually Get This Stuff Made
Alright so there’s the big names everyone uses – Shutterfly, Snapfish, Costco Photo Center. They’re fine for basic stuff and super affordable but the quality is kinda hit or miss. I’ve gotten gorgeous prints from Costco and also prints where the color was completely off.
For stuff I actually care about I use these places:
Nations Photo Lab – their metallic paper is gorgeous and they do proper color correction. Turnaround is quick, maybe a week. Prices are mid-range.
Bay Photo Lab – this is where professional photographers go. More expensive but you can specify exact paper types, color profiles, all that nerdy stuff. They also do metal and acrylic.
Printique (used to be called AdoramaPix) – good middle ground between consumer and pro quality. Their canvas is better than the cheap places and they have sales constantly.
Custom Design Services
Wait I forgot to mention – if you’re not just printing a photo but want actual custom artwork made FROM your photos, that’s a whole different thing.
Etsy is honestly great for this. Search for “custom portrait” or “personalized line art” and you’ll find thousands of artists. I’ve used probably a dozen different sellers. The key is looking at their review photos not just their listing photos because sometimes what they advertise versus what they deliver is… different.
My go-to process: I send the artist my photo, they send back a digital proof, I request changes (usually takes 2-3 rounds), then they send the final digital file. Then I take that file to one of the print labs I mentioned. This gives you way more control over the final product quality.
Photo Preparation Nobody Tells You About
This is gonna sound weird but lighting in your original photo matters MORE than you think. A photo taken in harsh midday sun will always look harsh no matter how much editing you do. Golden hour photos (that hour before sunset) almost always turn out better as wall art.
For family photos or portraits you want:
- Natural light from a window, not overhead lighting
- Avoid busy backgrounds – they get MORE distracting when blown up large
- Make sure faces aren’t in shadow
- Get close enough that you can see expressions clearly
I use Lightroom to edit before sending to print but even the free version of Snapseed on your phone can do basic adjustments. You mainly want to:
- Bump up the shadows a bit so dark areas aren’t pure black
- Reduce highlights so bright areas aren’t blown out
- Add like 10-15 points of vibrance (not saturation, vibrance is more subtle)
- Sharpen slightly but don’t go crazy
Color Profile Drama
Okay so this is technical but it matters – when you export your image for printing, save it in sRGB color space. Not Adobe RGB, not ProPhoto, just sRGB. Most consumer printers are calibrated for sRGB and if you send them something else your colors will be off. I learned this after a gorgeous sunset print came back looking kinda muddy.
Custom Design Styles That Actually Work
Line art portraits are having a moment and I get why – they’re minimalist, work with any decor, and hide photo imperfections. But make sure the artist is actually skilled because bad line art looks like a kindergarten drawing.
Watercolor effect portraits are pretty but they can look dated quickly. I did one three years ago that felt fresh and now it feels very 2021 if that makes sense.
What’s been more timeless in my experience:
Minimalist geometric designs – Taking a photo and creating an abstract geometric interpretation. These work great in modern spaces.
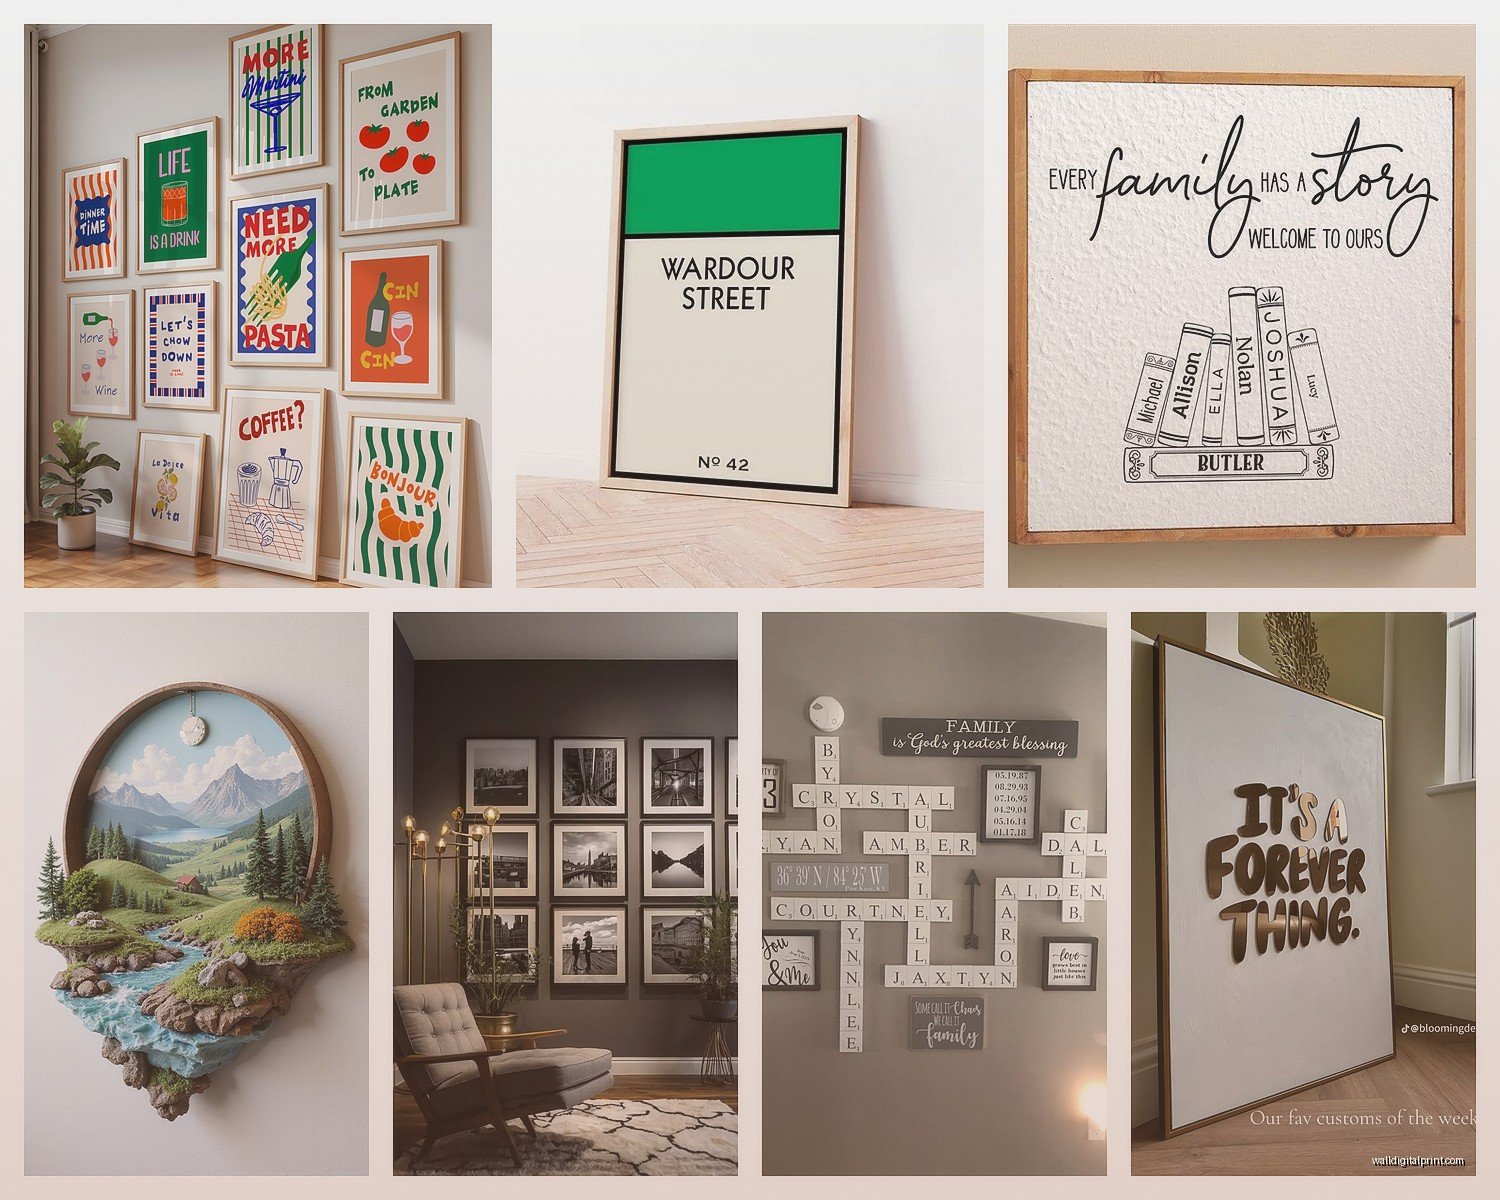
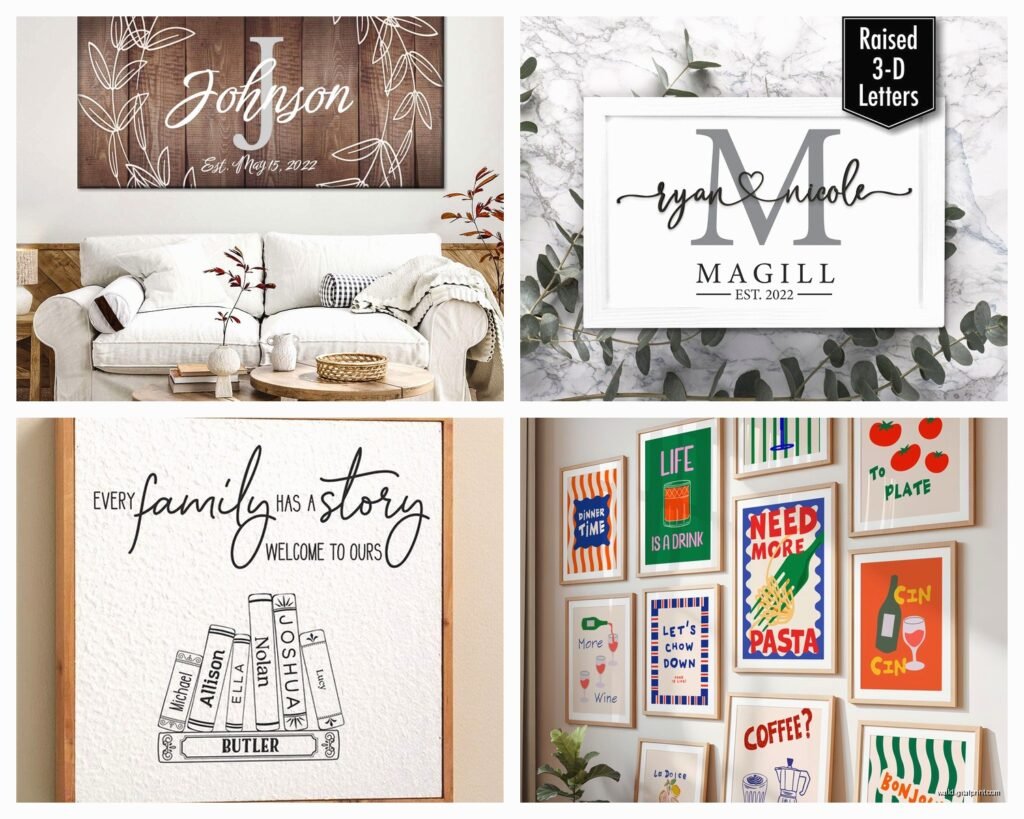
Text-based art – Song lyrics, quotes, coordinates of meaningful places. The key is good typography. If the font looks like it’s from Microsoft Word 2003, skip it.
Vintage poster style – Making photos look like national park posters or vintage travel ads. This works surprisingly well for landscape photos.
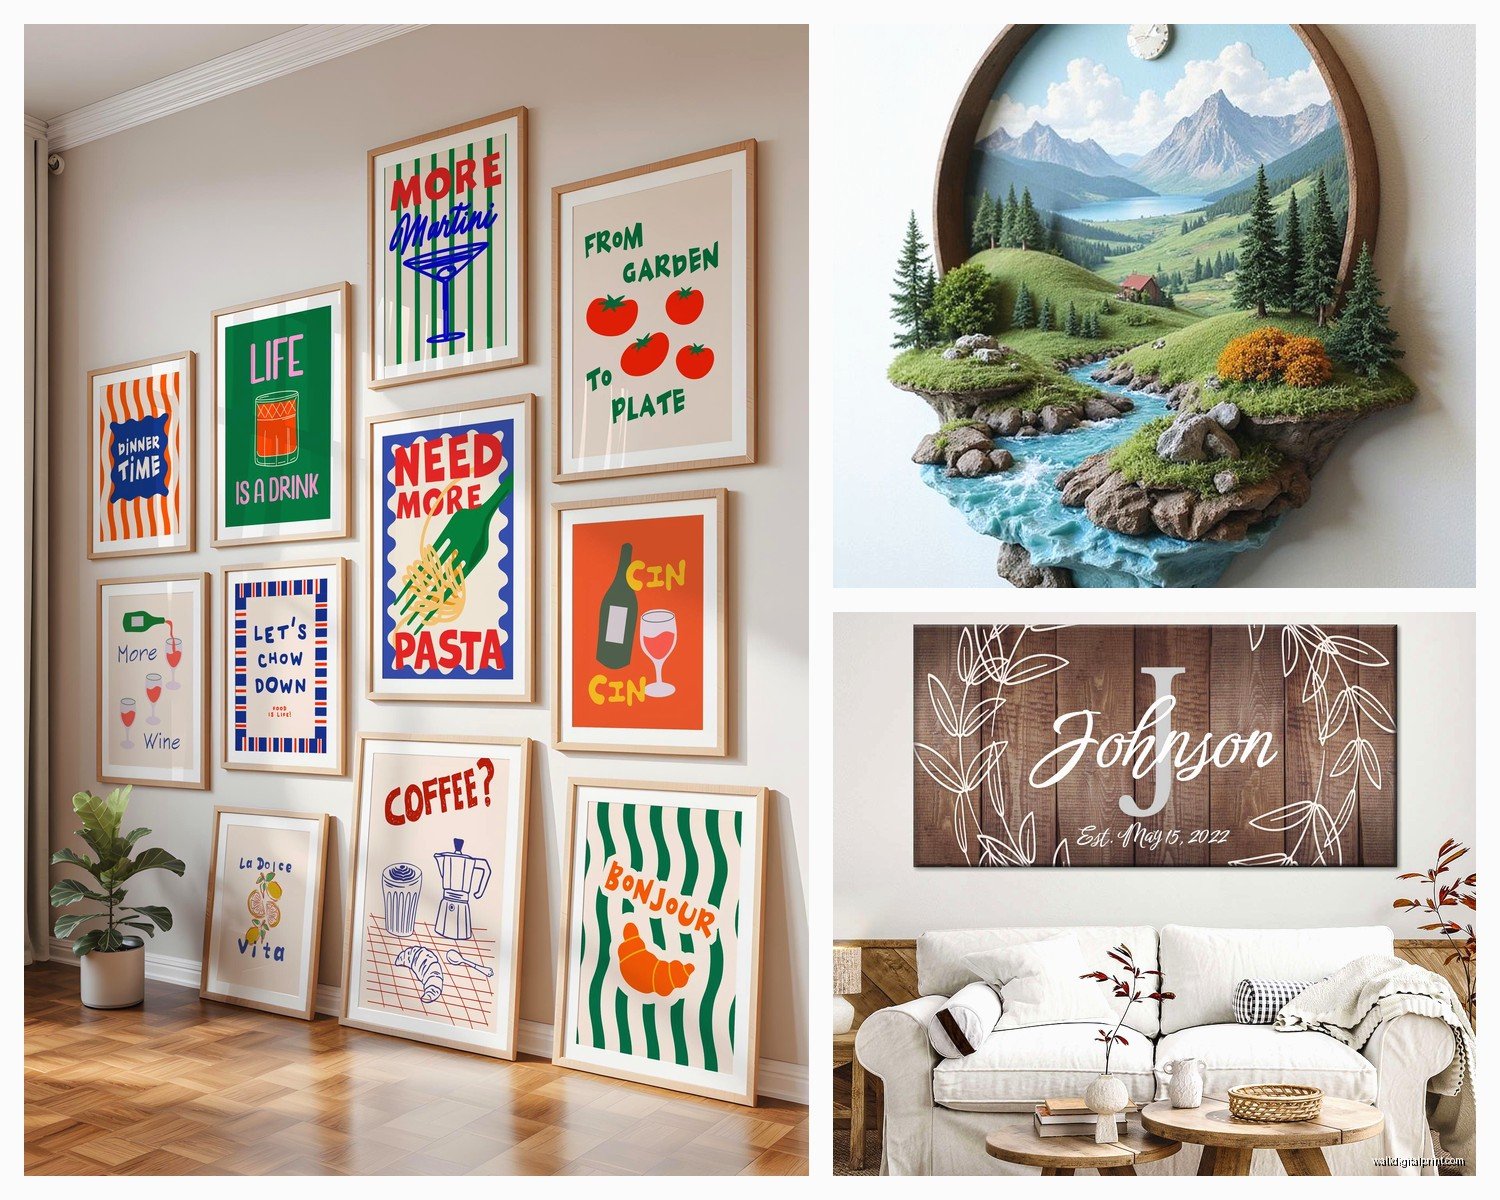
Collage layouts – Multiple photos arranged in a clean grid. Way better than those chaotic collages from the 2000s with random angles and drop shadows everywhere.
Sizing Without Screwing It Up
Everyone makes their first prints too small. Like way too small. A 16×20 looks big when you’re holding it but looks tiny on an actual wall. My general rule:
- Above a couch: go at least 40 inches wide (can be one large piece or a grouping)
- Above a bed: 36-48 inches wide minimum
- Hallway gallery wall: mix of sizes but largest should be at least 20×24
- Bathroom or small spaces: 11×14 to 16×20 works
Oh and another thing – hang art at eye level which is like 57-60 inches from the floor to the CENTER of the artwork. Everyone hangs stuff too high. If you’re putting it above furniture leave 6-8 inches between the furniture and the bottom of the frame.
Frame or No Frame
Canvas can be hung frameless which saves money but I think it looks unfinished honestly. A simple floater frame (where the canvas sits inside the frame with a gap around it) makes such a difference. They’re like $30-60 depending on size.
For paper prints you obviously need a frame and mat. Standard sizes (11×14, 16×20, 18×24) are way cheaper to frame because you can use ready-made frames. Custom sizes get expensive fast. I’m talking $200+ for a good quality custom frame.
IKEA frames are actually decent for the price. Their RIBBA and HOVSTA lines work great for standard sizes. For something nicer Framebridge does custom framing online – you send them your print and they frame it and send it back. It’s pricey but easier than dealing with a local frame shop.
The Websites That Do Everything
Some places will do the custom design AND the printing which is convenient but you’re paying a premium.
Minted has gorgeous designs and their paper quality is excellent. You can upload photos and customize their templates. Pricy though – like $150-300 for a large framed print.
Artifact Uprising is my favorite for photo books but they also do wall art. Very minimalist aesthetic, high quality materials. Their layflat albums are incredible if you’re doing a wedding or travel series.
Mixtiles are those sticky-back prints you see all over TikTok. They’re actually pretty good for renters or people who change their mind a lot. The quality isn’t amazing but they’re cheap and easy. My assistant has like 20 of them in her apartment.
Working With Local Print Shops
If you have a local print shop definitely check them out. You can see paper samples in person, they can give you advice, and if something goes wrong you’re not dealing with customer service email chains. Plus supporting local businesses and all that.
Ask to see their portfolio – most shops have examples of their best work displayed. If everything looks kinda faded or the colors seem off, that tells you about their printer calibration.
Things That Can Go Wrong
Colors looking different than your screen – this happens because monitors display in RGB (light) and prints are CMYK (ink). Blues and greens especially can shift. Some print labs offer soft proofing where they show you how it’ll look before printing.
Banding in gradients – if your image has smooth gradients like a sunset or ombre background, you might get visible bands of color. Higher quality printers and certain paper types minimize this but it can still happen.
Cropping issues – a lot of print sites auto-crop your image to fit standard sizes. Always preview and adjust manually or you might lose important parts of the photo. I once cut off half of someone’s head because I didn’t check the preview properly.
The Expensive Mistakes I Made
Printed a black and white photo on glossy paper – every tiny dust speck and fingerprint was visible. Matte paper is way more forgiving for monochrome.
Ordered a huge canvas without seeing a small test print first – the image quality wasn’t good enough for that size and I was out $200.
Didn’t account for the color of my wall – a bright white print looked weird against my beige walls. Should’ve gone with a warmer paper tone.
Used a phone screenshot instead of the actual photo file – screenshots are compressed and low resolution. Always use the original image file from your camera or phone’s photo library.
Copyright Stuff Real Quick
If someone else took the photo you wanna print you technically need permission. Professional photographers usually retain copyright even if you paid them for a session. Most will sell you print rights for personal use though.
For custom artwork based on photos – if you took the photo yourself you can definitely use it. If you found it on Pinterest or Google Images you can’t legally have someone create art from it. Most Etsy artists won’t care but technically it’s an issue.
Making It Actually Look Good On Your Wall
This is where people mess up – they get a gorgeous custom print and then just stick it on the wall randomly.
Create balance – if you have a large print on one wall consider something smaller on the adjacent wall. My cat just knocked over my coffee but anyway… you don’t want one wall super heavy with art and others bare.
Consider your furniture layout – art should relate to the furniture beneath it. A vertical print looks weird above a long horizontal dresser.
Mix custom photos with other art – don’t make it all family photos or it looks like a dentist office waiting room. Alternate personal photos with abstract prints, landscapes, whatever.
The three-piece rule works great – three items grouped together feels intentional. Could be three separate frames or one large print flanked by two smaller ones.
Lighting Your Art
Nobody thinks about this but proper lighting makes such a difference. Picture lights are those small lights that mount above frames – they’re like $30-100 and totally worth it for pieces you really love. Track lighting or adjustable spotlights also work if you’re doing a whole gallery wall.
Avoid hanging art where direct sunlight hits it because photos will fade over time. UV-protective glass helps but it’s expensive.
Trending Styles Right Now
Okay so what’s actually popular versus what’s gonna look dated in two years…
Neutral color palettes are still going strong – beiges, creams, soft grays. This works for longevity.
Film photography aesthetic – grainy, slightly faded colors, imperfect compositions. People are editing digital photos to look like film.
Architectural details – close-ups of buildings, doorways, staircases. Very European vacation vibes.
Pressed flower prints – actual dried flowers or digital versions. These work great in bathrooms and bedrooms.
What I think is on its way out: those “LOVE” and “FAMILY” word art pieces, heavily filtered Instagram-style photos with crazy saturation, anything too rustic farmhouse.
Budget Breakdown
If you’re trying to do this cheap:
- Print at Costco or Walgreens – $15-40 for standard sizes
- IKEA frame – $10-30
- DIY design using Canva free version
- Total: under $75 for a decent 16×20 framed piece
Mid-range quality:
- Print from Printique or Nations Photo Lab – $50-100
- Better frame from Target or Amazon – $40-80
- Etsy artist for custom design – $30-60
- Total: $120-240
High-end:
- Professional lab like Bay Photo – $100-300 for print
- Custom framing – $150-400
- Professional designer or artist – $100-500
- Total: $350-1200
I usually tell people to invest in one really good large piece for their main living area and then do cheaper versions for secondary spaces.
Sales and Discounts
Most of these sites have sales constantly. Sign up for emails and wait for 40-50% off deals. Black Friday and Mother’s Day are huge for photo printing discounts.
Artifact Uprising always has a sale in January. Minted does 20% off probably monthly. Costco Photo Center has random weekend deals.
For Etsy artists you can sometimes negotiate if you’re ordering multiple pieces or if they’re having a slow month. Just be respectful about it – these are people’s livelihoods.
Anyway I think that covers most of it? The main thing is start with good quality photos, don’t cheap out too much on the printing because you’ll just end up redoing it, and take your time with the design part. I’ve rushed projects before and always regretted it.
Oh wait one more thing – keep your digital files backed up. I lost all my original files from a trip to Japan when my hard drive died and now I can’t reprint those images in higher quality. Cloud storage is your friend.