Wall Art Guide, Wall Art Tutoriels
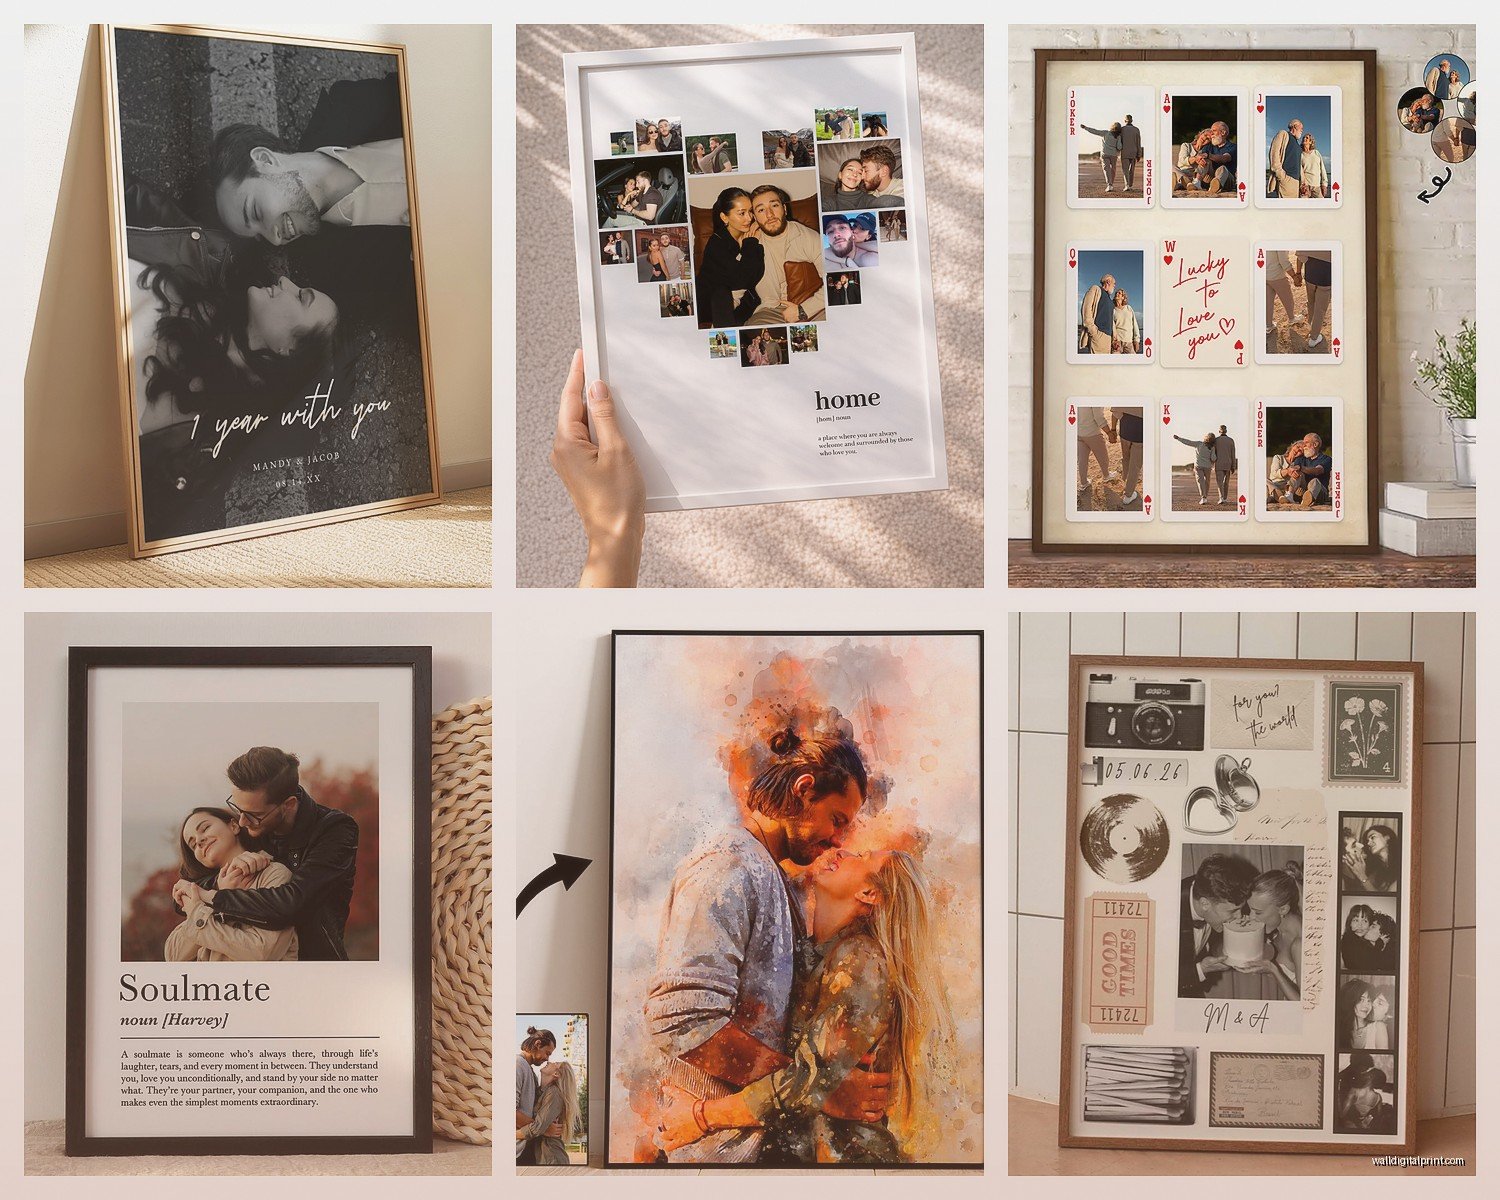
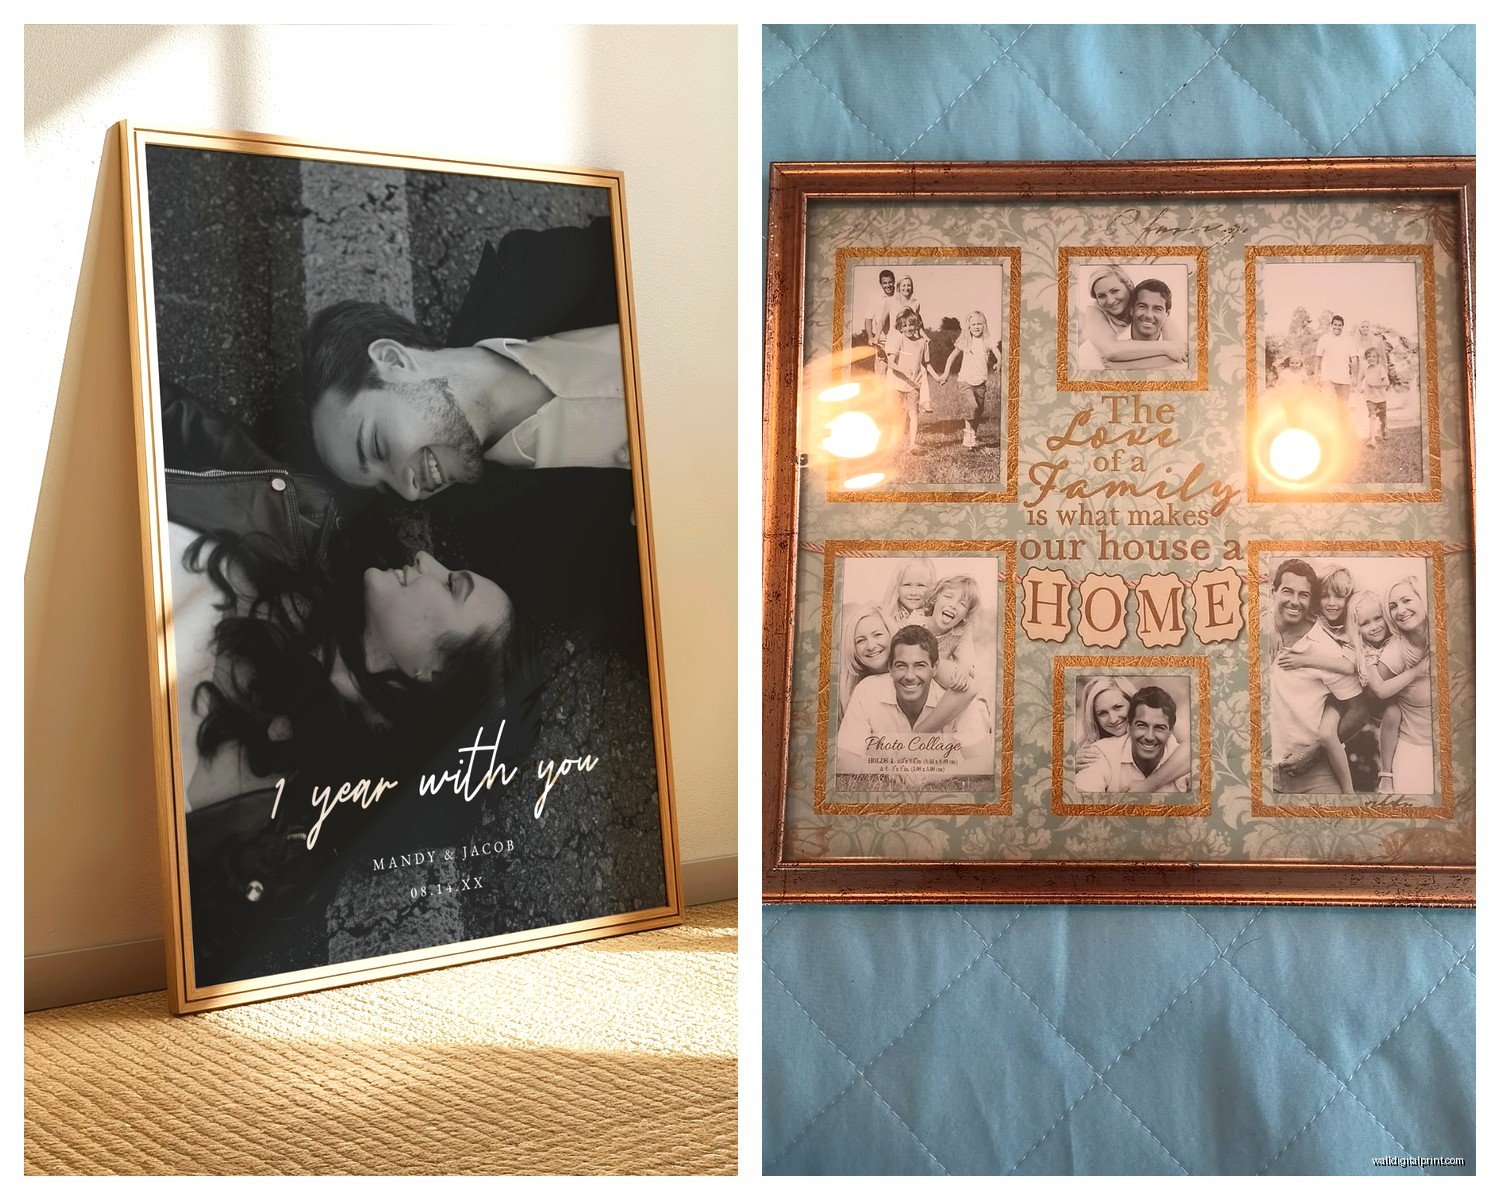
Personalised Photo Wall Art: Custom Picture Print Services

Apr
So I’ve been down this rabbit hole of custom photo prints for like three years now, ever since I started helping clients figure out what to actually do with their bare walls and honestly? It’s overwhelming at first but once you know what to look for it’s kinda straightforward.
Paper Types That Actually Matter
Okay so first thing – the paper choice is gonna make or break your print. I learned this the hard way when I ordered what I thought would be this stunning black and white portrait on glossy paper and it just… reflected every light source in the room. Looked terrible.
Matte paper is your safest bet for most situations. It doesn’t reflect light, colors look natural, and it works for literally any room. I use this probably 70% of the time for client projects. The texture is smooth but not shiny, photographs look sophisticated without being too “studio portrait” if that makes sense.
Lustre or satin finish – this is my personal favorite actually. It’s got a slight sheen but not full glossy, so you get some depth to the colors without the glare problem. Really good for landscapes or anything with rich colors. I did my sister’s wedding photos in lustre and they’re still gorgeous five years later.
Glossy only works in specific situations. Like if you’re doing a gallery wall in a hallway with controlled lighting, or you want that super vibrant pop art look. But in a living room with windows? Forget it.
There’s also fine art papers – cotton rag, textured watercolor paper, all that fancy stuff. These are beautiful but honestly unless you’re printing actual artwork or you want that museum quality thing, they’re overkill and expensive. I’ve used them for a few high-end projects where the client specifically wanted that textured gallery feel.
Size and Scaling Without Making It Weird
This is where people mess up constantly. You cannot just take a phone photo and blow it up to 40×60 inches, I don’t care what the printing service tells you it’ll technically fit.
Resolution matters so much. You need at least 300 DPI (dots per inch) at the size you’re printing. Most phone cameras now are good enough for prints up to like 16×20 or even 20×30 if the lighting was decent when you took the photo. But anything bigger and you’re gonna see pixelation.
I use this rough guide:
- Phone photos: safe up to 16×20, maybe 20×30 if it’s a newer iPhone or Samsung
- DSLR or mirrorless camera: pretty much any size you want
- Old photos you scanned: depends entirely on your scan quality, usually max out around 11×14 unless you scanned at super high resolution
Most custom print services have an upload tool that’ll warn you if your file is too small. Actually listen to it. I ignored it once because I was in a hurry and the client was NOT happy with the blurry result.
Mounting Options Because Just Paper Feels Weird
Okay so you’ve got your print, now what? You can’t just like… tape it to the wall (I mean you could but please don’t).
Canvas wraps are super popular and I get why – they look finished, no frame needed, very modern. The image wraps around the edges of a wooden frame. But here’s the thing nobody tells you: they make your photo darker. The texture of canvas absorbs light differently than paper, so vibrant colors can look muted. I always recommend increasing the brightness and contrast slightly before ordering a canvas print.
Mounted prints (like foam core or gatorboard mounting) give you that clean floating look. The print is adhered to a rigid backing, usually with a slight border. These are great for modern spaces and they’re lighter than framed prints so easier to hang. My own apartment has like six of these because I’m lazy about framing stuff.
Acrylic or metal prints – okay these are STUNNING but pricey. Acrylic has this incredible depth, the image literally looks like it’s floating in glass. Metal prints are vibrant and modern, perfect for high-contrast images. I used metal prints in a contemporary loft project last year and my client still sends me photos of them. But we’re talking like $200+ for a decent sized print.
Traditional framing obviously never goes out of style. You’ve got control over the matting, frame color, everything. Just way more expensive and heavier to hang.
Services I’ve Actually Used and What They’re Good For
So I’ve tested a bunch of these over the years, sometimes for clients, sometimes just because I got obsessed with getting the perfect print of my dog (don’t judge).
Printique (used to be called AdoramaPix) – their quality is consistently good and they have tons of options. I use them for client work a lot because I know exactly what I’m getting. Their lustre prints are chef’s kiss. Prices are reasonable, shipping is fast. The website interface is kinda clunky though.
Nations Photo Lab – this is more professional grade, lots of photographers use them. Quality is top tier, but it’s not the most user-friendly if you’re just doing one print for your living room. Better if you’re ordering multiple prints or you really care about color accuracy.
Shutterfly and Snapfish – look, these are fine for basic prints and they run sales constantly. I wouldn’t use them for anything I’m charging a client for, but for personal stuff or gifts they work. Just stick to smaller sizes because quality can be inconsistent on large prints.
Artifact Uprising – beautiful, minimal aesthetic, good quality. More expensive but their whole vibe is very curated and design-forward. I recommend them to clients who want that specific modern organic look.
Color Calibration Thing That Sounds Complicated But Isn’t
Your screen lies to you. Like constantly. What looks perfect on your laptop might print way darker or with different colors.
Most professional services offer color correction or will send you a proof, but that costs extra and adds time. Here’s what I do: I always assume prints will come out about 10-15% darker than they appear on screen. So I brighten the image slightly before uploading.
If you’re on a Mac, the colors are usually pretty accurate. If you’re on a random PC monitor, all bets are off honestly. I learned to edit photos on my calibrated monitor after a disaster where I sent beach photos to print and they came back looking like a stormy day.
Oh and another thing – make sure you’re editing in the right color space. sRGB is standard for printing. If your photo is in Adobe RGB or something else, convert it before uploading or the colors will shift.
Grouping and Gallery Walls
This is where custom prints really shine because you can size everything exactly how you want it.
For gallery walls, I always plan it out on the floor first. Like literally arrange all the prints on the ground in the layout you want, take a photo from above, then recreate it on the wall. Saves so much time and nail holes.
Mix sizes but keep some consistency – either in the frame style, the matting, or the subject matter. I did a client’s hallway with all different sized family photos but kept every frame black with white matting and it looked cohesive without being boring.
Odd numbers look better. Three prints, five prints, seven prints. I don’t make the rules, it’s just a visual thing that works. Though I’ve definitely broken this rule when the space demanded it.
For spacing, I usually do 2-3 inches between frames. Closer feels cluttered, farther apart and they don’t read as a grouping anymore.
The Weird Mistakes I’ve Made So You Don’t Have To
Ordered a print without checking the aspect ratio and they cropped out half my subject’s head. Always preview the crop before finalizing.
Hung a huge canvas print above my couch without checking if it was actually centered on the wall… it wasn’t. Measure twice, hang once or whatever that saying is.
Used Command strips rated for 5 pounds on a print that was definitely heavier. It fell at 3am and scared my cat so bad she didn’t come out from under the bed for hours. Check the weight limits.
Printed a super sentimental photo on cheap paper from a bargain site and it faded within like eight months in a sunny room. UV protection matters if your walls get direct sunlight.
Editing Before You Print
You don’t need Photoshop, honestly. I use Lightroom for most stuff but even free tools like Snapseed or the built-in iPhone photo editor work fine for basic adjustments.
Things to always check:
- Brightness and contrast – bump these up slightly
- Sharpness – add just a touch, prints can look softer than screens
- Crop and straighten – nothing looks worse than a slightly tilted horizon in a big print
- Remove any distracting elements if possible
For black and white conversions, don’t just desaturate. Actually convert to black and white properly and adjust the tones. There’s a huge difference in quality.
Timing and Rush Orders
Standard printing usually takes like 5-10 business days including shipping. If you need something faster, most places offer rush services but you’ll pay for it.
I always order at least three weeks before I need something for a client project. Gives buffer time for reprints if something goes wrong, which has happened more than I’d like to admit.
Around holidays everything slows down. Black Friday through New Year’s, Mother’s Day, wedding season – just assume everything will take longer.
Cost Breakdown Reality Check
A basic 8×10 print on decent paper runs like $3-8 depending on the service. That same size mounted or in a frame? $30-60. Canvas wrap? $50-100. See how it adds up?
For my own place I mix it – splurge on a few statement pieces in nice frames or canvas, fill in with simpler mounted prints for gallery walls. Nobody needs to spend $200 per print unless it’s really special.
Bulk ordering saves money if you’re doing a whole gallery wall. Some services give discounts for multiple prints.
Hanging Hardware That Won’t Fail You
Sawtooth hangers that come on cheap frames are terrible. Replace them with proper D-rings or wire.
For anything over 10 pounds, find a stud or use proper wall anchors. I use those monkey hook things for medium weight stuff on drywall and they’re honestly great.
Level? Yes use one. The app on your phone works fine.
Picture hanging strips work for lighter stuff but read the weight limits and actually follow them this time.
Protecting Your Investment
If the print is going somewhere with direct sunlight, get UV-protective glass or acrylic. Regular glass doesn’t block UV rays and your photos will fade.
Humidity is the enemy. Bathrooms are bad for photos unless they’re specifically sealed. I learned this when a client ignored my advice and their beautiful family photos got wavy from shower steam.
Dust them occasionally. Sounds obvious but built-up dust can actually damage prints over time.
If you’re storing prints before hanging, keep them flat and away from moisture. I ruined an expensive print once by leaving it in my car overnight and condensation got to it.
The whole process seems complicated at first but once you do it a few times it becomes second nature. Start with one or two prints you really love, test out a service, see how it goes. You’re gonna make mistakes but that’s fine, that’s how you figure out what works for your space and your budget and your weird specific preferences that nobody else cares about but matter to you.