Wall Art Guide, Wall Art Tutoriels
Illuminated Wall Art: Backlit LED Light-Up Designs
Apr
So I’ve been completely obsessed with backlit LED wall art lately and honestly it started because I was watching The Bear at like 2am and saw this restaurant scene with this gorgeous glowing panel behind the bar and I just… spiraled. Spent the next three hours researching everything about illuminated art pieces.
The Basics of What You’re Actually Dealing With
Okay so backlit LED art is basically when you have light sources behind or within a piece that makes it glow. There’s like three main types you’ll run into:
- Edge-lit acrylic where the LEDs are on the sides and the light travels through the material
- Direct backlit where LED strips are literally mounted behind a translucent panel
- Embedded LED designs where the lights are built into the artwork itself
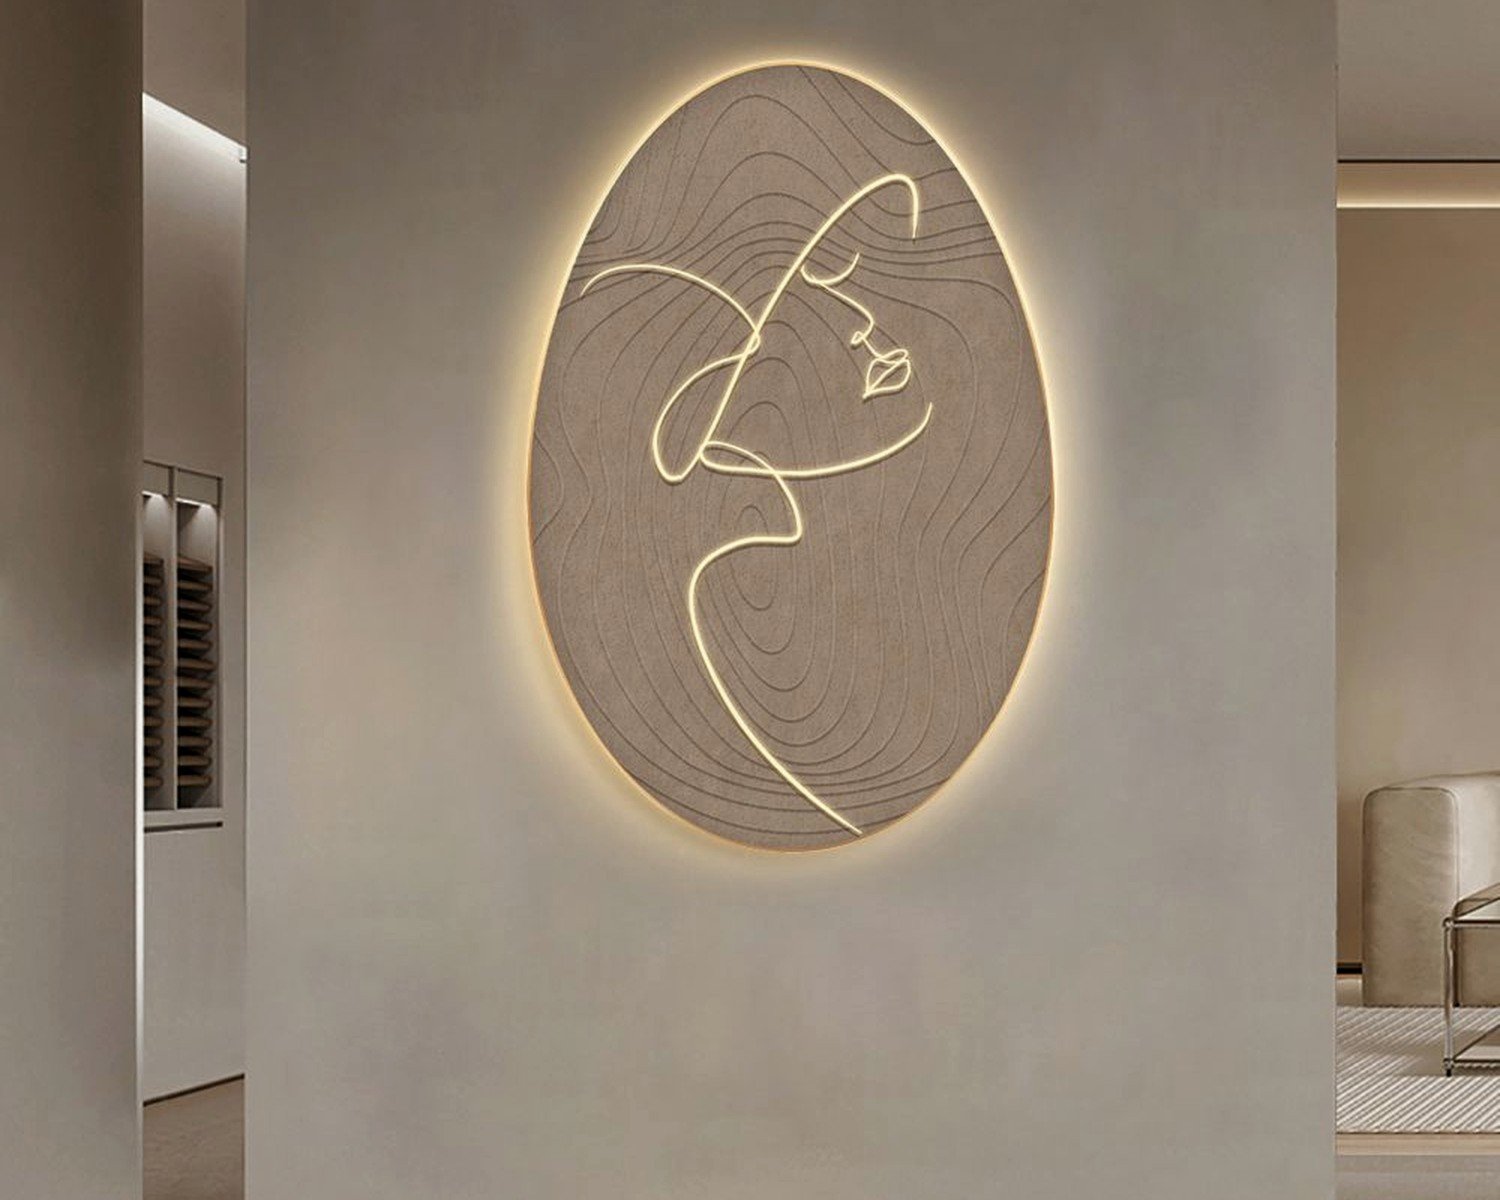
The edge-lit stuff is what you see most often in those geometric designs and neon-style pieces. It’s cleaner looking because you don’t see the actual LED strips, just the glow effect.
Materials You’ll Need for DIY Projects
If you’re buying pre-made, skip this section but honestly making your own is so much cheaper and you can customize it exactly how you want. My client canceled last Tuesday so I spent like four hours in my studio just testing different combinations.
Acrylic Sheets
Get cast acrylic, not extruded. Cast is clearer and the edge-lighting effect works way better. I use 1/4 inch thickness for most projects because it’s sturdy enough but not too heavy. You can order from TAP Plastics or even Amazon has decent sheets now. The frosted or translucent white acrylic is perfect for backlit panels where you want even light distribution.
Clear acrylic is what you want for edge-lit designs. The light travels through it better and you get that crisp glow along whatever you’ve etched or engraved into it.
LED Strip Lights
This is where everyone gets overwhelmed but it’s actually not that complicated once you understand the differences.
COB LED strips are my absolute favorite for backlit art. COB means chip-on-board and basically the LEDs are packed super close together so you get this continuous line of light instead of individual dots. No more spotting issues which used to drive me insane. They’re more expensive but worth it. I use the ones from BTF-Lighting on Amazon, the 480 LEDs per meter ones.
Regular LED strips work fine too if you’re on a budget. Just make sure you get high density, at least 300 LEDs per meter, or you’ll see those annoying dots of light through your material. Been there, had to redo an entire piece because I cheaped out.
Color temperature matters more than you’d think. For art pieces, I usually go with 4000K which is neutral white. It doesn’t make colors look weird. The warm white (2700K-3000K) can make everything look yellowish, and cool white (6000K+) feels too clinical unless that’s your vibe.
RGB strips are fun if you want color changing options but honestly I find most people set them to one color and never change it. The color accuracy isn’t great either compared to dedicated single-color strips.
Power Supplies and Controllers
You need a power supply that matches your LED strip voltage. Most are 12V but some are 24V so check before you buy. Calculate the wattage you need by multiplying the watts per meter by your total strip length, then add 20% buffer. So if you have 2 meters of strip that uses 10W per meter, that’s 20W total, get a 25W power supply minimum.
I keep a stash of Mean Well power supplies because they’re reliable and don’t make that annoying buzzing sound some cheap ones do. My cat hates buzzing electronics and will literally knock things off shelves.
For dimmable setups, get an inline dimmer controller. The touch-style ones are sleek but the little remote control ones are more practical when your art is mounted high up.
Construction Techniques That Actually Work
Edge-Lit Acrylic Art
The process is pretty straightforward but the details matter. You need to create disruption in the acrylic surface for the light to escape and become visible. Otherwise the light just travels through and you see nothing.
Engraving method: This is my go-to. You can use a laser engraver if you have access to one (some makerspaces have them), or a rotary tool like a Dremel with an engraving bit. The engraved areas scatter the light and glow. I usually design in Adobe Illustrator, keep it simple with line art or geometric patterns.
For mounting the LEDs, you want them positioned along the edge that you want to illuminate. I use aluminum channels meant for LED strips, they help with heat dissipation and make mounting easier. The channel sits along the bottom or side edge of the acrylic, and you secure everything to a backing board.
Gap distance is crucial. Keep the LEDs about 2-3mm away from the acrylic edge. Too close and you get hotspots, too far and the light doesn’t enter efficiently. I use small spacers or just multiple layers of foam tape to get the right distance.
Direct Backlit Panels
These are what I made after watching The Bear and honestly they’re easier than edge-lit if you want even illumination across a larger area.
You need a frame or shadow box, LED strips, and your translucent panel. The panel can be frosted acrylic, but I’ve also used:
- Vellum paper (cheap and works surprisingly well)
- Translucent fabric stretched over a frame
- Printed transparency film
- Rice paper laminated between two thin acrylic sheets
Mount your LED strips to a backing board in a grid pattern or serpentine layout. The key is getting even spacing so you don’t see stripes. I usually do strips every 4-6 inches depending on the brightness. Use a white backing board or paint it white, it reflects the light back forward.
The diffusion gap is the space between your LEDs and the front panel. You need at least 2 inches for good light mixing with regular LED strips, less if you’re using COB strips. More distance equals more even light but also a deeper frame.
oh and another thing, if you’re printing on transparency film to create your image, print it mirrored and place it with the ink side toward the LEDs. This gives you sharper details when viewed from the front.
Pre-Made Options Worth Buying
Sometimes you just want to buy something ready to hang and honestly there’s some really cool stuff out there now.
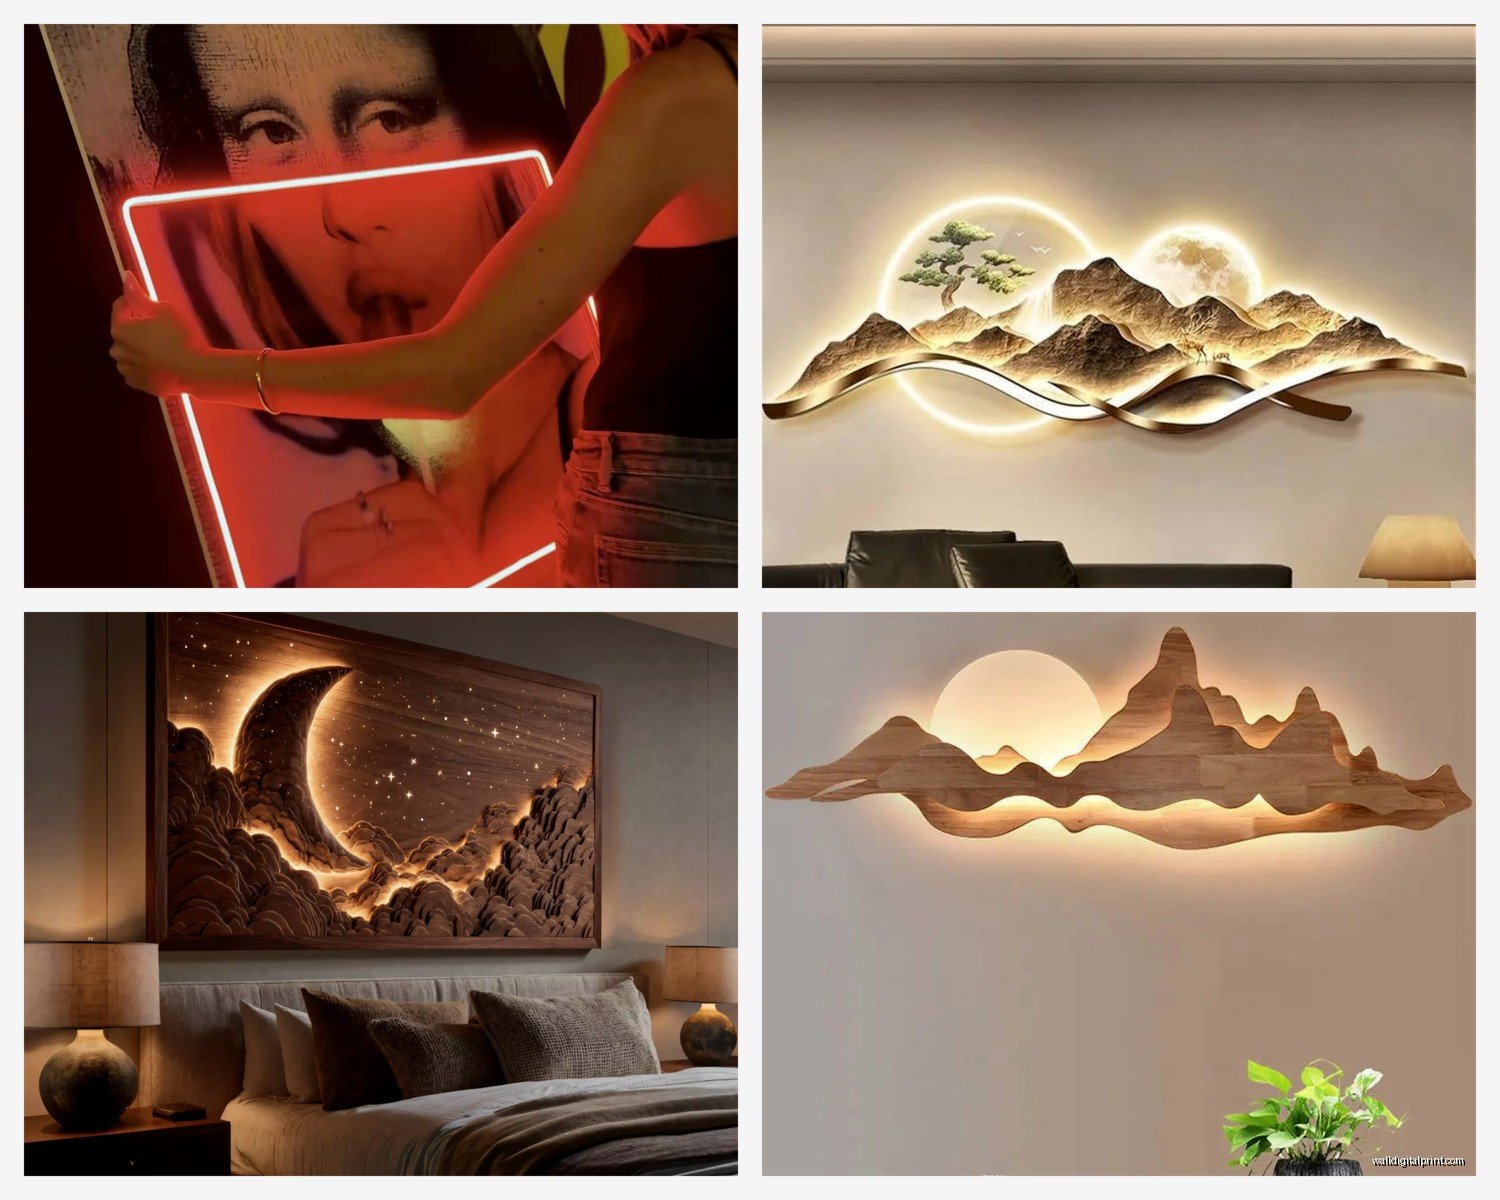
Acrylic Neon Signs
These aren’t real neon, they’re LED flex neon which is basically a silicone tube with LEDs inside, mounted to acrylic backing. Companies like YesThat, Neonific, and Custom Neon do custom designs. Quality varies a lot though.
What to look for: Make sure they use actual LED neon flex, not just regular LED strips. The flex neon gives you that authentic neon tube look. Check that the acrylic backing is at least 1/4 inch thick, thinner stuff looks cheap and can warp. And make sure they include a proper power supply with UL certification, not some sketchy adapter.
I ordered one from YesThat for a client’s home bar and the quality was solid. Took about three weeks to arrive but the mounting hardware was included and installation was just two screws.
Printed Backlit Panels
There’s this company Meural that does digital art displays but for static backlit prints, I’ve had good experiences with displate alternatives that offer LED backing. Fracture also started doing backlit glass prints which are gorgeous but pricey.
The DIY version is honestly better value though. You can get your own image printed on backlit film (the stuff used for lightboxes) from any large format print shop, then build a simple lightbox frame. I’ve done this for like $80 total versus $400+ for the pre-made versions.
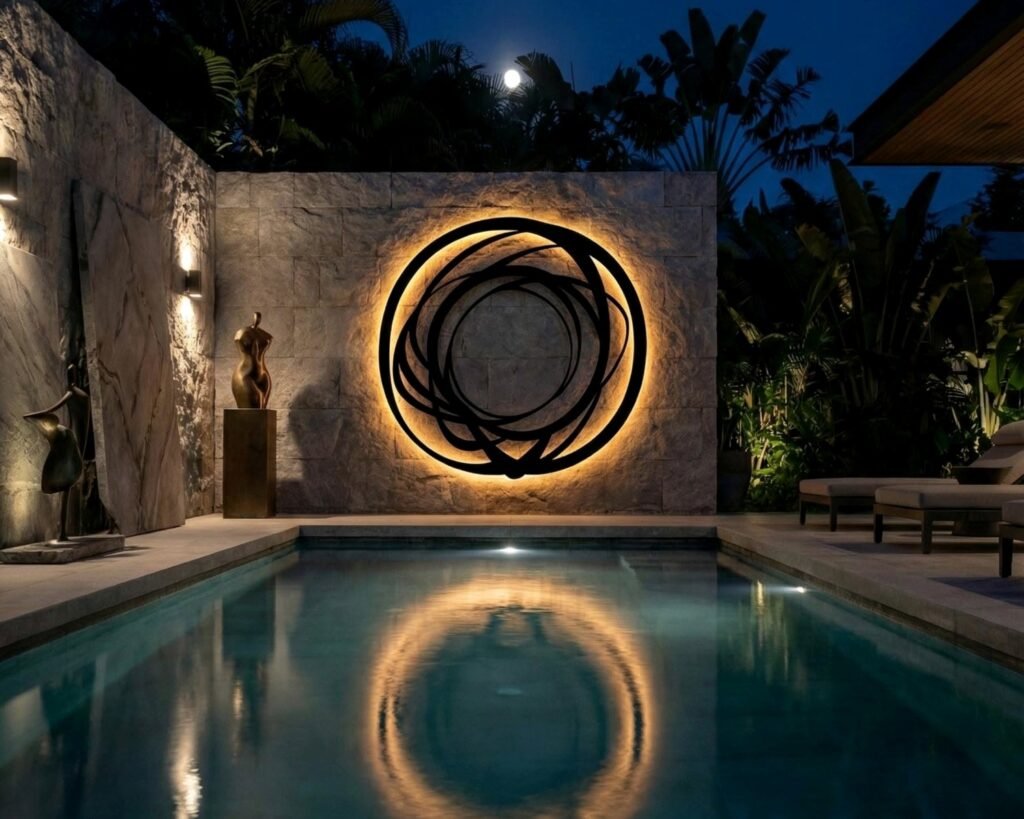
3D Layered LED Art
This is the stuff that’s blowing up on Instagram right now. Multiple layers of laser-cut material with LEDs between the layers creating depth. Companies like LightBoxGoodman and IlluminatedDecor specialize in these.
They’re cool but overpriced in my opinion. You can make your own if you have access to a laser cutter or even use a cutting machine like Cricut for simpler designs with cardstock or thin wood veneer.
Installation and Mounting
Most LED art pieces are surprisingly light, especially the acrylic ones, so mounting isn’t too complicated.
For edge-lit pieces, I use French cleats or heavy-duty Command strips if it’s under 5 pounds. The Command strips have worked fine for me but I know some people are paranoid about them failing. Haven’t had one fall yet but I also don’t live in crazy humid conditions.
Backlit panels in frames are heavier so definitely use wall anchors appropriate for your wall type. Drywall needs toggle bolts or anchor screws. I always mount these into studs when possible.
Cable management is the thing everyone forgets about. Plan where your power supply is gonna be before you mount anything. I usually hide it behind furniture or use a cord cover channel. Some people cut into the drywall to hide wires but that’s commitment level I don’t usually reach unless it’s my own place.
The Echogear cable management kit from Amazon is solid for this, comes with different sizes of channels and they’re paintable.
Common Problems and Fixes
Spotting or Uneven Light
This happens when your LEDs are too close to the viewing surface or not densely packed enough. Solutions:
Increase the diffusion gap between LEDs and panel. Add a layer of diffusion film (I use .060 opal acrylic or even just white parchment paper in a pinch). Switch to higher density LED strips or COB strips.
Color Shifting
Cheap RGB LEDs are notorious for this. The colors look different from different angles or the white isn’t actually white. Not much you can do except buy better quality strips. The WS2812B individually addressable strips are better than the cheap RGB strips but still not perfect.
For true white light, use dedicated white LED strips not RGB set to white mode.
Overheating
LEDs generate heat and acrylic can warp if things get too hot. Always use aluminum channels or backing for heat dissipation. Don’t run your LEDs at 100% brightness 24/7 unless they’re specifically rated for it. Most LED art looks better at 60-70% brightness anyway.
Design Tips from Actual Projects
The best backlit art has good contrast between lit and unlit areas. All-over illumination can look washed out. Think about negative space.
Simple geometric designs work better than complex detailed images for edge-lit acrylic. The light scatter from engraving isn’t precise enough for fine details.
For backlit panels with printed images, high contrast photographs look amazing. Silhouettes, bold graphics, and architectural photos work great. Subtle gradients can get lost.
Layer different materials for interesting effects. I did a piece with wood veneer, frosted acrylic, and clear acrylic layered with LEDs between each layer and the depth effect was incredible.
Text and typography is actually perfect for LED art. Clean sans-serif fonts work best. Script fonts can be tricky with thin lines not showing up well.
wait I forgot to mention, color temperature affects the mood completely. I did the same design with warm white and cool white LEDs and they felt like totally different pieces. Test before you commit if possible.
Maintenance and Longevity
LED strips typically last 30,000-50,000 hours which is like 10+ years if you run them a few hours daily. They gradually dim over time rather than burning out suddenly.
The power supplies usually fail before the LEDs do honestly. Keep the receipt and warranty info.
Dust accumulation between layers can be annoying in backlit panels. Seal everything well during construction or you’ll be disassembling it to clean it later. Been there, it sucks.
Acrylic scratches easily so handle carefully during installation. Minor scratches can be buffed out with acrylic polish but deep ones are permanent.
The actual art is pretty low maintenance once installed. Maybe dust the front surface occasionally. If an LED section fails, most strips can be cut and repaired at the copper connection points.
Honestly the whole process is way less intimidating once you just start messing around with materials. My first attempt was kinda janky but you learn what works. The materials are cheap enough that experimenting doesn’t hurt too much, and there’s something really satisfying about making your own glowing art that’s exactly what you want instead of settling for what’s available to buy.