Wall Art Guide, Wall Art Tutoriels
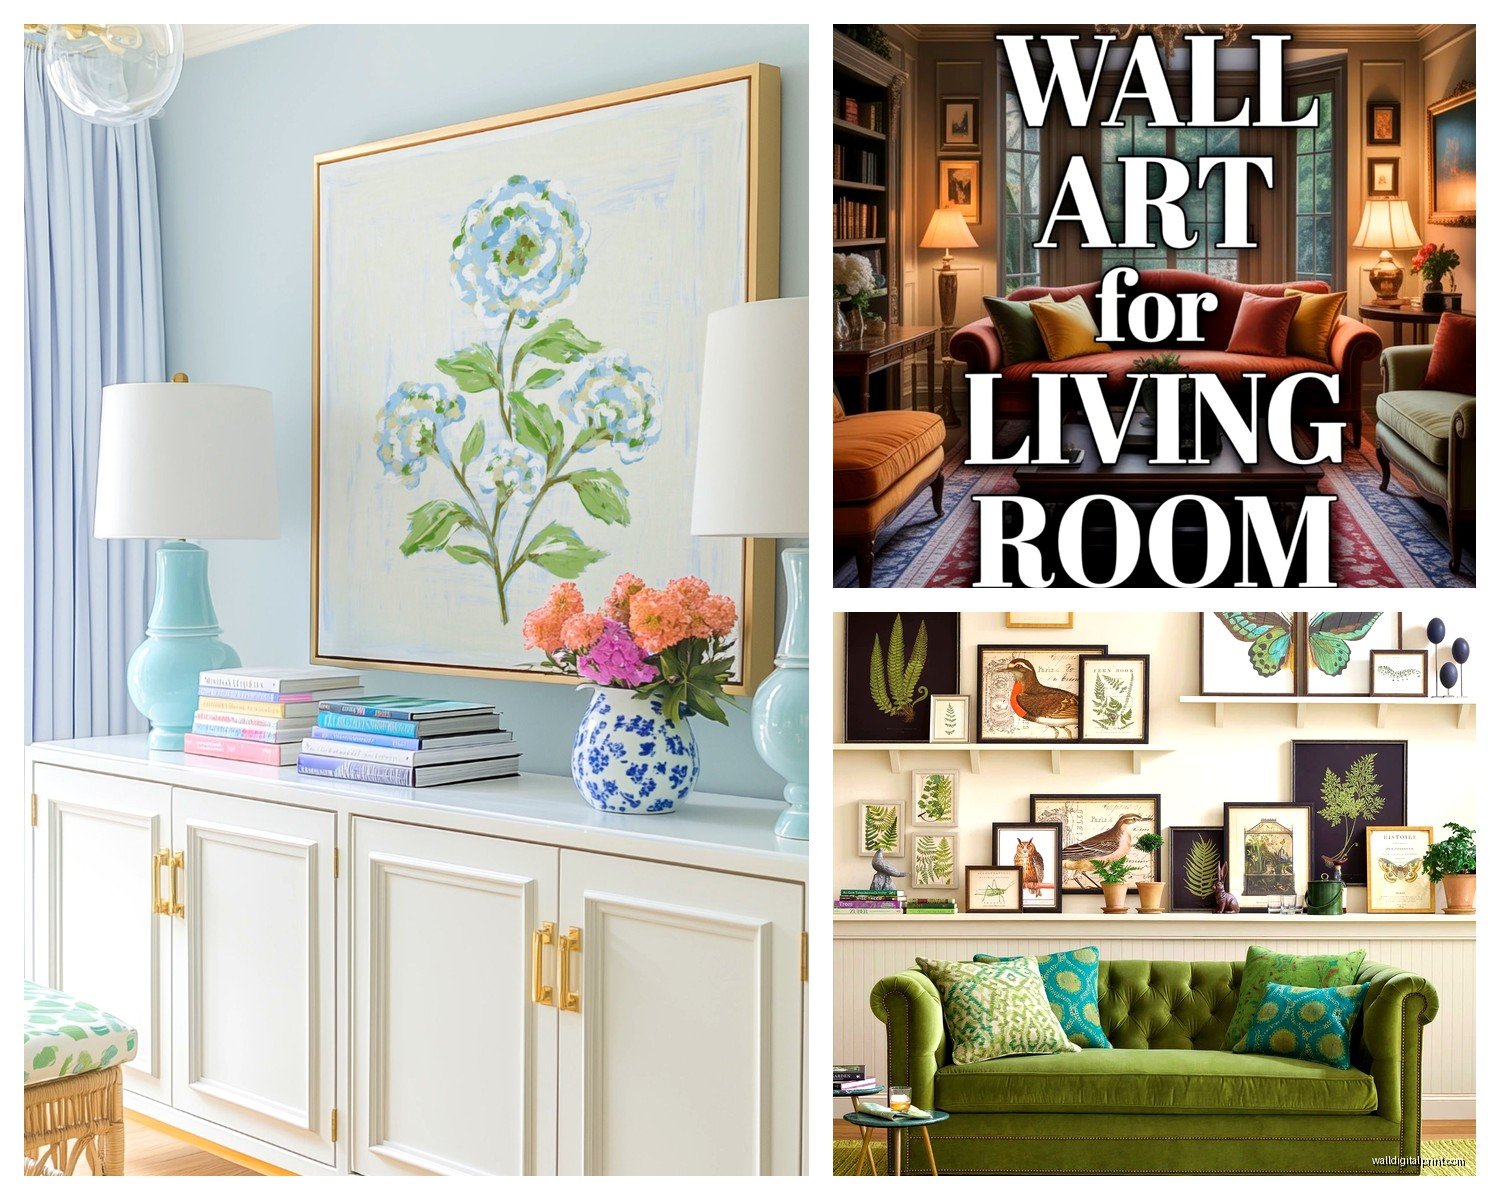
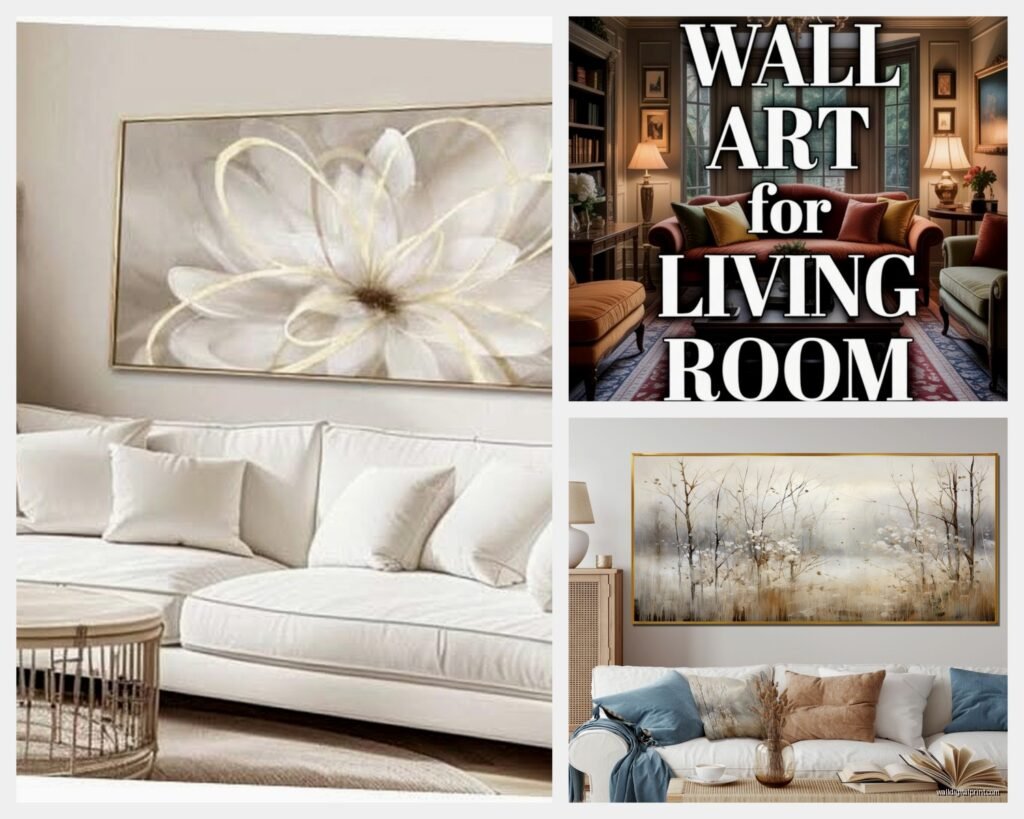
Wall Art Decor for Living Room: Complete Styling Guide
Apr
So I’ve been styling living rooms for like 8 years now and honestly the wall art thing is where most people completely freeze up. They either buy something too small or go completely overboard with a gallery wall that looks like a Pinterest board exploded.
Let me just walk you through what actually works because I literally just finished three living room projects this month and the walls were the biggest challenge in all of them.
Size Actually Matters More Than You Think
Okay so here’s the thing nobody tells you – your art needs to take up like 60-75% of your furniture width below it. I know that sounds huge but trust me on this. If you’ve got a sofa that’s 84 inches wide, you want your art or art grouping to be around 50-63 inches wide.
I had this client last year who bought this gorgeous abstract piece but it was only 24 inches wide above her massive sectional and it just looked… sad? Like a postage stamp floating on the wall. We ended up flanking it with two smaller pieces to create the right visual weight.
The height thing is simpler – hang your center point at 57-60 inches from the floor. That’s standard gallery height and it works in like 95% of situations. Above a sofa, leave 6-8 inches between the furniture top and the bottom of your frame.
What Materials Actually Hold Up
Canvas prints are gonna be your most forgiving option honestly. They don’t need glass so there’s no glare issues, they’re lightweight which makes hanging easier, and they have that gallery-wrapped edge thing that looks intentional even without a frame. I use CanvasPop and Artfully Walls a lot for clients – quality’s consistent.
Framed prints under glass look more formal and polished. Go with museum glass or at least non-glare glass if you can afford it because regular glass is just gonna reflect your ceiling light right back at you. I learned this the hard way in my own living room and spent like three weeks being annoyed every evening until I finally swapped it out.
Metal prints are having a moment right now and they’re actually super durable. The colors pop like crazy, they’re moisture-resistant, and they’ve got this modern edge that works really well in contemporary spaces. They’re heavier though so make sure your hanging hardware can handle it.
Oh and another thing – acrylic prints look incredibly high-end but they show every fingerprint and dust particle, so if you have kids or you’re not gonna dust weekly, maybe skip these.
Wood Art and Natural Materials
Carved wood pieces or wood-burned art adds texture that flat prints just can’t match. I’ve been using a lot of carved teak panels lately and my cat absolutely hates them because she can’t scratch them effectively (weird win but I’ll take it).
Macrame and woven fiber art softens a space like nothing else. They’re great for boho or organic modern styles but they collect dust like it’s their job so you gotta vacuum them with the brush attachment monthly.
Color Coordination Without Making It Boring
You don’t need to match your art to your throw pillows exactly – that actually looks really staged and catalog-y. Instead pull one accent color from your art and echo it somewhere else in the room.
I just did this living room where we had this amazing abstract piece with navy, rust, and cream. We brought in rust velvet curtains and a navy ceramic vase and called it done. The art tied everything together without being matchy-matchy.
Black and white photography is your cheat code if you’re scared of color commitment. It works with literally everything and adds sophistication without fighting with your existing palette. I probably use B&W photography in 40% of my projects.
Wait I forgot to mention – if your walls are dark or bold colored, you need your art to have serious contrast or a substantial frame. Light watercolors on a charcoal wall just disappear. Been there, looked terrible.
Gallery Walls That Don’t Look Chaotic
Okay so funny story – I used to spend hours planning gallery walls with paper templates and measuring and it was exhausting. Now I just lay everything out on the floor first, take a photo, and work from that. Game changer.
Keep your spacing consistent – 2 to 3 inches between frames is the sweet spot. Closer than that looks crowded, wider looks disconnected.
Pick a unifying element: same frame color, same mat color, same style of art, or same color palette in the art itself. You need something tying it together or it’s just visual noise.
The easiest gallery wall formula is actually a grid. Same-size frames in a 2×3 or 3×3 arrangement. Boring maybe but it works every single time and takes like 20 minutes to hang.
If you want that organic salon-style wall, start with your largest piece slightly off-center and build around it. Keep your top or bottom edge aligned across pieces – that creates order even when sizes are different.
My Go-To Gallery Wall Layouts
The symmetrical cluster: one large center piece with 4 smaller identical frames around it in a diamond pattern. Very balanced, works great over sofas.
The horizontal row: 3-5 frames in different sizes but all aligned at the top edge. Super clean and modern.
The leaning shelf situation: if you’re commitment-phobic just put up a picture ledge and lean your art. You can swap stuff out whenever and there’s zero holes to patch later. I have this in my own place and change it up like every two months when I get bored.
Statement Pieces vs Multiple Pieces
One large statement piece (like 40×60 inches or bigger) creates drama and works best in modern or minimalist spaces. It’s also easier because you only gotta hang one thing and make one decision.
I love oversized abstract art for this – it fills space, adds color, and becomes the room’s focal point immediately. Just make sure it’s something you actually like because you’re gonna see it every single day.
Multiple smaller pieces give you flexibility and can feel more collected and personal. This works better in traditional, eclectic, or maximalist spaces where you want more visual interest.
Textures and Dimensions
Flat art is fine but adding dimensional pieces creates so much more interest. I’m talking:
- Sculptural wall hangings
- Shadow boxes with objects inside
- Floating shelves with small sculptures mixed with art
- Woven baskets as wall decor
- Metal wall sculptures
My client yesterday texted me a photo of these ceramic wall plates she found and honestly they looked ridiculous in the photo but in person they added this organic texture that made her whole neutral living room feel less flat.
Mix depths too – if everything’s flush to the wall it can feel boring. Some pieces that project 3-4 inches out create shadow play and dimension.
Lighting Your Art Properly
This is gonna sound extra but proper lighting makes mediocre art look expensive and expensive art look museum-quality.
Picture lights are classic and work great for traditional spaces. The brass or bronze ones add warmth, the nickel ones feel more contemporary.
Track lighting or adjustable can lights let you spotlight multiple pieces. This is what I use most often in modern spaces.
Even just making sure you have good ambient lighting helps. Art looks terrible in dim rooms – you need enough light to actually see the details and colors.
Wall sconces flanking a large piece create balance and add task lighting too if you position them right.
What to Avoid With Lighting
Don’t put art directly across from a bright window – the glare will wash it out during the day. If you have to, use non-glare glass or UV-protective acrylic.
Avoid direct sunlight hitting your art because it’ll fade over time. I’ve seen beautiful prints turn into washed-out ghosts after a couple years in bright sun.
Budget-Friendly Options That Don’t Look Cheap
Okay real talk – you don’t need to spend thousands. Some of my favorite sources:
Minted and Artfully Walls have tons of affordable prints from actual artists. Quality’s good and they often run sales.
Framebridge makes framing super easy – you upload your art, pick a frame, they ship it ready to hang. More expensive than DIY but way less hassle.
Etsy has amazing digital downloads you can print yourself at FedEx or a local print shop. I’ve found incredible abstract art and photography for like $8-15.
Target and West Elm have surprisingly decent art options. Not unique but well-designed and affordable.
Thrift stores and estate sales if you’re patient. I’ve found vintage botanical prints and old photographs that just needed new frames.
Your own photos blown up and properly printed can look incredibly professional. I did this with some landscape photos from a trip to Iceland and people constantly ask where I bought them.
Framing Choices Matter
Black frames: modern, crisp, work with everything, make colors pop
Wood frames: warm, traditional to rustic depending on the finish, add organic element
White frames: clean, gallery-like, can feel coastal or modern depending on the art
Gold/brass frames: glamorous, traditional, add warmth and richness
No frame (canvas or wood edges): casual, contemporary, less formal
Matching all your frames creates cohesion. Mixing frame styles can work but it’s tricky – you gotta have a good eye for it or it looks random.
Mat or no mat is personal preference but mats do make art look more expensive and gallery-like. White mats are safest, colored mats can either look amazing or terrible depending on the art.
Common Mistakes I See All the Time
Hanging everything too high. Seriously this is like 70% of DIY hanging jobs. It should feel connected to your furniture and space, not floating near the ceiling.
Choosing art last. Pick your art earlier in the design process and let it inform your color palette – it’s easier than finding art to match everything else.
Being too safe. Neutral art in a neutral room is fine but kinda forgettable. Don’t be afraid of color or bold choices.
Ignoring scale in the room itself. High ceilings need larger or vertically-oriented pieces. Small rooms can handle big art but need breathing room around it.
Forgetting about the TV. If you’ve got a big TV on the wall, your art needs to hold its own visually or it’ll just be background noise. I usually go bigger and bolder in media rooms.
Mixing Art Styles
You can totally mix abstract with photography with illustrations, but keep something consistent – color palette, frame style, or overall vibe.
I just finished a living room with modern abstracts, vintage botanical prints, and black and white photography all together. Worked because everything was in black frames and the color palette was cohesive – lots of greens, blues, and neutrals.
Traditional art in modern frames can look fresh. Modern art in ornate frames can look eclectic-chic. Play around with contrast.
Seasonal Swapping and Flexibility
This is gonna sound weird but I actually swap out some art seasonally in my own place. Lighter, brighter pieces in summer, moodier stuff in winter. Picture ledges make this super easy.
If you’re indecisive or get bored easily, invest in good hanging systems that let you change things out without making new holes. The gallery hanging systems with cables and hooks are pricey upfront but worth it.
Oh and keeping a few pieces in rotation means you don’t get tired of looking at the same thing for years. I store off-season art in the closet and it feels fresh when I bring it back out.
Anyway I gotta run but hopefully this helps you figure out your wall situation. The main thing is just to go bigger than you think you need and make sure it actually relates to the space around it proportionally. Everything else is pretty forgivable.