Wall Art Guide, Wall Art Tutoriels
Sewing Room Wall Art: Craft Quilting Studio Decor
Apr
So I’ve been setting up sewing room wall art for clients for like three years now and honestly the biggest mistake everyone makes is buying those generic “sew happy” signs from HomeGoods without thinking about the actual space. Let me walk you through what actually works.
Frame Types That Don’t Make You Want to Scream
Okay so frames. You’re gonna want to think about weight first because I learned this the hard way when a massive wooden frame literally fell on my client’s cutting table at 2am (her Ring camera caught it, we both died laughing).
For lightweight poster prints or fabric art, those aluminum frames from Framebridge work amazing. They’re like $65-120 depending on size but they look way more expensive than they are. The matte finish ones especially – they don’t compete with your actual sewing stuff for attention.
IKEA Ribba frames though… I know everyone says they’re basic but honestly for a sewing room they’re perfect? The depth works really well if you want to frame vintage pattern envelopes or actual fabric swatches. I did a whole gallery wall with them in my sister’s quilting studio, mixed the black and white ones, looked super intentional. They’re what, $15-25 each?
Oh and another thing – magnetic poster hangers. These wooden ones from Posterstore or even Amazon basics. They’re clutch for rotating seasonal patterns or inspiration photos. My dog knocked one down once and it didn’t even break, just bounced, so there’s that durability test for you.
What to Actually Put on the Walls
This is where people get paralyzed by choice. Here’s what I’ve seen work in real spaces not just Instagram:
Vintage sewing patterns as art – Go to estate sales or Etsy, grab patterns from the 40s-60s with those illustrated envelope covers. The fashion drawings are genuinely gorgeous. Frame just the envelope, not the actual tissue paper pattern (learned that when someone tried to frame both and it looked lumpy and weird). Simplicity and Butterick patterns especially have great graphics.
Thread organization as decor – Wait I know this sounds like I’m just telling you to display your supplies but hear me out. Those wooden thread racks mounted on the wall? When you arrange threads by color gradient it literally looks like an art installation. Gutermann makes those clear plastic wall-mounted holders that look cleaner than the wooden ones if your space is more modern.
Embroidery hoops with fabric – This is gonna sound weird but the hoops themselves become the frame. I source vintage hoops from thrift stores, stretch cool fabric inside (liberty prints, Japanese textiles, even fancy quilting cotton), and hang them in clusters. Way cheaper than custom framing and you can swap the fabric when you’re bored. Use the wooden ones not plastic, plastic looks cheap no matter what you do with it.
Pegboard systems – Okay so this is functional AND decorative. Paint pegboard in an accent color (I did sage green in one studio, terracotta in another), mount it, then use it for scissors, rulers, rotary cutters. The negative space and organized tools create this whole aesthetic. The Container Store has white pegboard if you want something neutral, or just grab plywood pegboard from Home Depot and paint it yourself.
Actual Art Prints That Don’t Look Cheesy
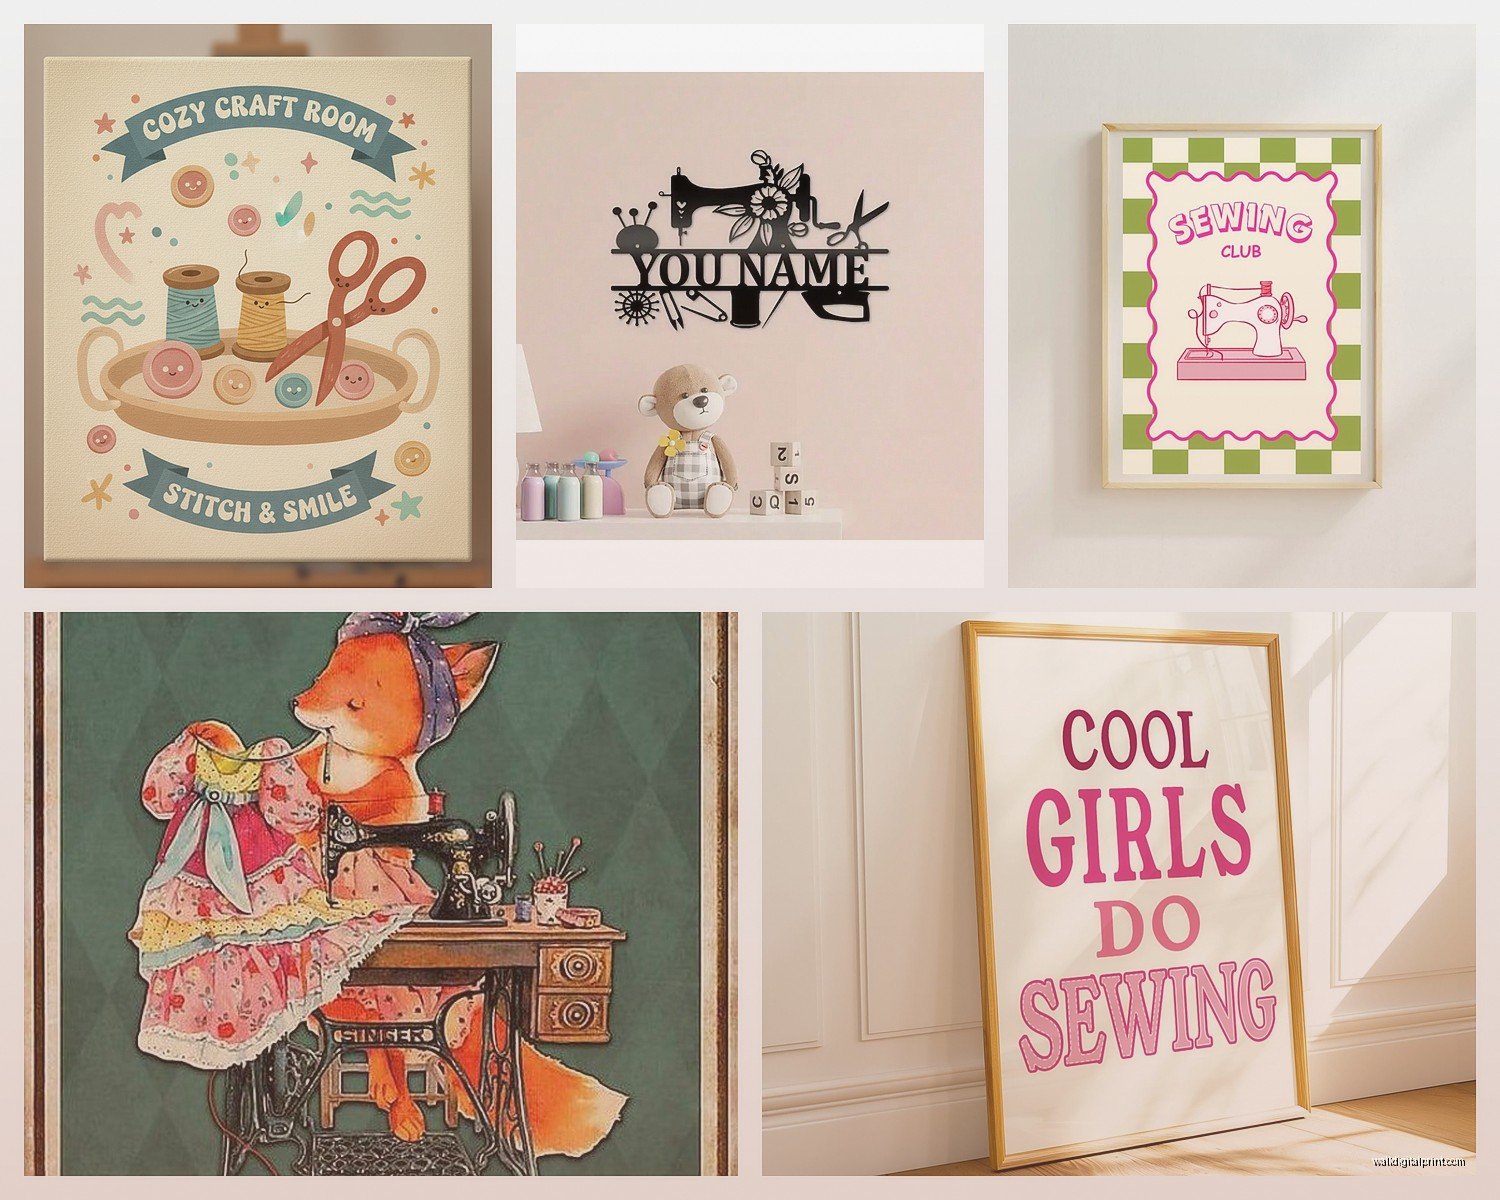
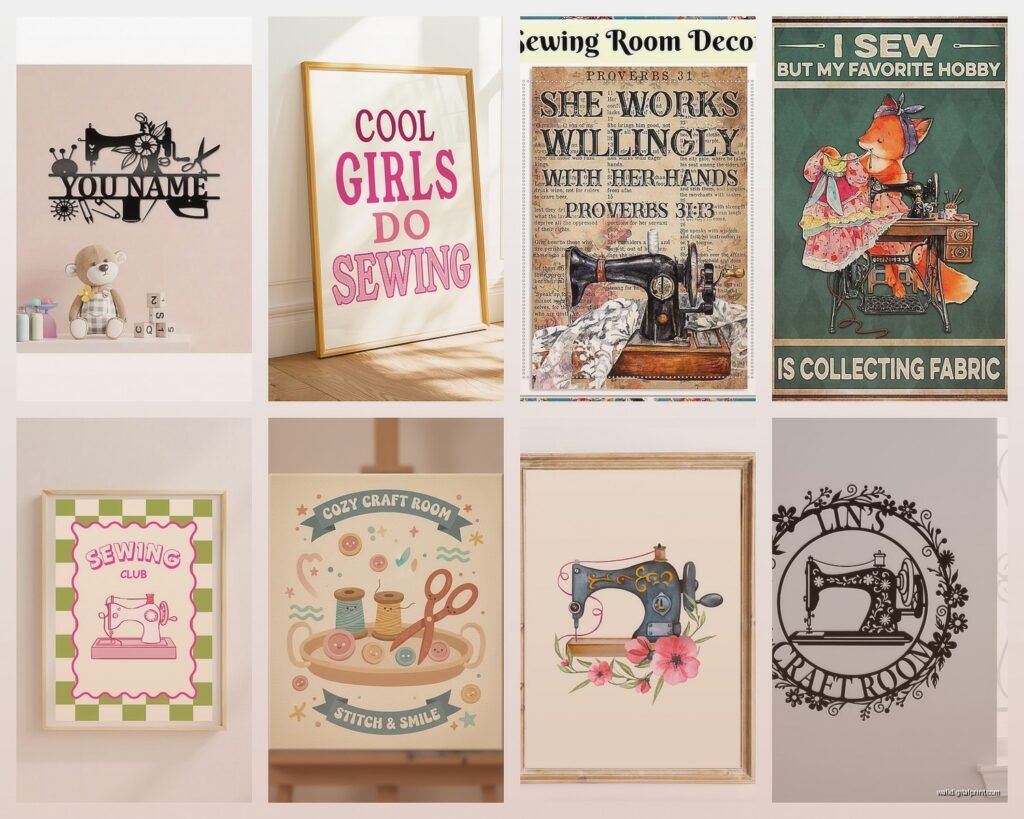
Most sewing-themed art is… not great. Very “live laugh love” energy which is fine if that’s your thing but like, there are better options.
Botanical prints with sewing tools – Rifle Paper Co has some prints that work. Or look for vintage botanical illustrations and just style them with your sewing stuff, they complement without being matchy-matchy.
Abstract color studies – Since you’re already working with colorful fabrics, abstract prints in your color palette tie everything together. Minted has good options, also Society6. I usually pull colors from the client’s favorite fabric collections.
Line drawings – Simple black and white line art of hands sewing, thread spools, that kind of thing. But modern minimalist versions, not cutesy. Etsy shop TheNativeState has some good ones, also OneLinePrints.
Fashion illustration prints – Vintage Vogue covers or fashion sketches. You can find reproduction prints on Etsy or sometimes the actual vintage magazines cheap and frame those. Way more sophisticated than “sew much fun” word art.
Fabric Wall Hangings
This is where quilters especially can get creative. You don’t need to finish a whole quilt to have wall art – controversial opinion maybe but whatever.
Quilt blocks as individual pieces – Frame single quilt blocks in shadow boxes. The depth shows off the quilting texture. I mounted three different blocks (same pattern, different colorways) in a row above a cutting table once and it looked so good the client cried. IKEA Sannahed frames work for this, they’re deep enough.
Mini quilts – Like 24×24 inch or smaller. Hang them with a quilt hanger (wooden dowel with leather cord) or even curtain clips on a decorative rod. Way less commitment than a bed-sized quilt and you can actually finish them.
Stretched fabric panels – Buy blank canvas frames, wrap them with your favorite fabric, staple the back. Instant custom art for like $30 in materials. I did six panels with different Liberty of London prints in varying sizes for a client’s design wall and it became the whole room’s focal point.
Lighting Considerations Nobody Talks About
okay so funny story, I once installed this beautiful gallery wall of vintage patterns and my client called me a week later saying everything looked washed out. We’d hung it directly across from a west-facing window. Natural light is great for sewing but terrible for preserving paper ephemera and can make art hard to see depending on time of day.
Use UV-protective glass if you’re framing anything vintage or valuable. Tru Vue Museum Glass is the best but expensive, their regular Conservation Clear is more reasonable.
For lighting the art itself, I love those battery-operated picture lights from Cocoweb. No electrician needed, just stick them on, they’re LED so they don’t get hot or fade your art. The brass finish ones look especially good with wooden frames.
Layout Planning Because Winging It Usually Fails
I gotta be honest, every time I’ve eyeballed a gallery wall it’s looked wonky. Here’s what actually works:
Cut paper templates the size of your frames. Tape them to the wall with painter’s tape. Live with it for a day or two. Move them around. Take photos to see how it looks from your sewing chair. THEN make the nail holes.
For spacing, 2-3 inches between frames is standard. I usually do 2.5 inches because it’s easier to measure. Use a level. Yes really. Your eye will catch if something’s off even if you think it won’t.
If you’re doing a salon-style wall (lots of different sized frames), start with the largest piece in the center or slightly off-center, build around it. Keep the outside edges forming a rough rectangle or square shape even if the inside is chaotic.
Hardware That Won’t Destroy Your Walls
Command strips work for lightweight stuff (under 5 pounds) but the picture hanging ones, not the regular strips. The regular ones slip. Don’t ask me how I know.
For anything heavier, proper picture hangers. OOK and Hillman make good ones. Match the weight rating to your frame weight plus a little extra.
French cleats for heavy pieces like large framed quilts. You can make them yourself with plywood or buy them. They distribute weight really well and make it easy to level the piece.
Wall anchors if you’re not hitting studs. Drywall anchors for anything over a pound. Toggle bolts for really heavy stuff. My contractor friend yelled at me once for using too-small anchors and now I overengineer everything.
Budget Breakdown If You’re Watching Money
Low budget (under $200 total):
- IKEA frames mixed sizes – $100
- Printable Etsy art downloads – $30
- Thrift store embroidery hoops with your fabric scraps – $20
- DIY stretched fabric canvas – $50
Medium budget ($200-500):
- Mix of IKEA and Framebridge frames – $200
- Vintage sewing patterns from Etsy – $60
- One or two quality art prints – $100
- Wooden thread rack as decor – $80
- Picture lights – $60
Higher budget ($500+):
- Custom framing for special pieces – $300
- Original small art or textile pieces – $200
- Quality vintage finds – $150
- Professional installation if you want it – $100+
Things I Wish Someone Told Me Earlier
Don’t hang art directly above your sewing machine if you use a lot of spray starch or fabric spray. The residue builds up on frames and glass. Learned this when I had to clean a client’s frames after six months and there was this weird film on everything.
Consider a design wall separate from decorative art. Like an actual fabric design wall (batting mounted on foam board or just a large felt-covered board) for planning quilts is functional, and your pretty art can go elsewhere. They serve different purposes.
Rotate your art seasonally if you get bored easily. I have a client who swaps prints four times a year and stores the off-season ones in a portfolio case under her cutting table. Keeps the space feeling fresh without spending more money.
Match your mat colors to your room’s palette not necessarily the art itself. White mats are safe but colored mats can make everything feel more cohesive. I did cream mats in a warm-toned studio and it looked so much better than stark white would have.
Oh wait I forgot to mention – if you’re hanging stuff above where you’ll be working with an iron, keep it at least three feet away. Steam rises and can damage paper art over time. Found this out the hard way with some vintage seed packet art that got warped.
The goal isn’t to make your sewing room look like a showroom, it’s to make it a space where you actually want to spend time. Sometimes that means the perfect gallery wall, sometimes it means one big piece you love and calling it done. I’ve been watching too much of The Great British Sewing Bee lately and honestly their studio spaces are pretty minimal but they work because the focus is on the craft not the decor.
Just start with one wall. See how you feel. Add more if you want. There’s no rule that says every wall needs something on it.