Wall Art Guide, Wall Art Tutoriels
Circle Wall Art: Round Designs & Geometric Decor
May
So I’ve been obsessing over circle wall art lately and honestly it’s one of those things that sounds super simple but can go wrong in like, so many ways. Last month I completely redid my client Sarah’s living room and we went all-in on circular pieces and geometric stuff, and wow the difference between what works and what looks like a Pinterest fail is wild.
Why Round Art Actually Makes Sense
Okay so first thing – circular art breaks up all the rectangles in your room. Think about it, your windows are rectangular, your doors, your furniture, basically everything. Adding round shapes creates this visual balance that’s… I don’t know how to explain it properly but your eye just moves around the room differently? My cat kept staring at this one circular mirror I installed last week and I realized it’s because it was the only curved thing on that entire wall.
The psychology behind it is that circles feel softer and more approachable than angular art. Which is why they work amazing in bedrooms and living spaces where you actually want to relax.
Sizing This Stuff (Don’t Eyeball It)
Here’s where everyone messes up including me the first dozen times. You cannot just guess what size circle will look good on your wall. I learned this the hard way when I ordered a 24-inch circular canvas for above a console table and it arrived looking like a dinner plate. So embarrassing.
For above furniture pieces:
- The circle should be roughly two-thirds the width of the furniture below it
- So if your sofa is 90 inches, you want something around 60 inches diameter
- Or do a cluster of smaller circles that add up to that visual weight
For statement walls:
- Go bigger than you think – like genuinely add 12 inches to whatever you’re imagining
- A 36-inch circle is actually pretty modest on a large wall
- I’ve used 48-inch and even 60-inch rounds in rooms with high ceilings and they look proportional
Pro tip that nobody tells you – tape up paper circles on your wall first. I use craft paper or even taped-together newspapers. Live with it for a day or two. Take photos from different angles. This has saved me from so many returns.
Materials That Don’t Look Cheap
Okay so materials matter way more with circular art than rectangular because… the shape draws attention? I’m not totally sure why but a cheap-looking round piece really shows its cheapness.
Canvas prints – these are fine but make sure they’re gallery-wrapped (the image continues around the edges) because you’re gonna see those sides. I got some from a print-on-demand site once where the sides were just white and it looked unfinished.
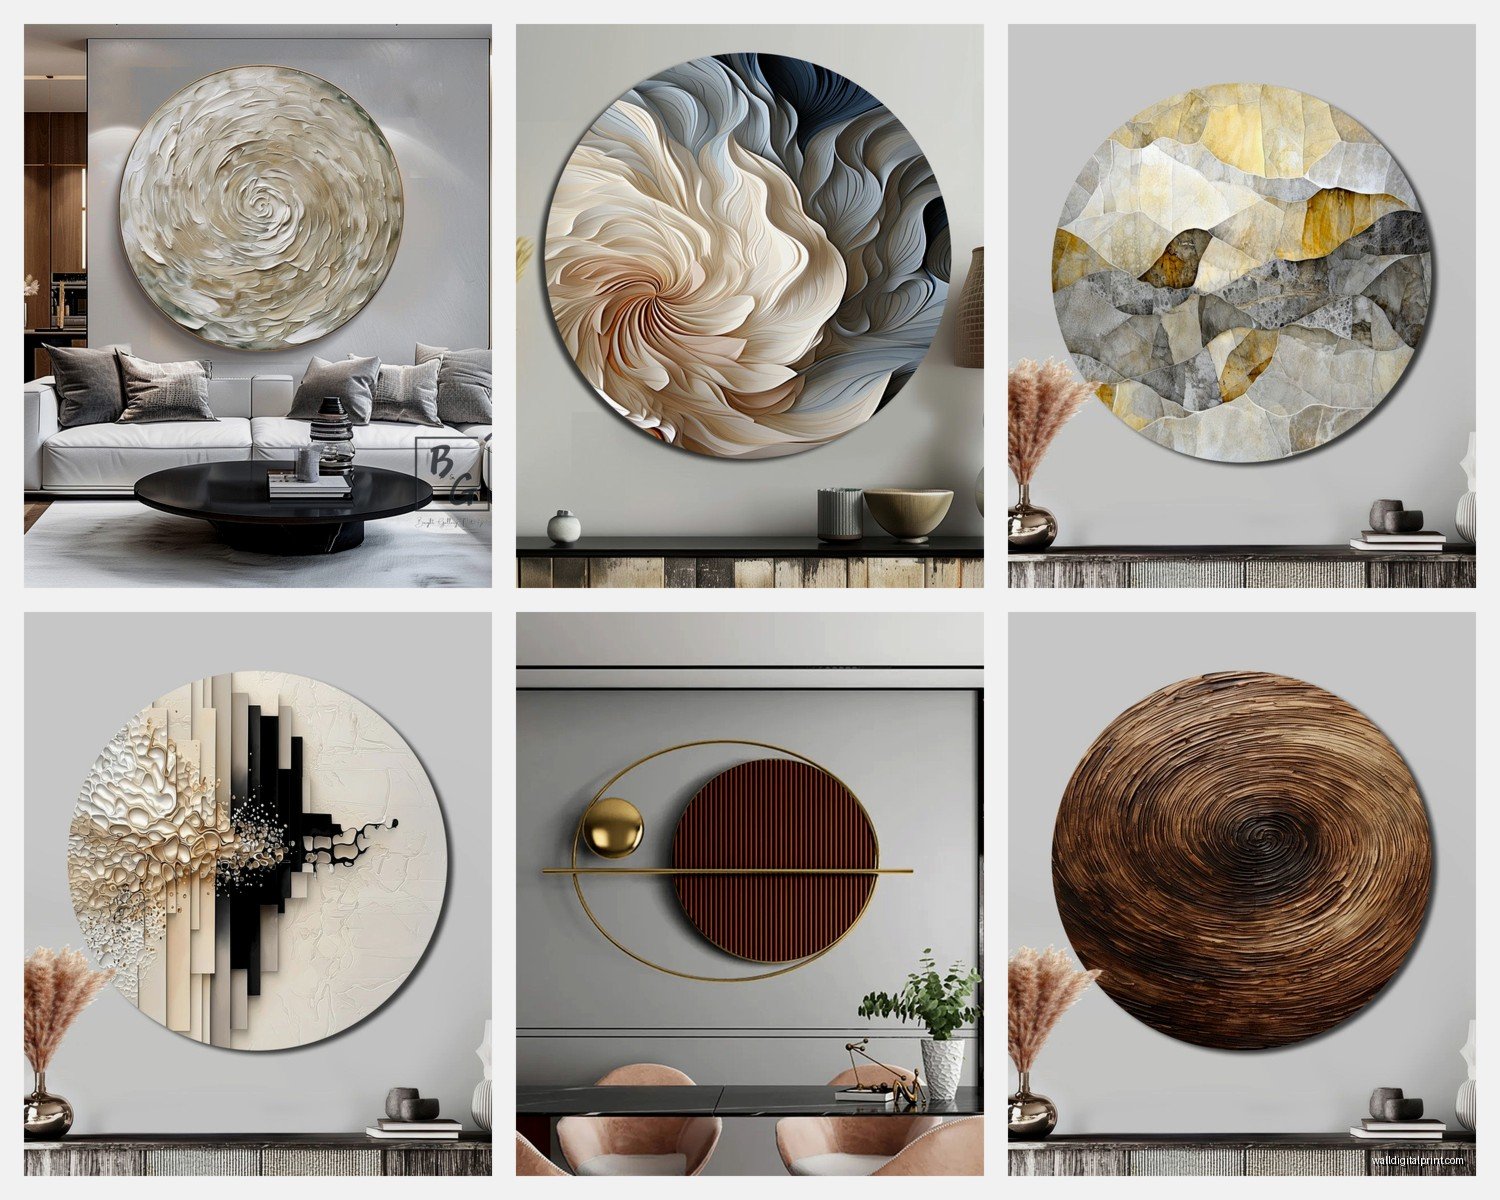
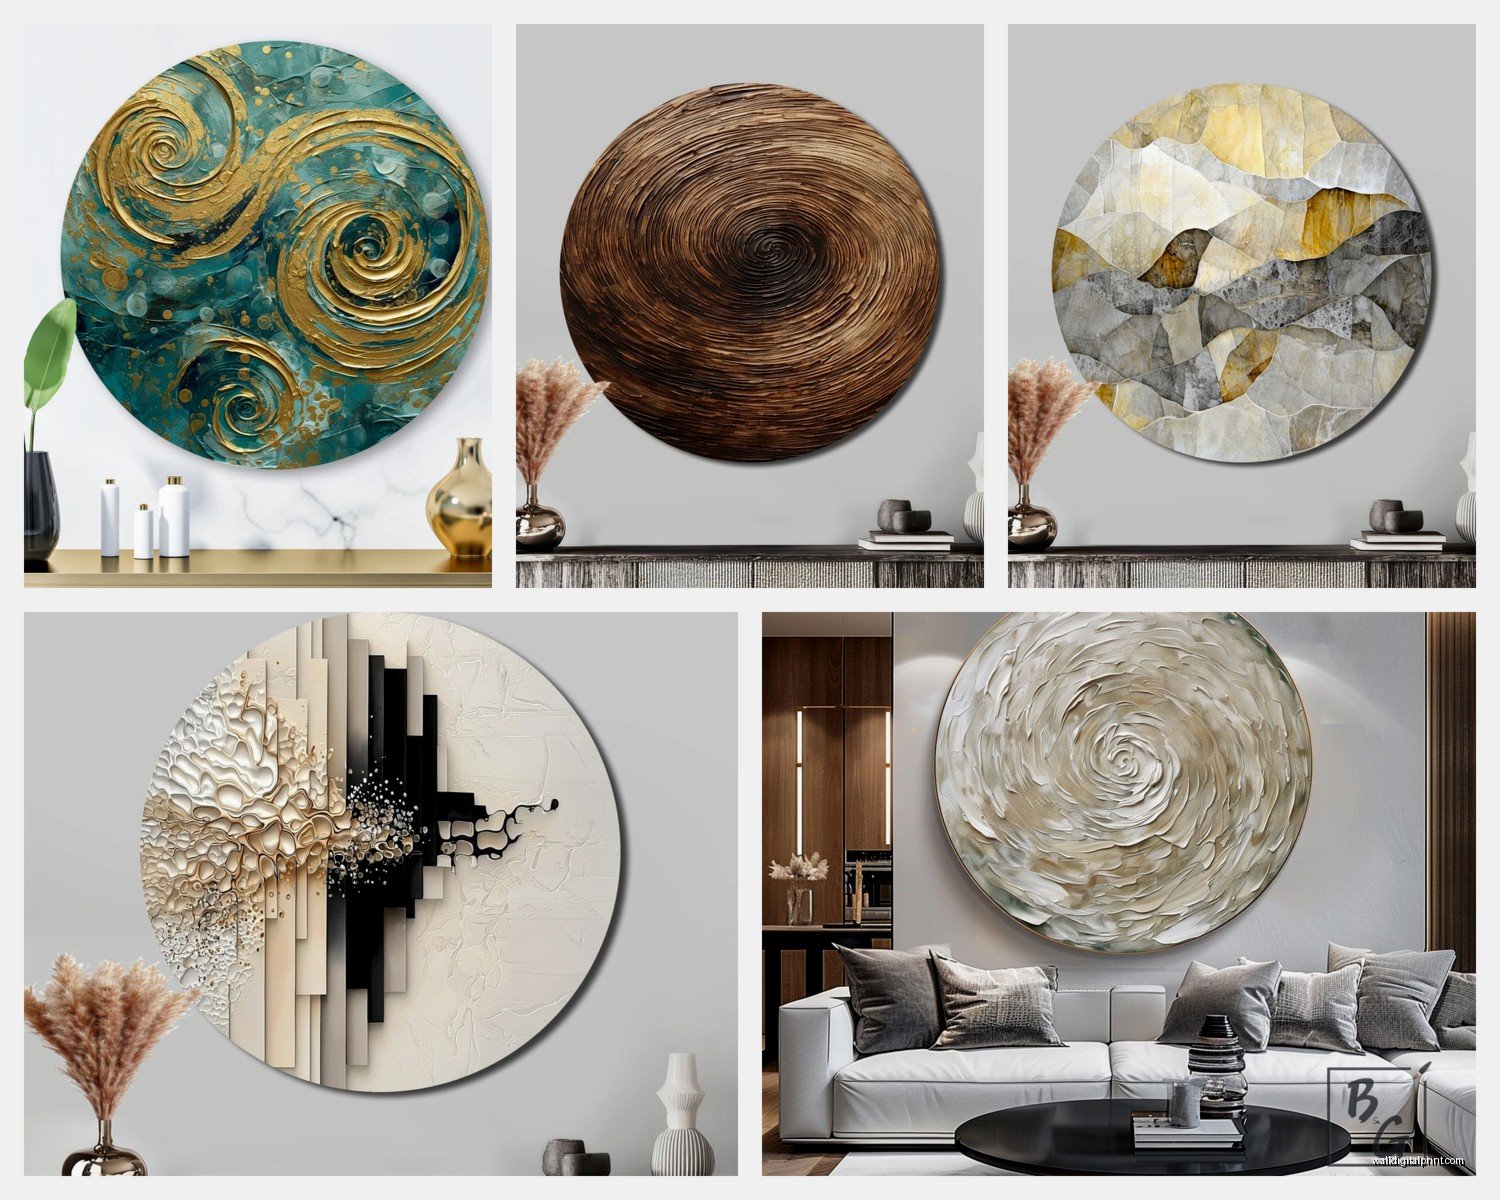
Wood rounds – obsessed with these right now. You can find carved wood circles, burned designs, even just stained wood slices. They add texture which is huge. I have this 30-inch carved mandala thing in my hallway and people always touch it which is kinda annoying actually but whatever, it’s tactile.
Metal – metal circular art can look really sophisticated if you get the finish right. Matte black or brushed brass work in most spaces. Shiny chrome can look cheap unless you’re going for that very specific modern vibe.
Woven/rattan – these circular woven pieces are everywhere right now and they work great for adding warmth. But they’re tricky to clean so maybe don’t put them in the kitchen where they’ll collect grease.
Mirrors – circular mirrors count as art in my book. They’re functional art. And they make rooms feel bigger which is always good.
The Cluster Approach vs Single Statement
You’ve basically got two directions here and mixing them is where things get messy.
Single large circle – this is your statement piece approach. One big beautiful round artwork that commands attention. I did this in a minimalist bedroom with a 42-inch abstract circle painting and literally nothing else on that wall. Sometimes less is actually more and I know that sounds like every design cliché but it’s true.
Cluster of circles – this is trickier but can look amazing. You’re grouping multiple circular pieces together. The key is variation in size but not TOO much variation. Like, don’t put a 6-inch circle next to a 30-inch circle. The sizes should relate to each other.
My formula for clusters:
- Use odd numbers (3, 5, 7 pieces)
- Vary sizes in a ratio like 1:2:3 or similar
- Keep spacing consistent – I usually do 2-3 inches between pieces
- Arrange them in a roughly triangular or organic shape, not a straight line
Oh and another thing – you can mix circles with other geometric shapes but you gotta be intentional about it. I’ve combined circles with hexagons and it looked cool, very geometric-modern. But circles plus squares can fight with each other unless you commit to a specific grid layout.
Color Coordination Without Being Boring
This is gonna sound weird but I actually don’t match circular art exactly to my room colors. Like if you have a gray sofa and beige walls, getting gray and beige circle art is just… blah.
Instead I pull accent colors. If you have throw pillows with navy blue, bring that navy into your circular art. Or introduce a completely new color that complements your existing palette. I added terracotta circle art to a room that was all blues and whites and it became the whole vibe of the space.
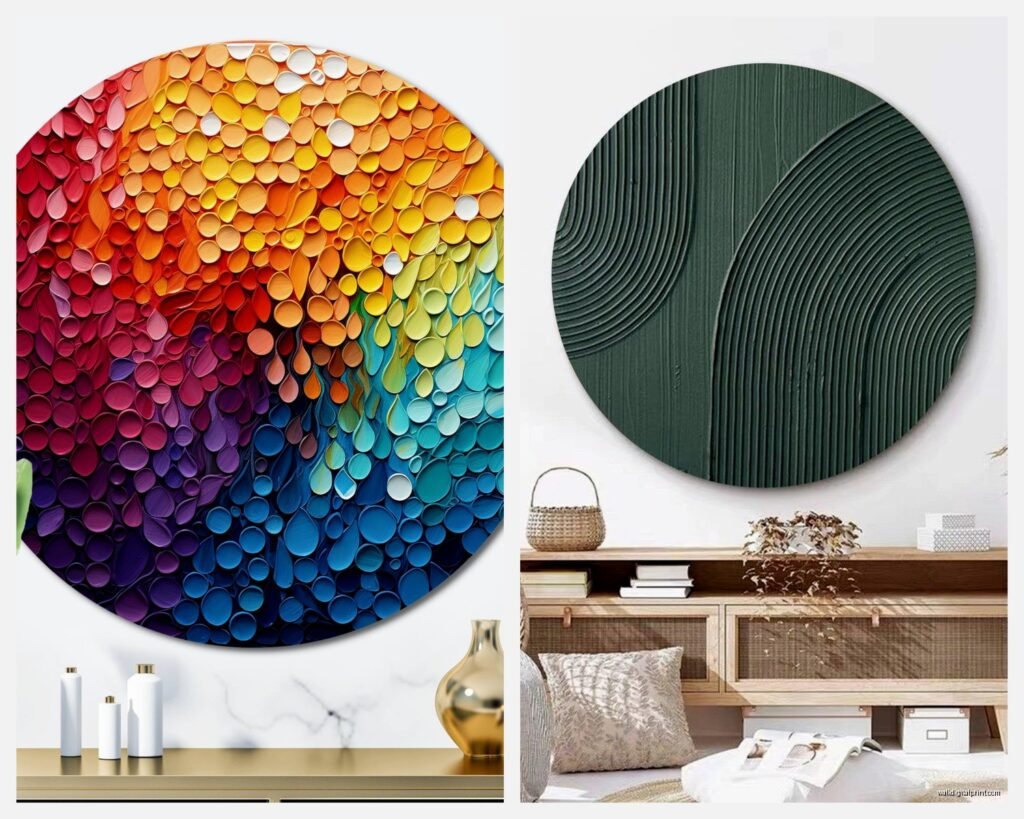
For geometric circular designs specifically – the ones with patterns and shapes inside the circle – you can get away with more colors because the geometry breaks it up. I have this one piece that’s got like eight different colors but because they’re in geometric sections it reads as cohesive instead of chaotic.
Monochromatic circles work great if you want subtle. All white circles with different textures. All black in different materials. All wood tones. This creates interest without color competition.
Hanging Circle Art Without Losing Your Mind
Okay so hanging circular art is actually easier than rectangular in some ways because you just need to find the center point. But here’s what I do:
First, find the center of your wall (measure width and divide by two, duh). Then mark where you want the center of the circle to be. Standard height is 57-60 inches from the floor to the center of the artwork – this is eye level for most people.
For the actual hanging:
- Use appropriate hardware for the weight – most circular pieces are lighter than you’d think but check
- A single hook works for smaller circles under 20 inches
- Two hooks for anything larger so it doesn’t spin (learned this when my 36-inch circle kept rotating every time someone walked by)
- Adhesive strips work for lightweight pieces and are great for renters but test the weight limit
If you’re doing a cluster, lay them out on the floor first in the exact arrangement. Take a photo. Measure the distances between them. Then transfer those measurements to your wall using painters tape to mark positions. I know this sounds tedious but I’ve rehung clusters like five times when I didn’t do this prep work.
Styles That Actually Work
Abstract circles – these are super versatile. Basically any room style can handle an abstract circular piece. I’ve used them in traditional rooms, modern spaces, bohemian bedrooms. They just work.
Geometric patterns – if you like that mid-century modern vibe, geometric circles are your thing. Think circles divided into sections with different colors or patterns. Very retro but in a good way.
Mandalas – these can go either really spiritual or just decorative depending on the design. I use them in meditation spaces or bedrooms mostly. They’re very centered and calming which is the whole point.
Minimalist line art circles – just a simple circle drawn with one continuous line or something equally simple. These are having a moment right now and they’re great for Scandinavian-style spaces or anywhere you want subtle art.
Photography in circular frames – this is interesting because you’re taking rectangular photographs and cropping them into circles. Landscapes work surprisingly well this way. I did a series of three circular ocean photos for a bathroom and the round shape echoed the water ripples.
Room-Specific Ideas
Living room – this is where you can go big. Large statement circle above the sofa or a clustered arrangement on the main wall. I recently did nine circles of varying sizes (between 12 and 24 inches) arranged in an organic cluster and it became the whole focal point of the room.
Bedroom – circles above the bed work great but keep the colors calm. This isn’t the place for super vibrant geometric stuff unless that’s your personality. I usually stick with neutral circles, maybe some texture, possibly a mirror.
Dining room – circular art above a dining table makes sense because your table might be round anyway. Even if it’s rectangular, the circle shape softens the space. Just make sure it’s hung high enough that tall people don’t hit their heads when they stand up (yes this happened).
Hallway – narrow hallways are perfect for a vertical arrangement of circles going down the length of the wall. I did three circles vertically spaced in a hallway and it actually made the space feel taller somehow.
Bathroom – small circular art works here or obviously circular mirrors. Just be careful with humidity if you’re using paper-based art or anything that might warp.
Mixing Circles With Other Wall Decor
You don’t have to commit to ONLY circles obviously. I mix them with other stuff all the time. The key is balance.
If you have a gallery wall with mostly rectangular frames, adding one or two circular pieces breaks it up nicely. I usually place the circles slightly off-center in the arrangement so they feel intentional not random.
Circles also work well with floating shelves. Like, shelves with rectangular items on them, then a circular piece of art on the wall space between shelves. Creates this nice rhythm.
Wait I forgot to mention – circular art looks really good with plants. The organic shapes complement each other. I’ll often put a large circular piece on a wall and then place a tall plant next to it on the floor or on a stand. The curves echo each other.
Budget Options That Don’t Look Budget
Look, not everything needs to be expensive. Some of my favorite circular pieces cost under fifty bucks.
- Large embroidery hoops with fabric – you can DIY these so easily or buy them from craft markets
- Woven basket lids hung on the wall – I’m serious, some basket lids are gorgeous and cost like fifteen dollars
- Printed designs in circular frames from online print shops – frame quality matters more than the print honestly
- Painted wood rounds – buy the wood round from a craft store and paint it yourself, even just solid colors with different textures
- Vinyl decals in circular shapes – these are super cheap and removable which is great for renters
The trick with budget pieces is grouping them. Three cheap circular pieces arranged well looks more expensive than three cheap pieces scattered randomly.
What Doesn’t Work
Gonna be honest about failures because I’ve had plenty. Super glossy finishes on circles can look plasticky and cheap unless you’re going for that specific pop art vibe. Tiny circles on huge walls just look lost – scale up or group more together. And too many different styles of circles in one space gets chaotic… like I tried mixing a woven circle with a metal geometric circle with a painted canvas circle and it was just too much variation.
Also be careful with circles that have busy patterns if your room already has patterned curtains, rugs, pillows etc. It can become visual overload. Sometimes a simple solid-colored circle is what you need to calm everything down.
Oh and my dog keeps trying to play with the lower circular pieces thinking they’re balls which is something I didn’t anticipate but here we are. So maybe hang them higher if you have pets that are confused easily.
The main thing is just to try stuff and see how it feels in your actual space because what looks good in a photo might not work with your specific lighting and furniture and ceiling height and all that. But circles are pretty forgiving compared to other art shapes so you’ll probably be fine whatever you choose.