Wall Art Guide, Wall Art Tutoriels
Adhesive Wall Art: Stick-On Peel & Stick No-Nail Decor

Aug
So I’ve been testing literally every type of adhesive wall art for the past three years and honestly some of it is complete garbage but some of it has actually saved my life when landlords say no nails or when I’m staging a house that needs to sell yesterday.
The Types You’ll Actually See
Okay so there’s basically four categories and they’re NOT all the same even though stores act like they are. You’ve got vinyl decals which are thin and matte, fabric wall decals that have texture, removable wallpaper which is thicker, and then those foam 3D things that I have mixed feelings about.
Vinyl decals are what most people think of first. They’re usually die-cut designs or quotes or whatever and they stick directly to your wall with a low-tack adhesive. The good ones use a transfer tape system where you get three layers and you peel away the backing and oh my god I’m getting ahead of myself.
Fabric decals are newer and they’re actually really cool because they have this almost textile quality that doesn’t look as flat and cheap. I used some in my daughter’s room last year and my cat immediately tried to climb them but they stayed put.
What Actually Sticks and What Doesn’t
Here’s the thing nobody tells you until you’ve wasted forty dollars. Your wall texture matters SO much. Like I cannot stress this enough. If you have that orange peel texture or heavy knockdown texture, thin vinyl decals are gonna be annoying because they won’t lay completely flat and you’ll get air bubbles that you can’t smooth out.
Textured walls need either fabric decals or the thicker removable wallpaper types because they’re more forgiving. I learned this the hard way in a client’s nursery where we applied these cute little mountain decals and they looked lumpy and terrible because her walls had that cottage cheese ceiling texture situation happening.
Smooth walls or low-texture walls work with everything. You’re golden. Go wild.
The Surface Prep Thing Everyone Skips
Wait I forgot to mention the most important part. You gotta clean your walls first and I know that sounds obvious but I mean REALLY clean them. Not just dust. Use a mix of warm water and a tiny bit of dish soap, wipe down where the decal is going, then wipe again with just water, then let it dry completely.
I usually wait like two hours to be safe because even though it looks dry there can be moisture in the paint. One time I didn’t wait and applied this gorgeous geometric design in my office and within three days the edges were peeling up because moisture got trapped under there.
Also if your paint is fresh like within the last month, just wait. The paint needs to cure fully or you risk pulling it right off when you eventually remove the decal. I’ve seen this happen and it’s heartbreaking.
Application Without Losing Your Mind
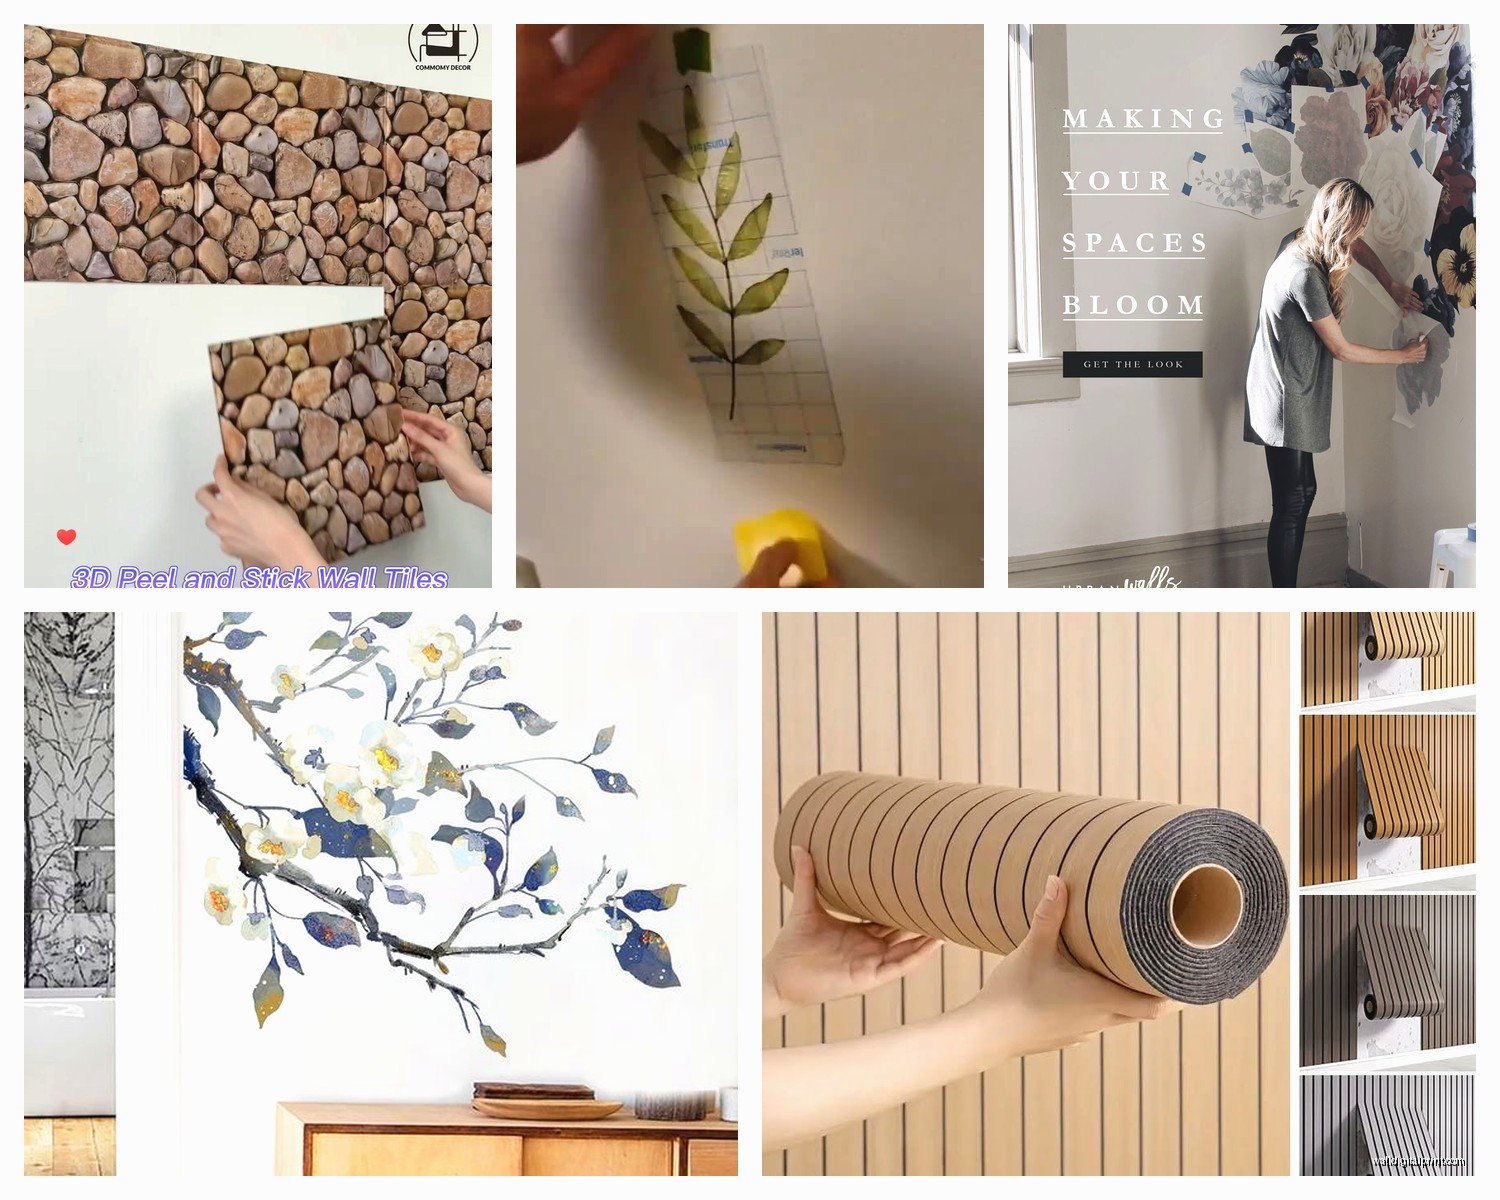
Okay so for vinyl decals with transfer tape here’s the actual process. You get this sandwich of backing paper, the vinyl decal itself, and transfer tape on top. The transfer tape is usually clear or cloudy looking and it’s what lets you move the whole design as one piece.
First you burnish the transfer tape which just means rubbing it really well so the decal sticks to the tape better than it sticks to the backing. Use a credit card or squeegee or whatever. Then peel the backing paper away slowly. Like really slowly. If parts of your decal don’t come up with the transfer tape, lay it back down and burnish more.
Now you’ve got the decal stuck to the transfer tape and you position it on your wall. This is where I use painter’s tape to hold the top edge in place so I can lift it up and down to check placement before committing. Once you’re sure, squeegee from the center outward to stick it down and push out air bubbles.
The tricky part is peeling away the transfer tape without pulling your decal back off the wall. Go slow, peel at a sharp angle like almost back on itself, and if you feel resistance stop and burnish that area more before continuing.
The Brands I Actually Buy
Urban Walls makes really good fabric decals that I use constantly. They’re pricier but they reposition easily and the texture is chef’s kiss. I did a whole accent wall situation with their geometric patterns in a condo staging and it looked custom.
For vinyl I keep coming back to Wallums even though their website looks like it’s from 2009. Their adhesive formula is consistent and I’ve had decals stay up for two years then peel off clean. That’s the dream.
RoomMates is what you’ll find at Target and honestly for kids rooms they’re fine. Not amazing quality but decent for the price and if your toddler is gonna destroy it anyway who cares. My niece had their butterfly decals and they lasted through her entire princess phase.
This is gonna sound weird but the Amazon basics generic decals are hit or miss. I’ve gotten some that were perfect and some where the adhesive was so aggressive it pulled paint. It’s a gamble and when I’m working with clients I don’t gamble.
Removable Wallpaper Is Different
So removable wallpaper or peel and stick wallpaper is its own beast. It comes in rolls or panels and covers larger areas. The application is similar but you need to be more careful about alignment because patterns need to match up.
I always start at the ceiling line or top of the wall and work down, smoothing as I go with a wallpaper smoother tool which is basically a wide plastic squeegee. You overlap edges slightly then trim with a razor blade for clean seams.
Spoonflower’s peel and stick is great quality and you can get custom designs but it’s expensive. Tempaper is good for rentals. Chasing Paper has pretty patterns that photograph well which matters for my blog content even though that sounds shallow.
The main issue with removable wallpaper is that it’s not always actually removable without damage on certain paint types. Flat paint is risky. Eggshell or satin is safer. I always test a corner first in a closet or behind where furniture will go.
Air Bubbles Are Gonna Happen
You’re gonna get air bubbles. It’s fine. For small ones you can usually push them to the edge with your squeegee or credit card. For bigger ones you can carefully prick them with a pin and then smooth the air out through that tiny hole.
Sometimes bubbles work themselves out over a few days as the adhesive settles. I’ve had bubbles I was stressed about just disappear after a week. But if they’re still there after two weeks they’re probably permanent and you gotta decide if you can live with it.
The Removal Process
When you’re ready to remove these things, go slow and peel at a low angle. Like almost parallel to the wall. Pull steadily not in quick yanks. Heat helps loosen the adhesive so a hair dryer on low setting can make it easier especially if the decal has been up for years.
If adhesive residue is left behind don’t panic. A little bit of rubbing alcohol or Goo Gone on a cloth will take it off. Test in an inconspicuous spot first because I’m paranoid about damaging paint even though I’ve never had an issue.
I removed a huge tree decal from my daughter’s room when she decided she was too old for it and it came off perfectly after being up for three years. The wall looked exactly the same as before. That was Urban Walls fabric decal for reference.
Design Placement Tips From Someone Who Overthinks Everything
okay so funny story I once spent forty minutes holding a decal up to the wall in different positions before my husband told me to just make a decision already but here’s what I learned. Use painter’s tape to mark out the approximate size and position before you commit. Step back. Take a photo on your phone. The camera shows you things your eyes miss.
For large decals or murals, the focal point should generally be at eye level which is around 57 to 60 inches from the floor. That’s gallery hanging height and it works for wall art too. But like, rules are made to be broken if it looks better somewhere else.
Behind the bed, over a sofa, in an entryway, these are all classic spots. I love putting smaller decals in unexpected places like inside closets or on the sides of built-in shelves. Little moments of surprise.
Group smaller decals in clusters rather than spacing them out evenly which can look too planned and weird. Organic groupings feel more natural. I did a whole constellation thing in a kid’s room with tiny star decals and just eyeballed the placement while slightly tipsy which somehow worked perfectly.
What About Textured or 3D Decals
Those foam 3D decals like the brick pattern ones or the puffy clouds are trendy right now and honestly some of them look really fake and bad. But some are okay for accent areas. I used the white brick ones behind a bar cart setup for a client and in photos it looked decent.
The adhesive on 3D foam pieces is usually stronger because they’re heavier. Which means they’re also riskier to remove. I’m more cautious with these and only use them when I know they’ll stay up for a long time.
The tile-style peel and stick things for backsplashes are in this category too. They’re not technically wall art but people ask me about them constantly. They work fine for low-moisture areas but I wouldn’t use them behind a stove where there’s lots of heat and grease.
Common Mistakes I See All The Time
Applying decals in humid conditions is a big one. Your bathroom after a hot shower is not the time to decorate. The moisture interferes with adhesion. Wait for dry conditions or at least run a dehumidifier.
Not reading the instructions because you think you know what you’re doing. Guilty. I’ve wasted decals because I assumed all brands work the same and they don’t. Some need to sit for 24 hours before you remove transfer tape. Some are repositionable for the first few minutes then permanent. Read the actual instructions.
Buying the wrong size. Measure your wall space and actually picture how big the decal will be. Product photos online are so misleading. I use painter’s tape to mark out the dimensions on my wall before ordering which sounds excessive but saves returns.
Expecting perfection. These are DIY products and they’re gonna have a handmade quality to them. If you need absolutely flawless results, hire a muralist. But for quick updates and rental-friendly decor, adhesive wall art is amazing.
My Current Favorites For Different Situations
For nurseries I’m obsessed with those mountain and forest scene decals right now. Simple shapes in muted colors. Easy to apply and they don’t compete with other decor.
For home offices I like geometric patterns or inspiring quotes but not the cheesy ones. More like literary quotes or song lyrics that mean something specific to the person. Custom decals from Etsy shops are great for this.
For staging homes to sell, I use neutral botanical prints or abstract shapes. Nothing too personal or bold. Just enough to make a blank wall feel intentional without alienating potential buyers.
My own living room has this huge abstract shape situation going on that I applied during the pandemic when I was bored and you know what, I still like it two years later. It’s from a small shop I found on Instagram and the quality has held up perfectly.
Wait I forgot to mention that corners are annoying. If your decal wraps around a corner you need to cut it at the corner edge and treat each wall separately otherwise you’ll get weird pulling and bubbling. Learning curve on that one.
The thing about adhesive wall art is that it gives you permission to experiment without commitment and I think that’s why I love it so much for myself and clients who are afraid of making permanent decisions they’ll regret.