Wall Art Guide, Wall Art Tutoriels
Christmas Wall Art: Holiday Seasonal Festive Decor
Sep
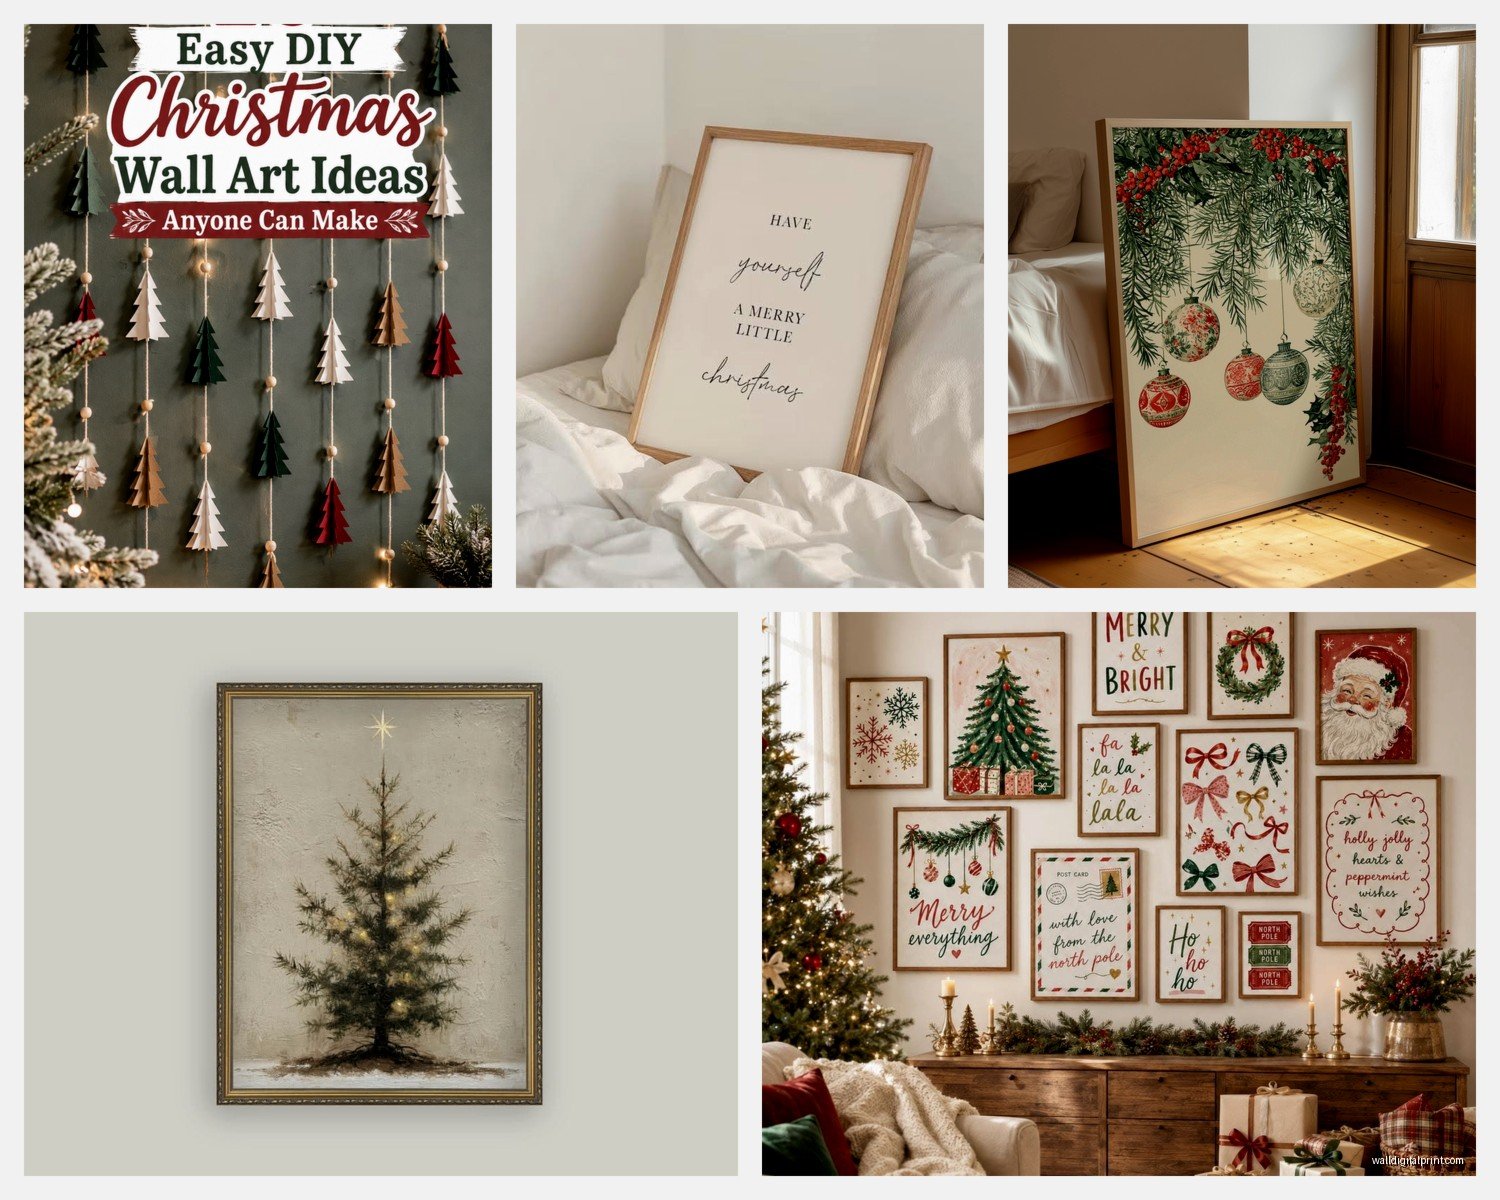
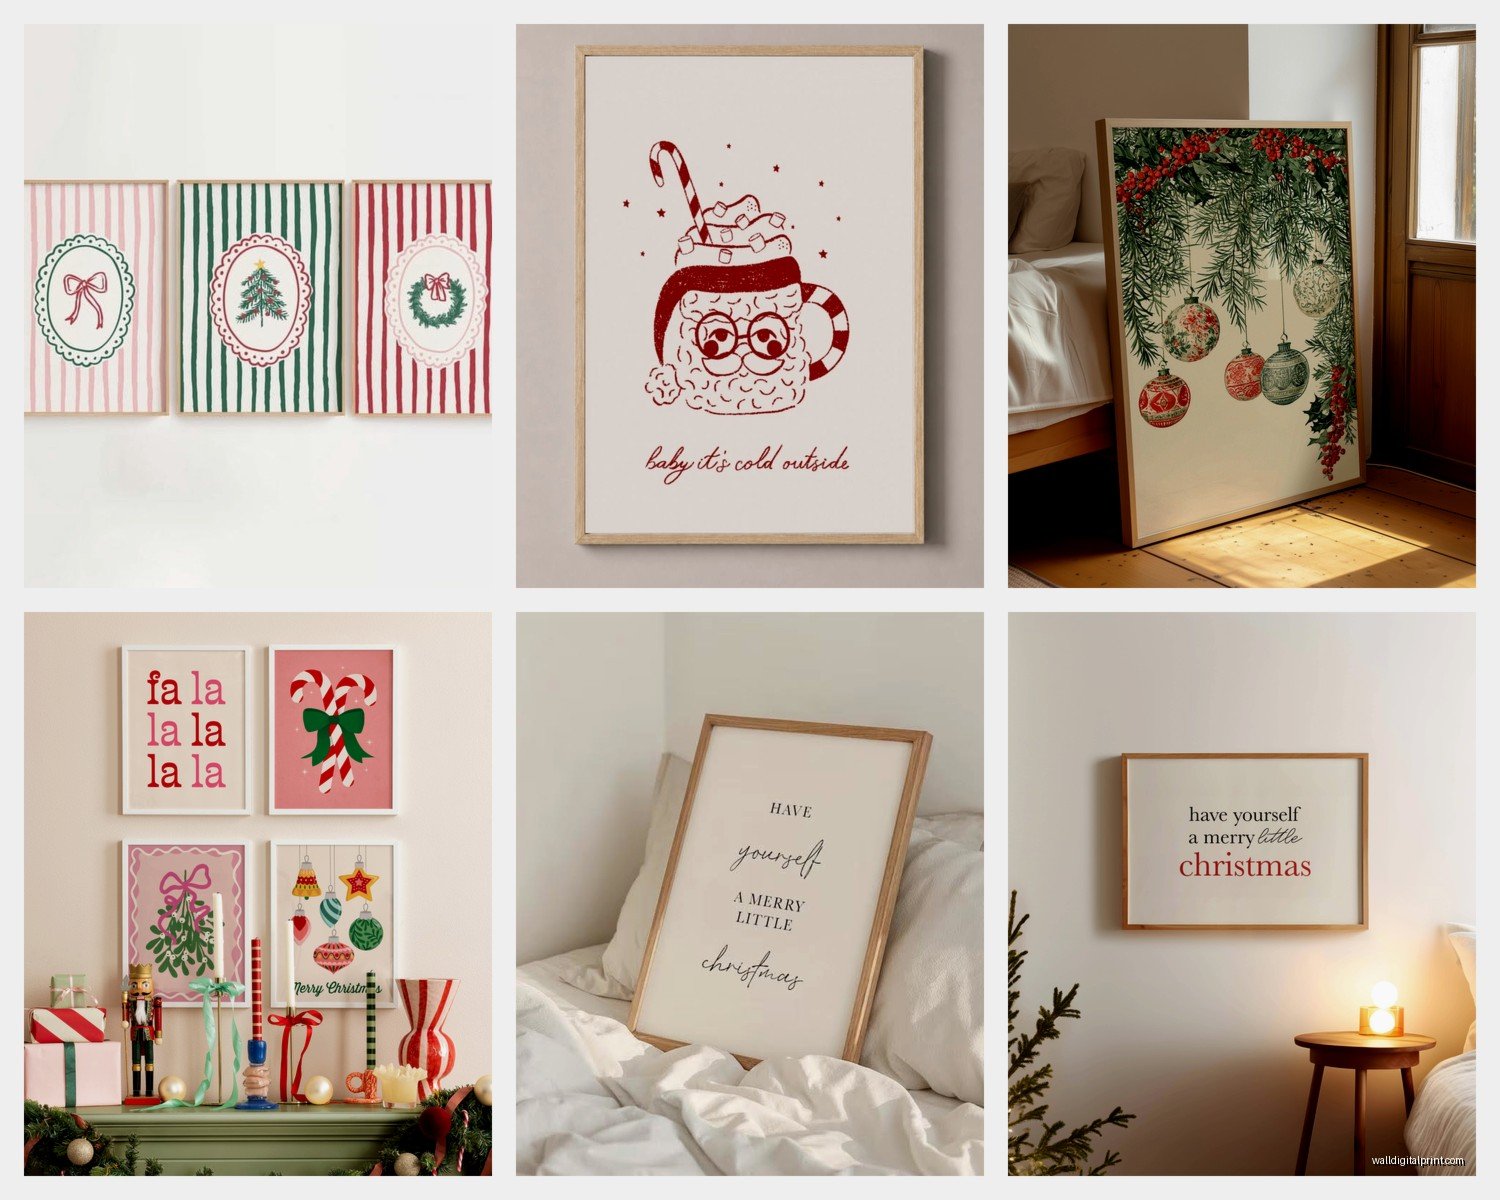
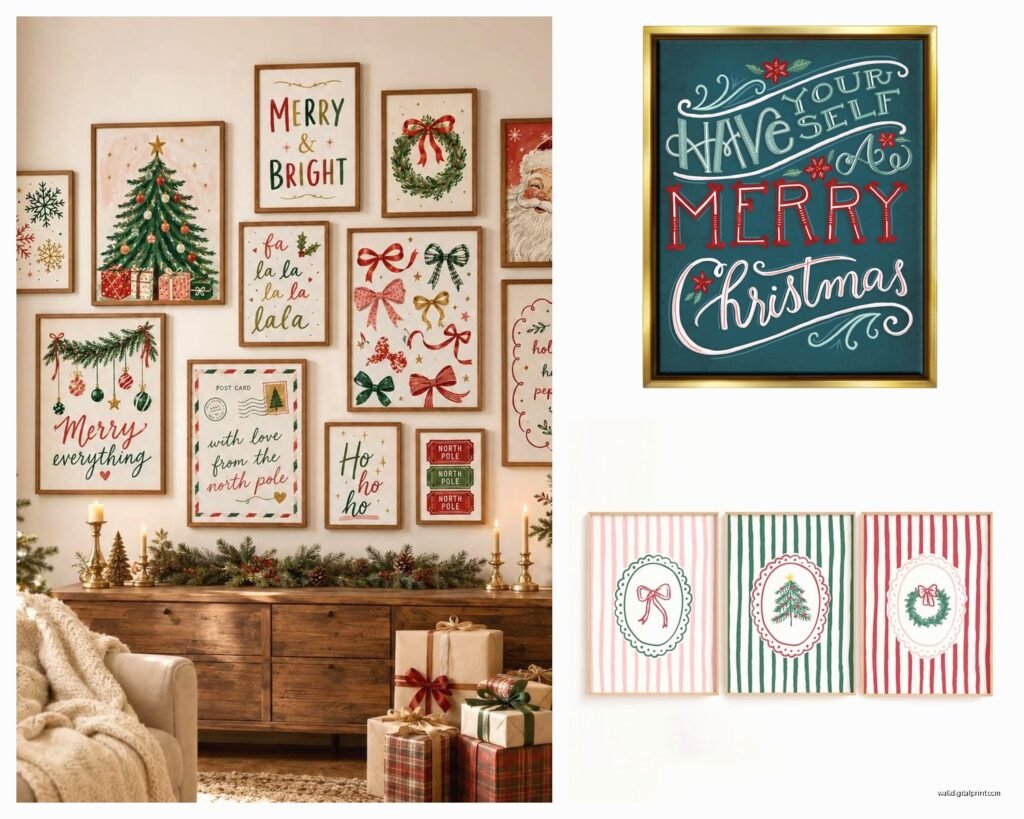
So I just finished rearranging my entire living room wall yesterday because I got obsessed with this whole Christmas wall art thing, and honestly? It’s way easier than the internet makes it look but there’s definitely some stuff I wish someone had told me before I started.
The Gallery Wall Approach That Actually Works
Okay so first thing – don’t buy everything at once. I made that mistake three years ago and ended up with like seven pieces that didn’t talk to each other at all. What I do now is start with one anchor piece, something around 24×36 inches or bigger, and build around that. This year I grabbed this vintage-style Santa print from Etsy (the seller was called something like NorthernPrintCo? I’d have to check my orders) and it’s been sitting on my floor for two weeks while I figured out what goes with it.
The trick with Christmas wall art is mixing textures and formats. Like you don’t want all prints or all canvas or all… whatever. I’ve got the main Santa print, then I added two smaller botanical winter pieces – those evergreen branch ones that everyone’s doing but they actually look good – and then here’s where it gets interesting. I threw in a small vintage ornament shadow box my mom gave me. Wasn’t even planning on it but my cat knocked it off the shelf and I was like, wait this could work on the wall.
Temporary vs Permanent Hanging Solutions
Since you’re gonna take this stuff down in January (probably… I know people who leave it up until February and honestly no judgment), you gotta think about your walls. Command strips are the obvious choice but lemme tell you what I learned the hard way. The regular ones? Not strong enough for anything over like 3 pounds. You need the picture hanging strips, the ones that come in the black package not the white one.
I tested this extensively because a client’s canvas fell at 2am and scared the hell out of both of us when she texted me. For anything canvas or framed, use two pairs of strips instead of one. Yeah it’s overkill but you’re not gonna be the person whose Christmas art crashes down during dinner.
Other option that’s honestly better if you rent – those 3M hooks with the clear sticky tabs. I use them for smaller pieces and wreaths and they’ve never failed me. The weight limit is right on the package so just… actually read it unlike me who didn’t and had issues.
Oh and another thing – if you’ve got picture rail molding (those horizontal strips near your ceiling), hanging Christmas art from fishing line or ribbon looks intentionally festive instead of lazy. I did this in my hallway with three matching prints and it took maybe 15 minutes total.
What Actually Looks Good Together
This is gonna sound weird but I keep a notes app folder with color palettes I like, and for Christmas I’ve narrowed it down to three that actually work:
- Traditional red and green with cream/ivory backgrounds – this is what I’m doing this year
- Navy, white, and gold – very elegant, works if your normal decor is modern
- Forest green, burgundy, and brass – feels expensive even when it’s not
You can mix styles as long as the colors coordinate. Like I’ve got a modern geometric tree print next to a vintage botanical and they work because they’re both cream backgrounds with dark green. The style mixing actually makes it more interesting? But if the colors are all over the place it just looks like you grabbed random stuff.
Wait I forgot to mention – black and white Christmas art is having a moment and I’m here for it. Got this charcoal sketch style nutcracker print that reads festive but doesn’t scream CHRISTMAS at you. Good for people who want subtle.
Size and Spacing Rules That I Actually Follow
So there’s all these complicated formulas about spacing gallery walls but here’s what actually works. Put 2-3 inches between each piece. That’s it. If you’re doing a grid layout, keep it consistent. If you’re doing the organic scattered look, still keep it between 2-3 inches but you can vary it slightly.
For height, the center of your main piece should be at eye level, which is roughly 57-60 inches from the floor. I measure 58 inches every time and it’s worked in like fifteen different spaces. But here’s the thing nobody tells you – if you’re hanging above furniture, the bottom of your lowest frame should be 6-8 inches above the furniture. This grounds it visually.
I spent an entire Saturday testing this in my dining room and that 6-8 inch rule is legit. Any higher and it looks like it’s floating away, any lower and it crowds the space.
DIY Options That Don’t Look DIY
Okay so funny story, I was watching The Great British Baking Show (the Christmas special from last year) and got inspired to make my own prints. You don’t need artistic talent for this. Here’s what I’ve done:
Downloaded public domain vintage Christmas images from the Library of Congress website – they have thousands and they’re FREE. Print them at Staples or FedEx on cardstock or matte photo paper. The 11×17 size is like $3 per print. Get cheap frames from Target or Amazon and boom, custom art for under $15 per piece.
I also did this thing where I framed Christmas cards from previous years. Sounds sentimental and crafty but if you pick cards with good designs and frame them in matching frames, it actually looks intentional. Did a set of four above my console table and people always ask where I got them.
Another option – Canva templates. I know, I know, but there are Christmas print templates that you can customize with your color scheme and download for free. Print those the same way. Nobody needs to know it took you 10 minutes.
Store-Bought Options Worth Your Money
Let’s be real though, sometimes you just wanna buy something ready to go. Here’s where I actually spend money:
Target’s Threshold line usually has good simple options. This year they’ve got these wood framed prints with vintage graphics that don’t look cheap. They’re around $25-40 depending on size. I grabbed two of the botanical ones and they’re solid.
Etsy is obviously huge for this but you gotta know what you’re looking for. Search for “Christmas printable art” instead of “Christmas wall art” because you’ll find digital downloads for like $5-8 that you can print yourself at whatever size you need. The shops that offer multiple sizes in one download are the best value.
HomeGoods and TJ Maxx are hit or miss but when they hit, they HIT. I found this amazing canvas last year that was originally $80, marked down to $25. The key is going in October or early November before they get picked over.
Amazon has some surprisingly good options if you filter by reviews over 4 stars and actually read them. Look for sellers that show real room photos not just the product on white background.
Making It Work With Your Existing Decor
This is where people get stuck. You’ve got your year-round art and now you’re adding Christmas stuff and it feels chaotic. Here’s what I do – I don’t take down ALL my regular art. I swap out maybe 60% and add Christmas pieces around what stays.
In my living room, I left up two abstract pieces that have cream and navy because those colors work with my Christmas palette. Then I added Christmas art in the gaps and on different walls. This way the room still feels like MY space, just with festive additions.
You can also layer smaller Christmas prints in front of existing frames if they’re on shelves or mantels. Creates depth and you’re not putting more holes in your wall.
The Mantel and Shelf Situation
Wall art isn’t just stuff you hang. Mantels and shelves are vertical real estate. I lean prints against the wall on my mantel instead of hanging them and it’s way more flexible. You can adjust and move things around without any tools.
Mix in some small bottle brush trees or garland around the frames. The combination of flat art and dimensional objects makes everything look more expensive and curated. I learned this from styling client homes and it works every single time.
For shelves, try the odd number rule – group things in threes or fives. One larger print with two smaller objects, or three prints of varying sizes. Your eye likes odd numbers for some reason that I learned in design school but honestly forgot the actual explanation.
Lighting Makes a Huge Difference
Something I didn’t realize until I started photographing spaces – your Christmas wall art looks completely different depending on lighting. If you’ve got picture lights or can add some, do it. Even those battery-operated LED picture lights from Amazon (they’re like $15 for a pack) make prints look gallery-quality.
I also use string lights around frames sometimes. Sounds potentially tacky but if you use the warm white thin wire ones and keep it minimal, it adds this glow that’s really nice at night. Did this around a large wreath print in my entryway and it’s probably my favorite thing this year.
Common Mistakes I’ve Made So You Don’t Have To
Going too small. Everyone’s afraid of art being too big but too small is actually the bigger problem. That 8×10 print looks cute in your hand but it’s gonna disappear on your wall. Go bigger than you think you need.
Not considering the room’s purpose. I put really detailed, busy Christmas art in my bedroom once and it was too stimulating. Bedrooms need calmer pieces. Save the bold graphic stuff for living areas.
Forgetting about doorways and traffic flow. I hung a piece that stuck out slightly and I bumped into it probably fifty times before I moved it. Make sure nothing protrudes into walkways.
Mixing too many themes. Vintage Santa, modern geometric, rustic farmhouse, traditional Victorian… pick maybe two vibes max. Otherwise it’s visual chaos.
Storage for Next Year
Okay this isn’t exciting but you’re gonna thank me in January. Get a storage bin specifically for Christmas wall art. I use those under-bed boxes from Container Store. Label everything – what room it was in, what hardware you used, any notes about what it paired with.
I also take phone photos of my arrangements before I take them down. Next year when I can’t remember how I had things set up, I just reference the photos. Saves so much time.
For framed pieces, wrap them in bubble wrap or those foam corner protectors. The frames will last way longer and you won’t have broken glass issues.
The canvas pieces I just stack with cardboard between them. Those priority mail cardboard sheets work perfectly and they’re free from the post office.
Look, Christmas wall art doesn’t have to be this huge production. Start with a few pieces you actually like, hang them at the right height with proper spacing, and make sure the colors work with your space. Everything else is just details you can figure out as you go. I’m still tweaking my setup and it’s already December but that’s kinda the fun part honestly