Wall Art Guide, Wall Art Tutoriels
Peel and Stick Wall Art: Removable Adhesive Easy Install
Oct
So I’ve been working with peel and stick wall art for like three years now and honestly it’s changed how I approach temporary installations for clients who are renting or just commitment-phobic about paint. Let me tell you what actually works because I’ve definitely made some expensive mistakes.
The Adhesive Quality Thing Everyone Gets Wrong
Okay so first thing, not all removable adhesive is created equal and this is gonna sound obvious but I see people mess this up constantly. The cheap stuff from Amazon that’s like $15 for a massive mural? Yeah, it either won’t stick properly or it’ll take your paint off when you remove it. I learned this the hard way in a client’s apartment in 2022 and had to pay for repainting their entire accent wall.
What you want is fabric-based material with a repositionable adhesive. The vinyl ones are fine for short-term but they don’t breathe and can trap moisture if you’re putting them in a bathroom or anywhere humid. I usually go with companies that specifically mention “woven fabric” or “non-woven textile” in their product description. RoomMates and WallPops are the brands I keep coming back to, though Urban Walls has some really beautiful designs if you’ve got more budget.
Testing Before You Commit
This is gonna sound paranoid but always do a test patch. I don’t care what the manufacturer says about it being safe for all surfaces. Take a small piece, stick it on your actual wall in a spot that’s hidden, like behind where a bookshelf will go or in your closet. Leave it for 24 hours minimum, then peel it off and check for paint damage or residue.
My cat knocked over a plant while I was doing this test once and I completely forgot about the test piece for like two weeks, but when I finally peeled it off there was zero damage so that was actually a better test than planned.
Wall Prep That Actually Matters
Your wall needs to be clean and I mean actually clean, not just “looks fine to me” clean. Wipe it down with a slightly damp cloth and let it dry completely. If there’s any dust or oils from cooking or whatever, the adhesive won’t bond properly and you’ll get bubbles or it’ll just fall off in the middle of the night and scare the hell out of you.
Textured walls are tricky. Orange peel texture can work but anything heavily textured is gonna be a problem. The adhesive needs a smooth surface to grip. I had a client with those knockdown textured walls that were super popular in the 90s and we had to use a different method entirely, ended up doing a frame system instead.
Wait I forgot to mention, new paint is also an issue. If your walls were painted within the last 30 days, don’t install peel and stick anything. The paint needs time to fully cure or you’ll definitely pull it off when you remove the decal later. Some sources say wait 2 weeks but I always tell people to wait a full month just to be safe.
Measuring and Planning Without Losing Your Mind
Okay so this is where people get overwhelmed but it’s actually not that complicated. Measure your wall space obviously, but then add like 2 inches to your measurements when you’re ordering because it’s way easier to trim excess than to deal with a gap.
For large murals that come in panels, lay everything out on the floor first. Number them if they’re not already numbered. Take a photo of the layout with your phone. Sounds dumb but you’ll thank me when you’re standing on a ladder trying to remember which panel goes where.
I use painter’s tape to mark the top edge of where the design will go. Just a level line across the wall. This gives you a guide that you can adjust before committing to the adhesive. My client canceled last Tuesday so I spent an hour comparing different leveling techniques and honestly the painter’s tape method is still the most foolproof.
The Actual Installation Process
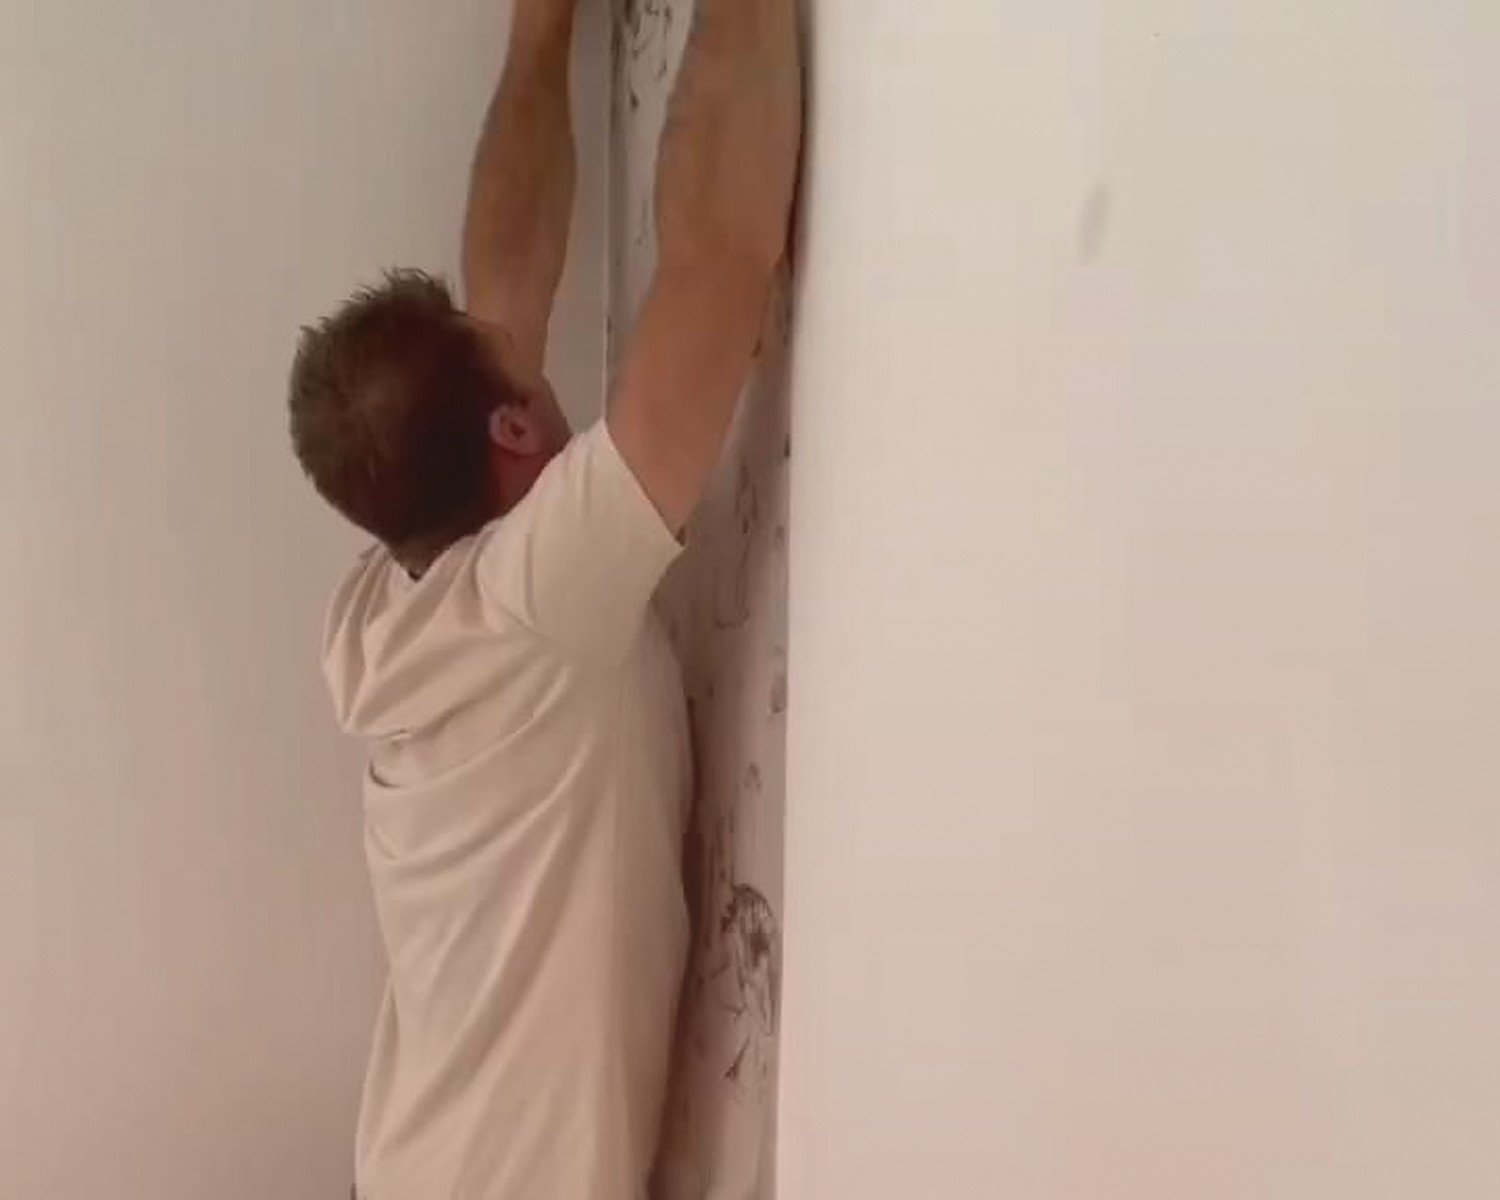
Start from the center and work outward, or if it’s a multi-panel situation, start with your center panel. Peel back just the top few inches of the backing paper, align it with your guide line, and press it to the wall. Then gradually peel more backing away while smoothing down as you go.
Use a squeegee or a credit card wrapped in a soft cloth to smooth out bubbles. Work from the center outward in smooth strokes. Don’t go crazy with pressure though, you’re not trying to fuse it permanently, just making good contact.
If you get bubbles you can usually peel that section back up and reapply. This is where the repositionable adhesive is clutch. I’ve peeled and repositioned the same piece like five times before getting it right and it still held fine.
Common Problems I’ve Actually Dealt With
Bubbles that won’t smooth out usually mean there’s dust or a texture issue. Sometimes you can pop them with a pin and then smooth them flat, but that’s not ideal for larger bubbles. If it’s bigger than a quarter, peel it back and try again.
Edges that won’t stick are super annoying. This usually happens in corners or along baseboards. A little extra pressure with your squeegee helps, or you can use a hairdryer on low heat to warm the adhesive slightly, makes it more pliable and sticky. Don’t overheat it though or you’ll melt the vinyl.
Oh and another thing, if your design has small detailed cutouts or intricate patterns, those are gonna be harder to work with. The simpler the shape, the easier the install. I did this geometric mountain range design that had like 47 tiny peaks and it took me three hours because each point wanted to fold over on itself.
What Works Where in Your House
Bedrooms are ideal because there’s usually less humidity and temperature fluctuation. I’ve put peel and stick murals behind beds, on closet doors, even on ceilings for kids’ rooms with cloud or star designs.
Living rooms work great too but avoid putting them directly above heat sources like radiators or floor vents. The heat can weaken the adhesive over time.
Bathrooms are tricky. If you’re gonna do it, make sure there’s good ventilation and the wall doesn’t get directly hit by shower spray. I’ve had okay luck with powder rooms that don’t have showers, but full bathrooms with poor ventilation are a gamble.
Kitchens behind the stove or near cooking areas, just don’t. Grease and heat are your enemies. But a kitchen breakfast nook or on pantry doors? Totally fine.
Designs That Are Actually Worth It
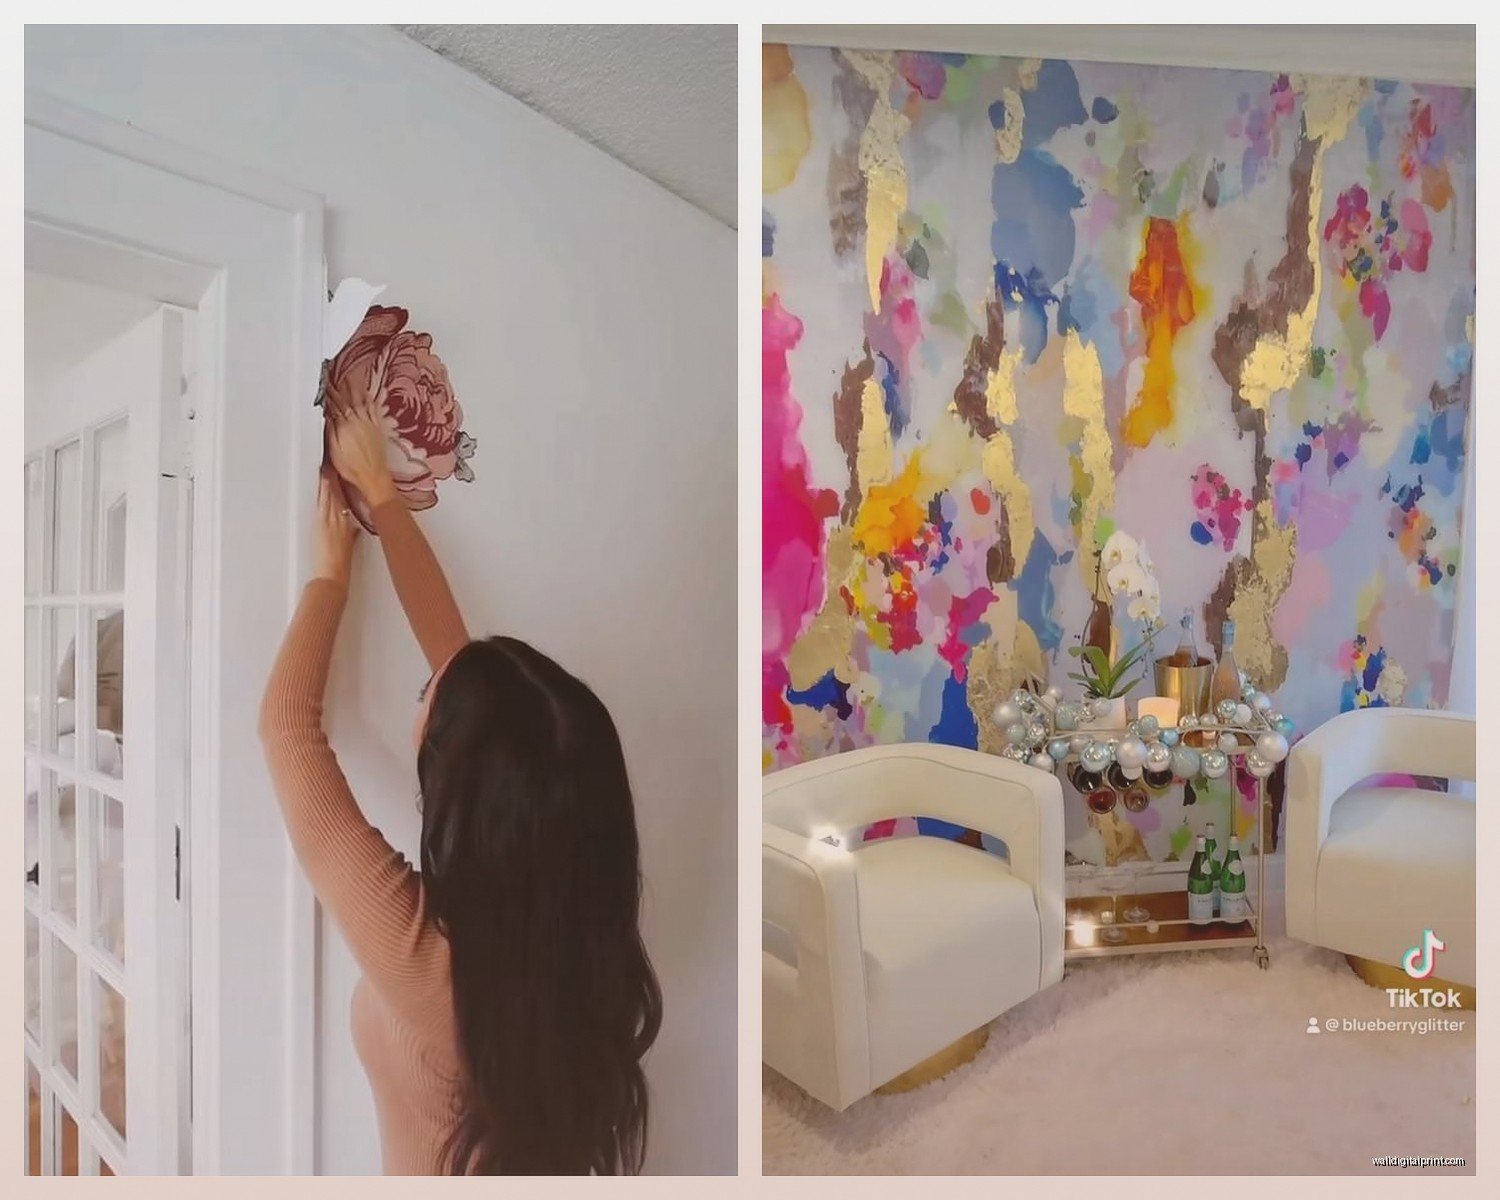
Large scale florals are having a moment and they’re pretty forgiving for beginners because organic shapes hide imperfections better than geometric patterns. If your lines are slightly off on a geometric design, it’s super obvious. Flowers? Nobody notices.
Abstract watercolor effects are also good for first-timers. They come in single large panels usually so less matching and aligning.
I’m personally over the birch tree decals, they were everywhere like five years ago, but if you like them they’re actually pretty easy to install since they’re usually just vertical strips.
This is gonna sound weird but some of the kids’ designs are actually sophisticated enough for adult spaces if you pick the right ones. There’s this constellation map design marketed for nurseries that I’ve used in three different home offices and it looks amazing.
Removal Without Destroying Everything
When you’re ready to remove it, go slow. Start at a corner and peel back at a 45-degree angle, pulling parallel to the wall rather than straight out. If it’s being stubborn, use that hairdryer trick again to warm the adhesive.
Any residue left behind can usually be removed with a bit of rubbing alcohol on a cloth or one of those adhesive remover products like Goo Gone. Test in a hidden spot first though because some paints react weird to solvents.
I’ve removed peel and stick art from probably 30 different installations at this point and only had paint damage twice, both times it was because the paint was super old and already failing, not really the fault of the adhesive.
Budget Breakdown Reality Check
You can find decent quality peel and stick designs starting around $30 for smaller decals up to like $200+ for full wall murals. The mid-range stuff around $80-120 is usually the sweet spot for quality versus price.
Don’t forget to factor in tools if you don’t have them. A good squeegee is maybe $8, a level if you don’t have one is $15, painter’s tape is a few bucks. Not a huge investment but it adds up.
Custom designs where you upload your own image are available from several companies but they’re pricey, usually starting around $150 for a moderate size. I’ve done this for clients who want specific artwork or family photos and the quality can be really good, but make sure your source image is high resolution or it’ll look pixelated and terrible.
Mistakes I Made So You Don’t Have To
Ordered a design without checking the scale and ended up with a palm tree that was like 3 feet tall when I needed it to be 7 feet. Always check actual dimensions not just how it looks in the product photo.
Tried to install something when it was humid and raining and the adhesive just would not cooperate. Wait for a dry day with moderate temperature, makes everything easier.
Didn’t clean the wall properly because I was in a hurry and the whole thing fell off overnight. My dog thought it was the most exciting thing that ever happened and shredded it before I woke up, so that was a fun discovery.
Put a design too close to a window that gets direct afternoon sun and the colors faded within six months. UV exposure is real, especially with cheaper materials.
Styling Tips From Actual Projects
Scale is everything. A tiny decal on a huge wall looks lost and awkward. Better to go bigger than you think you need. I usually tell people to measure their wall and then choose something that fills at least 60% of the space.
Behind furniture works really well because it creates a framed effect. Behind a bed, above a console table, around a floating desk, these all give the design context and make it feel intentional rather than randomly stuck on a wall.
Mixing peel and stick with real art is totally fine. I’ve done gallery walls where some pieces are framed prints and others are peel and stick elements and it creates good dimension and variety.
Color coordination matters but doesn’t have to be matchy-matchy. Pick up one or two colors from your existing decor and make sure those appear in your wall art choice.
The beauty of this stuff is you can change it seasonally if you want. I have one client who swaps out designs every few months just because she gets bored easily and it’s way cheaper than repainting or buying new furniture.
Anyway that’s basically everything I wish someone had told me before I started experimenting with this stuff, hopefully it helps you avoid the mistakes I made and actually enjoy the process instead of getting frustrated.