Wall Art Guide, Wall Art Tutoriels
Black and White Elephant Wall Art: Monochrome Animal Photography
Nov
So I’ve been obsessing over black and white elephant photography lately and honestly it started because a client wanted to redo their living room and didn’t want the usual botanical prints everyone has right now. We went down this whole rabbit hole of monochrome animal art and the elephant pieces just hit different, you know?
Why Elephant Photography Actually Works (When Most Animal Art Doesn’t)
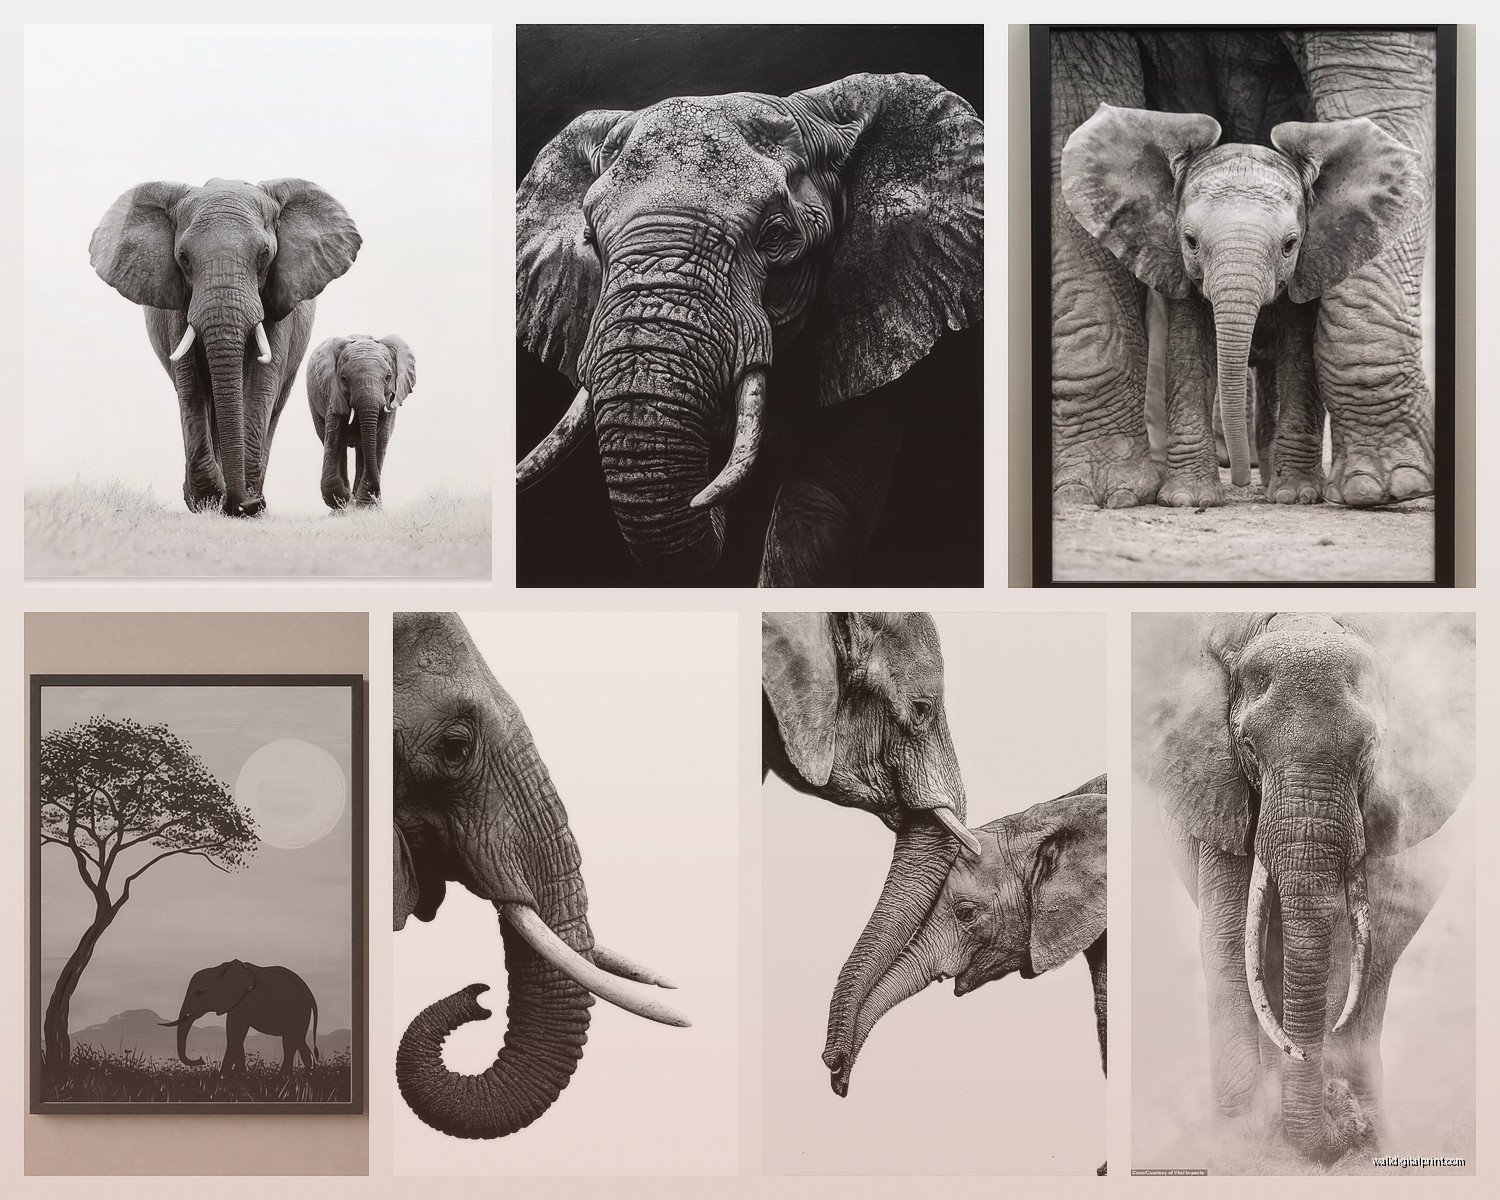
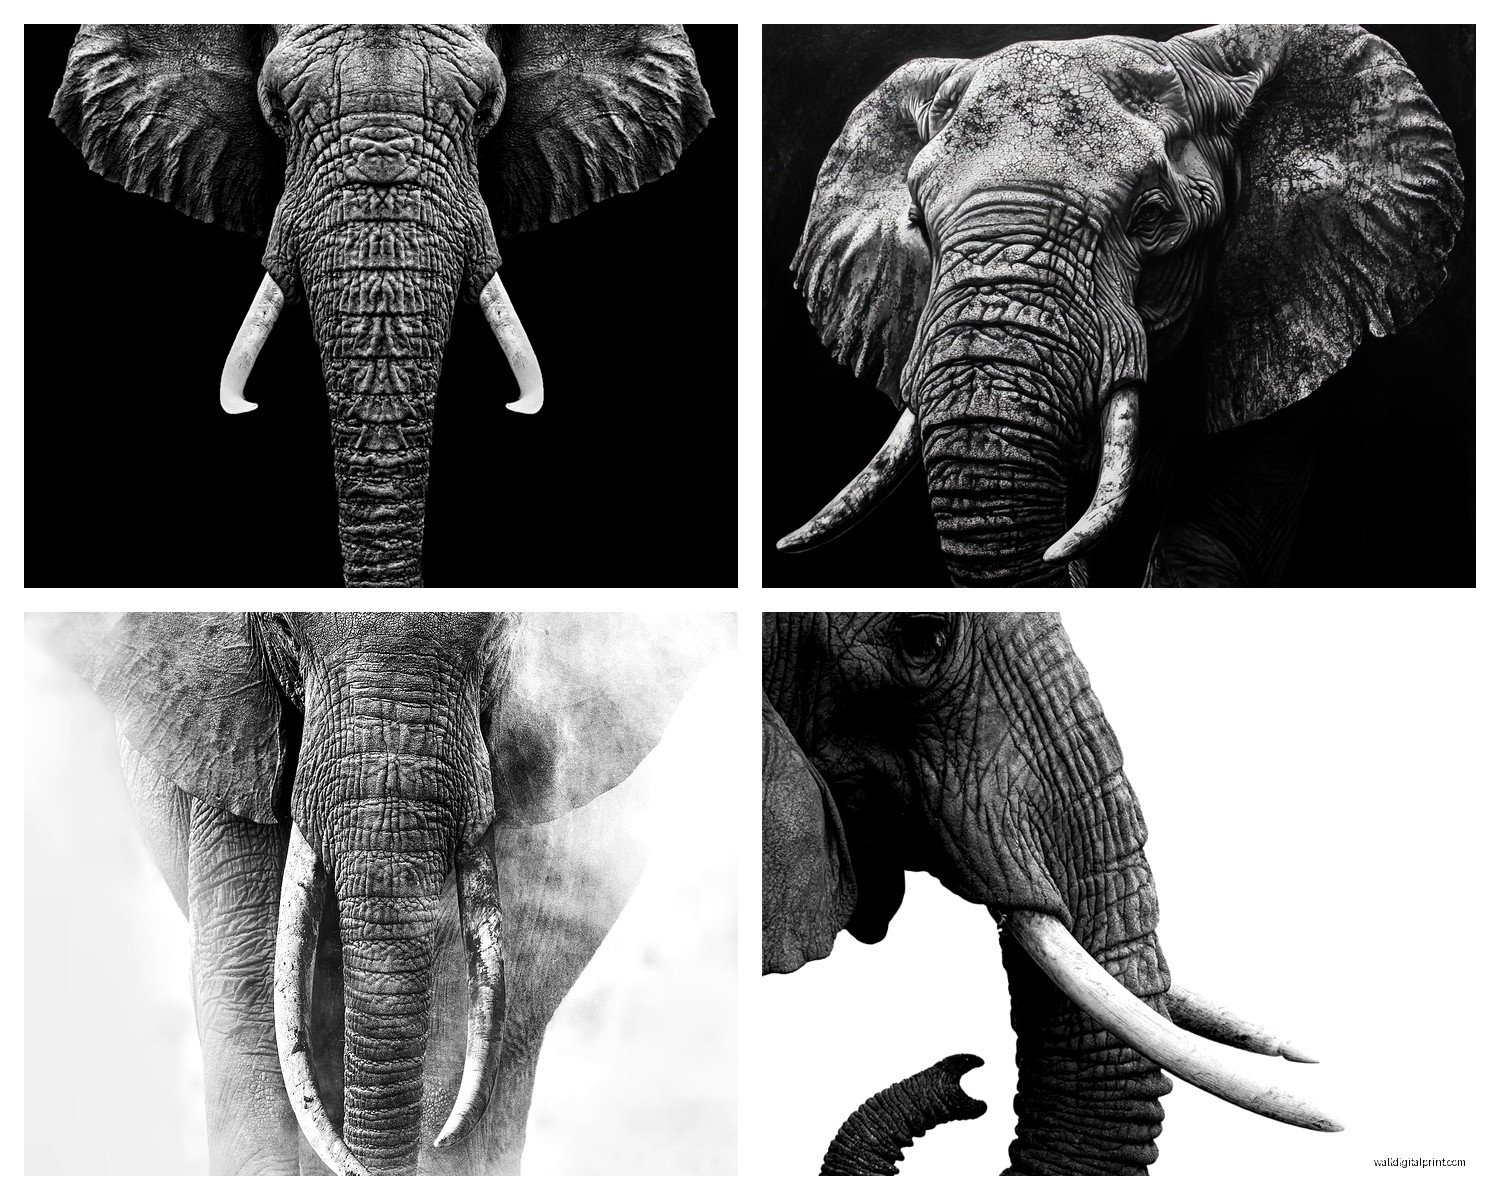
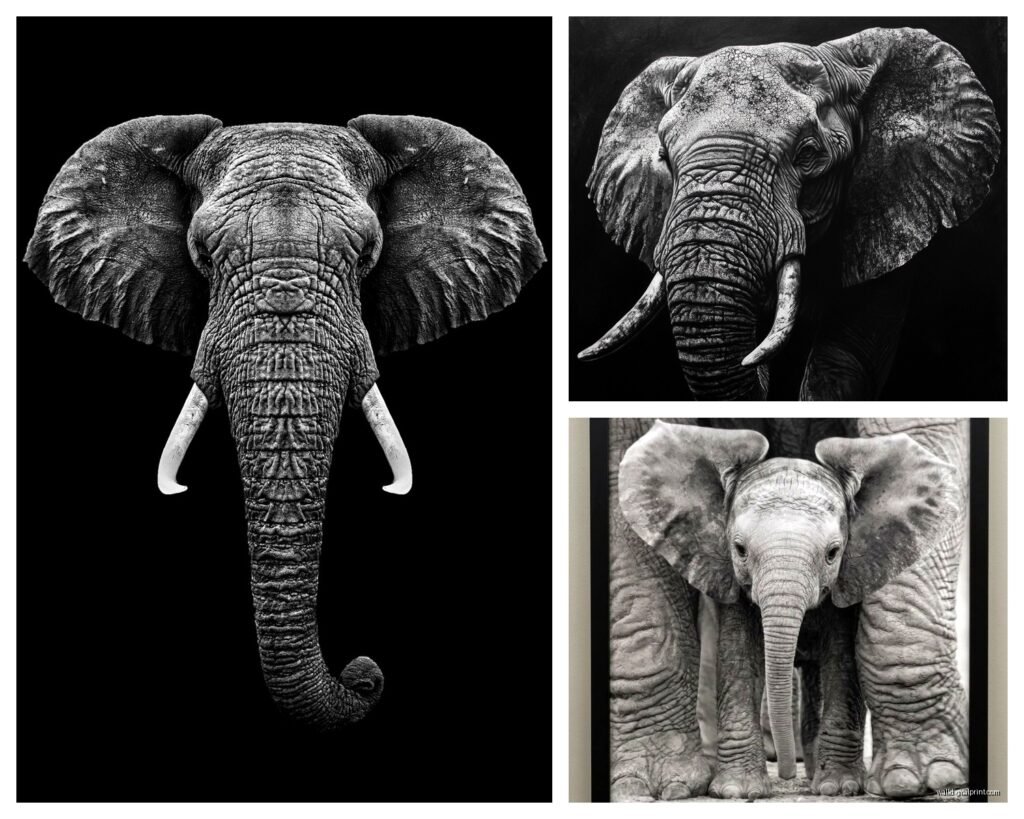
Okay so here’s the thing about elephant wall art that I didn’t get until I started really looking at it. The texture. Black and white photography strips away all the distraction of color and what you’re left with is these incredible wrinkles and skin patterns that look almost abstract up close. I hung a massive elephant close-up in my own hallway last month and people literally stop to touch the wall because they think it’s textured canvas.
The scale thing matters too. Elephants are already massive, so when you print them large format, there’s this immediate impact that you don’t get with like, a sparrow or whatever. But you can also go intimate with a baby elephant shot and it reads completely different. I’ve got both in my portfolio now.
What to Actually Look For When Shopping
This is gonna sound weird but the eye contact matters SO much. I learned this after buying three different prints online and returning two. If the elephant is looking directly at camera, it needs to be a really good shot or it feels confrontational in a bad way. The best ones I’ve found have the elephant either in profile or with this slight turn where you get personality without feeling like you’re being stared down while you eat breakfast.
- Check the contrast levels before you buy – some prints are so dark you lose all the detail in shadows
- Look at the background – busy backgrounds make elephants disappear, simple ones make them pop
- Skin texture should be visible even in thumbnail – if you can’t see wrinkles in the small preview, the resolution probably sucks
- Watch out for over-editing – some photographers crank the clarity slider so hard it looks fake
My dog knocked over my coffee while I was comparing prints on my laptop last week and honestly it helped me figure out which one I actually liked because I had to recreate my shortlist from memory.
Size and Placement That Actually Makes Sense
Okay so everyone says “go big or go home” with animal photography but that’s not always true. I’ve done elephant galleries that work better than single statement pieces depending on the room. Let me break down what I’ve tested:
The Single Statement Print
If you’re going this route, don’t go smaller than 40×60 inches. I know that sounds huge but trust me on this. I tried a 24×36 elephant portrait above a sofa once and it just looked… sad? Like a postcard that got enlarged but not enough. The whole point of elephant photography is capturing their presence and you need size to do that.
Best walls for large format elephant prints are the ones you see from multiple rooms. So like, the wall opposite your main living room entrance, or above a bed where it’s the first thing you see walking down the hallway. I hung a 50×70 elephant profile in a client’s bedroom and it completely transformed the space from boring beige hotel vibes to actually interesting.
Gallery Wall Approach
This is where I’ve been having more fun lately. Three to five elephant images in different sizes and compositions. Mix close-ups with full body shots, adults with babies, different angles. The key is keeping them all black and white obviously, but also making sure they’re from similar lighting conditions so they feel cohesive.
I did a gallery wall last month with:
- One large elephant eye close-up (30×40)
- Two medium full body shots in profile (20×30 each)
- Two small detail shots of trunk and feet (16×20 each)
The spacing between frames should be 2-3 inches. I use painter’s tape on the wall to map it out before hammering anything because I’ve definitely eyeballed it before and ended up with wonky spacing that haunted me for months.
Print Quality Stuff You Gotta Know
Oh and another thing – the printing method matters way more than I thought it would. I’ve ordered from probably fifteen different places at this point testing for clients and myself.
Canvas vs Paper vs Metal
Canvas prints are popular but honestly they can look cheap if the resolution isn’t perfect. The texture of canvas can hide some quality issues but it also softens the image in a way that doesn’t always work for elephant photography. You want those skin details sharp.
Paper prints (specifically giclée on fine art paper) are my go-to now. The detail is insane and black and white photography on matte paper has this gallery quality that canvas can’t match. You’ll need to frame them though which adds cost.
Metal prints – okay so I was skeptical about these for the longest time but I tested an aluminum print of an elephant close-up and the way the blacks looked was actually incredible. The metal gives it this subtle sheen that makes the image feel more dimensional. They’re pricey though, like really pricey.
Resolution Requirements
You need at least 150 DPI at your final print size. Most good photography sites will tell you the maximum recommended size for each image. Don’t ignore that warning and size up anyway because “it’ll probably be fine” – it won’t be. I learned this the expensive way with a $300 print that looked pixelated.
If you’re buying from places like Etsy, message the seller and ask about the file resolution. A lot of them are selling images that look great at 16×20 but fall apart at 40×60.
Where to Actually Buy These (Real Talk)
So I’ve got my rotation of sources now after lots of trial and error:
Photography Marketplaces
500px and similar sites have amazing wildlife photographers. You can often buy directly from the artist and get custom sizing. More expensive but the quality is there. I found this photographer from Kenya who shoots elephants in Amboseli and his stuff is just… *chef’s kiss*
Print on Demand Sites
Places like Society6 and Redbubble are hit or miss. The convenience is great and prices are reasonable but you’re gambling on quality. I only use these for smaller prints now, nothing over 24 inches.
Home Decor Retailers
West Elm, CB2, those types of places have curated collections. You’re paying a markup but at least you know what you’re getting. Good for people who don’t wanna think too hard about it.
Etsy
This is where I spend way too much time honestly. So many independent photographers selling instant downloads. You buy the digital file and print it yourself locally. This gives you the most control over size and material but you gotta do the legwork of finding a good local printer.
Wait I forgot to mention – if you’re printing locally, bring a USB drive with your file to the print shop and ask to see a small test print first. Costs like $10 but saves you from a $200 mistake.
Styling Around Elephant Photography
The monochrome thing makes elephant art surprisingly versatile but there are definitely looks that work better than others.
Modern Minimalist
This is the easiest pairing. White walls, simple furniture, maybe some natural wood tones. The elephant photo becomes the focal point without competing with other elements. I just did a loft apartment where we hung a massive elephant portrait above a low-profile gray sofa with literally nothing else on that wall. Perfection.
Bohemian Eclectic
You can absolutely make elephant photography work in boho spaces but you gotta be intentional. Pair it with natural textures – rattan, jute, macrame. The black and white grounds all the other elements. I’ve seen people try to mix colorful elephant art in boho rooms and it gets too busy, but monochrome keeps it balanced.
What Doesn’t Really Work
Traditional/ornate spaces are tough. Like if you’ve got heavy carved furniture and damask wallpaper, the contemporary nature photography thing creates weird dissonance. Not saying it’s impossible but I haven’t cracked that code yet.
Also be careful with super cold modern spaces – all white, chrome, glass. The elephant needs some warmth around it or the whole room feels sterile. Add some plants or warm wood tones.
Framing Options That Don’t Suck
Black frames are the obvious choice and yeah, they work. But they’re also kinda boring at this point? I’ve been experimenting with:
Natural wood frames – light oak or walnut. The warmth balances the starkness of black and white. Works especially well with outdoor elephant shots.
Floater frames – these are for canvas prints where the frame sits around the edges but you can see the canvas sides. Gives it a more artistic gallery vibe.
No frame at all – if you’re doing metal prints or mounting directly to board, frameless can look really clean and modern. Just make sure your walls are in good shape because there’s nowhere to hide imperfections.
My cat has this annoying habit of rubbing against the corner of any frame that’s within reach so I’ve started mounting things higher than I normally would. Not relevant to you probably but something to consider if you have pets.
Lighting Considerations Nobody Talks About
Okay so funny story – I hung this gorgeous elephant print in a client’s dining room and when we came back at night it looked completely different. Not in a good way. The overhead lighting was creating this glare that washed out all the beautiful contrast.
Picture lights are your friend if you’re investing in a really nice piece. Those little LED strips or swing arm lights that mount above the frame. They’re not just for fancy galleries – they actually make a huge difference in how you see the details.
Natural light is obviously ideal but watch out for direct sunlight. Even with UV protective glass, you don’t want your print fading. I always recommend hanging elephant photography on walls that get indirect light.
The Editing Style Thing
This matters more than you’d think when you’re choosing between different elephant photographs. Some photographers go super high contrast – almost graphic novel style with deep blacks and bright whites. Others keep it softer with lots of gray tones.
The high contrast stuff makes bold statements and works in modern spaces. The softer approach feels more intimate and works better in bedrooms or cozy spaces. I’ve got both styles in different rooms of my house because apparently I can’t commit to one aesthetic.
Watch Out For Over-Processing
Some elephant photos online look cool in thumbnail but when you see them large, they’re clearly over-edited. Halos around the elephant, weird sharpening artifacts, unnatural looking contrast. If the skin texture looks like it’s been drawn on rather than photographed, skip it.
Budget Real Talk
You can do this at different price points:
Budget option – Etsy digital download ($10-30) plus local printing (under $100 for medium sizes) plus basic frame ($50-150). You’re looking at $200-300 total for a good quality piece.
Mid-range – Buy directly from photographer or curated site with professional printing included. $400-800 for a large statement piece with proper framing.
Investment – Limited edition prints from known wildlife photographers, museum-quality printing and framing. $1500+ but these are pieces you keep forever.
I’ve bought across all these ranges and honestly? Some of my favorite pieces were Etsy downloads that I had printed locally on really good paper. The DIY route takes more effort but the quality can match the expensive options if you do it right.
Okay so that’s basically everything I’ve figured out through way too many hours of research and some expensive mistakes. The main thing is just making sure the image quality is actually there before you commit to a large print, and thinking about how it’ll work with your actual space rather than just how it looks online.