Wall Art Guide, Wall Art Tutoriels
Acrylic Wall Art: Plexiglass Modern Transparent Designs
Mar
So I’ve been working with acrylic wall art for like three years now and honestly it’s one of those materials that looks way more complicated than it actually is. My client last month asked me to source some pieces for her new office and I ended up spending way too much time researching the differences between all the types because apparently I’d been calling everything “plexiglass” when that’s actually just a brand name… anyway.
What You’re Actually Buying
Okay so first thing – acrylic, plexiglass, lucite, they’re basically all the same thing. Acrylic is the material, Plexiglass and Lucite are brand names that became generic terms (like Kleenex). When you’re shopping online you’ll see all three terms used interchangeably and it doesn’t really matter unless you’re getting super technical about it.
The stuff comes in different thicknesses and that’s where it actually matters. I usually go with 1/4 inch (6mm) for most wall art because it’s substantial enough to not look cheap but won’t break your bank account. The 1/8 inch stuff looks flimsy in person, trust me. I made that mistake once for a beach house project and you could literally see it flexing on the wall which is not the look.
Types of Acrylic Prints You’ll Find
There’s basically three main methods for getting images onto acrylic and they all look completely different:
Direct printing is where they print straight onto the back of the acrylic. This gives you that really vibrant, almost glowing look because light passes through the acrylic and hits the ink. It’s gorgeous for bright, bold images but terrible for anything with subtle details because the transparency can wash things out.
Face mounting (or diasec mounting, same thing) is when they print on photo paper or another material and then sandwich it between the acrylic and a backing. This is what museums use and it’s honestly my favorite for photography or anything detailed. The acrylic just acts as a protective glossy layer. More expensive though, like significantly.
Reverse printing is similar to direct but they print in reverse on the back so you view it through the acrylic from the front. Gives you really sharp images but the colors can look slightly different than you expect.
Where to Actually Buy This Stuff
Okay so if you’re buying ready-made pieces, I’ve had good luck with West Elm for more affordable options – their acrylic art usually runs $150-400 and the quality is decent. Not amazing, but decent. CB2 has some interesting geometric stuff if that’s your vibe.
For custom work or printing your own photos, I always use either Fracture (they do direct-to-acrylic printing, super easy process) or local print shops that specialize in acrylic. The local shops are usually better for larger pieces because shipping big acrylic panels is gonna cost you an arm and a leg.
Etsy is hit or miss – I’ve found some incredible artists doing hand-painted acrylic art there but you really gotta read reviews. I ordered this beautiful abstract piece last year and it arrived with the protective film still on one side which… fine, but then there were fingerprints UNDER the film which meant they touched it during creation and then filmed over it. So yeah, ask questions before buying.
Installation and Hanging
This is where people mess up constantly. Acrylic is heavier than you think it is – a 24×36 inch piece in 1/4 inch thickness weighs like 8-10 pounds. You cannot use those little sawtooth hangers or command strips. Well, you can, but then you’ll be texting me a photo of your art on the floor at 2am and I’m gonna say I told you so.
Standoff mounts are my absolute favorite for acrylic. They’re those little metal hardware pieces that create a gap between the wall and the acrylic so it kinda floats. Looks super modern and high-end. You drill through the corners of the acrylic (or buy pieces that come pre-drilled) and then mount them with the standoffs. Most acrylic art comes with the holes already drilled which is good because drilling acrylic yourself is a whole thing that involves specific drill bits and going really slow or it’ll crack.
If your piece doesn’t come with holes and you don’t want to DIY it, you can use French cleats attached to a backing board. Just mount a backing board to the acrylic with clear silicone adhesive, attach the cleat system, done. I did this for a 40×60 inch piece in a lobby and it’s been hanging for two years, perfectly secure.
Oh and another thing – Z-clips work great too. They’re less visible than French cleats and really easy to install. You just need two of them for most pieces.
Cleaning and Maintenance
So acrylic scratches if you look at it wrong, basically. Never use paper towels or regular glass cleaner. I learned this the hard way on my own acrylic piece in my living room and now it has these tiny hairline scratches that catch the light. Annoying.
Use microfiber cloths only – I buy them in bulk from Amazon, those cheap packs of like 20 for $15. For cleaner, either buy actual acrylic cleaner (Novus makes good stuff) or just use a tiny bit of dish soap mixed with water. Spray it on the cloth, not directly on the acrylic, and wipe gently in circular motions.
The static electricity situation is real. Acrylic attracts dust like crazy. I keep a Swiffer duster nearby and just do a quick pass over my acrylic pieces every few days. There are anti-static sprays but honestly I’ve never found one that works long-term.
Dealing with Scratches
Minor scratches can be buffed out with plastic polish. The Novus system has three different compounds – #1 for cleaning, #2 for fine scratches, #3 for heavy scratches. If you’re investing in acrylic art, just buy the kit. It’s like $25 and worth it.
Deep scratches though? You’re probably stuck with them. I had a client whose dog jumped up and scratched her acrylic print and there was no saving it. This is why I don’t usually recommend acrylic for homes with big dogs or young kids who might treat it roughly.
Design Considerations and What Actually Looks Good
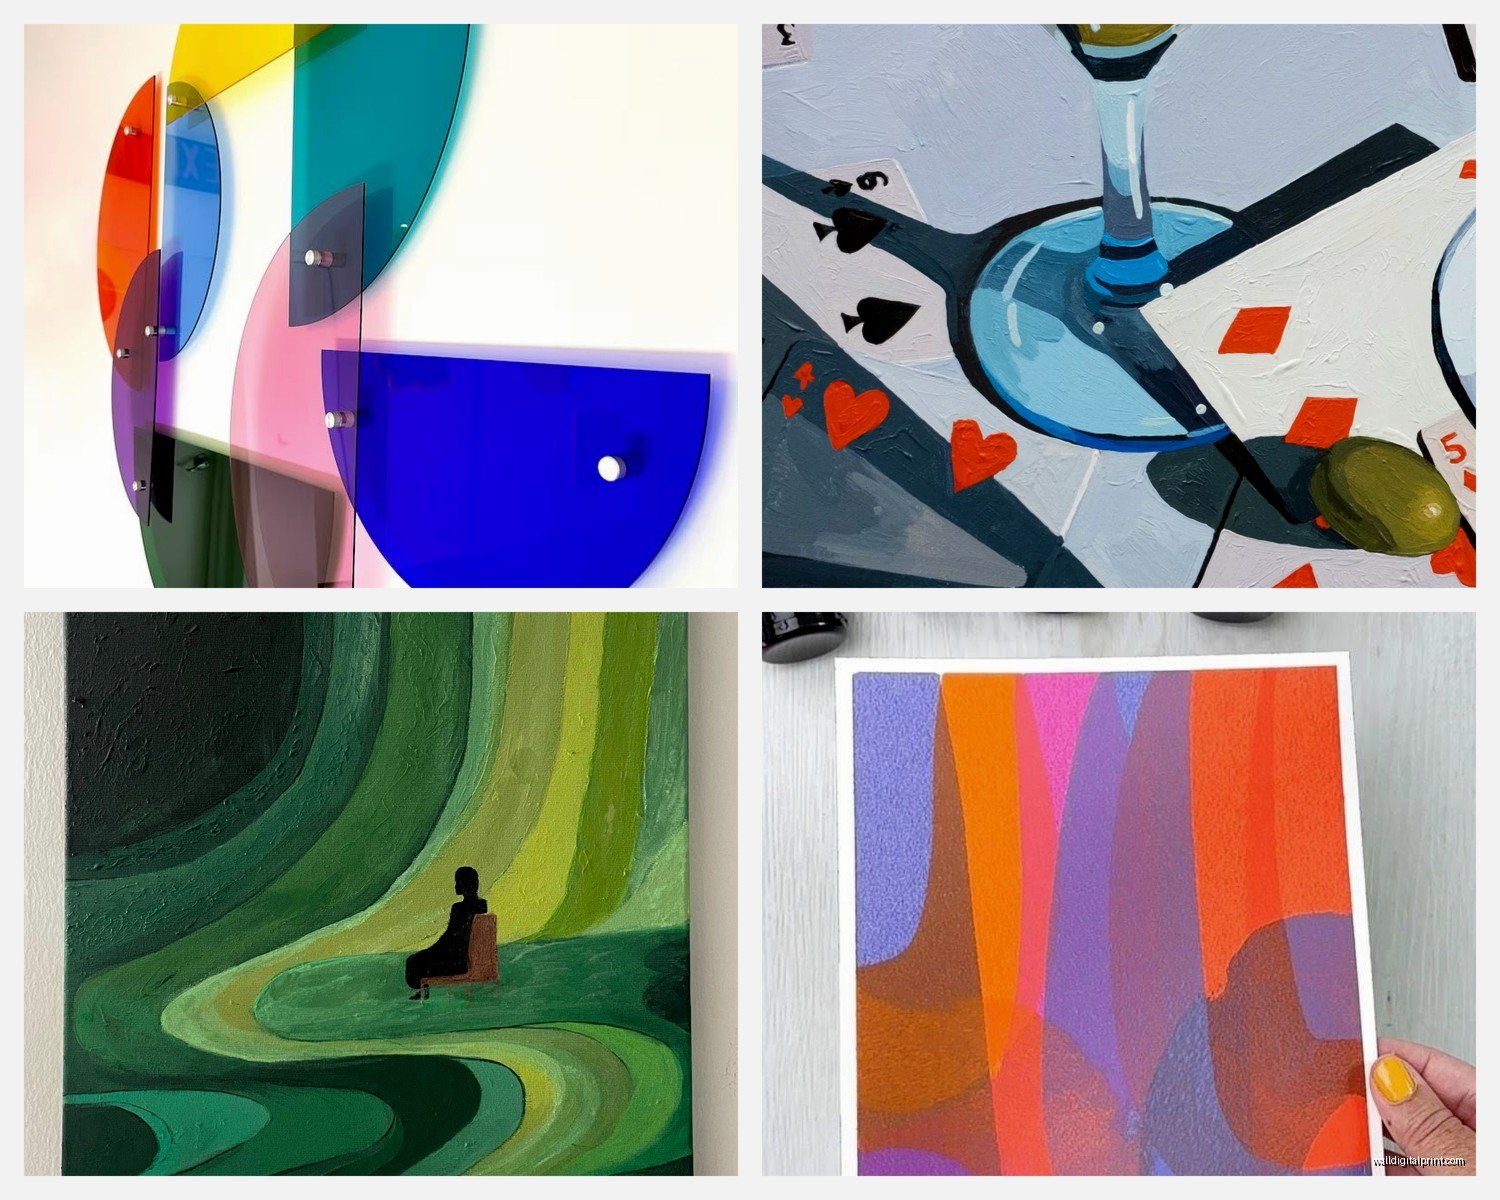
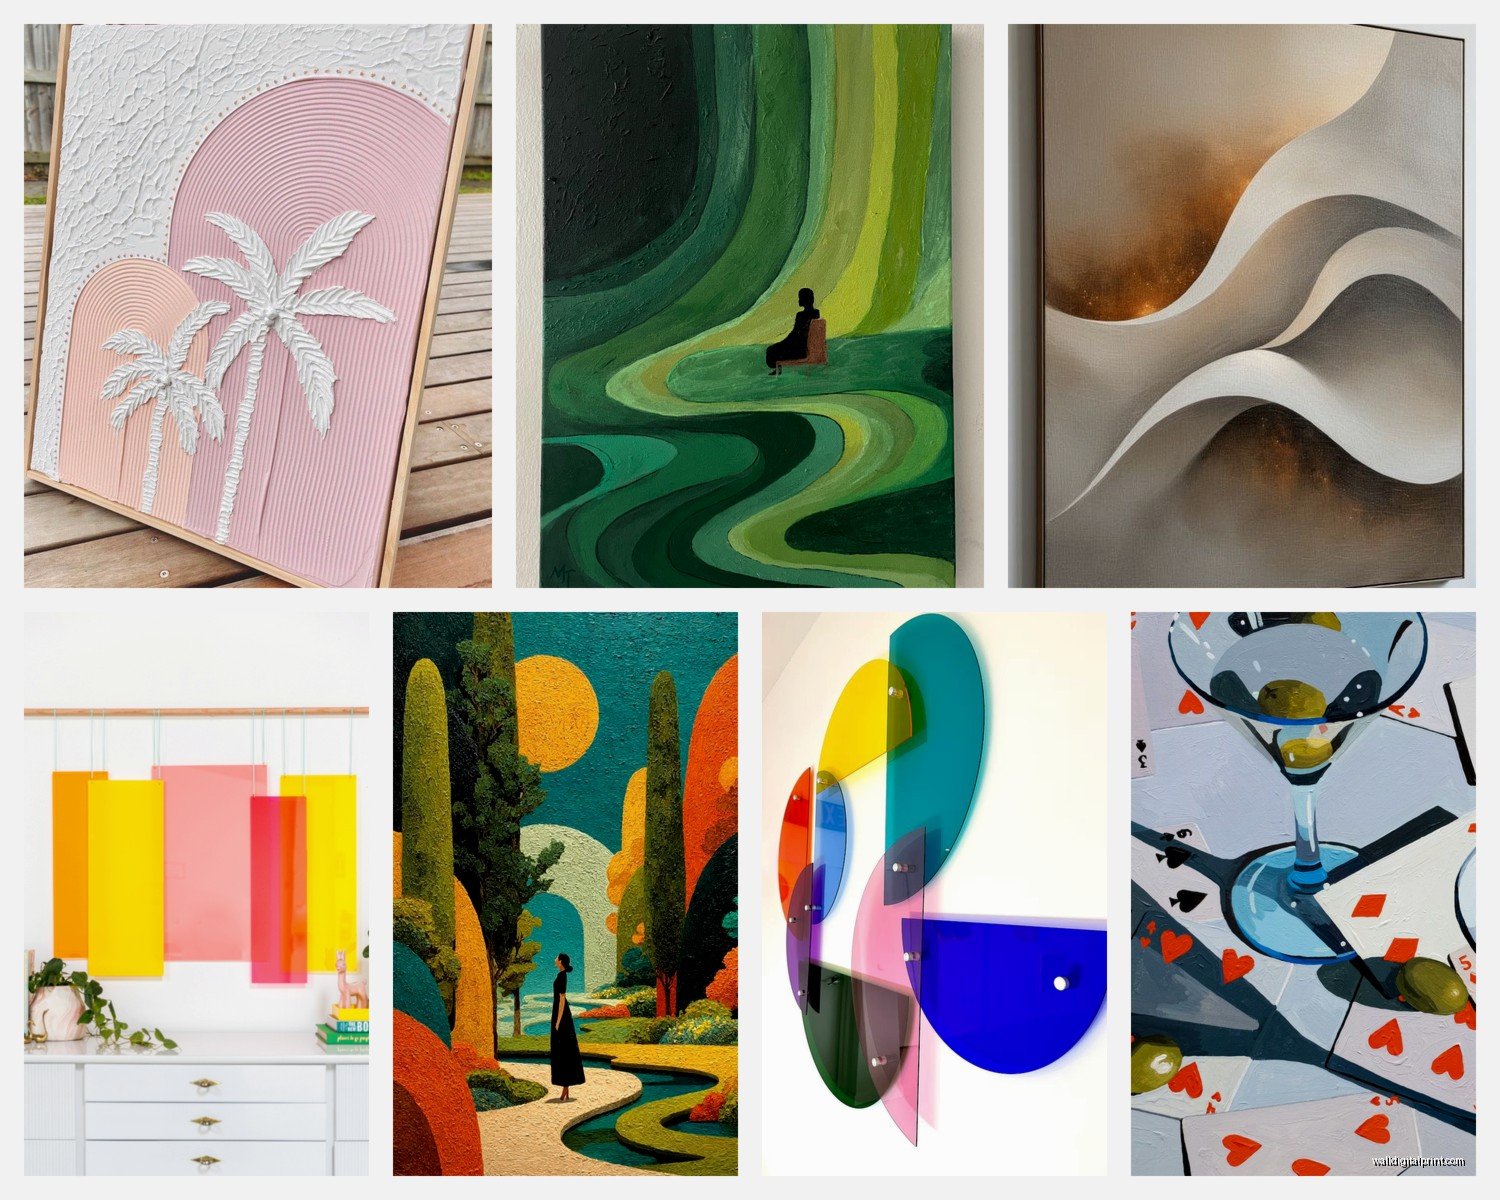
Transparency is the whole point of acrylic so use it intentionally. I love layered acrylic pieces where you have multiple panels at different depths creating this 3D effect. There’s an artist on Instagram, I think her name is Sarah Monet or something similar, who does these incredible layered botanical prints and they’re just stunning.
Backlit acrylic is having a moment right now. You mount LED strips behind the acrylic and it glows. Works amazingly well for abstract art, geometric designs, or anything with bold colors. I installed one in a client’s dining room last month and it’s become the whole focal point of the space. Just make sure you plan for the electrical work beforehand because routing power to a wall-mounted piece can get complicated.
For photography, I think acrylic works best with:
- High contrast images – blacks stay really deep and rich
- Bright, saturated colors – they just pop through the acrylic
- Underwater photography or anything with water – the glossy surface enhances the feeling of depth
- Urban architecture with lots of glass and reflections
- Macro photography with really sharp details
What doesn’t work as well: soft, muted landscapes or anything that relies on texture. The ultra-smooth surface of acrylic can make those feel flat.
Sizing and Placement
Acrylic reads as modern and architectural so it needs space around it to breathe. Don’t crowd it with other art or hang it in a cluttered area. I usually recommend at least 6-8 inches of clear space on all sides.
For sizing, bigger is generally better with acrylic because the material itself makes a statement. A tiny 8×10 acrylic print just looks like you’re trying too hard. I rarely go smaller than 16×20 inches unless it’s part of a gallery wall situation.
Standard sizes are cheaper – 16×20, 20×30, 24×36, 30×40. Custom sizes will cost you maybe 30-50% more because they’re cutting it specifically for you. Worth it sometimes but not always.
Room-Specific Ideas
In bathrooms, acrylic is actually perfect because it’s moisture-resistant. I’ve used ocean photography printed on acrylic in several bathroom renovations and it always looks expensive and spa-like.
Kitchens – be careful here. Heat can warp acrylic over time so don’t hang it directly above the stove. I made that mistake in my own kitchen (do as I say, not as I do) and after about a year the bottom edge started getting wavy. Had to move it.
Bedrooms I usually go more subtle with acrylic. Maybe an abstract piece in soft colors or a single botanical print. The high-gloss finish can be a bit much if you’re trying to create a calming space.
DIY vs. Professional
You can totally make your own acrylic art if you’re crafty. Buy clear acrylic sheets from TAP Plastics or a similar supplier, get acrylic paints, and go to town on the back side. When you flip it over, you see your painting through the clear acrylic and it has that professional printed look.
The trick is painting in reverse – what you paint first will be on top visually when you flip it. So you paint details first, then background layers. Takes some practice to wrap your head around but the results can be really cool.
I tried this during lockdown when I had literally nothing else to do and my cat kept walking through my paint palette which was… a whole situation. But the pieces actually turned out decent and now I have three of them in my hallway.
For mounting your DIY pieces, those standoff mounts I mentioned earlier can be bought separately from hardware stores or Amazon. You will need a drill press or at least a really steady hand and the right drill bit. Go slow, use tape on both sides of where you’re drilling to prevent cracking, and maybe practice on a scrap piece first.
Price Expectations
Ready-made acrylic art from mainstream retailers: $100-500 depending on size
Custom prints (your photos): $150-600 for standard sizes, more for large format
High-end artist pieces: $800-3000+ and honestly sky’s the limit
DIY materials: $30-100 depending on size and whether you already have paints
The material itself isn’t that expensive – a 24×36 inch sheet of 1/4 inch clear acrylic runs about $40-60. You’re paying for the printing process, mounting, finishing, and the artist’s work if it’s an original piece.
Common Problems and Solutions
Glare is the biggest complaint I hear. Acrylic is super reflective and if you hang it across from a window or bright light source, you’re gonna get glare that obscures the image. Solution: use museum-grade non-glare acrylic (way more expensive) or just be strategic about placement. I use a lighting app on my phone to check how light hits different walls before I commit to hanging anything.
Yellowing happens with cheaper acrylic over time, especially if it’s exposed to direct sunlight. UV-resistant acrylic costs more but is worth it for pieces in sunny rooms. Most quality acrylic art uses UV-resistant material but ask if you’re not sure.
Warping from heat or humidity – this is why you gotta be careful in kitchens and bathrooms. Make sure there’s good ventilation and don’t mount it directly in the path of steam or heat.
wait I forgot to mention – the edges matter more than you’d think. Polished edges look way better than raw cut edges. When you’re buying, check if the edges are flame-polished or diamond-polished. Flame-polished is standard and looks good, diamond-polished is premium and looks amazing but costs more.
Trends I’m Seeing Right Now
Lots of people are doing mixed media where part of the acrylic is clear and part has printing or painting. Creates this really dynamic effect where some of your wall shows through.
Neon colors on acrylic are having a comeback but in a more sophisticated way than the 80s. Think one bold neon element on an otherwise minimal design.
Text-based art on acrylic is everywhere – quotes, song lyrics, single words. Can be cheesy if not done right but when it works, it really works.
Okay I think that covers most of what you need to know. The main thing is just don’t overthink it – acrylic is more forgiving than you’d expect and even if you make some mistakes with placement or cleaning, it’s fixable. Just avoid those command strips for hanging and you’ll be fine.