Wall Art Guide, Wall Art Tutoriels
Bathroom Wall Art Decor: Moisture-Resistant Design Ideas
Apr
So I’ve been dealing with bathroom art situations for like seven years now and honestly it’s one of those things where you really gotta know what materials can actually survive. Like my client last month hung this beautiful watercolor print in her guest bath and within three weeks it was warping so badly we had to start over.
The Humidity Problem Nobody Talks About Enough
Your bathroom is basically a tropical rainforest environment every time someone showers. I’m talking 70-90% humidity levels, temperature swings, and if you’ve got a small bathroom with bad ventilation… yeah. Regular paper prints and certain frames will literally fall apart. I watched it happen in my own powder room before I knew better.
Materials That Actually Work
Acrylic Prints Are Your Best Friend
Okay so acrylic prints are where I start with almost everyone now. They’re printed directly onto acrylic or sandwiched between acrylic layers and they’re completely moisture-proof. I’ve had one in my master bath for three years above the tub and it still looks brand new. No warping, no fading, nothing.
The catch is they’re more expensive upfront. You’re looking at like $80-200 depending on size. But they last forever and you can literally wipe them down with glass cleaner. I do that maybe once a month when I’m cleaning.
Companies like Shutterfly and Fracture do these. I’ve used both. Fracture has slightly better color saturation in my opinion but Shutterfly goes on sale more often if you’re patient.
Metal Prints Hold Up Insanely Well
Metal prints are another moisture-proof option that I actually love even more sometimes. The image gets infused directly onto aluminum and the finish is this really cool modern look. They’re lightweight which is great because you’re not putting a ton of weight on potentially drywall that might have moisture issues.
Bay Photo and Printique both do excellent metal prints. I’ve tested probably fifteen different companies at this point because my friend Sarah kept asking me which one to use for her bathroom renovation and I got obsessed with comparing them all.
The colors on metal can look super vibrant, almost glowing. Works really well for abstract art or nature photography. Beach scenes look incredible on metal actually.
Canvas… But Only If It’s Sealed Properly
Canvas is tricky. Regular canvas will absorb moisture and can develop mildew. But if you get a canvas that’s been treated with a protective sealant or you seal it yourself, it can work.
I use a product called Krylon Gallery Series UV Archival Varnish. You spray it on in like 3-4 light coats and let it dry completely between coats. Takes forever, I usually do it while watching reality TV because you gotta wait like an hour between coats. But it creates this protective barrier.
The other option is getting canvas prints that come pre-sealed. Some companies offer this but you have to specifically ask. CanvasPress does them and they’ve held up well in the half bath at my sister’s place.
Framed Prints With The Right Setup
You can absolutely do traditional framed prints but the frame setup matters SO much. Here’s what actually works:
Use frames with acrylic or plexiglass instead of regular glass. Real glass can develop condensation between the glass and the print which leads to mold. Acrylic doesn’t have this problem as much.
Sealed frames are important. Look for frames that have a backing that seals completely. Those cheap frames from Target where the backing is just cardboard and metal tabs? Those will let moisture in. I learned this the hard way in my first apartment.
IKEA actually has some decent options believe it or not. Their RIBBA frames with the plexiglass fronts work fine for smaller prints in bathrooms with decent ventilation. I’ve used them in powder rooms successfully.
For the actual print inside, you want either a photo printed on proper photo paper (not inkjet paper) or a giclee print. Regular inkjet prints will run if any moisture gets in.
What About The Actual Artwork Subject
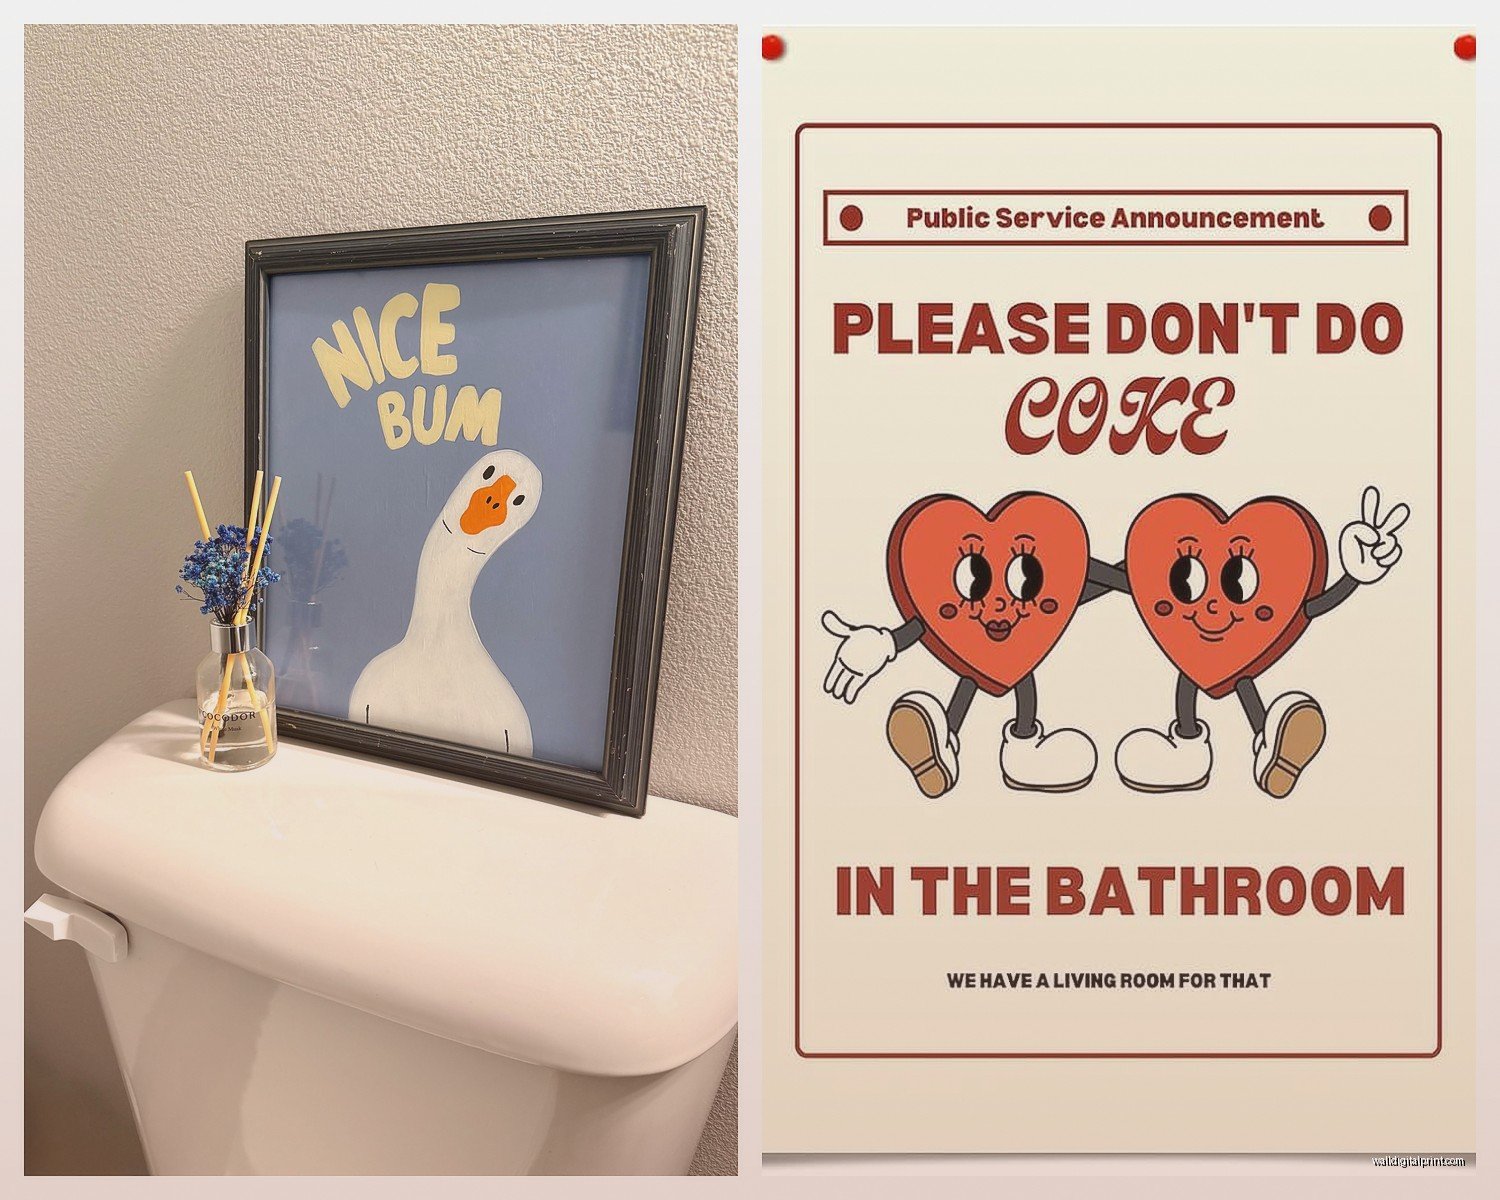
Oh and another thing – what you put up matters too beyond just the material. I’ve noticed that really detailed pieces with lots of fine lines can be harder to see in bathrooms because of steam and lighting. Bold, simpler designs tend to work better.
Abstract art is huge in bathrooms right now. Geometric patterns, watercolor-style designs (ironic that they need to be printed on non-porous materials), botanical prints.
I did this whole series of vintage botanical prints on metal for a client’s bathroom last spring and they looked amazing. The green tones with white tile and brass fixtures… anyway that’s not really about materials but just something to consider.
Outdoor Art Repurposed For Bathrooms
This is gonna sound weird but I’ve started looking at outdoor wall art for bathroom solutions. Like the stuff meant for patios and gardens. It’s designed to handle weather so obviously it can handle bathroom humidity.
There are these really cool metal wall sculptures and ceramic pieces that are technically outdoor decor but look completely fine indoors. Home Depot and Wayfair both have sections for this. Just filter for weather-resistant or outdoor-rated.
I found this ceramic tile mosaic piece that was marketed for gardens and put it in a client’s shower area (not in the shower but on the wall near it) and it’s been perfect for over a year.
DIY Sealing Methods That Work
If you already have art you love and want to make it bathroom-safe, you’ve got options.
For paper prints, you can seal them before framing. That Krylon spray I mentioned works on paper too. You can also use Mod Podge – get the waterproof formula. You brush it on the front of the print in thin layers. It’ll look slightly glossy when done but it creates a moisture barrier.
I sealed a vintage map print this way for my own bathroom two years ago. Still looks good. You gotta be patient with the application though. If you glob it on too thick it’ll wrinkle the paper.
Another method is lamination. You can get prints laminated at FedEx or Staples for pretty cheap. Then frame them with acrylic. The lamination creates a plastic seal around the paper. It’s not the most archival method if you care about that, but for bathroom purposes it works fine.
Frame Materials That Don’t Rust Or Warp
Metal frames need to be aluminum or stainless steel. Regular metal frames will rust in bathrooms I don’t care what anyone says. I’ve seen it happen multiple times.
Plastic frames actually work great and they’re cheap. The resin-based ones can look surprisingly nice. They don’t swell or warp from moisture.
Wood frames are risky unless they’re sealed wood. You can seal wood frames yourself with polyurethane or get frames that are already sealed. But honestly I usually steer people away from wood in bathrooms because even sealed wood can eventually have issues if your bathroom gets really steamy.
Floating Frames For A Modern Look
Wait I forgot to mention floating frames – these are those frames where the art appears to float inside the frame with a gap around it. They work really well in bathrooms because they allow for air circulation around the art. Less chance of moisture getting trapped.
You can find them at art supply stores or online. They’re more expensive but they look really high-end. I used them in a client’s bathroom renovation where we had a tight budget but wanted it to look expensive and it totally worked.
Installation Tips For Humid Environments
Okay so installation matters too. Don’t hang anything directly above the shower where it’s getting hit with steam constantly. Even moisture-resistant materials have their limits.
Use proper wall anchors especially if you’re hanging anything heavy. Drywall in bathrooms can be more fragile because of moisture exposure over time. I always use toggle bolts for anything over like 5 pounds.
Leave some space between the frame back and the wall. You can use those little bumper pads or cork dots on the back corners of frames. This creates air flow and prevents moisture from getting trapped between the wall and the frame. My cat knocked over my coffee while I was putting these on frames last week and I’m still finding sticky residue everywhere but anyway they really do help.
Ventilation Makes Everything Better
This isn’t about materials but if your bathroom has terrible ventilation, even the best materials will struggle eventually. Run your exhaust fan during showers and for like 20 minutes after. Crack a window if you have one.
I had a client who kept having issues with wall art and we finally figured out her exhaust fan wasn’t actually venting outside, it was just recirculating humid air. Once we fixed that, everything improved.
Specific Product Recommendations
Since you’re probably wondering what to actually buy:
For ready-to-hang acrylic prints: Fracture is my go-to. Their small sizes start around $45 and they come ready to hang with a backing that includes mounting hardware.
For metal prints: Bay Photo has the best quality I’ve found but they’re pricey. Printique is good for a mid-range option.
For frames with acrylic fronts: Framebridge does custom frames with acrylic and sealed backs. They’re expensive but worth it for art you really care about. For cheaper options, check Michael’s when they have their 50% off frame sales.
For DIY sealing: Krylon Gallery Series UV Archival Varnish or Mod Podge Waterproof formula. Both available at craft stores.
The Tile Alternative
Okay so funny story – I was at a tile shop with a client last year and we saw these decorative tile pieces that are basically art tiles. They’re made from ceramic or porcelain, fully glazed, completely waterproof. You can install them just like regular tiles.
They come in all sorts of designs. Some look like traditional art, some are abstract patterns, some are photographic images printed on tile. Completely moisture-proof obviously since they’re literally designed for wet areas.
The installation is more involved since you need to actually mount them with tile adhesive or thinset, but for a permanent solution they’re amazing. Companies like Mercury Mosaics and Pratt and Larson do beautiful art tiles.
What Doesn’t Work No Matter What People Say
Let me save you some trouble. These things don’t work in bathrooms:
Regular paper prints without protection – they will warp, I promise you
Fabric wall hangings unless they’re specifically outdoor-rated fabric
Cork boards or anything porous
Untreated wood pieces
Regular canvas without sealant
Frames with cardboard backing
Anything with exposed metal that isn’t stainless steel or aluminum
I know people online will say they’ve had these things in their bathrooms for years with no problems but either they’re lying, they have amazing ventilation, or they just haven’t noticed the damage yet.
The Powder Room Exception
Powder rooms are different because they typically don’t have showers. You can get away with more in a powder room. Regular framed prints usually work fine because the humidity levels stay lower. I still wouldn’t do fabric or untreated materials but you have more options.
Sizing And Placement Considerations
Bigger pieces work better than gallery walls in bathrooms in my opinion. Multiple small pieces means multiple frames and more potential points of failure with moisture. Plus bathrooms are usually small spaces so one statement piece tends to look better anyway.
Height-wise, hang things at eye level like you would anywhere else. If you’re putting something above the toilet, center it above the toilet tank around 6-8 inches above.
For above the tub, make sure it’s high enough that shower spray won’t hit it but low enough to still feel connected to the space. I usually go about 12 inches above the tub edge.
Maintenance And Long-Term Care
Even moisture-resistant art needs some maintenance. Wipe down acrylic and metal prints every few weeks with a soft cloth. You can use glass cleaner on acrylic but avoid anything abrasive.
For sealed canvas or framed pieces, dust them regularly and watch for any signs of moisture damage around the edges. If you see any warping or discoloration, address it immediately before it gets worse.
Check frame backs occasionally to make sure the seal is still intact. If you notice the backing paper is peeling or looks damaged, you might need to re-seal it.
I replace the little bumper pads on the back of frames maybe once a year because they can compress over time and stop creating that air gap you need.
The main thing is just being proactive. Don’t wait until something looks obviously damaged to deal with it. By then it’s usually too late and you’re replacing the whole piece.
Anyway that’s basically everything I’ve learned through trial and error and way too many bathroom art failures. The investment in proper materials is totally worth it versus replacing things every year.