Wall Art Guide, Wall Art Tutoriels
Bathroom Wall Art Stickers: Removable Bath Vinyl Decals
Apr
So I’ve been testing bathroom wall stickers for like three years now and honestly? They’re way more complicated than anyone admits. My client last month wanted to redo her powder room on basically no budget and we went deep into the vinyl decal world.
Material Types That Actually Matter
Okay so first thing – not all vinyl is created equal and this is where people mess up. You’ve got your basic PVC vinyl which is what most cheap Amazon stickers are made from. It works fine but here’s the thing… in a bathroom with steam and moisture, you need specific stuff.
The good bathroom stickers are made from matte vinyl or what they call “bathroom-grade” vinyl. It’s got a different adhesive backing that handles humidity. I learned this the hard way when I put regular vinyl quotes in my own bathroom and within like two months the edges were curling up. So annoying.
Matte vs Glossy Finish
Matte is better for bathrooms 100%. The glossy ones show every water spot and fingerprint – trust me I have a 7-year-old who apparently can’t wash his hands without creating a crime scene. Matte hides imperfections better and doesn’t reflect light weirdly when you’re trying to do your makeup or whatever.
Adhesive Quality Is Everything
This is gonna sound weird but the best test I’ve found is to check if the listing mentions “repositionable” or “removable without residue.” If they don’t mention the adhesive type at all? Hard pass. You want either:
- Fabric-backed adhesive (premium option, feels almost like a thick sticker)
- Low-tack removable adhesive (standard good quality)
- Static cling (no adhesive at all, works on mirrors and glass)
The static cling ones are actually perfect for rental bathrooms. I used them in my last apartment and they came off completely clean when I moved. They’re not as sturdy for textured walls though.
What To Avoid
Stay away from anything labeled “permanent vinyl” unless you literally never want it to come off. Some Etsy sellers use permanent Cricut vinyl because it’s cheaper and they don’t tell you. Always read reviews where people mention removal.
Size and Scale Planning
Okay so funny story – I once ordered what I thought was a huge tropical leaf decal and it arrived the size of my hand. Check the measurements like three times because product photos are SO misleading.
For standard bathrooms you want:
- Small accent stickers: 6-12 inches (good for clusters around mirrors)
- Medium statement pieces: 18-30 inches (above toilet, beside vanity)
- Large murals: 36+ inches (full wall behind tub)
My rule is measure your wall space, then subtract about 20% to leave breathing room. You don’t want the sticker touching edges or corners because that’s where they’ll peel first.
Application Process That Actually Works
Wait I forgot to mention – you need to prep the wall properly or you’re wasting your money. This part nobody talks about enough.
Surface Preparation
Clean your wall with rubbing alcohol or a 50/50 vinegar-water mix. Not just regular cleaner – you need to remove oils and soap residue. Let it dry completely, like minimum 30 minutes. I usually do this step the night before.
Textured walls are tricky. If your bathroom has that orange peel texture, smaller stickers work better than one large piece. The vinyl can’t conform to heavy texture without creating air bubbles.
The Actual Application
Here’s my method that I’ve perfected:
Start with the transfer tape still on. Position the whole thing on the wall with painter’s tape at the top – this creates a hinge so you can flip it up and peel the backing.
Peel back the backing paper about halfway. Smooth the exposed vinyl onto the wall from center outward using a credit card or squeegee. Then peel the rest of the backing and finish applying.
The squeegee motion matters – always work from center to edges to push air bubbles out. Don’t go back and forth randomly, you’ll just trap air.
Let it sit for like 10 minutes, then SLOWLY peel away the transfer tape at a sharp angle. If the vinyl starts lifting with the tape, press it back down and try again from a different angle.
Dealing With Steam and Moisture
This is the big question everyone asks. Your bathroom gets humid – will the stickers fall off?
Good quality bathroom vinyl handles normal shower steam fine. But there’s limits. If you have a tiny bathroom with no ventilation and you take 30-minute hot showers, even the best vinyl might struggle.
I always tell people to run the exhaust fan during and for 15 minutes after showers. If you don’t have a fan… honestly consider a different material like actual waterproof paint or tiles for high-moisture areas.
Best Placement Zones
- Above the toilet: safest spot, minimal moisture exposure
- Opposite wall from shower: good for larger designs
- On mirrors or glass: perfect for static cling types
- Beside vanity: works well if not directly next to sink
Avoid putting vinyl directly in the shower area or right next to the tub where it gets splashed constantly. I mean you can, but you’ll be replacing them way sooner.

Design Styles That Work
Okay so aesthetically, bathrooms are weird spaces. They’re small and functional but you still want them to look good, right?
Patterns That Don’t Overwhelm
Geometric designs work great in small bathrooms because they add interest without feeling cluttered. I’m obsessed with hexagon and moroccan-style patterns right now.
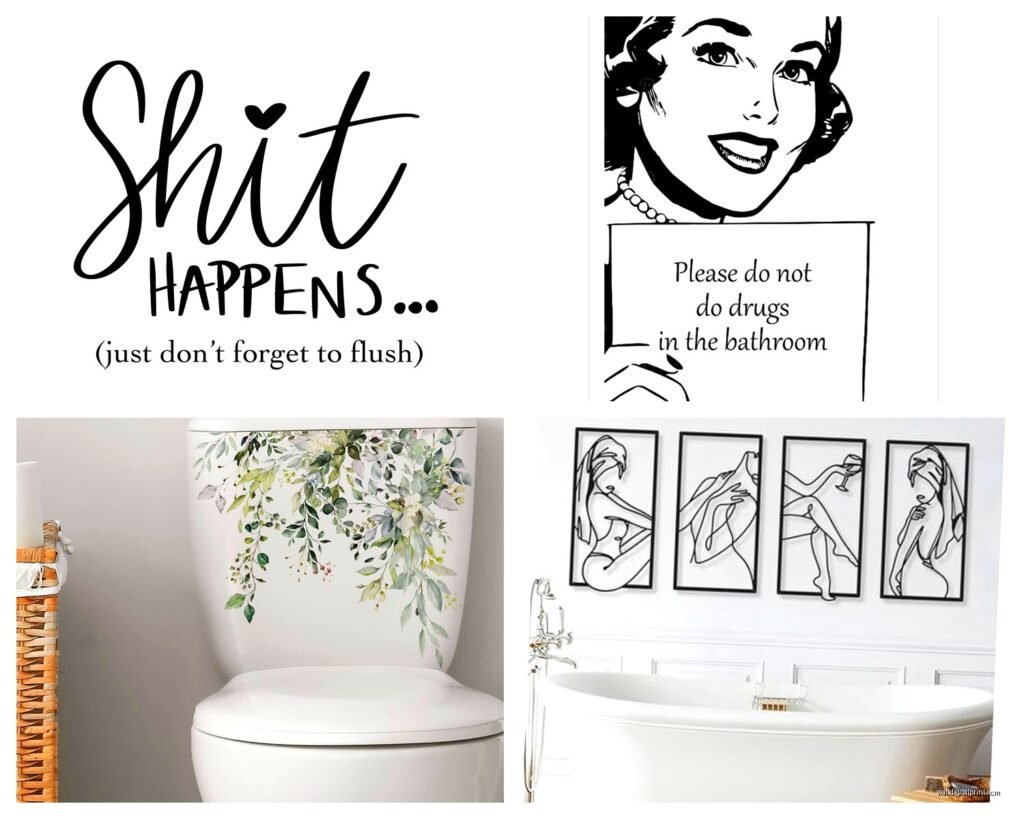
Botanical designs are classic for bathrooms – ferns, eucalyptus, palm leaves. They bring in that spa feeling. Just don’t go too literal with it… like a giant realistic fern might be too much. Stylized line drawings look more sophisticated.
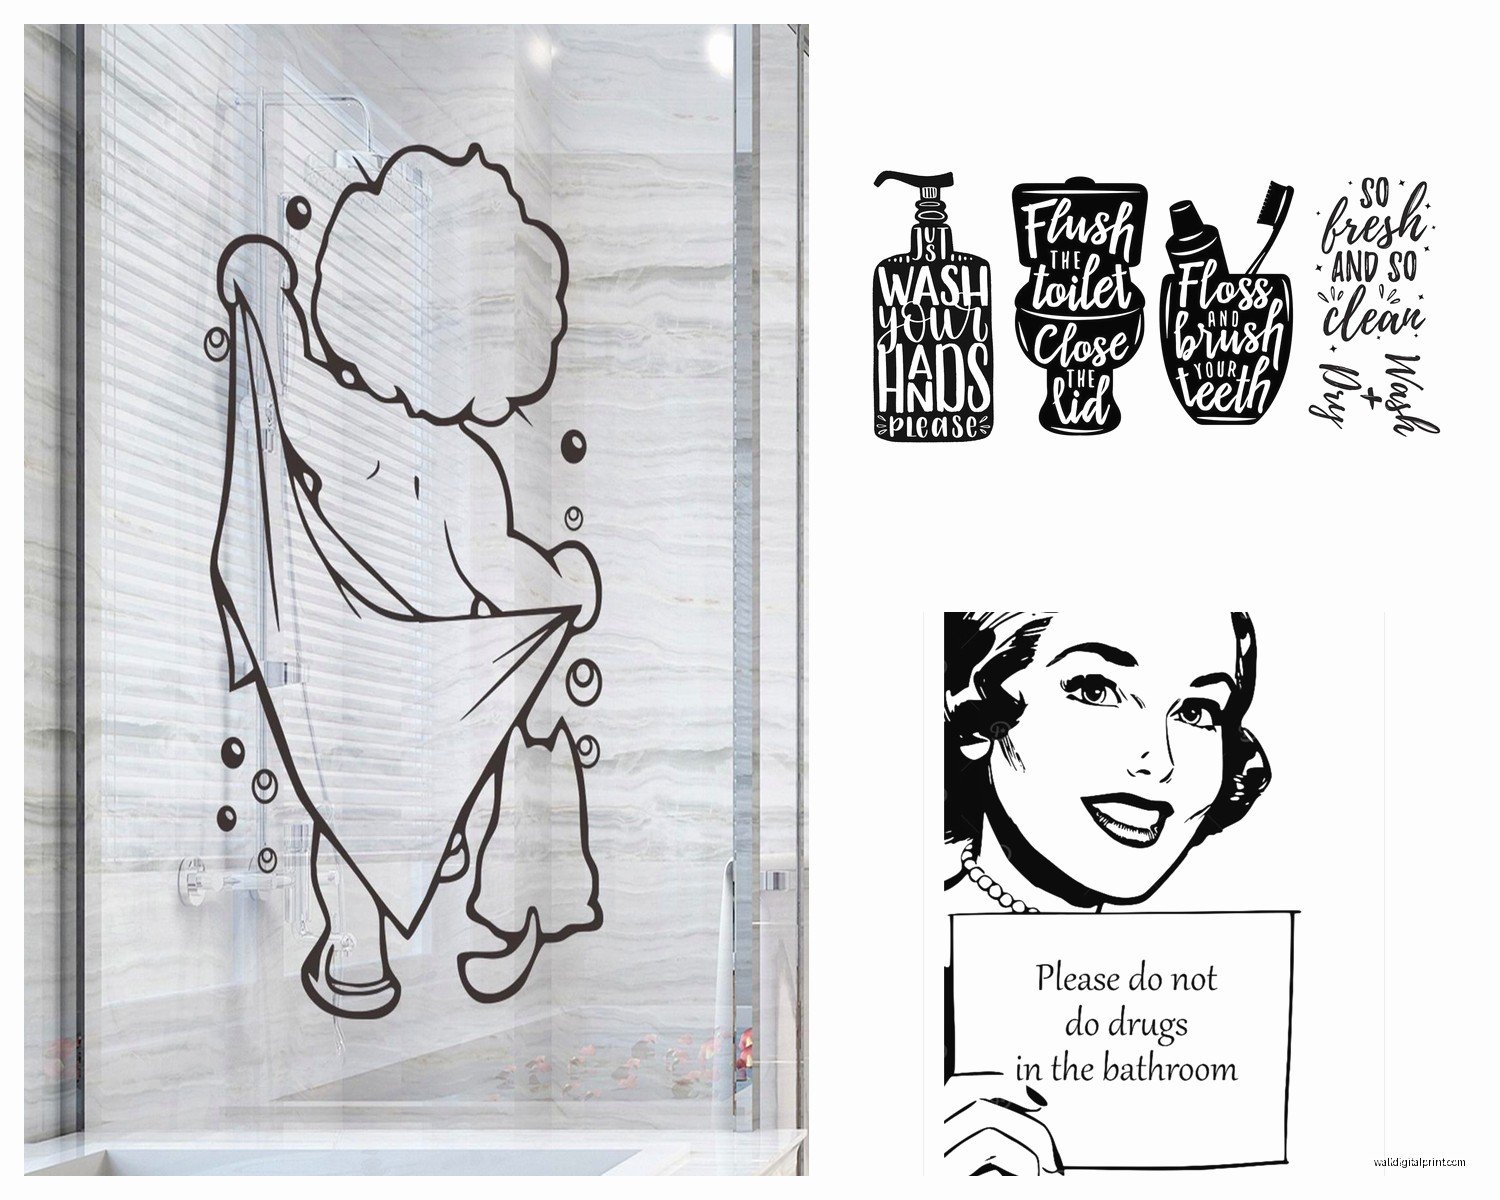
Text and Quotes
This is personal preference but I’m kinda over the “wash your hands” and “splish splash” type quotes. If you want text, go for something unexpected. I saw one that just said “unwind” in minimal font and it was perfect.
Size your text carefully – too small and it looks like an afterthought, too large and it’s overwhelming in a small space.
Color Selection Strategy
Your vinyl color needs to contrast with your wall enough to be visible but not so much that it screams at you. I usually go for:
- White/cream walls: black, navy, charcoal, or metallics
- Gray walls: white, blush pink, sage green
- Colored walls: white or black for graphic impact
Metallic vinyl (gold, copper, silver) looks really good in bathrooms because it catches light nicely. The quality varies a lot though – cheap metallic vinyl looks plasticky.
Removal and Damage Prevention
Okay this is important because landlords exist and also sometimes you just change your mind.
To remove vinyl stickers properly, warm them up first with a hairdryer on low setting. This softens the adhesive. Then peel slowly at a 45-degree angle, pulling parallel to the wall not away from it.
If adhesive residue stays behind (it happens), use Goo Gone or rubbing alcohol. Don’t use anything too harsh or you’ll damage paint.
Common Problems
Peeling edges: usually means the wall wasn’t clean enough or the adhesive quality is poor. You can try pushing them back down with a bit of heat from a hairdryer.
Air bubbles: small ones often disappear on their own within 24 hours as the vinyl settles. Bigger ones you can pop with a pin and smooth out.
Color fading: cheap vinyl fades fast especially if your bathroom has a window. UV-resistant vinyl exists but costs more.
Where to Actually Buy Quality Stickers
Amazon is hit or miss honestly. You gotta read reviews carefully and look for mentions of bathroom use specifically.
Etsy has amazing custom options but quality varies wildly between sellers. Look for shops that specify they use Oracal or 3M vinyl – those are professional brands.
My cat just knocked over my coffee while I’m writing this, great timing.
Anyway – Target and Urban Outfitters have decent pre-made options that are usually good quality because they have standards to maintain. More limited selection though.
For premium stuff, RoomMates and WallPops are legit brands that make bathroom-specific products. They cost more but the adhesive quality is noticeably better.
Budget Breakdown
- Budget option: $10-25 for basic vinyl sets (Amazon, Walmart)
- Mid-range: $25-60 for quality designs (Etsy, Target)
- Premium: $60-150 for large murals or custom work
Honestly for most bathrooms you can do a really nice look for under $40 if you’re strategic about placement.
Maintenance and Longevity
Good bathroom vinyl should last 2-5 years depending on conditions. I’ve had some in my powder room for three years that still look perfect, but that bathroom barely gets used.
Clean them gently with a damp cloth. Don’t use abrasive cleaners or scrub brushes. Treat them like you would a painted wall basically.
If edges start lifting, you can try reactivating the adhesive with gentle heat and pressure. Sometimes works, sometimes you just need to replace that section.
Styling Multiple Stickers Together
If you’re doing a cluster of smaller stickers rather than one large piece, plan the layout first. I use painters tape to mark positions before committing.
Odd numbers look better than even – three or five elements instead of two or four. Space them with varying distances, not perfectly uniform. You want it to feel organic not like a grid.
Layer different sizes for depth. Put larger elements lower or in the center, smaller ones higher or to the sides.
Combining With Other Decor
Vinyl stickers work great with actual framed art. I often use vinyl as a supporting element – like botanical line drawings on the wall and then a framed print that picks up the same theme.
They also pair well with floating shelves. The vinyl adds pattern behind the dimensional objects on the shelves.
Just don’t overdo it. Pick one focal wall for your vinyl and keep other walls minimal. Small bathrooms especially can feel chaotic if you cover too much wall space.
Specific Product Recommendations
Based on what I’ve actually used and had good results with:
For tropical vibes: the monstera leaf sets on Etsy from shops that use Oracal 631 vinyl. They’re removable and the lines are clean.
For geometric patterns: WallPops has these great hexagon sets that come in different colorways. Easy application and they’ve held up well in humid conditions.
For something subtle: white or cream vinyl on colored walls creates a tone-on-tone effect that’s really sophisticated. Less obvious than dark vinyl but still adds dimension.
The mirror decals that are just simple line art – those are foolproof. They go on glass easily and you can reposition them without issues.
Look, at the end of the day bathroom vinyl stickers are a low-commitment way to add personality without painting or permanent changes. Just get the right quality for bathroom conditions, prep your walls properly, and don’t expect them to last forever in really humid spaces. They’re basically temporary decor that can look really good for a few years if you do it right.