Wall Art Guide, Wall Art Tutoriels
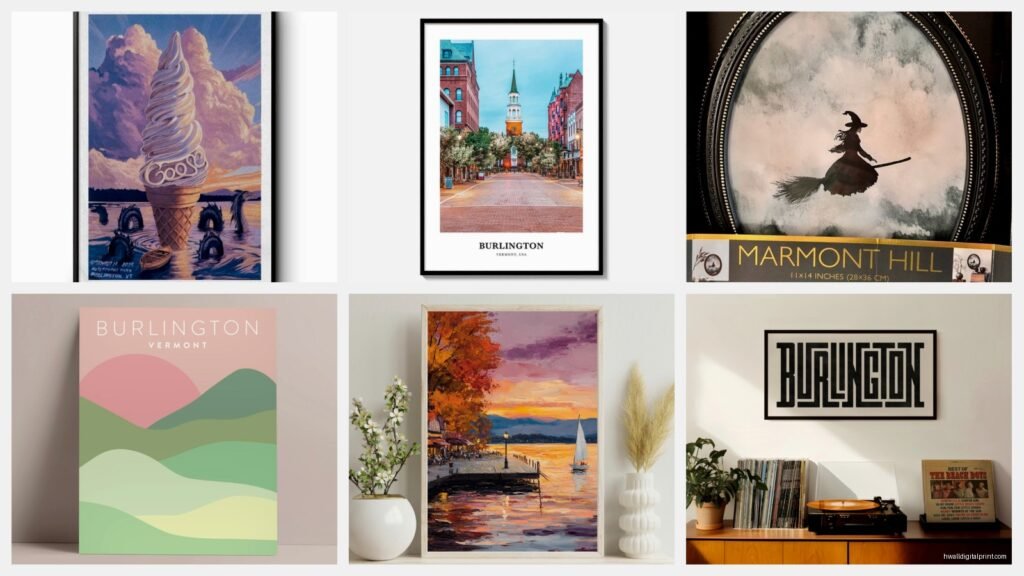
Burlington Wall Art: Discount Store Home Decor Finds
Feb
Okay so I was literally at Burlington last Tuesday because my coffee table staging wasn’t working and I needed something fast, and here’s what I’ve learned about finding actually good wall art there without it looking like you grabbed whatever was cheapest.
The Burlington Art Section Reality Check
First thing – their wall art section is chaos. Like, genuinely disorganized most days. You’re gonna see everything from those generic “Live Laugh Love” canvas prints next to surprisingly decent abstract pieces. I’ve found the best stuff is usually mixed in with the terrible stuff, so you gotta be willing to dig. Bring hand sanitizer because those frames get dusty.
The inventory rotates constantly which is annoying but also means if you see something decent, grab it. I went back three days later for a second piece I was considering and it was gone. My client still brings it up.
What’s Actually Worth Buying
The framed prints in the $12.99-$24.99 range are usually your best bet. I’m talking about the ones with actual glass (not plexiglass) and wood frames. You can tell quality immediately by the weight – if it feels substantial when you pick it up, that’s good.
I found this really beautiful botanical print last month, simple fern illustration on cream paper, black wood frame with a thin gold inner edge. It was $16.99 and honestly looks like it came from West Elm. Currently in my entryway and people always ask about it.
Canvas Prints – Hit or Miss
The canvas situation is tricky. Most of them are pretty bad, I’m not gonna lie. But occasionally you‘ll find ones that don’t look like they came from a hotel liquidation sale. Things to check:
- Look at the edges – are they finished nicely or can you see staples and rough canvas?
- Check if the image wraps around the sides or if it’s just white edges (wraparound looks way more expensive)
- Hold it up and look at the print quality – is it sharp or does it look pixelated?
- Avoid anything with obvious inspirational quotes unless it’s for a kid’s room maybe
I bought a three-piece abstract set once, grey and gold brushstrokes, paid like $35 total. Had to return two pieces because the canvas was loose on the frame but kept one and it’s fine? You just gotta inspect carefully.
My Actual Shopping Strategy
I usually go weekday mornings right when they open because the aisles are clearer and you can actually see what’s there. Weekend shopping at Burlington is a contact sport and you can’t properly evaluate art while someone’s cart is ramming into you.
Take photos with your phone of anything you’re considering. The lighting in store is terrible – those fluorescent lights make everything look different than it will in your actual home. I learned this the hard way with a “blue” print that turned out to be more teal, which didn’t work with the navy sofa situation I had going on.
The Frame Quality Thing
This is gonna sound weird but I always check the back of the frame. If it has those little triangle turn tabs and a proper hanging wire, it’s usually better quality than ones with sawtooth hangers. Also look for frames that have a backing board – some cheap ones are literally just frame, glass, and print with nothing holding it secure.
Found a set of four small gold frames with botanical prints for $6.99 each last fall. The frames alone would cost that much at Michael’s, and the prints were actually nice linen-textured paper. Sometimes you just get lucky.
Size and Scale Considerations
Burlington tends to have a lot of medium-sized pieces (like 16×20 or 20×24) which is actually perfect for most spaces. The huge oversized stuff is usually more expensive and honestly not great quality at that size – the print resolution doesn’t hold up.
If you need to fill a large wall, I’ve had better luck buying multiple smaller pieces and creating a gallery wall. Got five different frames ranging from $9.99 to $19.99, all different sizes but similar color palette (black frames, mix of black and white photos and sketches). Arranged them above a console table and it looks intentional instead of budget.
Oh and another thing – measure your space before you go. I cannot tell you how many times I’ve eyeballed it and been wrong. I keep a little measuring tape in my purse now because I’m that person.
Color Coordination Without Overthinking It
The mistake everyone makes is trying to match exactly. You don’t need your wall art to match your throw pillows perfectly. What works better is pulling one accent color from your room and finding art that includes that color along with neutrals.
Like, if you have a grey couch with blush pink pillows, look for art that has grey or pink in it but isn’t ALL pink. Abstract pieces work really well for this because they usually have multiple colors. I found this print that was mostly cream and grey with little touches of coral and gold – picked up the coral from the rug and the gold from the lamp, made everything look coordinated without being matchy-matchy.
Neutrals Are Your Friend
When in doubt at Burlington, go neutral. Black and white photography, simple line drawings, beige and cream abstracts – these work in basically any space. I keep a few neutral pieces in my staging inventory that came from Burlington because they’re versatile and if something happens to them on a job, I’m not out a ton of money.
There’s this one black and white architectural print of European buildings that I paid $14.99 for and I’ve used it in probably six different client spaces. Nobody knows it’s from a discount store.
What to Avoid Completely
Anything with fake metallic accents that are just printed on – it looks cheap in person even if it seems okay in the store. I’m talking about those prints that are supposed to look like gold leaf or silver foil but it’s just shiny ink. Hard pass.
Also skip the really thin frames that feel flimsy. They warp easily and the glass or plexiglass doesn’t sit right. You’ll end up with weird gaps and shadows.
Those sets that come shrink-wrapped together in groups of 3-5 pieces? Usually not great. The one exception is if they’re all the same simple design in different colors, those can work for a kids’ room or something.
The Upgrade Trick I Use All the Time
Sometimes I’ll buy art at Burlington specifically for the frame and replace the print inside. Found these really nice black frames with white mats for $12.99 each – the prints were mediocre but the frames were solid wood. I printed my own botanical illustrations (there are tons of free vintage ones online from museum collections) at FedEx on nice cardstock for like $3 each, swapped them out, and suddenly had custom art for under $16 per piece.
You gotta make sure the frame opens easily though. Some of them are basically sealed shut and trying to open them damages the frame, so check that in store if you’re planning to do this.
Seasonal Shopping Patterns
I’ve noticed Burlington gets new shipments of home decor stuff in January and July mostly. That’s when I see the most variety in wall art. Right after Christmas they also discount a lot of the holiday stuff but keep the neutral winter pieces at regular price, so that’s a good time to find snow scenes or winter landscapes if that’s your thing.
Spring is when they get a bunch of floral and botanical prints. Summer brings coastal and tropical stuff. It’s pretty predictable once you pay attention.
Wait I forgot to mention – always check the clearance endcaps. Sometimes perfectly good art ends up there just because the frame has a tiny scratch or the corner is dinged. If it’s gonna be high up on a wall or you can position it so the damage doesn’t show, who cares? I found a $34.99 piece for $10.49 because it had a small dent in one corner of the frame. Hung it so that corner is behind a plant and you literally cannot tell.
Making Burlington Art Look Expensive
The secret is in how you hang it. Use a level (the app on your phone works fine), measure properly, and use actual picture-hanging hooks not just nails. I see so many people buy decent art and then hang it crooked or too high and it ruins the whole effect.
Standard rule is center of the art should be at eye level, which is usually around 57-60 inches from the floor. Above a sofa, leave 6-8 inches between the furniture and the bottom of the frame.
If you’re doing a gallery wall, lay everything out on the floor first and take a photo. Use painter’s tape on the wall to mark where each piece goes before you start hammering. This is gonna sound excessive but I trace each frame on kraft paper, tape the paper to the wall, and nail through the paper where the hook should go. Then rip the paper down and hang the actual frames. Saves so many extra holes in the wall.
Mixing Burlington Finds with Other Stuff
Don’t make everything on your wall from Burlington – mix in one or two nicer pieces or personal photos. I’ll do like three Burlington frames around one nicer piece from an actual art store or something meaningful like a vintage family photo. It elevates everything and makes it less obvious that some of it came from a discount store.
My living room has this setup – two Burlington botanical prints on either side of a piece I got from a local artist. The frames are similar styles and the colors work together. Nobody’s ever guessed which ones were budget-friendly.
Okay so funny story, my dog knocked over one of my Burlington pieces last month and the glass shattered everywhere. Cost me $14.99 originally, would’ve cost like $40 to reframe it properly, so I just went back and found something different. That’s actually the advantage of discount store art – it’s low stakes. You’re not precious about it.
Bathroom and Kitchen Art
People forget about art in these spaces but it makes such a difference. Burlington has smaller pieces that work perfectly for bathrooms. Look for anything with a simple white or light wood frame since those read clean and fresh.
Avoid anything too ornate for bathrooms because humidity can mess with fancy frames. Simple botanicals, line drawings, or abstract prints work best. I put a $9.99 fern print in a client’s powder room and she gets compliments on it constantly.
Kitchen art is trickier because you need to keep it away from cooking surfaces obviously. But a small gallery wall on a breakfast nook wall or above a buffet area works great. Coffee-themed prints, simple fruit illustrations, vintage-looking ads – Burlington usually has options. Just wipe them down occasionally because kitchen grease is real.
The Returns Policy Thing
Keep your receipt for at least a week after you hang something. Sometimes what looked good in store just doesn’t work in your actual space, and Burlington’s return policy is pretty reasonable if you have the receipt and tags. I’ve definitely returned pieces that just didn’t vibe once I got them home.
Take a photo of your receipt too because thermal paper fades. Learned that one when I tried to return something and the receipt was blank. They still took it back but it was a whole thing.
Also check the piece carefully before you leave the store – look for cracks in glass, loose corners, damaged frames. Way easier to exchange it right then than to have to make another trip.
The art section is usually near the home decor stuff but sometimes they put clearance art in random places, so do a full loop of the store if you have time. I’ve found pieces tucked in the seasonal section, near furniture, even once near the pet supplies for some reason. Burlington’s organization is creative, let’s say.