Wall Art Guide, Wall Art Tutoriels
Custom Metal Prints Wall Art: Personalized Aluminum Art
Mar
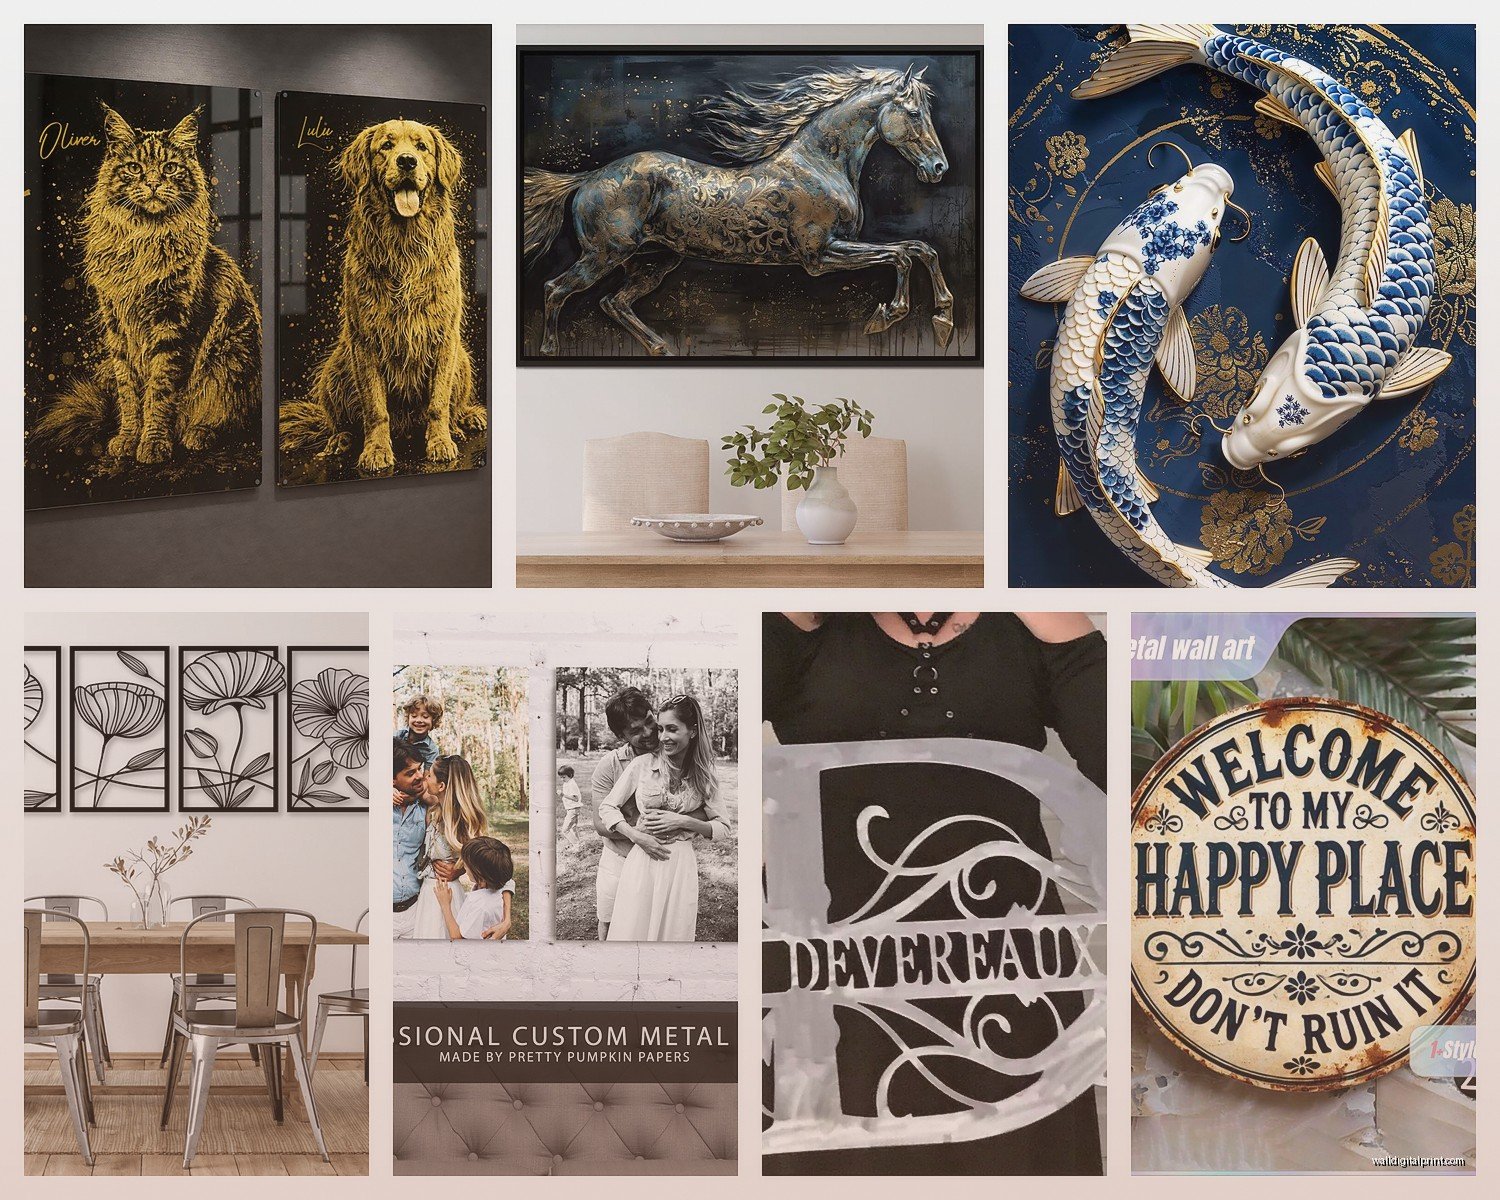
So I’ve been totally obsessed with metal prints lately and honestly it’s kind of taken over my life? Like my cat knocks over a canvas print last month and instead of replacing it, I went down this whole rabbit hole of aluminum wall art and now half my apartment looks like a modern gallery.
Why Metal Prints Are Actually Different
Okay so the main thing you gotta understand is that metal prints aren’t just photos printed ON metal like some people think. The process is called dye sublimation and it’s basically where the ink becomes part of the aluminum itself. The image gets infused into a polymer coating on the metal using heat and pressure, which sounds super technical but what it means for you is that the colors are INSANE. Like, way more vibrant than paper prints.
I did a comparison test with the same photo—this shot I took in Morocco with all these blue tiles—and had it printed on regular photo paper, canvas, and aluminum. The metal version literally looked like the colors were glowing from behind. My friend came over and thought I’d put a light box behind it or something.
The Aluminum Material Breakdown
Most companies use either 0.045 inch thick aluminum (which is pretty standard) or sometimes 0.065 inch for larger pieces. The thicker stuff is gonna cost more but it’s way sturdier if you’re doing something huge like 40×60 inches or whatever.
The surface comes in different finishes:
- Glossy – This is the most common and honestly my favorite for photos with lots of color. Makes everything super vibrant but you will get some glare if you hang it where light hits directly
- Matte – Better for spaces with lots of windows or if you’re photographing it for Instagram because no reflections. Colors are slightly more subdued though
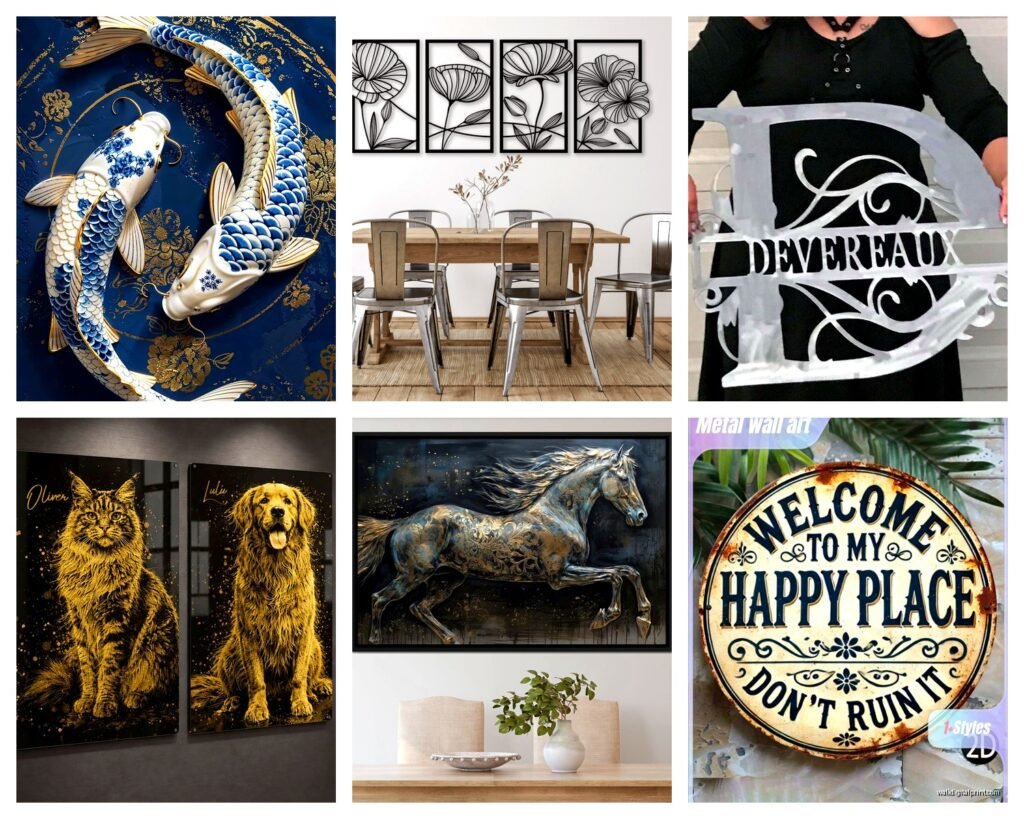
- White base vs clear base – Okay this is where it gets interesting… white base means there’s a white coating under the image so colors look more traditional. Clear base lets the silver aluminum show through which creates this really cool metallic effect in lighter areas of your image
I learned about the clear base thing the hard way when I ordered a black and white portrait and it came back with this silvery sheen that I wasn’t expecting. Looked cool but definitely not what I planned for.
Choosing the Right Image
Not every photo works well on metal and this is gonna sound weird but I actually keep a folder on my phone now labeled “metal worthy” because I got tired of ordering prints that looked flat.
Best images for metal prints:
- High contrast photos – blacks look SUPER black on aluminum and it’s stunning
- Bright colors especially blues, teals, oranges – they literally pop off the surface
- Architecture and geometric stuff – the sharpness is incredible
- Landscapes with water or sky – that metallic quality makes them feel dimensional
- Macro photography – the detail reproduction is insane
What doesn’t work as well:
- Super soft, dreamy photos – they lose that ethereal quality on the glossy metal
- Images with lots of subtle skin tones if you go with clear base – can look weird and too shiny
- Low resolution files – metal shows EVERYTHING including compression artifacts
You need at least 100 DPI at your final print size but honestly I aim for 150-200 DPI because the clarity is just better.
Mounting Options That Actually Matter
This is where I spent like three hours researching one night when I should’ve been watching that documentary everyone keeps talking about…
Float Mounting
This is my go-to. There’s a frame on the back that keeps the print about 3/4 inch off the wall and it creates this floating shadow effect. Super modern looking. Most companies include this as standard but some charge extra. The mount is usually a metal subframe attached to the back with adhesive or screws.
One thing though – make sure they use a GOOD adhesive because I had one print where the mount started separating after like six months in a humid bathroom. Not great.
Flush Mounting
This sits flat against the wall with hidden hangers. Cleaner look if you don’t want the shadow but honestly less dramatic? I use this in my bedroom where I wanted things more understated.
Standoffs
These are those little metal posts at the corners that make it look super gallery-like. They’re amazing but you’re adding another $30-50 usually and you need to be okay with drilling into your wall. Also the print sticks out like 1-2 inches so it’s pretty dimensional.
Size Considerations Nobody Talks About
Okay so funny story – I ordered a 30×40 inch metal print for above my sofa without actually measuring the space properly and it was MASSIVE. Like overwhelming. Metal prints tend to have more visual weight than other mediums because of how vibrant they are, so you can actually go smaller than you think.
My rule now is to go one size down from what I’d order in canvas. So if I’d get a 24×36 canvas, I do 20×30 in metal. The impact is still there but it doesn’t dominate the whole room.
Also weight is real – a 24×36 metal print weighs like 8-10 pounds depending on thickness. You need proper wall anchors, not just nails. I learned this when one fell at 2am and scared the absolute crap out of me and my dog.
Panel Splits for Large Pieces
If you want something really big like 60 inches wide, some companies offer split panels where your image goes across multiple metal sheets with small gaps between them. This actually looks super intentional and modern? Plus shipping is easier and each panel weighs less.
I did a 3-panel split of a desert landscape and the gaps kind of add to the composition. But make sure your image doesn’t have important details where the splits will be – like don’t have a person’s face cut in half.
The Companies I’ve Actually Tested
I’ve ordered from probably six different companies at this point because I got a little obsessive…
Bigger commercial places – They’re fine, prices are decent, quality is consistent but not exceptional. Turn around time is usually 3-5 business days. Good if you need something reliable and affordable.
Specialty metal print companies – This is where you get the really premium stuff. Better color calibration, thicker aluminum options, more mounting choices. You’re paying like 40% more but if it’s for a client or a really special image, worth it. I used one for my portfolio pieces and the difference in color accuracy was noticeable.
Local print shops – Hit or miss honestly. I found one near me that does amazing work because the owner is a photographer himself and he’ll actually give you feedback on your file quality before printing. But I’ve also gotten some pretty mediocre prints from other local places.
wait I forgot to mention – always ask for a sample or look at their portfolio in person if possible. Colors on their website are not gonna match what you get because every monitor is different.
Cost Breakdown Reality Check
Since you’re probably wondering what this actually costs…
An 8×10 metal print usually runs $30-50
16×20 is around $80-120
24×36 can be $150-250 depending on the company and options
30×40 and up you’re looking at $250-400+
That seems expensive compared to paper prints but here’s the thing – there’s no framing cost. You’re done when you get it. No frame, no matting, no glass. When you factor that in, it’s actually pretty comparable to a quality framed print.
Also these things LAST. Like, the company warranties are usually 30+ years which is kinda crazy. I have one in my bathroom where it gets steamy every day and after two years it still looks perfect. The dye sublimation process makes them waterproof, scratch resistant, and the colors don’t fade from UV exposure nearly as fast as traditional prints.
When to Splurge vs Save
Go cheaper if:
- You’re testing out the medium for the first time
- It’s for a temporary space or rental
- The image is more decorative than meaningful
Spend more if:
- It’s your own photography or art you’re really proud of
- The piece is going somewhere prominent
- Color accuracy really matters – like product photography or fine art reproduction
- You want custom sizing that’s not standard
Design Tips From Someone Who’s Made Mistakes
Border or no border is a whole debate. I usually go borderless because the image wrapping around the edges looks more modern, but if your image has important stuff near the edges, add like a 1/4 inch white border so nothing gets lost in the mounting.
oh and another thing – consider the wall color. Metal prints look AMAZING on dark walls because that float mount shadow really shows up. On white walls they still look good but less dramatic. I have a charcoal gray accent wall in my living room and the metal prints there are just chef’s kiss.
Groupings work really well with metal prints. I did a gallery wall with different sized metal prints – all in the same color family but different subjects – and the consistency of the medium ties them together even though they’re varied images. With framed prints you gotta worry about frame styles matching but metal prints are inherently cohesive.
File Preparation That Actually Matters
Save your file as a high quality JPEG or TIFF. Most places want RGB color mode not CMYK. Resolution needs to be at least 100 DPI at full size but again, I do 150-200 minimum.
Edit your photo slightly brighter than you want the final result because metal prints can come out like 5-10% darker depending on the company. I always bump up my exposure by about 1/3 stop before uploading.
Sharpen more than you would for screen – the printing process softens things slightly so adding a bit of extra sharpening in Lightroom or Photoshop helps. Not crazy amounts but more than you’d use for Instagram.
If you’re doing black and white, increase the contrast more than feels natural. Metal prints can handle really deep blacks without losing detail and if your contrast is too subtle, the image can look muddy.
Hanging These Things Properly
Use wall anchors rated for at least double the weight of your print. Drywall anchors are your friend unless you can hit a stud. The float mounts usually have a French cleat system or d-rings on the back.
For the love of god use a level. Metal prints are so clean and modern that if they’re crooked it’s REALLY obvious. I keep a small level in my art supplies bag now.
If you’re hanging multiple metal prints, tape paper templates to the wall first and live with them for a day. Move them around. The permanence of drilling holes makes planning essential, especially with the float mounts that create those shadows.
The metal can get warm in direct sunlight which isn’t gonna damage anything but it’s something to know about if you’re hanging it where sun hits for hours. Not a dealbreaker just… don’t touch it right after it’s been in afternoon sun because it’ll be hot.
Care and Maintenance
This is gonna sound too easy but you literally just wipe them with a damp microfiber cloth. That’s it. No special cleaners needed. The coating is pretty tough so normal dusting and occasional wiping keeps them looking new.
Don’t use paper towels because they can create micro scratches over time. Microfiber only.
If you somehow get a fingerprint on it—which happens more than you’d think when you’re hanging them—a tiny bit of glass cleaner on a cloth works fine. Just don’t spray directly onto the print.
They’re way more durable than you’d expect. I’ve bumped into mine, my dog has whacked one with a toy, and they’re totally fine. You’d have to really TRY to damage one.
Anyway that’s basically everything I’ve figured out through way too much trial and error with these things. They’re honestly one of my favorite ways to display photos now and every client I’ve introduced to them ends up ordering more because once you see how good they look in person you kinda can’t go back to regular prints for certain applications.