Wall Art Guide, Wall Art Tutoriels
Fiber Wall Art: Textile Woven Yarn Natural Material
Mar
So I’ve been working with fiber wall art for like three years now and honestly it’s one of those things where the material choice makes or breaks the whole piece. Let me just dump everything I know because I literally just finished installing a massive woven piece in a client’s dining room yesterday and I’m still finding bits of yarn on my jacket.
The Yarn Situation – What Actually Works
Okay so first thing, not all yarn is created equal for wall hangings. I learned this the hard way when I used acrylic yarn for a piece in my own bedroom and it looked… cheap. Like really cheap. The light hits it wrong and suddenly your $200 art piece looks like a craft project from summer camp.
Wool roving is gonna be your best friend for that chunky, textured look everyone’s obsessed with. I buy mine from local fiber studios when I can, but honestly Etsy sellers have incredible options. The unspun stuff gives you that cloud-like quality. It’s more expensive though – like $25-40 per pound depending on whether it’s merino or regular wool. Merino is softer but also more delicate, which matters if you’re hanging something in a high-traffic area.
Cotton rope is the other one I use constantly. The 3-strand twisted kind, usually 4mm to 8mm thick. Home Depot actually has decent options in their rope section and it’s way cheaper than buying “macrame cord” from craft stores. Same exact product, different markup. I’m talking $15 versus $45 for the same length. My cat knocked over my coffee while I was measuring rope last week and I’m still annoyed about the waste.
Natural vs Synthetic Fibers
Here’s the thing about natural materials – they age. Sometimes beautifully, sometimes not. Jute and hemp develop this gorgeous patina over time, but they also shed like crazy for the first few months. I always warn clients about this. You’ll be vacuuming up little fiber bits.
Linen is expensive but oh my god it’s worth it for certain pieces. The drape is completely different from cotton. More structured but still soft. I used linen warp threads for a wall hanging last month and the way it caught the afternoon light was just… yeah. But we’re talking $60+ for enough to do a decent sized piece.
Silk – okay I’ve only used silk a few times because it’s wildly expensive and also kinda finicky. But for accent threads or small decorative elements? Nothing else has that sheen. Just keep it away from direct sunlight or it’ll fade.
Backing and Structure Materials
So you need something to actually weave on or attach your fibers to, right? This is where I see people make mistakes all the time.
Driftwood branches are classic for a reason. I collect these from the beach near my sister’s place, but you can also buy them. Make sure they’re actually dried out completely or you’ll get bugs. True story – I once hung a piece with fresh-ish driftwood and tiny beetles emerged like two weeks later. The client was… not thrilled.
Copper piping from the hardware store works great for modern pieces. The half-inch diameter is perfect. You can cut it to size with a pipe cutter (like $12 at Home Depot) and it develops this beautiful verdigris over time if you want that aged look. Or keep it shiny with some polish.
Wooden dowels are the most straightforward option. I keep a stash of different diameters in my studio. The 1-inch thick ones are sturdy enough for large pieces. Sand them down really well though – splinters in yarn are a nightmare to deal with.
Oh and another thing – canvas backing. If you’re doing more of a woven textile piece rather than a hanging macrame style, you need a solid backing. I stretch canvas over wooden frames, same as you would for painting. The pre-stretched ones from art supply stores work fine but they’re expensive. I started making my own frames and it’s honestly not that hard.
Tools You Actually Need
Don’t go crazy buying specialized tools. I have a basket full of stuff I never use because I got excited at the craft store.
What you DO need:
– Sharp scissors (fabric shears, not regular scissors – it matters)
– A good comb or brush for fluffing out fibers
– Measuring tape
– Needle for weaving in ends (I use a large tapestry needle)
– Maybe a small loom if you’re doing woven pieces
I have this little lap loom that cost $35 and I’ve used it for probably 50 projects. Best investment. The fancy floor looms are gorgeous but unless you’re doing this professionally, they’re overkill.
The Weaving Process Real Talk
Okay so funny story – I thought I could just start weaving without watching any tutorials and my first piece looked like a kindergartner made it. There’s actually technique involved.
For basic macrame wall hangings, you need to know like four knots. Square knot, half hitch, spiral knot, and wrapping. That’s it. YouTube is your friend here. I watched this one video like 15 times while working on my first commissioned piece.
The warp threads (the vertical ones) need to be under tension or everything gets wonky. I usually tie mine to a dowel and then hang the dowel from a hook while I work. Some people use their couch or a chair but I need it at eye level or my back kills me.
Weft threads (the horizontal ones you’re weaving through) should be loose enough to create texture but not so loose that everything sags. This is where the art part comes in – you gotta develop a feel for it.
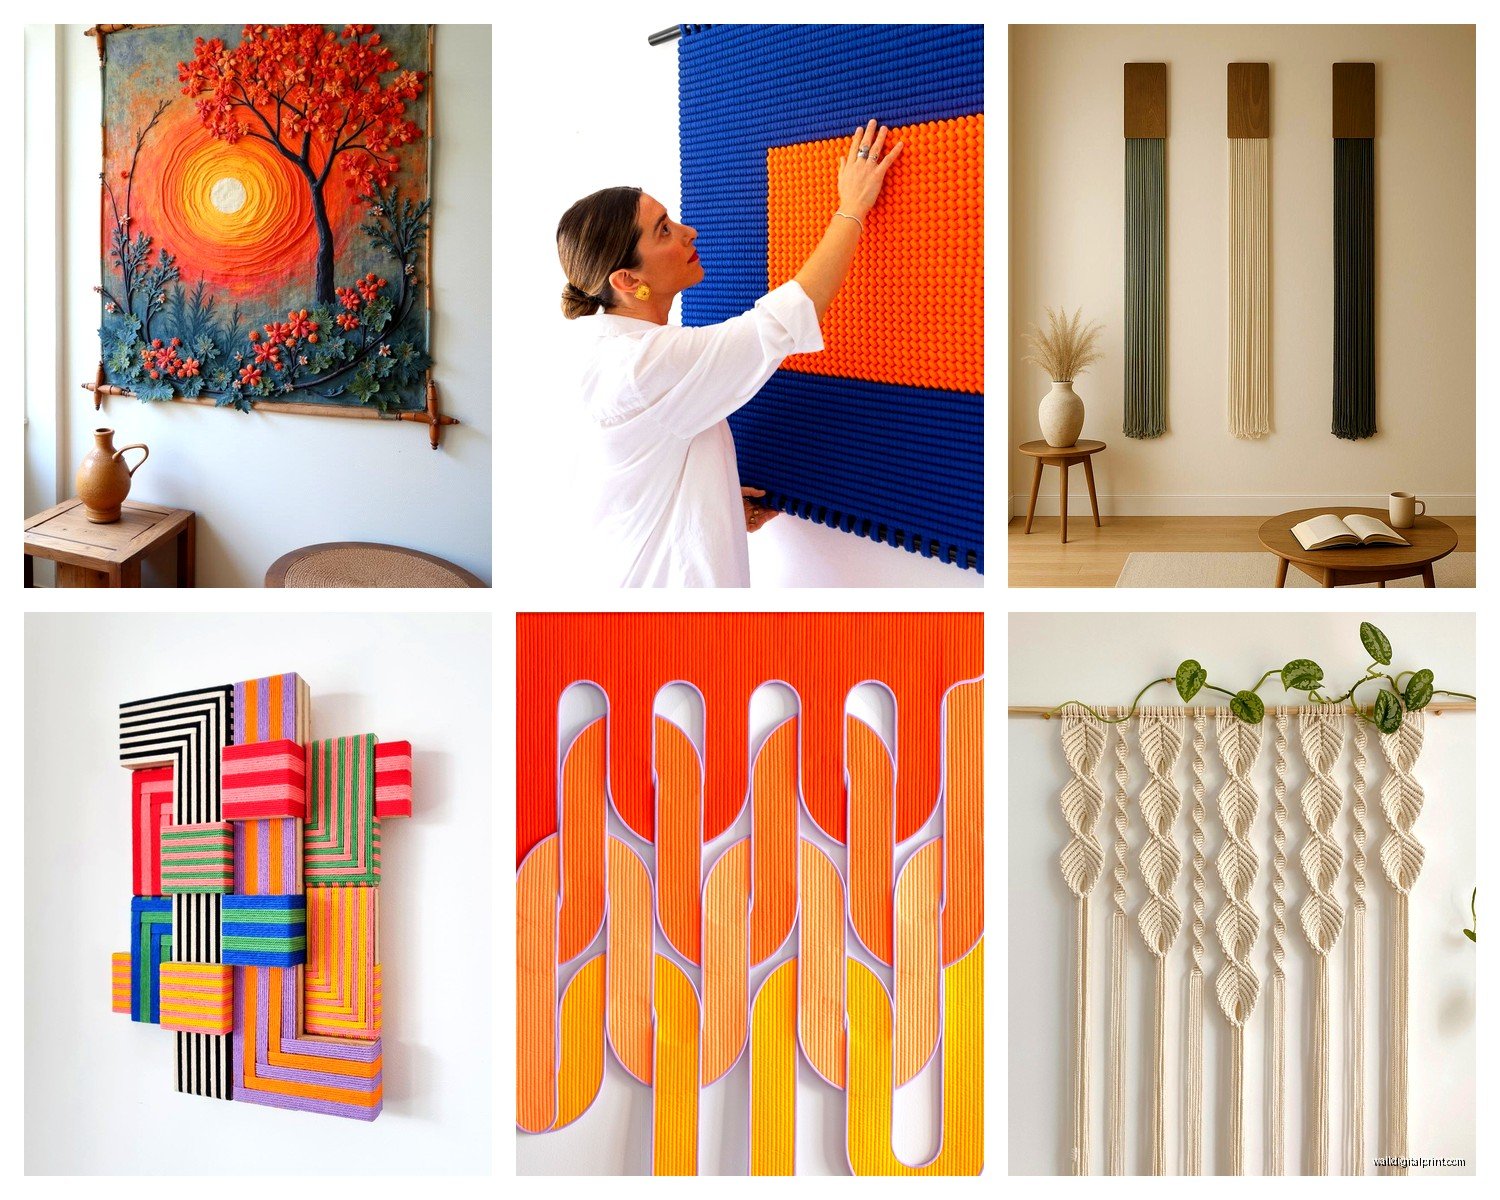
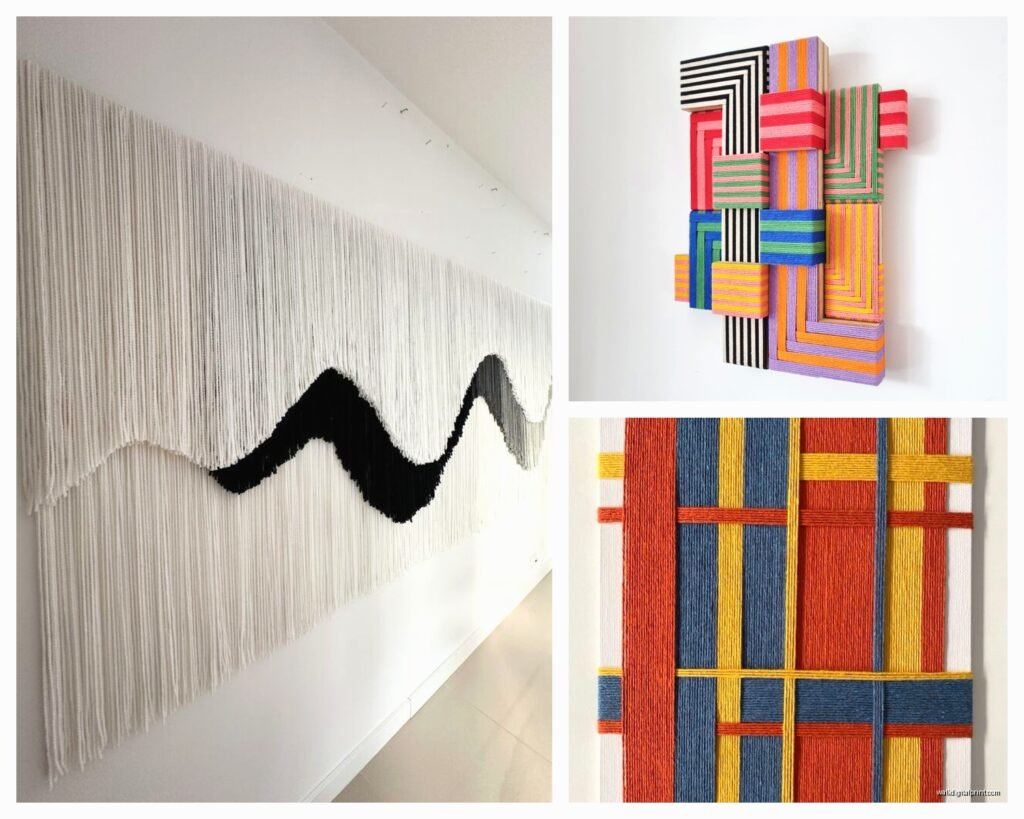
Color and Texture Combinations
Neutrals are safe but honestly they can be boring. I love throwing in one unexpected color. Like a whole piece in cream and beige with one strand of rust orange or deep teal. It makes people look twice.
Mixing textures is where things get interesting. Smooth cotton rope next to fuzzy wool roving next to rough jute creates this visual depth that solid materials can’t achieve. I did a piece last year that combined all three and people always want to touch it.
Natural undyed fibers have this range of creams and tans and grays that work together automatically. It’s foolproof. But if you’re dyeing your own materials (which I’ve done a few times with mixed results), natural dyes from plants give you softer colors than synthetic dyes. They also fade more predictably.
Size and Scale Considerations
Here’s what I wish someone had told me – go bigger than you think you need. A wall hanging that looks huge while you’re making it will look tiny on an actual wall. I made a piece that was 3 feet wide and thought it would dominate a space, then hung it up and it looked… fine. Not statement-making, just fine.
For above a couch or bed, you want something at least 2/3 the width of the furniture. For a blank wall, I usually aim for pieces that are at least 4 feet in one direction.
Weight matters too. Wool gets HEAVY. A large wool roving piece can easily weigh 10-15 pounds. Make sure your hanging system can handle it. I use heavy duty picture hanging wire rated for way more than I think I need.
Treatment and Longevity
Natural fibers will collect dust. Just accept it. I use a lint roller or soft brush to clean pieces every few months. Some people say you can vacuum them on low setting but that makes me nervous.
Moths are the enemy. Real talk – if you’re using wool, you gotta be vigilant. Cedar blocks help. I also recommend keeping pieces out of dark, undisturbed spaces where moths love to nest. One of my early pieces got moth damage and I wanted to cry.
Sunlight will fade natural fibers over time. It’s inevitable. But honestly the fading can look good – it’s part of the aging process. Just don’t hang anything in direct harsh sunlight if you want it to stay true to the original colors.
Finishing Touches That Matter
How you finish the edges completely changes the look. I usually leave the bottom edges uneven and organic looking – trimming them at different lengths creates movement. But I’ve also done pieces with perfectly straight edges for more modern spaces.
The top hanging mechanism shows, so make it intentional. A beautiful piece of driftwood or a polished copper pipe becomes part of the design. Don’t just use whatever random stick you found.
Fringe is optional but adds interest. I make fringe by leaving extra length on the warp threads and then either leaving them straight or untwisting rope to create this feathery effect. Takes forever but looks amazing.
Sourcing Materials on a Budget
Craft stores are convenient but overpriced. I get most of my materials from:
– Rope and hardware stores for cotton rope and wooden elements
– Etsy for specialty fibers and roving
– Thrift stores sometimes have old yarn and textiles you can unravel
– Estate sales are goldmines for vintage yarn
Buying in bulk saves money if you’re making multiple pieces. I go in on orders with friends sometimes to hit minimum quantities for wholesale pricing.
Oh wait I forgot to mention – testing materials before committing to a big piece is crucial. I always make a small sample with any new fiber to see how it behaves. Some yarns are splitty and annoying to work with. Some rope is too stiff. Better to find out with a $5 sample than $100 worth of materials.
The environmental angle matters to some clients too. Natural fibers are biodegradable unlike acrylic, and you can source organic or sustainably produced options if that’s important. I have one client who only wants materials she could theoretically compost at end of life, which is actually a fun challenge.
Anyway, that’s basically everything I’ve figured out through trial and error and one very embarrassing installation where I forgot to account for the weight and the whole thing fell off the wall during the client walkthrough. Start small, practice your knots, and don’t be afraid to take apart something that’s not working. I’ve unraveled and restarted pieces more times than I can count.