Wall Art Guide, Wall Art Tutoriels
Fused Glass Wall Art: Kiln-Fired Melted Glass Designs
Mar
So I’ve been working with fused glass for about three years now and honestly it’s one of those things where I wish someone had just told me the actual practical stuff upfront instead of all the artsy romanticized versions you see on Pinterest.
The Basic Glass You Actually Need
Okay first thing – you HAVE to use compatible glass. This is non-negotiable and I learned this the hard way when my first piece literally exploded in the kiln. Compatible means the glass has the same COE (coefficient of expansion) which is basically how much it expands when heated. Most people use COE 90 or COE 96. I use Bullseye glass which is COE 90 because that’s what my instructor recommended and I just… stuck with it.
You’ll see these options everywhere:
- Bullseye – premium, consistent, huge color range but $$
- Spectrum – also COE 96, slightly cheaper
- Wissmach – good for beginners
- Oceanside – another solid COE 96 option
Don’t mix COE 90 and COE 96 unless you want cracks. Just don’t. Pick one system and stay with it.
Glass Forms That Matter
Glass comes in different forms and this actually matters way more than I thought:
Sheet glass – your base layer, usually 3mm thick. I keep clear, black, and white on hand always because they go with everything.
Frit – crushed glass in different sizes. Coarse frit is like aquarium gravel, medium is like sand, fine is like sugar, and powder is… powder. My cat knocked over my container of fine frit last month and I’m still finding sparkly bits everywhere.
Stringers – thin glass rods, maybe 1-2mm diameter. Great for lines and details but they roll off your work table constantly and it’s annoying.
Confetti – thin irregular pieces. Adds texture without much bulk.
Kiln Situation Because That’s The Expensive Part
You need a kiln and this is where it gets real. I rent kiln time at a local studio for $25-40 per firing because buying one is like $1500-3000+ and I’m not there yet. But if you’re serious about wall art pieces, you might want your own.
Things to consider:
- Size – measure the wall art dimensions you want to make. I mostly do 12×12 or 8×16 pieces
- Top-loading vs front-loading – top is cheaper but harder on your back
- Voltage – some need special outlets installed
- Venting – you need ventilation, the fumes aren’t great
I use a Jen-Ken AF3P at the studio which is a good mid-range kiln. Gets to temp evenly, holds temp well. The digital controller is worth it trust me, way better than the manual ones.
The Actual Process Nobody Explains Clearly
Designing Your Piece
I sketch on paper first with actual measurements. For wall art, think about:
– How will it hang? (you’ll add hardware later)
– Viewing distance – bold designs for across-the-room, details for close-up
– Weight – glass is HEAVY, a 12×12 piece is like 3-4 pounds
Then I do a “dry fit” where I arrange everything on my work surface before cutting. Take a photo because you will definitely bump something and forget where it was.
Cutting Glass
You need a glass cutter – I use a Toyo pistol grip cutter ($15-20) and it’s fine. The fancy oil-filled ones are nice but not necessary starting out.
The technique is: score once, break clean. Don’t go over the same score line twice, it dulls your cutter and makes messy breaks. You want to hear a consistent “zipping” sound when scoring. If it’s silent or scratchy, you’re not pressing hard enough or your blade is dull.
Running pliers and grozing pliers help with breaks. Running pliers snap the glass along the score line, grozing pliers nibble away small bits. I probably use my grozing pliers more than anything else honestly.
Shelf Preparation That Actually Matters
Your kiln shelf needs prep or your beautiful piece will fuse TO THE SHELF and you’ll cry. Been there.
Kiln wash – mix this powder with water to make a paste, paint it on your shelf in thin even coats. Let it dry completely between coats. Do like 3-4 coats. I use Bullseye shelf primer.
Or you can use fiber paper (ThinFire is the brand name everyone uses). It’s a thin paper that goes between glass and shelf. Way easier than kiln wash but it’s single-use and costs more over time. I switched to fiber paper for most projects because I got tired of reapplying kiln wash.
Assembly
Work on a light table if possible – you can see how layers interact better. I just use a cheap LED light pad from Amazon ($30ish) that’s meant for tracing.
Layer your glass on the prepared shelf. Use gravity and friction – nothing else holds it together at this point. If you’re adding frit or small pieces, you can use something called “glastac” which is basically temporary glue that burns away. Smells weird but works.
For wall art I usually do:
- Base layer – full sheet of glass
- Design elements – cut shapes, frit, stringers, whatever
- Optional clear cap – another layer on top for depth and protection
More layers = thicker final piece = heavier and more dramatic but also more potential for issues.
Firing Schedules Are Actually Chemistry
This is where I was most confused starting out. The kiln doesn’t just get hot and melt glass – there’s a whole schedule of temperatures and hold times.
Basic Full Fuse Schedule
I’m gonna give you my standard schedule that works for like 90% of projects:
Segment 1: Room temp to 1000°F at 300°F per hour – this is initial heating, going slow to avoid thermal shock
Segment 2: 1000°F to 1100°F at 150°F per hour – slowing down as we approach critical temps
Segment 3: 1100°F to 1465°F at 300°F per hour – this is where stuff actually fuses, 1465°F is full fuse temp for COE 90
Hold: 10-20 minutes at 1465°F – everything melts together smooth
Segment 4: 1465°F to 950°F at 9999°F per hour – this means “as fast as possible,” you’re crash cooling
Hold: 60-90 minutes at 950°F – this is annealing, super important for strength
Segment 5: 950°F to 700°F at 100°F per hour – slow controlled cooling through stress range
Segment 6: 700°F to room temp at 150°F per hour – can cool faster now
Total time is like 12-15 hours usually. I fire overnight and check it in the morning.
Other Firing Options
Tack fuse – stop at like 1350°F instead, pieces stick together but keep their texture and edges. Good for dimensional wall art.
Slump – if you want curved pieces, you fuse flat then do a second firing in a mold at lower temp (around 1200°F). More advanced but creates cool sculptural wall pieces.
After Firing The Part Nobody Warns You About
Your piece comes out and it’s HOT. Wait until the kiln is under 200°F to open it or you’ll crack everything with the temperature change.
Then you gotta coldwork it – grinding edges smooth, drilling holes for hanging if needed.
Grinder: You need a glastar grinder or similar with a diamond bit and water reservoir. I use a 3/4″ bit for most stuff. Wet grinding keeps dust down and the bit cool. It’s messy – you’ll have gray water everywhere.
I grind all edges even if they look okay because glass is sharp and also it just looks more professional with a clean beveled edge.
Drilling: For hanging hardware you need diamond drill bits. Run them under water while drilling, go slow, don’t force it. I drill two holes near the top corners usually, then use wire or metal hangers.
You can also glue metal hanging clips to the back with E6000 or similar but I find drilled holes more secure for heavier pieces.
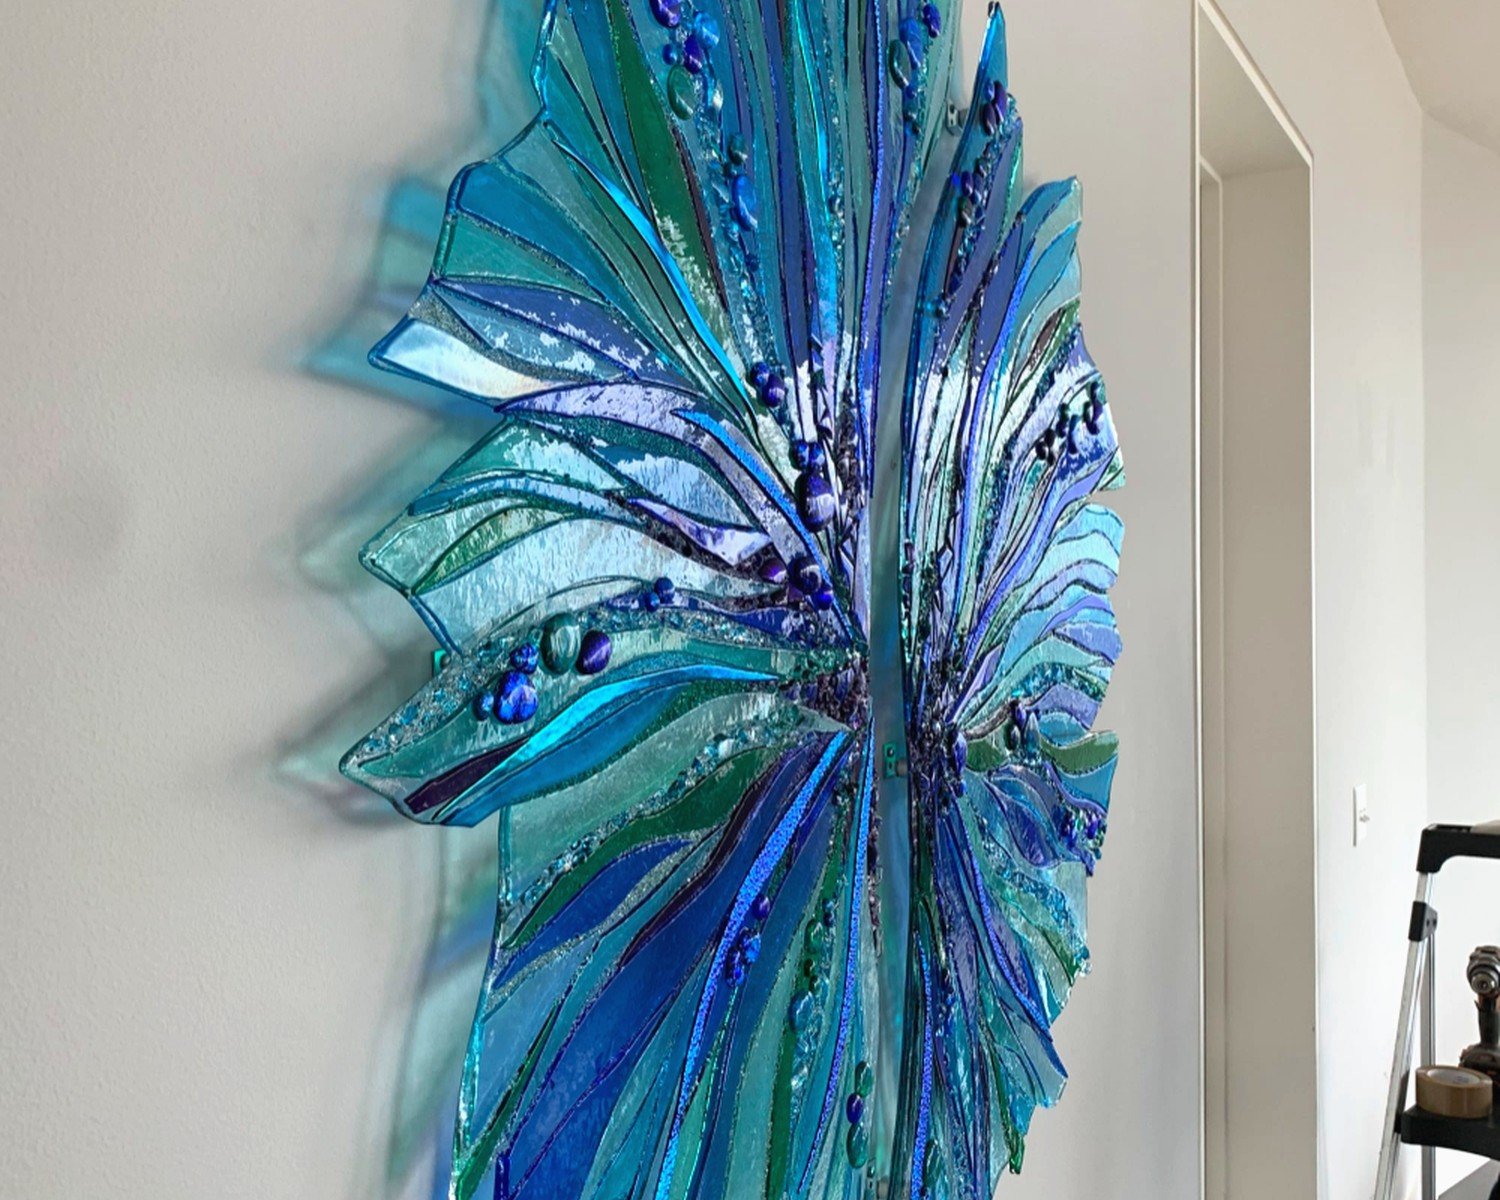
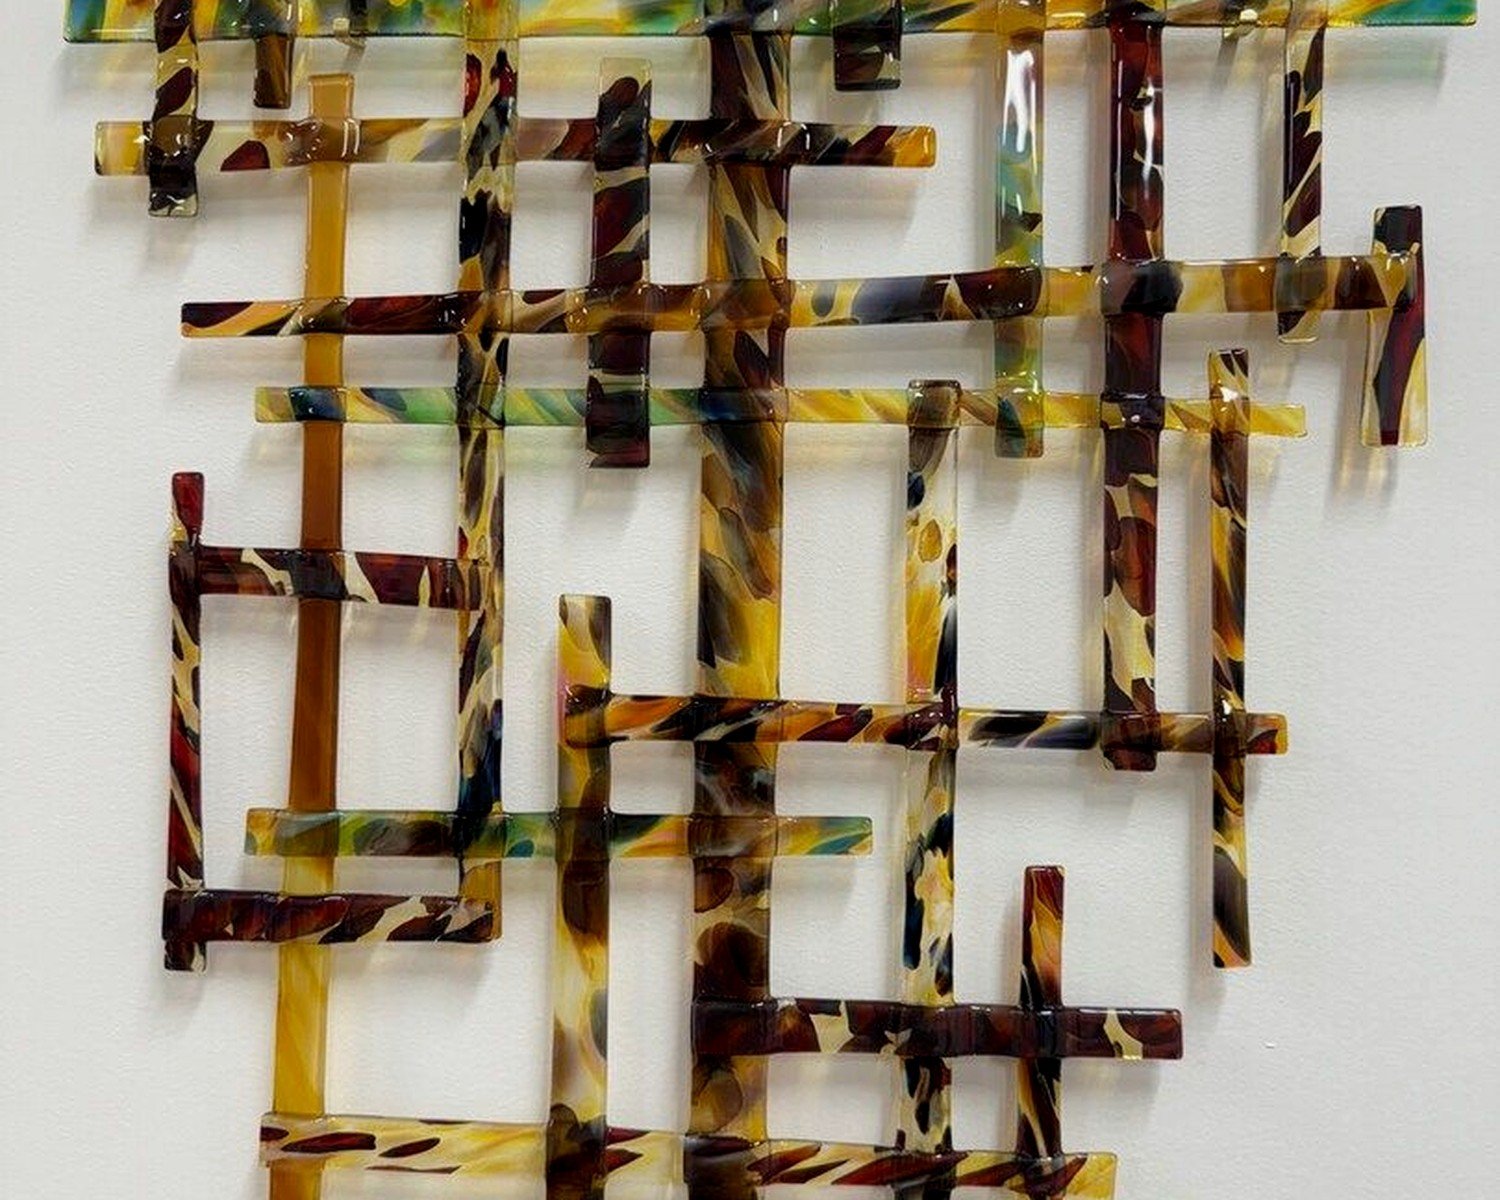
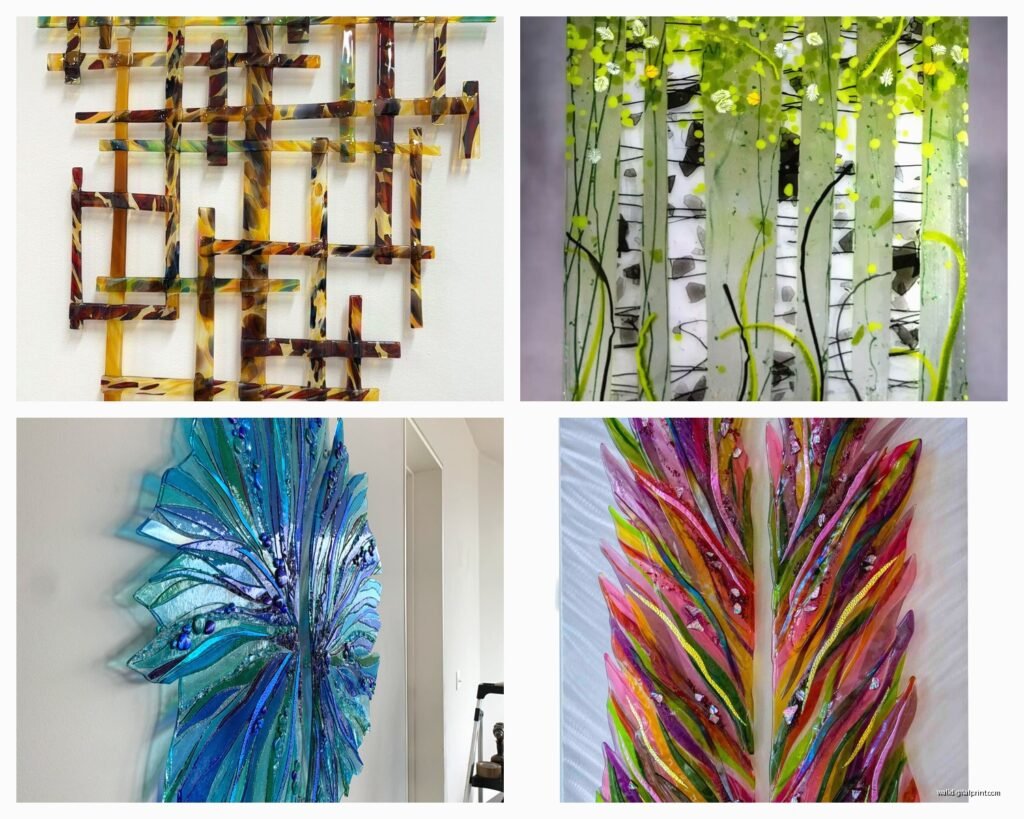
Design Ideas That Actually Work For Walls
Okay so funny story, my first wall piece was this elaborate landscape scene and it was… fine but kinda boring? What actually sells and looks good:
Abstract geometric – strips of color, rectangles, circles. Clean and modern, fits most spaces.
Organic patterns – think waves, cells, natural forms. Use frit and let it flow naturally during firing.
Texture focus – tack fuse or add elements like metal inclusions, wire, mica for dimension.
Color blocks – simple but dramatic. Three or four bold colors in sections.
For wall art specifically, you want visual impact from a distance. Tiny details get lost. Go bold with color and shape.
Color Combinations I Keep Coming Back To
- Turquoise + amber + clear – coastal vibes without being beachy
- Deep red + black + white – dramatic, modern
- Various blues layered – creates depth, always looks expensive
- Earth tones + copper metallic – warm and organic
- Single color gradient – use different opacities of same hue
Test your colors first because some glass changes in the kiln. “Striker” colors actually develop during firing – they look pale going in and BAM bright orange or red coming out.
Cost Reality Check
Let’s be real about money because this isn’t cheap:
Glass: $8-15 per square foot depending on color and brand
Kiln time: $25-40 per firing if renting, or big upfront cost to buy
Tools: $100-200 to start (cutter, pliers, grinder)
Supplies: $50ish ongoing (kiln wash, fiber paper, bits, etc)
A 12×12 wall art piece costs me about $40-60 in materials and kiln time. I sell them for $200-350 depending on complexity. The math works but you gotta price appropriately.
Safety Stuff I’m Supposed to Mention
Wear safety glasses when cutting and grinding glass. Seriously. A friend got a glass shard in her eye and it was a whole thing.
Respirator mask for grinding – even wet grinding creates some dust.
Ventilate your kiln area – those fumes contain stuff you don’t want in your lungs.
Heat-resistant gloves for handling kiln furniture when it’s warm.
Keep a first aid kit nearby because you WILL get cut. I go through bandaids like crazy.
Common Problems And Fixes
Devitrification – cloudy surface that develops. Usually from contamination or certain glass types. Can prevent with spray or just embrace it as texture.
Bubbles – trapped air between layers. Go slower through 1100-1300°F range or add a bubble squeeze hold around 1300°F.
Cracks – usually from incompatible glass or cooling too fast through annealing. Check your COE and slow down that annealing segment.
Sharp edges – didn’t grind enough or glass shifted during firing. More coldwork needed.
Uneven thickness – glass flowed more in some areas. Might need to adjust placement or firing temp.
The thing is, even “failed” pieces can look cool. I’ve had happy accidents that ended up being my favorite designs. Glass is somewhat unpredictable and that’s part of the appeal.
Mounting And Display
For wall mounting I usually do one of these:
Drill holes and use wire with wall hooks – traditional, secure
Glue french cleats to the back – very secure for heavy pieces
Standoffs – metal spacers that hold glass away from wall, creates shadow, looks gallery-style
Shadow box frame – if you want to protect edges and add finished look
Make sure whatever method you use is rated for the weight. Glass is heavier than people expect and you don’t want it crashing down.
Oh and another thing – photograph your work in natural light near a window. The glass looks completely different in various lighting and natural light shows the colors truest. I learned this after posting awful yellow-tinted indoor photos that didn’t sell anything.
Anyway that’s most of what I wish someone had told me three years ago. It’s a process with a learning curve but once you get your system down it’s actually pretty straightforward. Just expensive and time-consuming but worth it when you pull out a piece that turned out exactly how you envisioned it. Or even better than you envisioned because the glass did something unexpected and cool.