Wall Art Guide, Wall Art Tutoriels
Geometric Wood Wall Art: Angular Carved Designs
Mar
So I’ve been working with geometric wood wall art for like three years now and honestly, the material selection is where most people completely mess up before they even start carving. Let me just dump everything I know because I literally just finished installing a massive angular piece in a client’s loft yesterday and my arms are still sore.
Wood Types That Actually Work for Angular Designs
Okay so for geometric carved pieces, you need wood that’s gonna cooperate with sharp angles and won’t splinter when you’re working those crisp lines. I usually go with:
Basswood – this is my go-to for intricate angular stuff. It’s soft enough that you won’t hate yourself halfway through carving but dense enough to hold really clean edges. I made this hexagonal layered piece last month and basswood was perfect because it doesn’t have a super pronounced grain that fights with your geometric patterns.
Walnut – if you want that rich dark look without staining. The grain is pretty uniform so it won’t distract from your angular design. Little pricier though, like I spent $180 on walnut for a 3×4 foot piece versus maybe $60 for basswood of the same size.
Maple – harder to carve but OH the finish is incredible. Super smooth, takes geometric patterns beautifully. I only use this when clients have budget because my router bits wear down faster and honestly my patience does too.
Don’t use pine. I know it’s cheap and everywhere but the grain is so uneven that your angular lines will look sloppy no matter how careful you are. Learned that the hard way on a commission piece that I had to completely redo.
Tools You Actually Need vs What Instagram Makes You Think You Need
This is gonna sound weird but I have like 30 carving tools and I use maybe 6 of them regularly for geometric work.
- A decent palm router with a 1/4 inch straight bit – this is non-negotiable for angular grooves
- V-groove carving bit for those sharp valley lines
- Chisels in 1/4″, 1/2″, and 1″ widths
- Japanese pull saw (way better control for geometric cuts than push saws)
- Random orbital sander – your hand will thank you
- Speed square and T-square because eyeballing angles is how you end up with wonky trapezoids
I wasted so much money on a CNC machine thinking it would speed things up but honestly for one-off art pieces, the setup time isn’t worth it unless you’re doing production runs. My cat knocked over a can of stain onto the manual once and I’ve just been winging the settings ever since anyway.
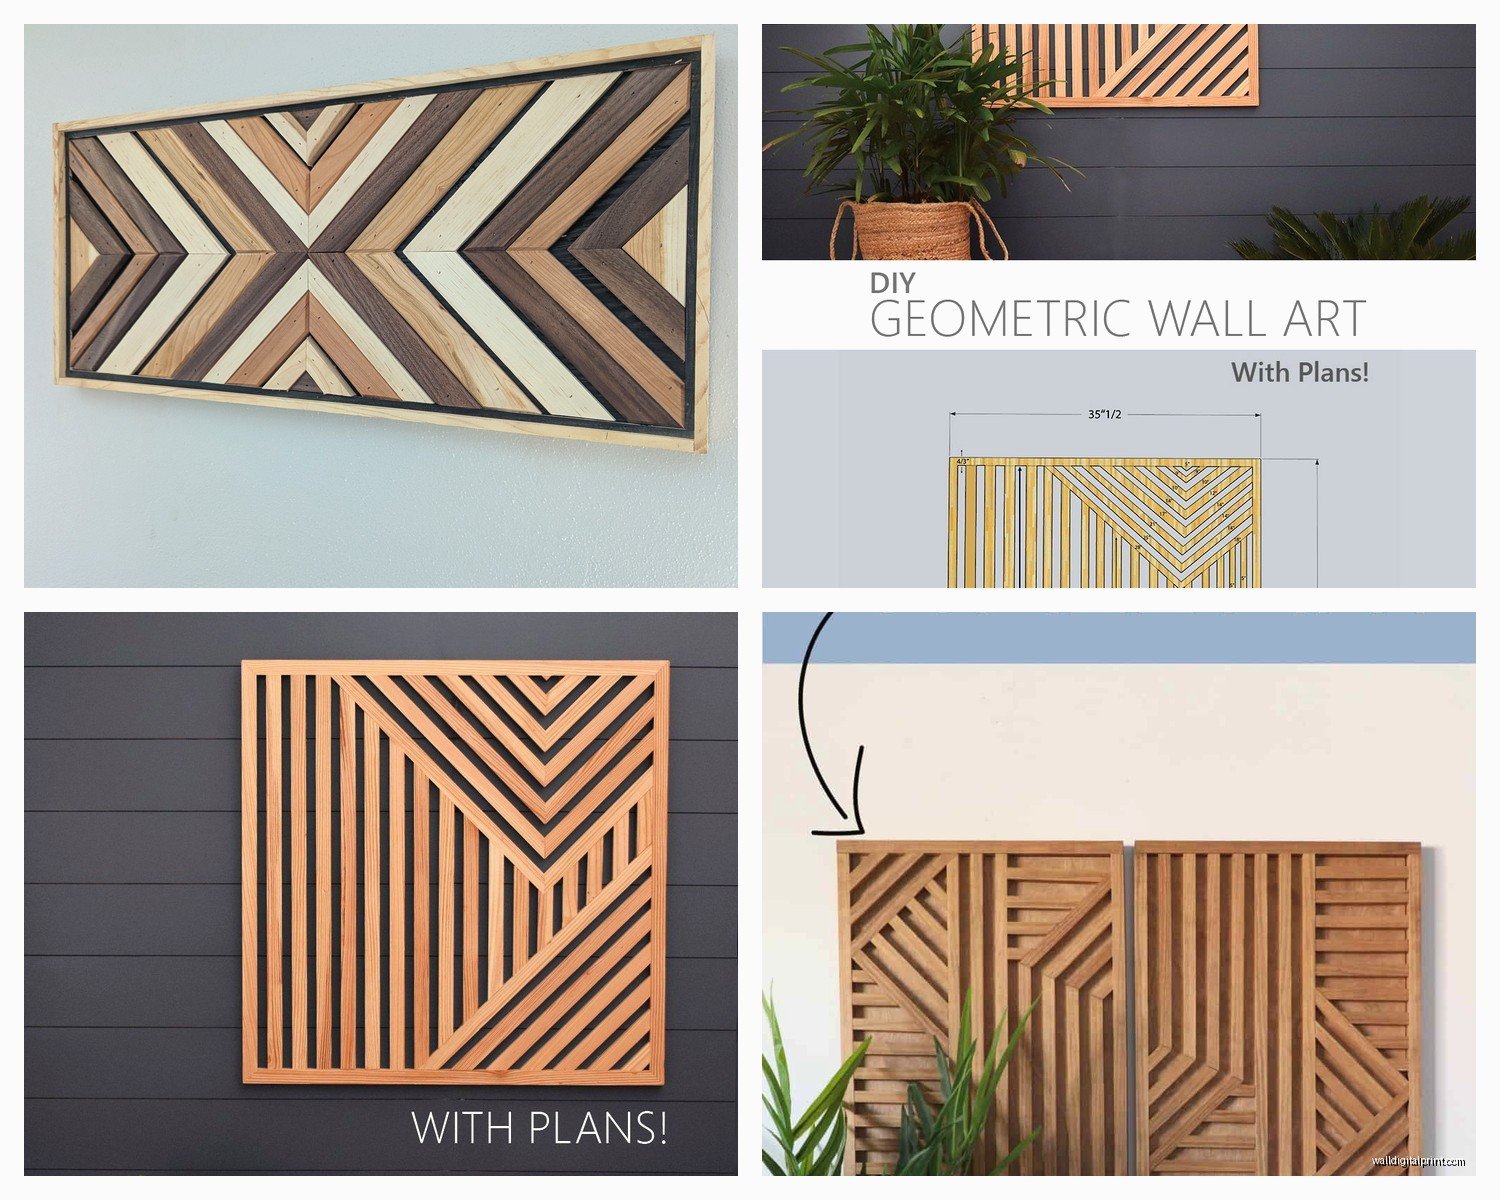
Design Planning Without Losing Your Mind
Wait I forgot to mention – graph paper is your best friend. I use 1/4 inch grid paper and each square represents one inch of actual wood. Makes scaling SO much easier.
For angular designs, you gotta think in layers. Like literally. I do:
Layer 1: Base board – usually 3/4″ thick, this stays mostly flat
Layer 2: Mid-depth elements – carved down 1/4″ to 3/8″
Layer 3: Deep recesses – going 1/2″ down or more
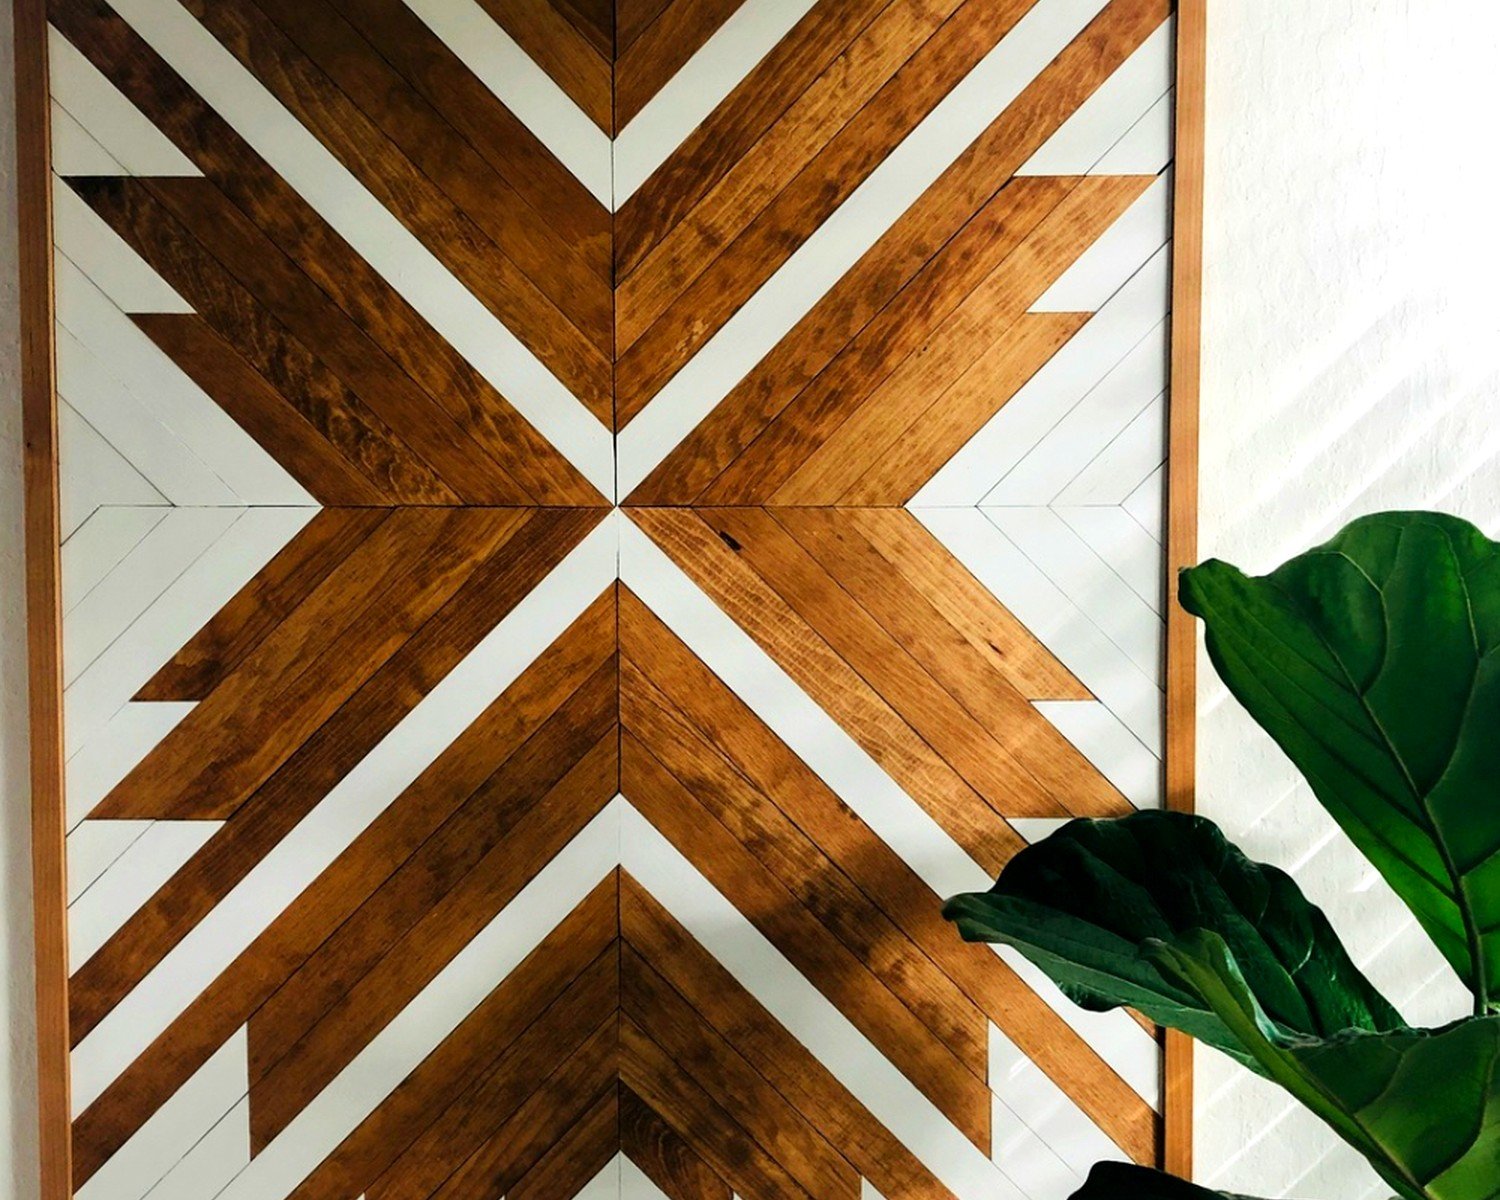
The depth variation is what makes geometric pieces pop. A flat carved design just looks… flat. Shocking, I know.
My client canceled last week so I spent like three hours just playing with different angular patterns and I realized that odd numbers of repetitions look way more interesting than even numbers. Three triangles intersecting looks intentional. Four looks like you ran out of ideas. Don’t ask me why, it’s just how our brains work.
Actually Carving the Thing
Okay so you’ve got your design, your wood, your tools. Here’s where people usually panic.
Start with your router for the long straight grooves. Clamp a straight edge as your guide – I use aluminum angle iron from the hardware store, it’s like $8 and perfectly straight. Set your depth to 1/8″ for the first pass. Always do multiple shallow passes instead of one deep cut unless you enjoy wood tearout and swearing.
For the angular intersections, switch to chisels. I work from the center of each angle outward. It’s counterintuitive but you get cleaner corners this way. Keep your chisels scary sharp – I mean like stropping them every 20 minutes sharp. Dull chisels on hardwood with angular designs is a recipe for slipping and cutting yourself. I have a scar on my thumb to prove it.
The V-Groove Technique
This is gonna sound overly specific but for really dramatic angular lines, use a V-groove bit at 60 degrees. The shadows it creates are *chef’s kiss*. I usually run these along the main geometric divisions – like if you’re doing a faceted diamond pattern, the V-groove goes where the facets meet.
Oh and another thing – always run your router away from yourself, never pulling toward your body. Learned that from a very patient ER nurse who also does woodworking and was both sympathetic and judgmental.
Finishing Without Ruining Everything
So you’ve carved this beautiful geometric masterpiece and now you gotta decide on finish. This is where I see people make the biggest mistakes.
For light woods (basswood, maple):
– Danish oil brings out a subtle warmth without changing the color drastically
– Clear satin polyurethane if it’s going somewhere that’ll get touched a lot
– Just beeswax if you want to keep it super natural and you’re okay with reapplying yearly
For walnut:
– Honestly just oil. Tung oil or danish oil. Walnut is already gorgeous
– If you want it darker, a coat of boiled linseed oil first, then your topcoat
I tested like eight different finishes on walnut samples (my partner thought I was losing it, just pieces of wood everywhere with labels) and the boiled linseed oil made the grain absolutely glow in a way that complemented the angular shadows perfectly.
Here’s something nobody tells you – sand between coats with 320 grit minimum. Yeah it’s annoying. Yeah it takes forever. But the difference between a piece that looks homemade and one that looks professional is literally just this step.
Mounting These Heavy Geometric Pieces
Okay so mounting is its own whole thing. A 3×3 foot piece of 3/4″ walnut weighs like 25-30 pounds. You can’t just slap a sawtooth hanger on there and hope for the best.
I use French cleats for anything over 15 pounds. It’s basically two pieces of wood cut at 45-degree angles – one mounts to the wall, one mounts to your art piece, and they hook together. Super secure and you can adjust the position a bit before it settles.
For the wall-mounted cleat, you gotta hit studs. I use 3-inch construction screws into at least two studs. Toggle bolts if you absolutely have to mount between studs but honestly just redesign your layout to hit studs because drywall anchors and heavy wood art are not friends.
The art-side cleat gets screwed into the back of your piece from behind – predrill your holes or you’ll split the wood, especially near edges.
Spacing from the Wall
This is something I figured out by accident – leave about 1/2″ to 3/4″ space between your art and the wall. The shadows that creates add another dimension to the angular design. It’s subtle but it makes the whole piece feel more… intentional? Professional? I dunno, it just works.
Plus if you’re using LED backlighting (which okay yeah is trendy but looks incredible with geometric pieces), you need that gap anyway.
Common Problems and Actual Solutions
Tearout at angle intersections: Score your cut lines first with a utility knife. Shallow cut, just breaking the surface fibers. Then carve. Game changer.
Uneven depth in grooves: Your router base isn’t flat or your wood isn’t flat. Check both. I set my pieces on a known-flat surface (I use my table saw top) and look for gaps. Plane or sand as needed before starting.
Geometric pattern looks “off” but you can’t figure out why: Probably your angles aren’t actually the angles you think they are. I bought a digital angle gauge for like $20 and realized my “60-degree” cuts were actually 58 degrees and it was throwing everything off subtly. Our eyes pick up on that stuff even if we can’t articulate why.
Wood moving/warping after you’re done: You didn’t let it acclimate. Bring wood into your workspace at least 48 hours before working with it. I learned this when a piece I made in my garage in January warped like a potato chip when the client hung it in their heated house.
Material Costs Reality Check
Since you’re probably wondering what this actually costs:
A 2×3 foot geometric piece in basswood – maybe $40-60 in materials
Same size in walnut – $120-180
Finishing supplies – $25-40 depending on what you choose
Router bits (they wear out) – budget $30-50 to keep sharp bits on hand
Sandpaper – like $15 for variety packs
So you’re looking at $110-285 in materials for a decent-sized piece. Not including tools if you’re starting from scratch, but those are one-time investments mostly.
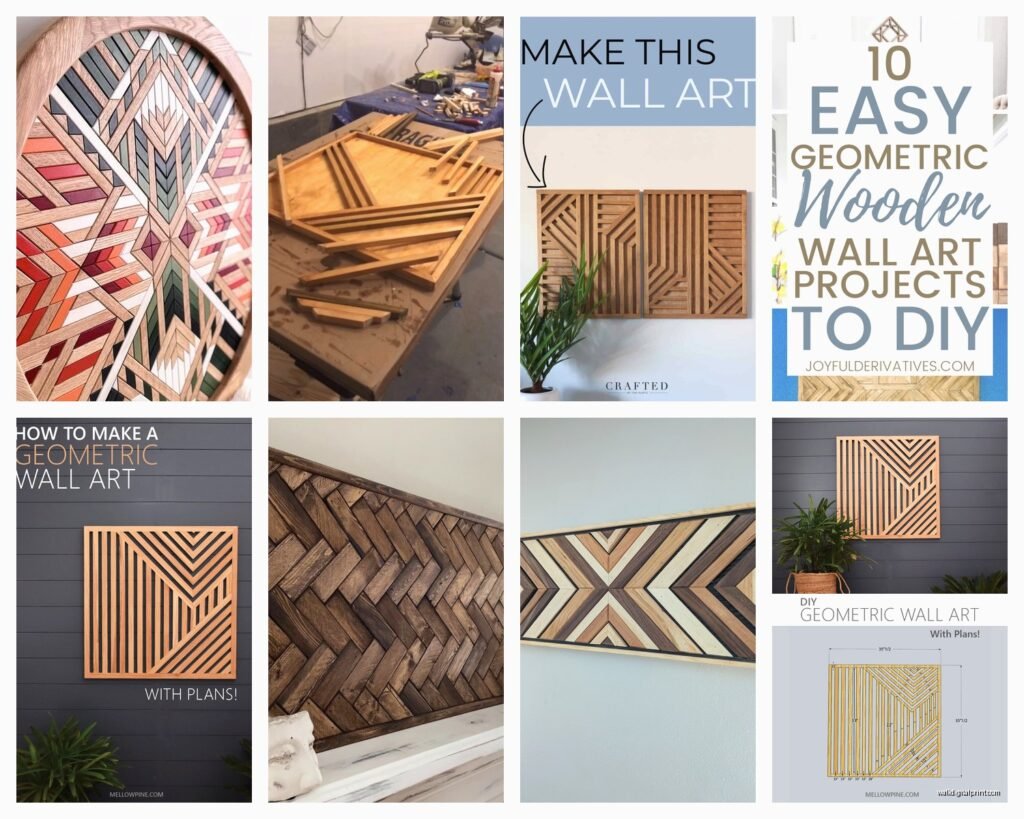
Design Ideas That Actually Work
Okay I’m just gonna list patterns I’ve done that turned out great:
- Layered hexagons with each layer rotated 15 degrees – creates this cool faceted effect
- Intersecting triangles at different depths – very modern, looks expensive
- Chevron pattern but with carved valleys instead of painted – the shadows do all the work
- Concentric squares getting deeper as they go in – hypnotic honestly
- Abstract mountain range using angular peaks – this one’s in my living room and I stare at it while watching TV, it’s probably weird
The stuff that doesn’t work as well – super intricate patterns with tons of tiny elements. From a distance it just looks busy and you lose the impact of the shadows and depth.
Mistakes I Made So You Don’t Have To
Used construction lumber once thinking I could save money. It was warped, had knots that broke my router bit, and the moisture content was all over the place. Wasted an entire weekend.
Tried to stain geometric basswood once with a dark walnut stain thinking it would look dramatic. It just looked muddy and the grain pattern competed with the geometric design. Stick with natural wood colors or very subtle stains.
Didn’t seal the back of a piece before installing it in a bathroom. Moisture got in, wood cupped, pulled away from the wall. Now I seal all six sides regardless of where it’s going.
Started a carved pattern without mapping it completely and had to improvise halfway through. It looked improvised. Not in a good way.
Look, the reality is geometric wood carving has a learning curve but it’s not like you need to be a master craftsman or anything. You just need patience, sharp tools, and the willingness to mess up a few practice pieces. My first attempts were rough but even those looked decent from 6 feet away.
The main thing is just start simple – maybe a basic pattern of triangles or a hexagon grid – and work your way up to complex layered stuff. I still do test pieces when I’m trying new patterns because wood is expensive and my ego can only handle so many failures per month.