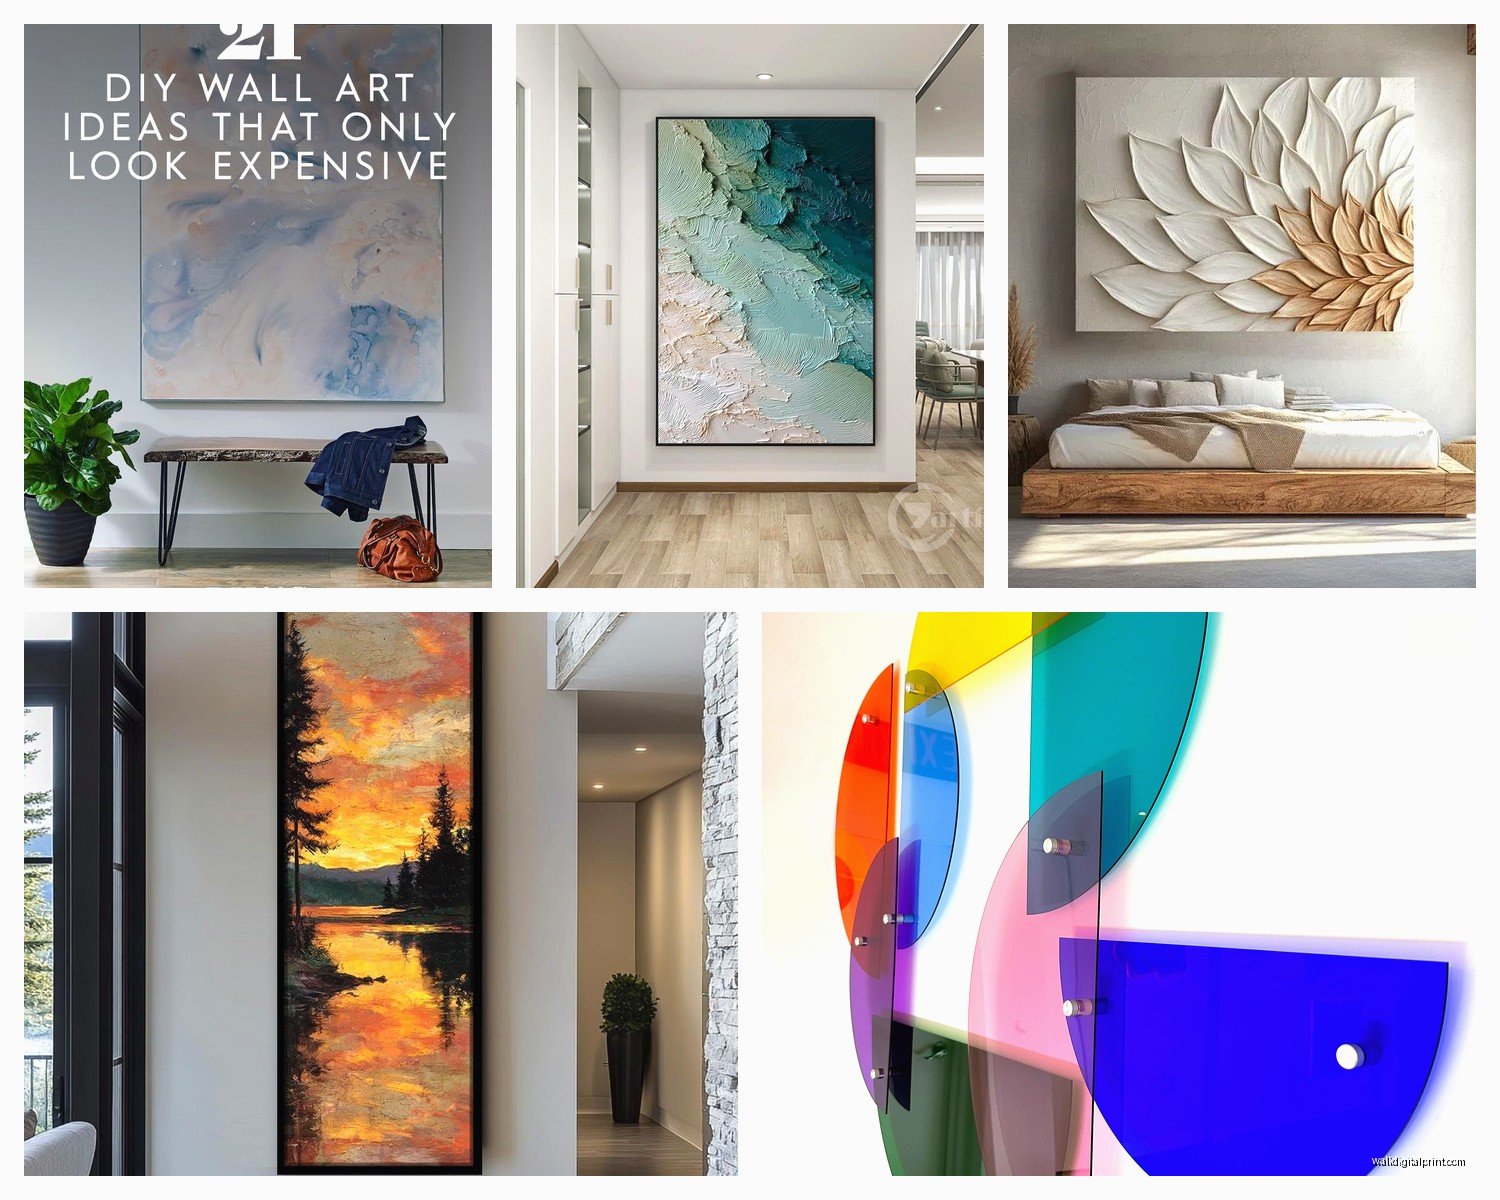
Wall Art Guide, Wall Art Tutoriels
Large Acrylic Wall Art: Oversized Plexiglass Designs
Mar
So I’ve been working with oversized acrylic wall art for like three years now and honestly it’s one of those things that looks SO easy until you’re actually trying to hang a 6-foot piece of plexiglass by yourself at 2pm on a Tuesday wondering why you didn’t just become an accountant.
First Things First: What Size Actually Works
Okay so here’s what nobody tells you about large acrylic pieces. When they say “large” they usually mean anywhere from 36 inches to like 72 inches or bigger. But the size you need depends on your wall situation and I always tell people to go bigger than they think. Like, way bigger. I had this client who wanted a 40-inch piece for their living room and I convinced them to go with 60 inches instead and they literally texted me a week later saying it was the best decision.
The rule I use is measure your wall space and aim for art that takes up about 60-75% of that width. So if you’ve got an 8-foot wall that’s empty, you’re looking at something in the 5-6 foot range. Sounds huge but trust me it’ll look proportional.
Weight Considerations Because Physics Is Real
Here’s where it gets tricky and why I almost dropped a $2000 piece last month (my dog decided that was the perfect moment to bark at absolutely nothing). Acrylic is lighter than glass but it’s still HEAVY. A 48×60 inch piece of half-inch acrylic can weigh like 40-50 pounds depending on thickness.
You need to know:
- Quarter-inch acrylic: lightweight, good for pieces under 40 inches
- Half-inch acrylic: the sweet spot for most large pieces, sturdy enough
- Three-quarter inch: for pieces over 60 inches or if you want that really substantial look
Thicker looks more expensive and has better clarity but also costs more and weighs more so… yeah it’s a tradeoff.
Mounting Options That Don’t Involve Crying
Wait I forgot to mention this earlier but DO NOT use regular picture hanging hardware. Just don’t. I learned this the hard way during my second year doing interior styling when a 50-inch acrylic piece literally slid down the wall during a client dinner party. Mortifying.
Standoff Mounts
These are those metal hardware pieces that create space between the wall and the acrylic. They look super modern and gallery-like. You drill through the acrylic itself which sounds terrifying but most companies will pre-drill the holes for you if you ask.
The installation process goes like this:
- Find your studs with a stud finder (get the electronic kind not the magnetic one, learned that lesson too)
- Mark where your standoffs will go on the wall
- Drill pilot holes into the studs
- Screw in the standoff bases
- Lift the acrylic and line up the pre-drilled holes with the standoffs
- Secure with the caps
This method works best for pieces under 60 inches. Anything bigger and you’re gonna want help because trying to hold up a giant sheet of acrylic while aligning four mounting points is like… impossible unless you have three arms.
French Cleat System
Okay so funny story, I used to think French cleats were actually from France but they’re just called that and nobody knows why. Anyway this is my favorite method for really large pieces over 5 feet.
You basically mount a wooden cleat to the wall (screwed into studs) and another cleat to the back of your acrylic piece. They interlock and distribute weight evenly. The acrylic just hangs on the wall cleat and you can slide it left or right to center it which is SO much easier than trying to get everything perfect the first time.
The Printing and Design Part
So when you’re actually choosing or creating the design for large acrylic art there’s some technical stuff you gotta know. Resolution matters SO much at this scale. You need high-res images, like minimum 150 DPI at the final print size but honestly I always push for 300 DPI.
Printing Methods
Most large acrylic art uses UV printing which prints directly onto the back of the acrylic. The colors look incredible, super vibrant and they don’t fade. But some pieces use face-mounting where they print on paper or canvas first and then mount it to the acrylic. Face-mounting gives you this depth and the colors look different, more saturated somehow.
I prefer UV printing for modern abstract stuff and photography. Face-mounting works better for fine art reproductions where you want that traditional look but with the sleek acrylic finish.
Edge Finishing
This is gonna sound weird but the edges matter more than you’d think. You’ve got three options:
- Polished edges: smooth and clear, looks super professional
- Frosted edges: slightly cloudy, hides imperfections better
- Painted edges: usually black or white, gives a framed look without an actual frame
For really large pieces I almost always go with polished edges on the sides and top, but sometimes I’ll do painted edges if the acrylic is going in a space with a lot of traditional elements. Helps it blend better.
Placement Strategy for Maximum Impact
The height thing trips people up constantly. Standard rule is center the art at 57-60 inches from the floor, which is average eye level. But with oversized pieces you sometimes need to adjust based on furniture.
If you’re hanging above a sofa, the bottom of the acrylic should be 6-8 inches above the sofa back. Above a console table, leave 4-6 inches of space. And in a dining room over a buffet or credenza, you can go a bit higher, maybe 8-10 inches of clearance.
Oh and another thing, lighting changes EVERYTHING with acrylic art. The way light interacts with plexiglass is completely different from canvas or framed prints. I was watching this documentary about art galleries last week (my client canceled so I had free time) and noticed how they always light acrylic pieces from the side or top, never straight-on, because otherwise you get glare.
Avoiding Glare Issues
Position your piece so it’s not directly across from windows if possible. Or if it has to be on that wall, make sure it’s offset from the window so you’re not getting direct reflection. Track lighting aimed at 30-45 degree angles works really well. Those LED picture lights are okay for smaller pieces but they don’t have enough spread for anything over 48 inches.
Care and Maintenance Real Talk
Acrylic scratches easier than glass. Just accept this now. It’s not the end of the world but you need to be careful. Use microfiber cloths ONLY and special acrylic cleaner or just warm water with a tiny bit of dish soap. Never use Windex or ammonia-based cleaners because they’ll make the acrylic cloudy over time.
Static electricity is also a thing with acrylic so it attracts dust like crazy. I usually wipe down my clients’ pieces every two weeks or so. Just a quick dusting with a dry microfiber cloth.
If you do get a scratch there are acrylic scratch removers you can buy but honestly for deep scratches you’re kinda out of luck. Light surface scratches can be buffed out though.
Where to Actually Buy This Stuff
I’ve ordered from probably a dozen different companies at this point. For custom work I really like Fracture and Printique for photo prints. They do solid work and their mounting hardware is included which is nice.
For abstract art and more artistic pieces, Minted has some gorgeous options and you can get them printed on acrylic. Etsy is hit or miss but there are some really talented artists selling digital downloads that you can then have printed locally on acrylic, which sometimes ends up cheaper than buying from the big companies.
Local print shops can do large format acrylic printing too and I actually prefer this route when possible because you can see samples in person and discuss the exact finish you want. Plus supporting local businesses and all that.
Budget Breakdown
Okay so realistically here’s what you’re looking at cost-wise:
- 36×48 inch piece: $300-600 depending on thickness and printing quality
- 48×60 inch piece: $600-1200
- 60×72 inch or larger: $1200-3000+
Custom photography or original art printed on acrylic costs more obviously. The pieces I curate for clients usually run $800-2500 for good quality large format work.
You can find cheaper options on Amazon and Wayfair but the quality is really variable. I’ve gotten some decent pieces from those sites and some absolute garbage so it’s kinda a gamble.
DIY Route If You’re Brave
You can technically make your own if you’ve got access to a print shop that does UV printing. Buy the acrylic sheet from a plastics supplier (TAP Plastics is good if you’re in the US), get your image printed, and install the mounting hardware yourself.
I tried this once. ONCE. It saved maybe $200 but the stress of transporting a giant sheet of acrylic in my car and hoping I didn’t scratch it was not worth it. But if you’re handy and have the time it’s definitely doable.
Design Styles That Work Best
Not all art translates well to large-scale acrylic. Abstract pieces work amazingly because the colors pop and the smooth acrylic surface enhances the modern feel. Photography, especially landscape and architectural shots, looks incredible because of the depth and clarity.
What doesn’t work as well: heavily textured art, watercolors, or anything where the texture is important to the piece. The smooth acrylic surface kinda flattens that out and you lose something in translation.
Black and white photography on clear acrylic with standoff mounts is like… chef’s kiss. So clean and modern. I did an entire gallery wall for a client last year using this approach with various sized pieces and it looked like something out of a magazine.
Color Considerations
Bold colors photograph better and look more vibrant on acrylic than muted tones. Pastels can work but they sometimes look washed out especially if the acrylic has any yellowing (cheaper acrylic does this over time).
High contrast images work best. Think deep blacks, bright whites, saturated colors. Mid-tone heavy images can look flat unless the print quality is really good.
Installation Day Tips
Have at least one other person help you. Seriously. Even if you think you can do it alone, you can’t. The piece is awkward to hold, you need someone to check if it’s level while you’re drilling, and if something goes wrong you need backup.
Use a laser level not a bubble level for large pieces. The margin for error is way smaller when you’re working at this scale and being off by even half an inch is super noticeable.
Keep the protective film on the acrylic until it’s mounted. I’ve seen people peel it off first and then get fingerprints all over it while installing and then they gotta clean it while it’s hanging which is annoying.
Have your drill fully charged, extra drill bits ready, and all your hardware organized before you start. Nothing worse than being halfway through installation and realizing you need to run to the hardware store.
The whole process usually takes 45 minutes to an hour for a large piece if everything goes smoothly. Budget two hours though because something always comes up. Last time I installed a 60-inch piece we hit a weird stud situation and had to adjust the whole layout.
Anyway that’s pretty much everything I’ve learned through trial and error and occasionally making mistakes in front of clients which is always fun. The learning curve isn’t that steep honestly, you just gotta commit to the size and trust the process. And maybe measure twice before drilling.