Wall Art Guide, Wall Art Tutoriels
Long Wall Art Horizontal: Wide Panoramic Landscape Pieces
Mar
So I’ve been hanging horizontal art for like 15 years now and honestly it’s one of those things that looks SO much easier than it actually is when you’re standing there with a 60-inch piece wondering if you’ve just made a terrible decision.
The Whole Size Thing Everyone Gets Wrong
Okay so first thing – people always buy these pieces too small. Like, way too small. I had this client last month who bought what she thought was a “large” panoramic piece and it was 36 inches wide and it just looked… sad? On her 12-foot wall it was like hanging a postage stamp.
Here’s what actually works: your horizontal art should take up roughly 60-75% of your furniture width if it’s going above something like a sofa or console table. So if you’ve got an 8-foot sofa, you’re looking at somewhere between 58-72 inches wide minimum. And yeah I know that sounds massive but trust me, go bigger. I’ve never had someone tell me they regretted going larger but I’ve redone probably dozens of installations where we had to size up.
For walls without furniture underneath, you want the piece to be around 50-60% of the wall width. My dining room has this 10-foot wall and I’ve got a 72-inch panoramic landscape piece there and it finally feels proportional after I lived with a 48-inch piece for like two years that just never looked right.
Height Placement That Won’t Make You Crazy
The standard rule is center the art at 57-60 inches from the floor, which is “gallery height” or whatever, but honestly with horizontal panoramic pieces I go a bit different. If it’s above furniture, you want 6-8 inches between the top of your furniture and the bottom of the frame. Not 4 inches, not 10 inches – somewhere in that 6-8 range just looks the most intentional.
Without furniture underneath, I actually do 60 inches to the center of the piece and it works better for these wide formats because your eye naturally tracks horizontally across them anyway.
Oh and another thing – if you’re hanging in a room with lower ceilings (like 8 feet), don’t go higher thinking it’ll make the ceiling look taller. It won’t. It’ll just make your art look like it’s trying to escape through the roof. Keep it at that 57-58 inch center point and call it done.
The Drama of High Ceilings
Wait I forgot to mention the high ceiling situation because that’s its own mess. If you’ve got 10+ foot ceilings, you can go higher but you gotta be careful. I did this installation in a loft last year with 14-foot ceilings and we ended up doing a 48×96 inch piece (yes, 96 inches wide, it was custom) at about 65 inches center height and it still felt like it was floating in space until we added two smaller pieces below it to create a gallery wall situation.
For really tall walls, sometimes one horizontal piece isn’t enough. You might need to do a diptych or triptych arrangement vertically stacked, which sounds counterintuitive but it works.
What Actually Stays on the Wall
This is gonna sound weird but the hanging hardware matters SO much more with horizontal pieces because of the weight distribution. A 24×60 inch canvas weighs completely different than a 40×40 square even if they’re similar square footage, and the horizontal one wants to tip forward at the edges.
For anything over 40 inches wide, you need two hanging points minimum. I use D-rings attached to the frame about 1/3 in from each side. So on a 60-inch piece, I’m putting D-rings at about 20 inches in from each edge. This keeps the weight balanced and prevents that annoying tilt where one side droops down.
My go-to hardware setup:
- D-rings screwed into the back frame, not just stapled
- Braided picture wire rated for at least 3x the weight of your piece
- Wall anchors if you’re not hitting studs – those monkey hook things are actually pretty good for up to 50 pounds
- For really heavy pieces over 30 pounds, I’m finding studs or using toggle bolts, no exceptions
I learned this the hard way when a 40-pound metal print crashed down at 3am and scared my cat so badly she didn’t come out from under the bed for like six hours. Now I overengineer everything.
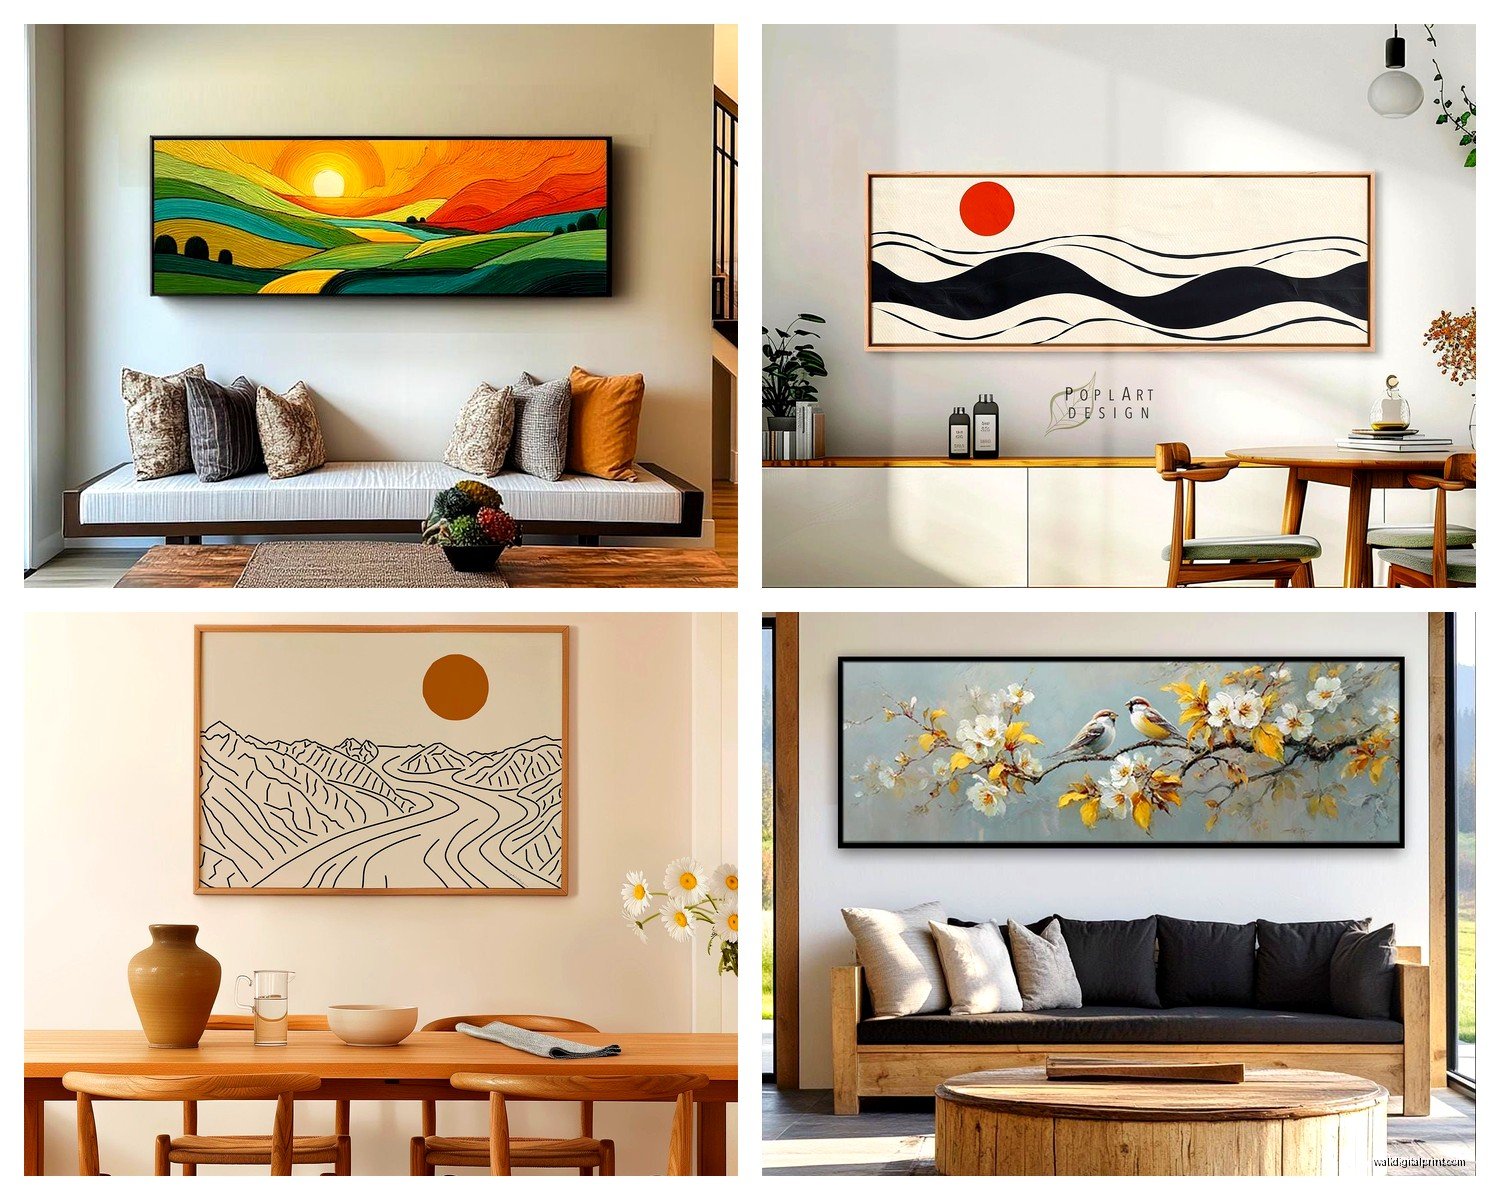
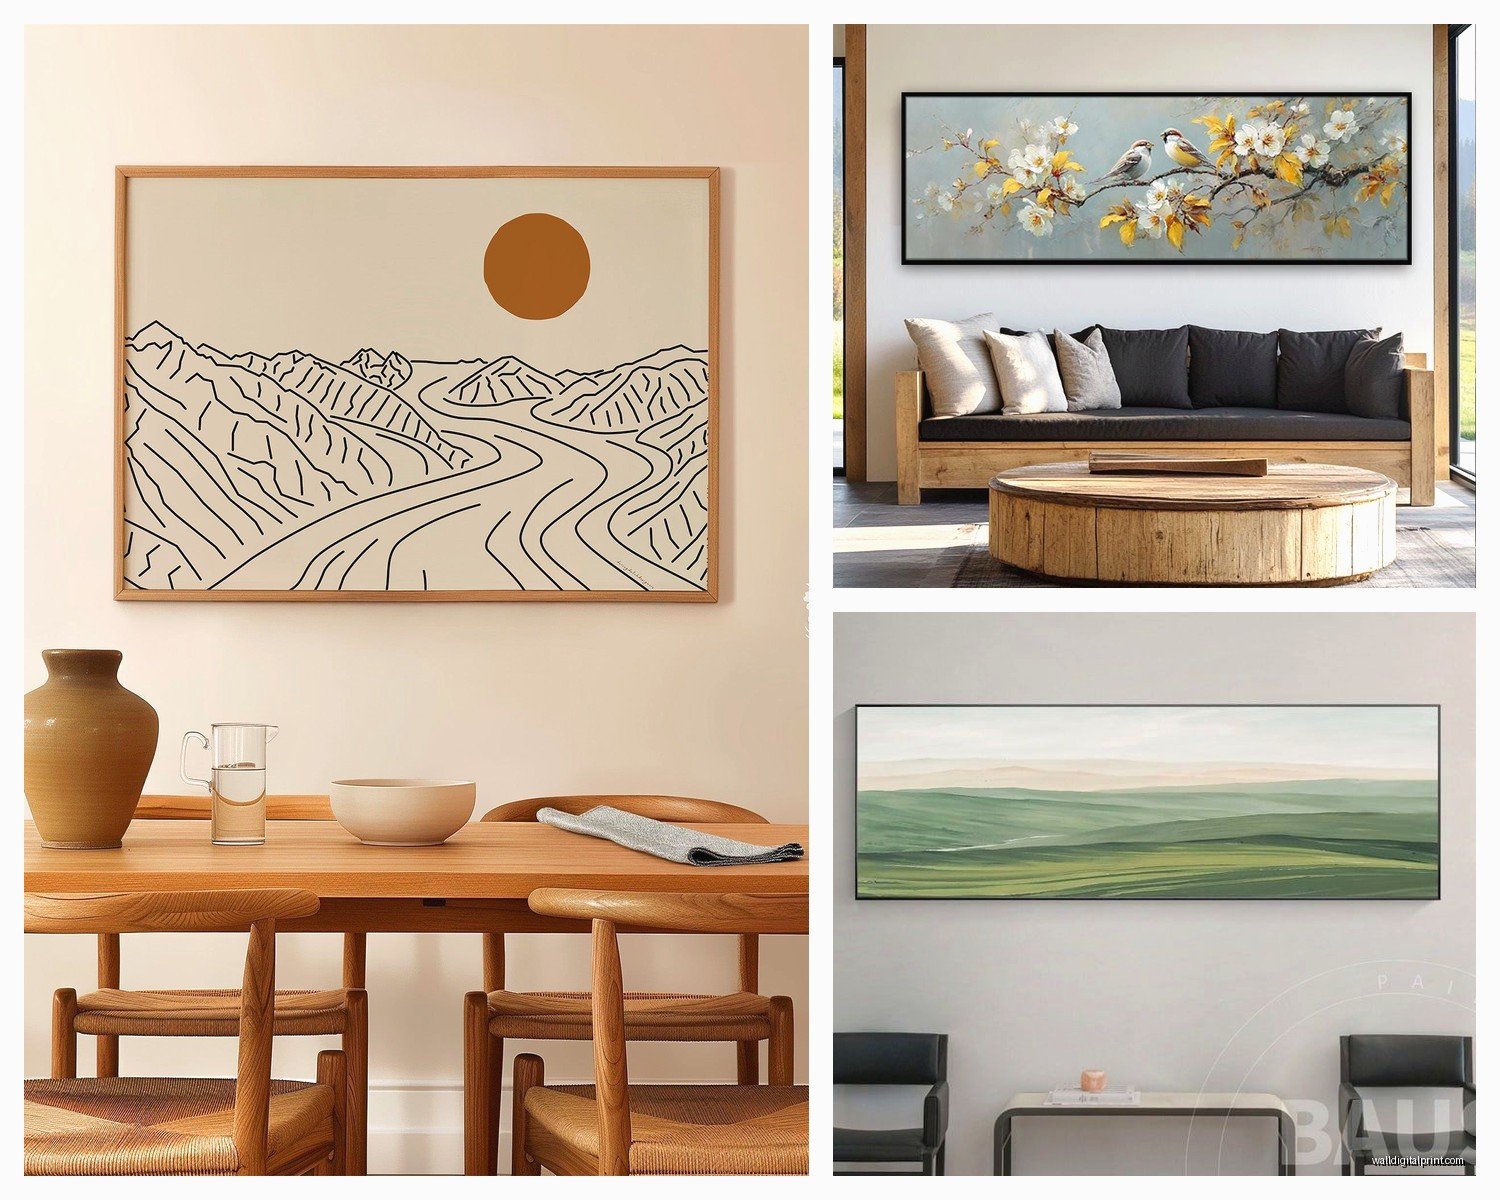
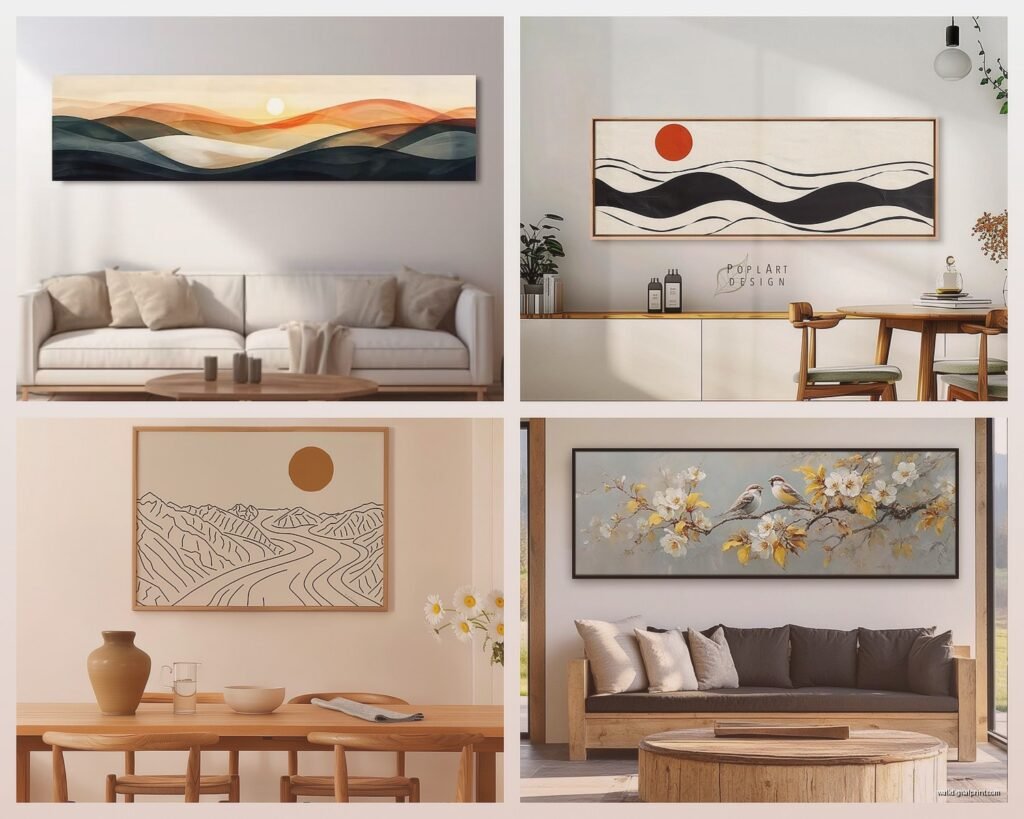
The Types That Work Best for Panoramic Format
Okay so not every image works as a horizontal panoramic piece. Landscapes obviously, yeah, but there’s more to it. What you want is something with visual interest that carries across the entire width without dead zones in the middle.
Seascapes and ocean horizons are probably the easiest – that natural horizon line works perfectly in a 2:1 or 3:1 ratio. Mountain ranges, same thing. City skylines are incredible in this format, especially if you’ve got a place you’ve traveled to or lived in.
Abstract pieces can work but they gotta have movement. I’ve seen too many abstracts that are just… blocks of color stretched wide and they look like someone just sized up a square painting in Photoshop without thinking about composition.
Forest scenes, especially those paths through trees or birch tree groupings, those kill it in horizontal format. The vertical lines of the trees against the horizontal frame creates this really nice tension that makes the piece feel bigger than it is.
What Doesn’t Work
Portraits of people – don’t do it. A super wide horizontal portrait just looks strange unless it’s a very specific artistic choice. Same with most floral close-ups, they need more vertical space usually.
Also be careful with really busy patterns or scenes with tons of detail. When you stretch that across 60+ inches, it can feel overwhelming. You want the eye to travel across the piece but not get exhausted doing it.
Framing Options That Don’t Suck
So framing these long horizontal pieces is its own challenge. Standard frames max out around 40 inches usually, so once you go bigger you’re looking at custom framing or frame-less options.
Canvas wraps are probably the most common and honestly they work great for this format. The image wraps around the edges and you don’t need a frame at all. Just make sure you’re getting a decent depth – 1.5 inches minimum, but 2 inches looks more substantial on really wide pieces.
Floater frames are my favorite though. They create this gap between the canvas edge and the frame so the piece looks like it’s floating inside the frame. For horizontal panoramas this adds even more visual width which sounds like overkill but actually makes the piece feel more intentional, less like you just stretched an image too far.
Metal prints mounted to aluminum are having a moment right now and they work SO well for panoramic landscapes. The colors pop, there’s no glare issues like with glass, and they’re lightweight which makes hanging easier. I just did a 30×80 inch metal print of the Oregon coast for my office and honestly I stare at it more than I should during Zoom calls.
The Acrylic Thing
Acrylic face-mounted prints are gorgeous but they’re heavy and expensive. Like, really expensive. I’m talking $500+ for a 36×60 inch piece easily. But the depth and clarity is unmatched. If you’re doing a really special piece for like above a fireplace or in an entryway, it might be worth it. Just budget for professional installation because dropping one of these is not an option.
Where These Actually Work in Your House
Above the sofa is the obvious one and yeah it works great. But there are so many other spots people don’t think about.
Behind the bed as a headboard alternative – this is actually one of my favorite applications. A 60-72 inch horizontal landscape above your bed creates this instant focal point and you don’t need an actual headboard. Just make sure it’s mounted securely because nobody wants to worry about that while they’re trying to sleep.
Long hallways are perfect for panoramic pieces. Instead of doing a gallery wall with a bunch of small frames, one long horizontal piece draws your eye down the hallway and makes the space feel more intentional. I did this in my own hallway with a 24×72 inch piece and it completely changed how the space feels.
Above console tables or buffets in dining rooms – this is where that 60-75% furniture width rule really matters. The horizontal format echoes the horizontal line of the furniture and creates a really cohesive look.
In bathrooms above the tub – okay hear me out on this. If you’ve got a soaking tub situation, a panoramic landscape piece above it creates this spa-like vibe. Just make sure you’re using a print material that can handle humidity. Metal or acrylic, not paper or regular canvas.
The Multi-Panel Question
So should you do one large panel or split it into multiple panels? Both work but they give different vibes.
Single panel pieces feel more cohesive and modern. The image flows without interruption and there’s something really satisfying about that unbroken visual line. Plus they’re easier to hang – one piece, done.
Multi-panel sets (usually 3 panels for a triptych) add dimension because you’ve got physical space between the panels. This can make the overall installation feel larger and more dynamic. The gaps create visual interest and if you’ve got lighting, the shadows between panels add depth.
I usually go single panel for anything under 60 inches wide, and then consider multi-panel for larger installations. A 90-inch wide installation broken into three 30-inch panels is easier to transport and hang than one massive 90-inch piece, plus you’ve got more flexibility with spacing.
The spacing between panels should be 2-4 inches usually. Less than 2 inches looks cramped, more than 4 inches and they start reading as separate pieces rather than one installation.
Common Screw-Ups I See All the Time
Hanging it too high – seriously this is like 70% of the calls I get to fix. People hang art way too high and then wonder why their room feels off.
Not considering the sight lines from where you actually sit – your art might look fine when you’re standing, but if you’re always viewing it from your sofa and it’s positioned for standing height, something’s gonna feel wrong.
Ignoring the wall color relationship – a dark moody landscape on a dark wall just disappears. You need some contrast. I had to reshoot an entire room once because the photographer couldn’t even see the art against the wall color in the photos.
Buying cheap printed canvas from those automated sites – look, I’m all for budget-friendly options, but those $89 custom canvas prints that pop up in your Instagram ads? The quality is usually terrible. Blurry, weird colors, thin canvas that shows the frame through it. If you’re going budget, at least order a sample first.
Not accounting for furniture proportions – your 96-inch sofa needs a bigger piece than your 72-inch loveseat. Seems obvious but people shop by wall size without thinking about what’s underneath.
Actually Shopping for These Things
Okay so where do you even find good horizontal panoramic pieces? Regular stores have terrible selection honestly, everything’s standard sizes.
Online print-on-demand sites let you crop any image to panoramic dimensions – places like Society6, Minted, or Printful. You can usually customize the size exactly which is great, but quality varies so read reviews.
Photography sites like 500px or SmugMug have photographers selling prints and many have panoramic landscape work. You’re supporting artists directly and the quality is usually way better.
Local artists and art fairs – I’ve found some of my favorite pieces at local markets. A lot of photographers shoot panoramic specifically and having it custom printed locally means you can see paper samples and talk through framing.
Custom printing services where you upload your own photo – if you’ve got your own travel shots or whatever, this can be amazing. I used a photo I took in Iceland and had it printed as a 36×72 metal print and it’s probably my favorite piece in my house.
Oh and Etsy has a ton of digital downloads where you buy the file and then print it yourself locally. This is actually super cost effective if you’ve got a good local print shop. Just make sure you’re buying at least 300dpi resolution files for anything over 40 inches wide.
Anyway that’s most of what I’ve learned through way too many installations and a few pieces that ended up on the floor. The main thing is don’t be scared to go bigger than feels comfortable, make sure your hanging hardware is actually rated for the weight, and for the love of everything use a level because eyeballing it never works no matter how many times I think it will.