Wall Art Guide, Wall Art Tutoriels
Metal Sculpture Wall Art: 3D Dimensional Art Pieces
Mar
So I’ve been installing metal wall sculptures for like 6 years now and honestly the biggest mistake people make is treating them like regular framed art. They’re NOT. The weight distribution is completely different and I learned this the hard way when a gorgeous bronze abstract piece nearly took out my client’s console table at 2am because I used the wrong anchors.
Weight Is Your First Problem
Okay so before you even think about buying anything, you gotta understand that 3D metal sculptures are heavy in weird ways. Like a flat metal panel might be 15 pounds but distributed evenly, while a sculptural piece with protruding elements could be 20 pounds but all the weight is in one corner. I keep a fish scale in my toolkit now (the kind for weighing catches, long story involving my brother) and I actually weigh pieces before installation.
For anything over 10 pounds you need wall anchors. Period. Don’t let anyone tell you a nail is fine. Toggle bolts are my go-to for drywall—they distribute weight behind the wall instead of just relying on that crumbly gypsum. For studs I use 3-inch wood screws, the exterior deck kind because they don’t strip as easily.
The Stud Finder Lie
Here’s something nobody tells you: electronic stud finders are useless near metal art. The metal confuses the sensor. I use the old knock-and-listen method or this magnet trick my contractor friend taught me. You run a strong magnet along the wall and it catches on the drywall screws that go into studs. Works every time and cost me like five bucks at the hardware store.
Mounting Hardware That Actually Comes With The Piece
Most metal sculptures come with these sad little sawtooth hangers or D-rings that are completely inadequate. I replace them immediately. For pieces under 20 pounds I use heavy-duty D-rings rated for at least double the weight—so 40 pound capacity minimum. The cheap ones pull right out of the backing material.
French cleats are honestly the best solution for larger pieces and I know they sound complicated but they’re not. It’s basically two interlocking pieces where one mounts to the wall and one mounts to your sculpture. The weight sits down and in, so gravity is actually helping you instead of fighting you. I bought a french cleat kit on Amazon for like $25 and I’ve used it on probably 30 installations now.
When Your Wall Is Brick Or Concrete
Oh man okay so concrete walls are a whole different thing. You need a hammer drill—not a regular drill, it won’t work or it’ll take you three hours and you’ll burn out the motor. Tapcon screws are specifically designed for concrete and they’re blue so you can’t mix them up with regular screws. Drill your pilot hole, vacuum out the dust (this matters more than you’d think), then drive the Tapcon in.
For brick you want to hit the brick itself not the mortar because mortar crumbles. My client last month didn’t believe me and insisted on mortar mounting and guess what, the whole thing shifted within a week.
Planning The Layout Before You Make Holes
I use painter’s tape to map everything out. Cut pieces of tape the exact dimensions of your sculpture and stick them on the wall. Live with it for a day or two. Look at it in different lighting. I can’t tell you how many times I’ve moved my tape mock-up like 6 inches to the left because the afternoon light hit it weird or it felt off-balance with the furniture.
For multi-panel installations or gallery walls with metal pieces, I lay everything out on the floor first. Take a photo from above. Measure the spacing between pieces. I keep mine between 2-4 inches apart usually—closer than that and they compete with each other, further and they look disconnected.
The center of your art should be at eye level which is roughly 57-60 inches from the floor. But this changes if you’re hanging above furniture. Above a sofa I go about 6-8 inches above the back of the couch, not from the floor.
The Actual Installation Process
Okay so you’ve got your spot marked, you’ve found your studs or you’ve got your anchors ready. Here’s my order of operations:
First, mark your mounting points with a pencil. Use a level—not the app on your phone, an actual bubble level. The phone app is close but not exact enough for something you’re literally screwing into your wall permanently.
Drill pilot holes if you’re going into studs. This prevents the wood from splitting and makes the screw go in easier. For drywall anchors, drill the hole size specified on the anchor package. They’re not all the same size and this matters.
Install your anchors or screws but leave them sticking out about 1/4 inch. This gives you room to hook your hardware onto them.
The Two Person Rule
Anything over 15 pounds needs two people. One person holds the sculpture level while the other checks the mounting. I’ve tried doing it alone with like elaborate pulley systems and it’s just not worth it. Call a friend, bribe them with pizza.
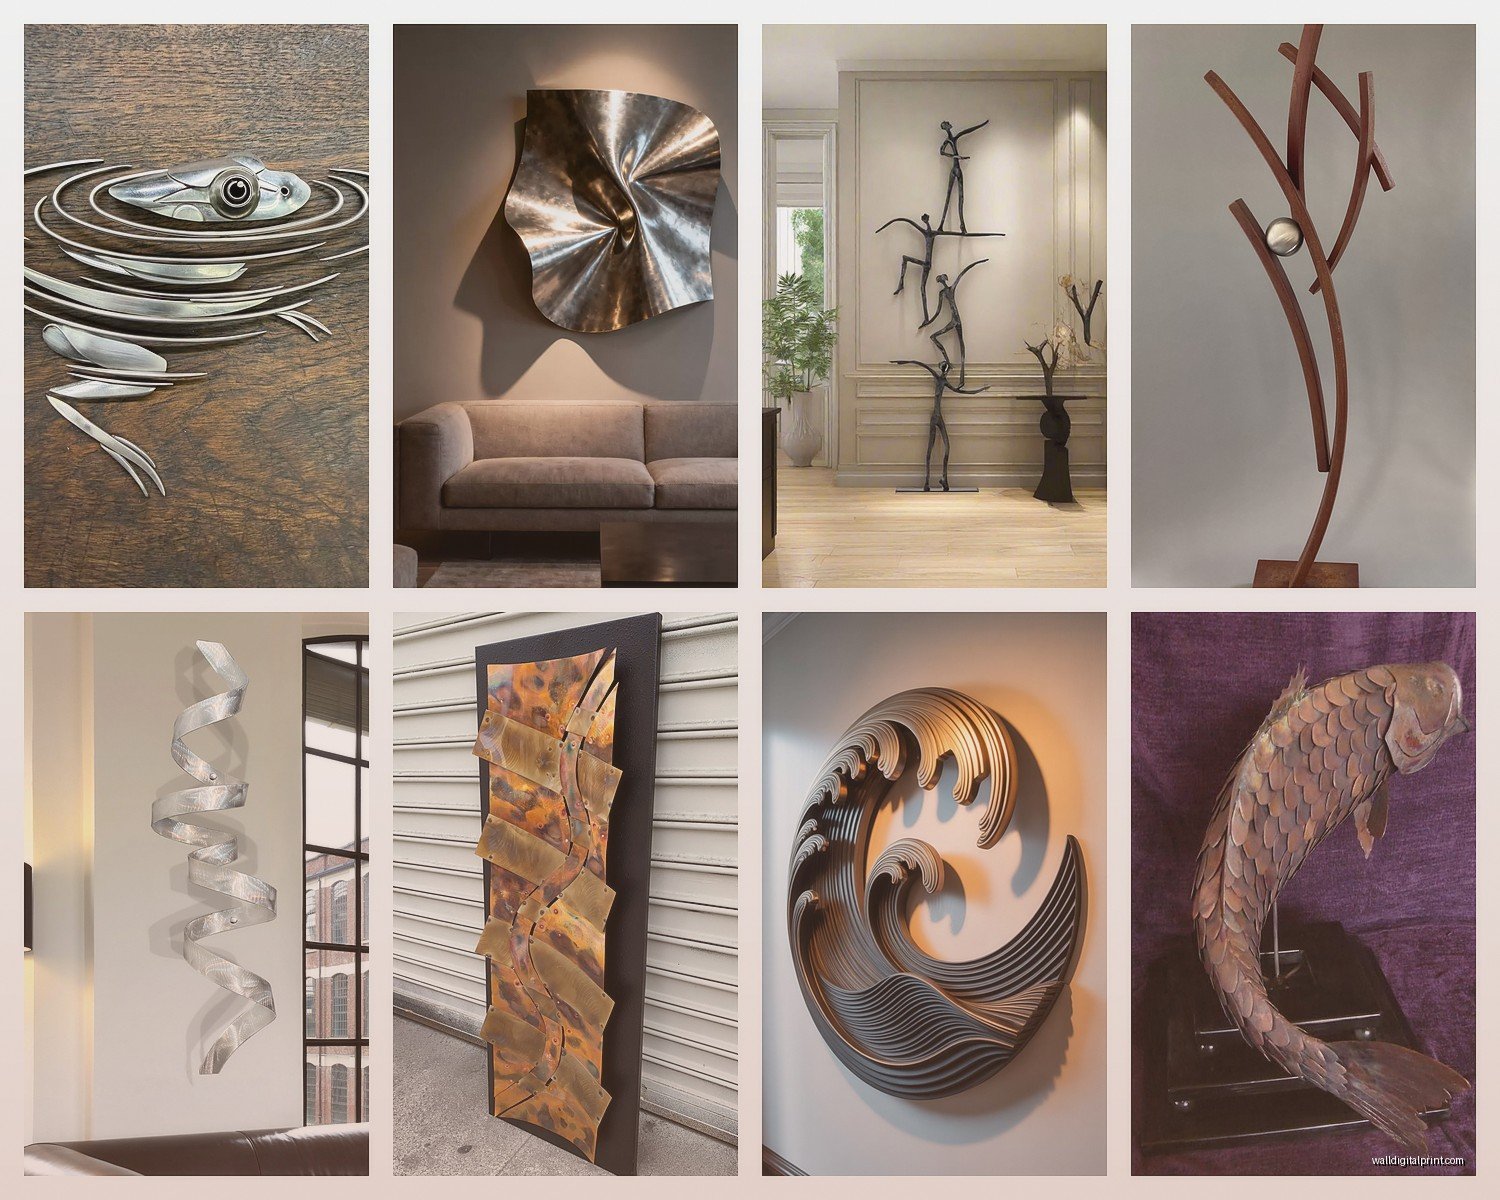
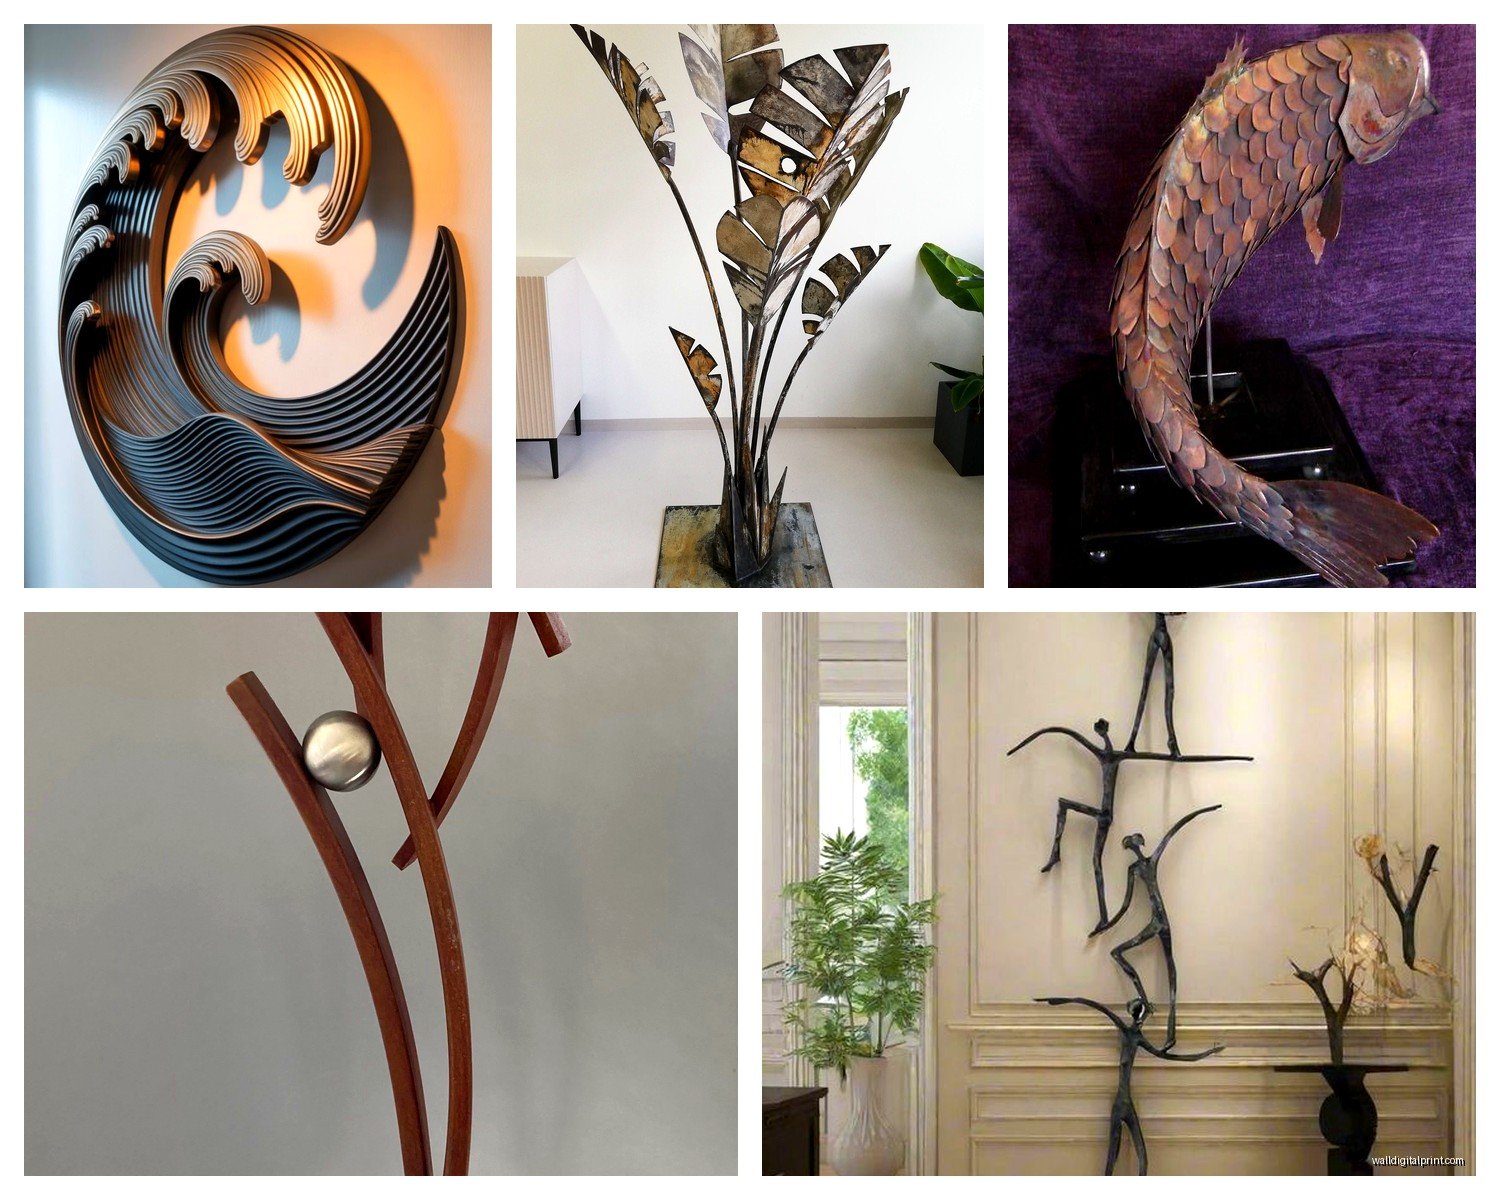
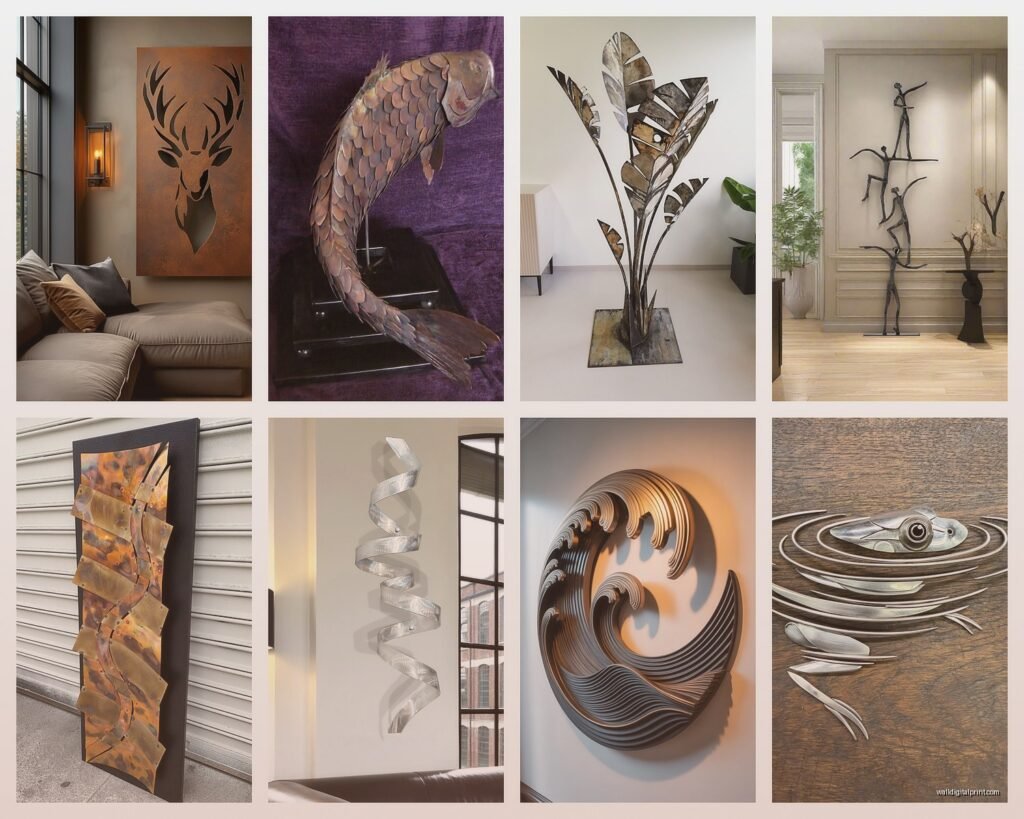
Specific Types Of Metal Wall Art And Their Quirks
Abstract geometric pieces are usually laser-cut steel and they’re deceptively heavy. The ones with negative space (cutouts) are actually harder to hang because the weight distribution is uneven. I always add an extra mounting point for these even if the manufacturer says you only need one.
Nature-inspired sculptures like metal trees or botanicals often have protruding branches that stick out 4-6 inches from the wall. You need clearance—don’t hang them where people walk close by because snagging a sleeve on a metal branch is not fun. Also these catch dust like crazy, get a microfiber duster with an extendable handle.
Industrial/modern pieces with brushed or polished finishes show fingerprints really badly. Wear cotton gloves during installation. The cheap white ones from the hardware store work fine.
Powder-coated or painted metal can chip if you bang it against the wall during hanging. I wrap the edges with that foam pipe insulation stuff while I’m working with it. Looks ridiculous but saves the finish.
Wall Types And What They Can Actually Handle
Drywall with studs: can handle basically anything if you hit the stud properly
Drywall without studs: max 30 pounds with good toggle bolts, but I get nervous over 20 pounds
Plaster: tricky because it’s hard but brittle, pre-drill everything and use plastic anchors
Concrete: can handle whatever you can physically lift
Brick: depends on brick quality but usually very strong
Paneling over drywall: you gotta find the actual studs behind the paneling, not just mount to the paneling itself
The Textured Wall Problem
If you have that knockdown texture or heavy orange peel texture, your sculpture won’t sit flush against the wall. You can add small felt pads to the back corners to protect the wall and give even spacing, or you can use spacers. I’ve seen people get bothered by the gap but honestly once it’s up you don’t really notice if there’s a 1/4 inch space behind it.
Outdoor Metal Sculptures
Wait I forgot to mention—if you’re putting metal art outside you need to think about rust and weather. Even “rust-resistant” metal will eventually show wear. Clear coat sealant helps but you’ll need to reapply it every couple years. I use Rust-Oleum clear enamel spray for most pieces.
Coastal areas are brutal on metal art because of salt air. Stainless steel or aluminum are better choices than iron or steel. And your mounting hardware needs to be stainless or coated—regular screws will rust and stain the wall.
Lighting Considerations That Actually Matter
3D metal sculptures look completely different depending on lighting and this is gonna sound weird but it’s the thing that makes or breaks the installation. Natural light creates moving shadows throughout the day which is gorgeous. But if you’re relying on artificial light, you want it coming from an angle not straight-on.
I install small LED puck lights above or below sculptural pieces sometimes. The shadows cast on the wall become part of the art. You can get battery-operated ones if you don’t want to deal with wiring—I have some from Amazon that last like 6 months on a set of batteries.
Maintenance Nobody Tells You About
Metal art collects dust in all those 3D crevices and you can’t just spray it with cleaner because a lot of finishes are sensitive to chemicals. Compressed air works great—the kind for cleaning keyboards. Or a soft brush attachment on your vacuum on low power.
For fingerprints or smudges, microfiber cloth slightly dampened with water usually works. For stubborn marks on powder-coated pieces, a tiny bit of mild dish soap is okay but test it on an inconspicuous spot first.
My cat knocked into a metal sculpture last year and bent one of the protruding elements. I was able to bend it back carefully with pliers wrapped in cloth to protect the finish. Metal is usually more forgiving than you’d think for minor damage.
Common Installation Mistakes I See Constantly
Hanging pieces too high—like way too high, almost ceiling height. I think people panic about head clearance but you end up with art that’s disconnected from your space.
Not considering the viewing distance. A large sculptural piece needs space to be appreciated. If you’re hanging it in a narrow hallway where you can’t step back, it won’t have the impact it should.
Mixing too many metals in one space without a plan. Copper, brass, steel, bronze—they all have different tones and they don’t always play nice together. I usually pick two metal finishes max for a room.
Using the wrong drill bit. Masonry bits for concrete, wood bits for studs, the right size for your anchors. I know this seems obvious but I’ve watched people try to drill into brick with a wood bit and it’s painful.
What To Do If You Make A Mistake
So you drilled in the wrong spot, happens to everyone. For drywall, those little wall repair patches work fine for small holes. For bigger mistakes, cut out a square of drywall, put in a patch, tape, mud, sand, paint. Or hang the sculpture slightly off-center to cover your mistake—I’ve definitely done this.
If your sculpture is crooked after you’ve installed it, don’t try to bend the mounting hardware to compensate. Take it down, fill the holes if needed, start over with proper measurements.
Anchors that pull out mean you need a bigger anchor or you need to move to a different location. Don’t just try the same thing again in the same hole, it won’t hold better the second time.
The trick with metal wall art is really just treating it with the respect its weight deserves and taking your time with measurements. I’ve rushed installations before a client walk-through and always regretted it. Now I build in extra time because something always takes longer than you think it will—finding studs, realizing you need different hardware, discovering your drill battery is dead, whatever.
Also keep your hardware—the original mounting stuff that came with the piece. Even if you replace it, store it with the sculpture documentation because if you ever move or sell the piece, having original hardware adds value.