Wall Art Guide, Wall Art Tutoriels
Music Room Wall Art: Musical Instruments & Notation Decor
Apr
So I’ve been deep in the music room decor world lately because three different clients decided they needed dedicated music spaces at the same time, and honestly the wall art options are kinda overwhelming until you know what actually works.
The Metal vs Canvas Debate Nobody Tells You About
Okay first thing – metal wall art of instruments looks amazing in photos but here’s what I learned the hard way. If your music room has any kind of humidity issues (which like, many do because of the instruments themselves), metal pieces will show water spots or even rust over time. I had this gorgeous copper saxophone piece that developed this weird patina in a client’s basement music studio within six months. Not the good kind of patina either.
Canvas prints are more forgiving but they absorb sound differently. Which sounds ridiculous but my friend who’s an actual sound engineer pointed out that hard reflective surfaces vs soft ones matter when you’re playing. So if you’re going for metal, look for powder-coated aluminum – it’s lighter and won’t corrode. The ones from like Hobby Lobby or those generic Amazon sellers are usually just painted steel and they chip super easily.
Musical Notation Art That Doesn’t Look Cheesy
This is gonna sound weird but the best sheet music wall art I’ve found isn’t actually sold as “music room decor” – it’s vintage framed sheet music from actual old songs. I spend way too much time on Etsy looking at this stuff. You want pieces from the 1920s-1940s because the cover art was legitimately beautiful back then, all Art Deco and hand-illustrated.
The modern prints that just show random measures of music on a white background? They look kinda corporate honestly. Unless you go with specific famous compositions – like I did a whole wall with different movements from Beethoven’s 9th for a classical pianist and we had each page professionally framed. Cost more than I initially quoted her but it turned out stunning.
3D Instrument Sculptures
Wait I forgot to mention – if you’re doing actual 3D pieces like hanging guitars or violins, please don’t use real vintage instruments unless you’re okay with them being decorative forever. I watched someone mount a 1960s Gibson on their wall and my guitarist friend literally winced. Even if you think you’ll take it down to play it, you probably won’t once it’s part of your design scheme.
Replica instruments work better anyway because they’re lighter. There’s this company called Design Toscano that makes resin instruments that look real from like 3 feet away. I used their violin collection for a music teacher’s studio and they’re still up after two years, no sagging or weird discoloration.
For mounting actual instruments, you need french cleats or heavy-duty picture hangers rated for at least 20 pounds. Those little sawtooth hangers that come with frames? Absolutely not. My cat knocked over a stack of mail last week and I had a whole flashback to a poorly mounted ukulele that fell at 2am and scared the life out of everyone in the house.
The Gallery Wall Approach
Okay so funny story – I initially hate gallery walls because they’re everywhere and kinda overdone, but for music rooms they actually make sense. Here’s why: you can mix instrument photos, vintage concert posters, framed lyrics, and small sculptural elements without it looking chaotic.
The trick is keeping a consistent frame color. I usually go with black for modern spaces or warm wood tones for traditional. Mixing frame colors in a music room specifically makes it look like a teenager’s bedroom wall, no offense to teenagers.
Space them 2-3 inches apart, not the Pinterest-perfect 1 inch that’s impossible to achieve in real life. And start with the largest piece at eye level (which is like 57-60 inches from the floor), then work outward. I use painter’s tape to map everything on the wall first because I’m terrible at visualizing spatial relationships and have definitely put nail holes in the wrong spots more times than I’ll admit.
What Actually Looks Good Behind a Piano
This is super specific but people ask me this constantly. The wall behind a piano is tricky because you don’t want anything that’ll vibrate or rattle when someone’s playing. I learned this when a client’s glass-framed print literally buzzed during forte passages.
Go with fabric-based art or canvas. There’s these really cool tapestries with musical motifs that absorb sound instead of reflecting it. I found an amazing one with watercolor instruments from Society6 – they do custom sizes which is clutch because piano walls are often awkward dimensions.
Or do floating shelves with small instrument models and music boxes. Gives you flexibility to change things and nothing’s gonna rattle loose. Just make sure the shelves are actually anchored into studs, not just drywall anchors, because pianos create more vibration than you’d think.
LED Backlit Options
Oh and another thing – LED backlit art is having a moment and some of the music-themed ones are actually tasteful. Not the neon “MUSIC” signs that look like a sports bar, but the subtle backlit metal cutouts of instruments or sound waves.
I installed one behind a drum kit that’s a backlit treble clef in brushed steel and it provides just enough ambient light for evening practice without being obnoxious. The key is getting warm white LEDs, not cool white – cool white makes everything look like a dentist’s office.
You can DIY these pretty easily with metal wall art from places like Wayfair and those adhesive LED strips from Amazon. Just make sure the power cord situation isn’t gonna be messy because there’s nothing worse than visible cord management in a designed space.
Size and Scale Nobody Gets Right
People always go too small with wall art and it drives me crazy. Your music room wall art should be roughly 2/3 to 3/4 the width of the furniture below it. So if you’ve got a 6-foot piano, you want art that’s at least 4 feet wide, either as one piece or a grouping.
Single small pieces just look lost. I had someone show me their music room once with this tiny 16×20 print above a full grand piano and it was like… why even bother, you know?
If you’re working with a really large wall and don’t wanna spend a fortune on one massive piece, do a horizontal arrangement of 3-4 medium pieces. Odd numbers look better than even numbers for some design psychology reason I don’t fully understand but it’s true.
Actual Instruments as Art
Mounting real instruments can work if you do it right. Guitars are the easiest – get proper guitar wall mounts (not the cheap ones, the kind with padding). Violins and smaller string instruments need shadow boxes if you’re gonna display them properly, otherwise they just look like they’re… hanging there awkwardly.
Brass instruments are surprisingly difficult. Trumpets and saxophones need custom mounts and they’re heavier than they look. I usually recommend putting them on shelves instead of hanging them unless you’ve got a really specific vision.
And please for the love of everything don’t mount a drum on the wall. I’ve seen it attempted and it never looks as cool as people think it will. Drumsticks in a decorative holder? Sure. Actual drums? Just no.
Budget-Friendly Options That Don’t Look Cheap
Not everything needs to cost a fortune. I’ve found great stuff at:
- Thrift stores for vintage sheet music and old instrument photos
- Printable digital downloads on Etsy that you can frame yourself
- Music stores that sell retired promotional posters
- Estate sales where musicians’ families are selling collections
Target’s Threshold line actually has decent music-themed prints sometimes. I grabbed a set of three vintage jazz club posters there for like $40 total and they looked completely fine in basic black frames from Michaels.
The trick with budget art is the framing. A $15 print in a $60 frame looks way better than a $60 print in a $15 frame. If you’re gonna cheap out, cheap out on the art itself and invest in decent frames with real glass, not plexiglass that scratches if you look at it wrong.
DIY Options Worth Trying
If you’re crafty – and I’m barely crafty but I’ve done this – you can frame actual vinyl records. Old classical or jazz records look amazing and you can find damaged ones at thrift stores for like $1 each. Just make sure the frame is deep enough to accommodate the record thickness.
Or do a shadow box with old concert tickets, guitar picks, and small memorabilia. This works especially well for musicians who wanna display their own history. I helped a client arrange 20 years of backstage passes into a chronological display and it ended up being the coolest piece in the room.
Sheet music pages from songs that mean something to you, arranged in a grid – super easy and personal. You can print public domain sheet music for free from IMSLP if you want classical stuff. Just use a good printer or have them printed at a copy shop so they don’t look washed out.
What to Avoid Completely
Okay real talk, some things just don’t work:
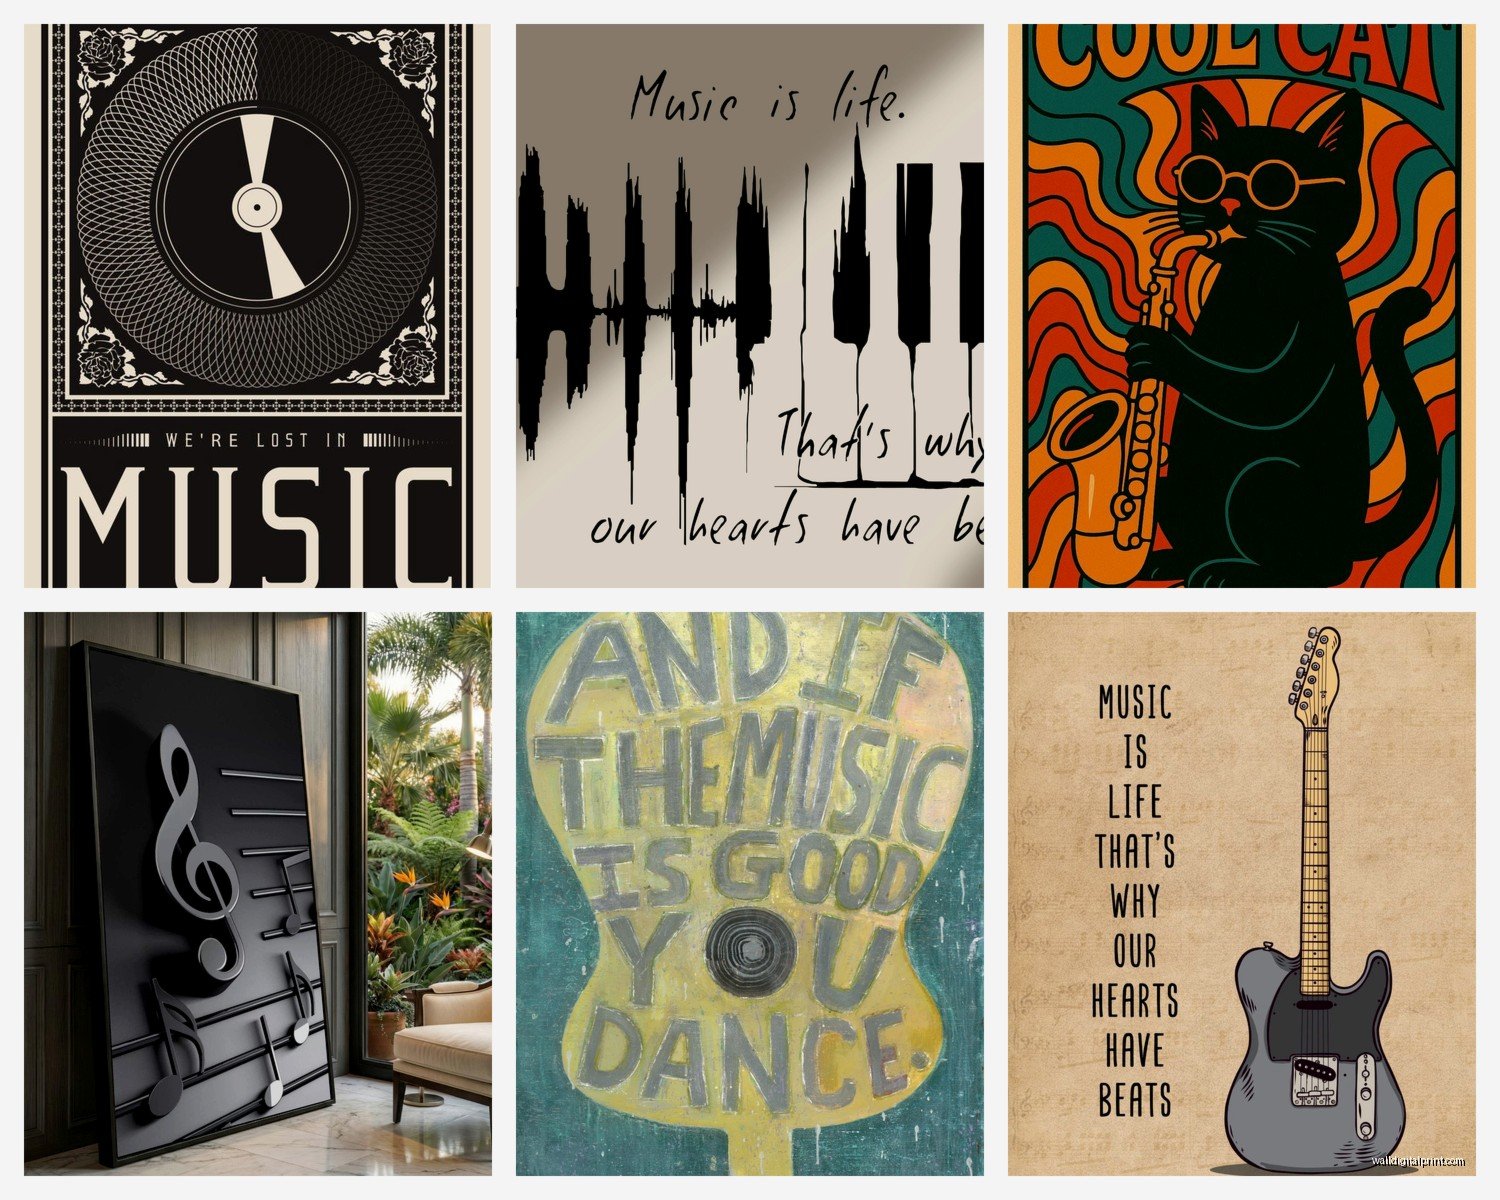
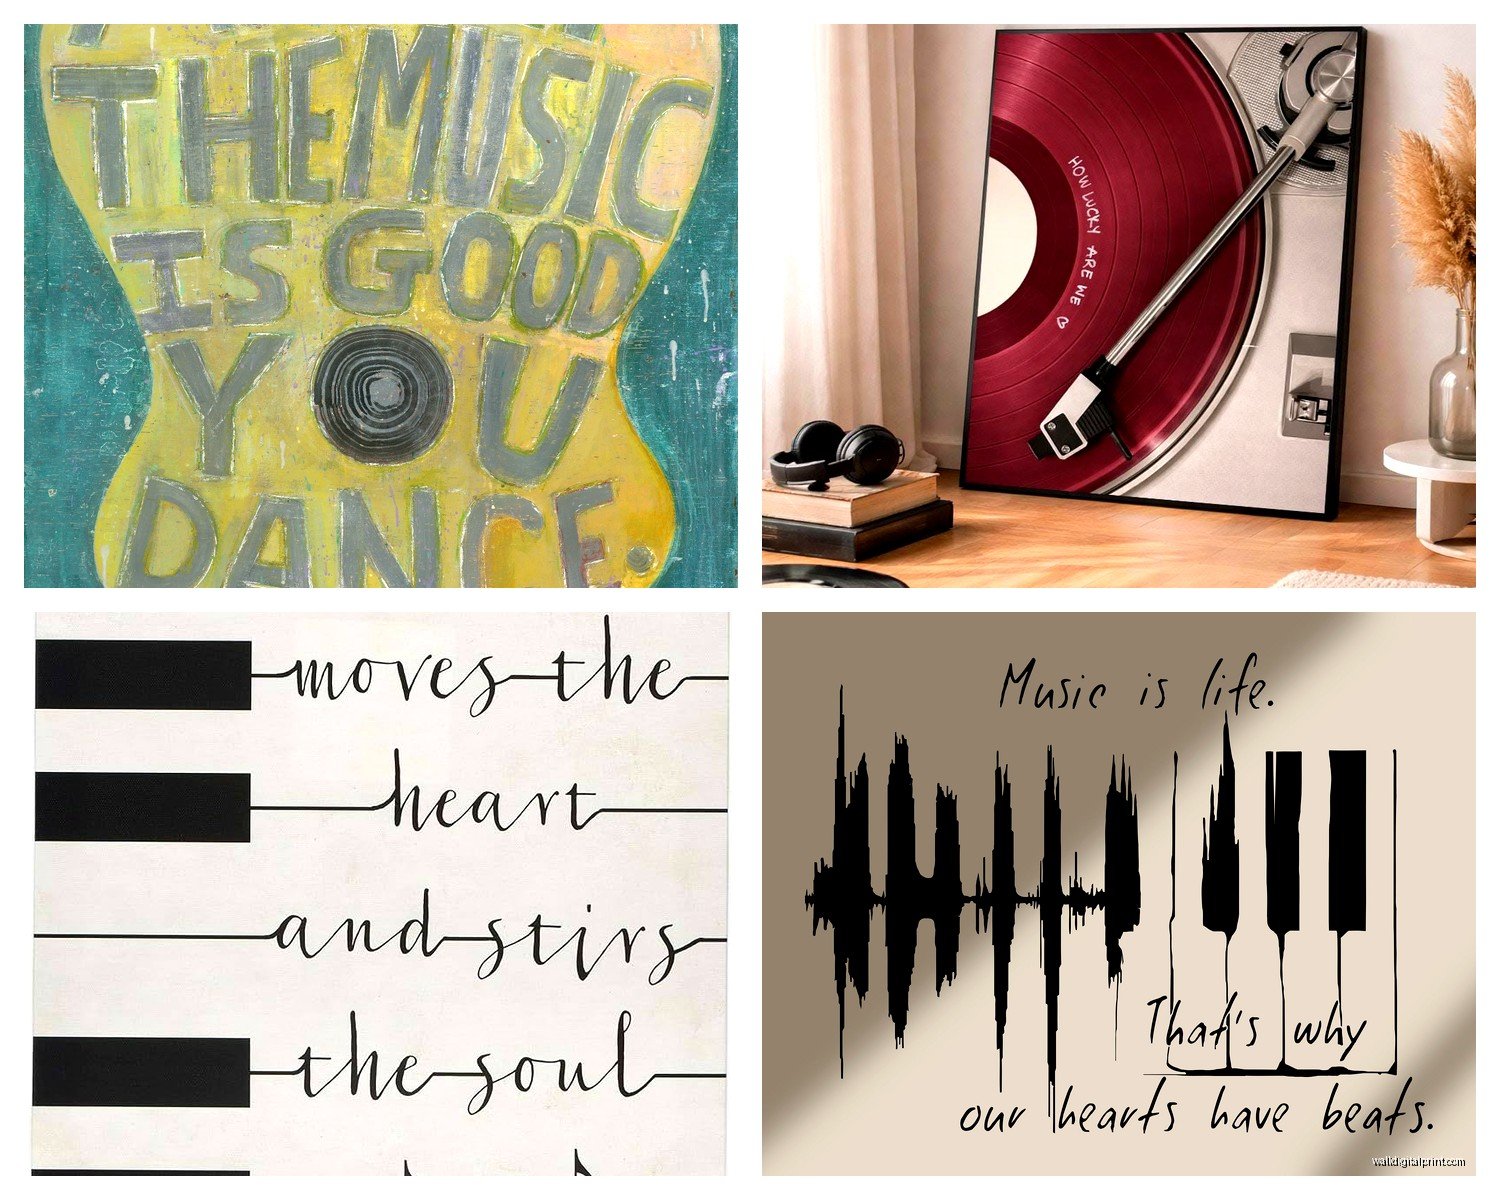
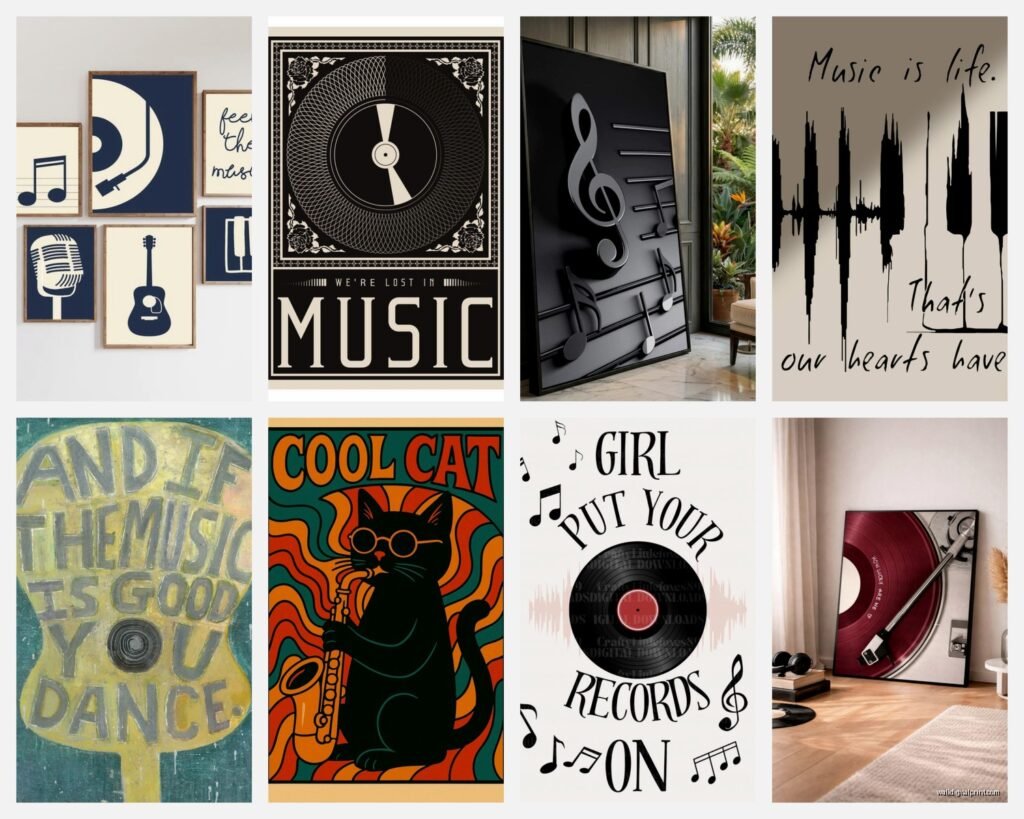
Those word art things that say “MUSIC” in different fonts look dated now. Same with the ones that define music or have inspirational quotes about music. They had their moment around 2015 and it’s over.
Anything with music notes that aren’t actually from real music – like random notes scattered around or notes that don’t form actual measures. Musicians will notice and it’s annoying.
Super bright colors unless your whole room is already colorful. Music rooms tend to work better with sophisticated color palettes – blacks, whites, woods, maybe deep jewel tones. That bright red guitar print might look cool online but it’s gonna be a lot to live with.
Lighting Considerations
This is gonna sound obvious but don’t hang valuable prints in direct sunlight. I’ve watched vintage sheet music fade to basically nothing over a couple years because it was in a south-facing window. UV-protective glass exists for a reason.
Picture lights are worth it if you’ve got art you really love. The small LED ones that mount above frames draw attention without being dramatic. My client canceled last week so I spent an hour comparing the wireless ones vs. plug-in and honestly the wireless are fine if you don’t wanna deal with cords, but you gotta remember to charge them.
Track lighting can work if you position it right, but overhead lighting in general isn’t great for art because it creates shadows and glare. If you’re designing a music room from scratch, plan for wall sconces or floor lamps that illuminate the art indirectly.
The whole point is creating a space that feels intentional and reflects whoever’s using it. Music room art should enhance the experience of making or listening to music, not just fill wall space. Start with one piece you genuinely love and build from there instead of trying to do everything at once.
Oh and measure everything twice before you drill holes because patching and repainting is the worst, trust me on this one.