Wall Art Guide, Wall Art Tutoriels
Photo Collage Wall Art: Multi-Picture Gallery Walls
Apr
So I literally just finished installing three different gallery walls this month and my hands are still sore from hammering, but okay let me tell you what actually works because I’ve made every mistake possible.
Frame Selection – This Is Where Everyone Gets Stuck
First thing, don’t buy matching frames unless you’re going for that super formal look. I learned this the hard way when I bought twelve identical black frames from IKEA and the whole thing looked like a doctor’s office waiting room. What actually works is picking 2-3 frame styles max and varying the sizes.
My go-to combo right now is mixing thin black metal frames with some chunky wood ones. The Ribba frames from IKEA are honestly fine for this – they’re like $5-15 depending on size and they don’t look cheap if you mix them with something more substantial. Then I’ll throw in a few of those Studio Décor frames from Michaels (wait for the 50% off sale, they have it like every other week).
Size Distribution That Doesn’t Look Weird
You want at least one large anchor piece – I usually go 16×20 or bigger. Then fill in with 8x10s and 5x7s. The mistake people make is buying all medium-sized frames thinking it’ll look balanced but it just looks… boring? Like there’s no focal point.
Here’s my weird system that works: if you’re covering a wall section that’s roughly 6 feet wide, you need at least 7-9 frames. Fewer than that and it looks sparse, more than 12 and you’re gonna lose your mind trying to arrange them.
Mat or No Mat – Strong Opinions Incoming
Okay so mats make everything look more expensive and intentional, but they’re annoying to deal with. If your photos are standard sizes (4×6, 5×7, 8×10), you can buy pre-matted frames which saves so much hassle.
I usually mat smaller photos in larger frames – like putting a 5×7 photo in an 11×14 frame with a white mat. It gives you more wall coverage without needing a million photos, and honestly makes even iPhone photos look legit.
But real talk, if you’re printing Instagram photos or weird-sized digital prints, custom mats are expensive. Sometimes I just print the photo bigger to fill the frame completely and skip the mat entirely on a few pieces. Mixed matting – some photos with mats, some without – can actually look really cool if you’re going for that eclectic vibe.
The Layout Part That Makes People Quit
Do NOT wing this. I don’t care how artistic you think you are. Last year I tried to freestyle a gallery wall and ended up with 47 holes in the wall because I kept “adjusting.”
Cut out paper templates the exact size of your frames. Use painter’s tape to stick them on the wall. This sounds tedious but I promise you’ll save three hours and your security deposit. I use craft paper or even newspaper, trace around the frames, cut them out, tape them up.
Actual Layout Styles That Work
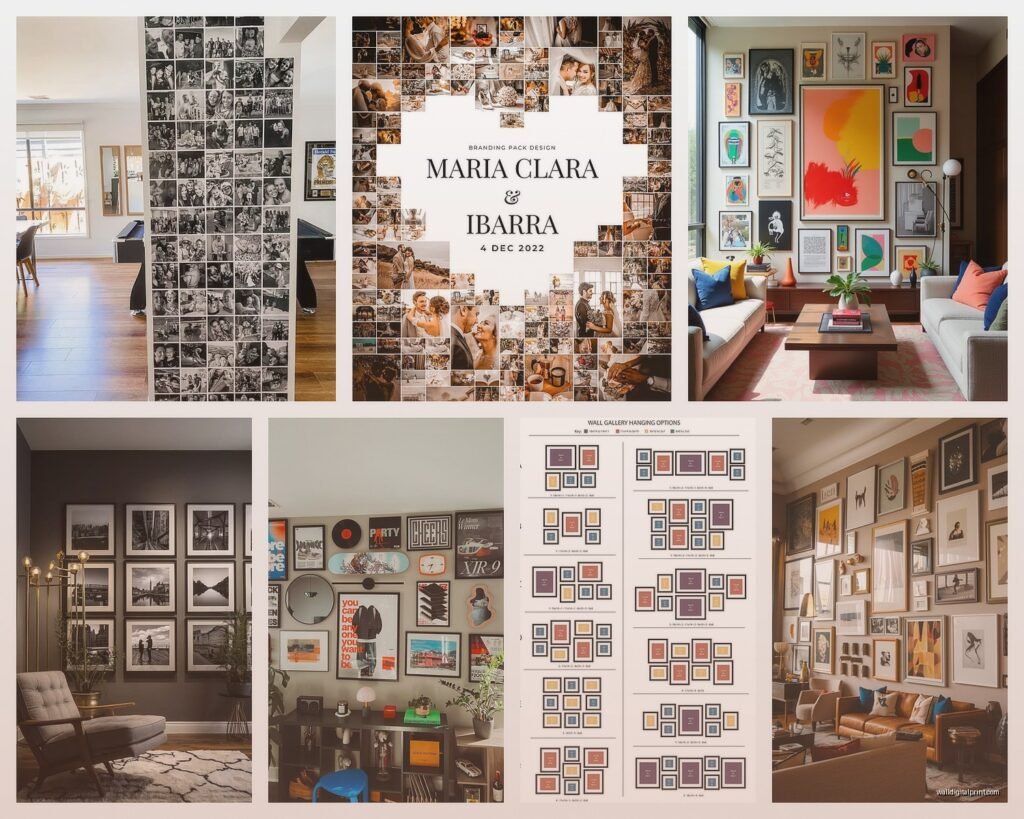
Grid layout: Frames are aligned in straight rows and columns. This works best if all your frames are the same size or you stick to just 2-3 sizes. Super clean, works in modern spaces. Kinda boring if I’m being honest but very foolproof.
Salon style: This is the chaotic one where frames are different sizes and the edges don’t align. It looks organic and collected-over-time. The trick is keeping the spacing consistent – I use 2-3 inches between all frames. People think salon style is random but you actually need to balance the visual weight. Big frames shouldn’t all cluster on one side.
Horizontal or vertical lines: The center line of all frames aligns even though the frames are different sizes. This is my favorite for hallways or above a sofa. Looks intentional but not too formal.
I usually lay everything out on the floor first, take a photo from above, then recreate it on the wall using my paper templates.
What Photos to Actually Use
This is gonna sound weird but don’t overthink the photos themselves. I see people spend weeks curating the perfect collection and then they never actually hang anything.
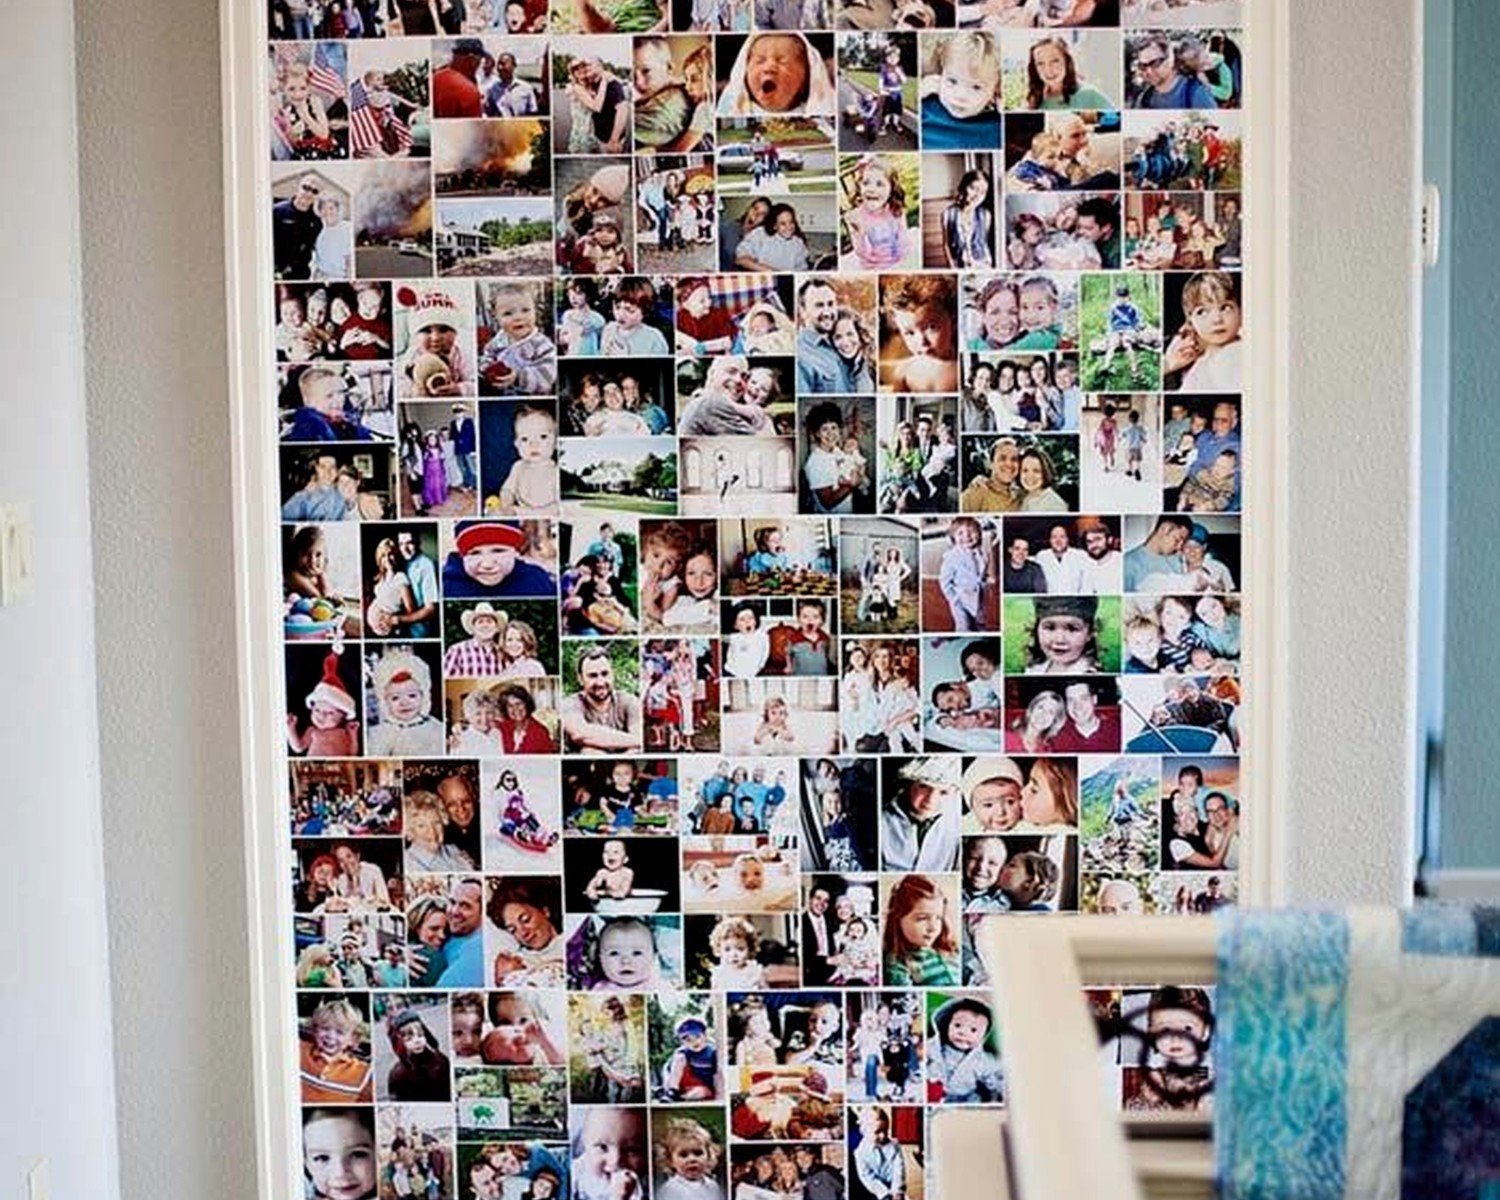
Mix personal photos with art prints, vintage finds, maybe some pressed botanicals or postcards. The variety is what makes it interesting. I have a gallery wall in my hallway that’s family photos mixed with vintage botanical prints from Etsy and a few abstract art prints I found on Minted.
Where to get prints that don’t look cheap:
- Shutterfly for personal photos – their quality is consistent and they’re always running promotions
- Etsy for downloadable art prints – you download the file and print at Staples or FedEx for like $3-8 per print depending on size
- Society6 and Minted for artist prints but they’re pricier
- Thrift stores for vintage prints and weird finds that add character
- Your own photos printed at Costco or Nations Photo Lab if you want pro quality
Print quality matters more than you think. I printed some Instagram photos at Walgreens once and they looked pixelated and terrible. Nations Photo Lab or Mpix if you want really good quality for photos you care about.
The Hanging Process – Gather Your Supplies First
You need:
- Hammer
- Picture hanging nails or hooks rated for the frame weight
- Level – get the $8 one from Home Depot, the app levels on your phone are not accurate enough
- Pencil
- Measuring tape
- Your paper templates
Oh and another thing – check what type of walls you have. Drywall is standard and regular picture hangers work fine. If you have plaster (common in older buildings), you might need to pre-drill tiny holes or use different hangers. I cracked plaster once by just hammering in a nail like a maniac.
Start With the Anchor Piece
Hang your largest or most important frame first. If it’s going above a sofa, the center of the frame should be about 8-10 inches above the sofa back. On a blank wall, center it at eye level – roughly 57-60 inches from the floor to the center of the frame (this is museum standard and it actually works).
Then build out from there using your template arrangement. I usually work from the center outward or top to bottom depending on the layout.
Spacing and Alignment – The Details That Matter
Keep consistent spacing between frames. I use 2-3 inches as my standard gap. Some people go tighter like 1.5 inches for a more packed salon wall. Just stay consistent or it looks sloppy.
For alignment, step back every few frames and check. What looks straight from close up can look totally crooked from across the room. My cat knocked into me while I was hanging frames last week and I didn’t notice one was tilted until I sat on the couch… had to redo it.
Hardware Specifics Because This Matters
Most frames come with sawtooth hangers or wire. I actually prefer wire for frames over 11×14 because it’s more forgiving – you can adjust the frame side to side after hanging. Sawtooth hangers have to be perfectly placed or the frame sits crooked.
For the wall side, regular picture hanging nails work for frames under 5 pounds. Heavier frames need proper picture hooks – the ones with the angled nail that go into drywall. I like the OOK brand hangers, they have weight ratings printed right on the package.
If you’re hanging something really heavy like a big canvas or framed mirror, use wall anchors or find a stud. There’s nothing worse than a frame crashing down at 3am.
Mistakes I’ve Made So You Don’t Have To
Hanging everything too high. Your gallery wall should relate to the furniture and the room, not float near the ceiling. If it’s above a console table or sofa, treat them as a unit.
Not considering the room’s purpose. I put together this beautiful black and white photo gallery in a client’s bedroom and she hated it because the photos were all intense street photography. It was too stimulating for a sleep space. Read the room, literally.
Buying frames before deciding on layout. I have a closet full of frames that didn’t work for various projects. Figure out your layout, measure the spaces, THEN buy frames.
Using command strips for everything – they work okay for lightweight frames but I’ve had too many failures. They’re good for renters who can’t put holes in walls but test them first and don’t trust them with anything you care about.
My Current Favorite Combinations
Right now I’m obsessed with mixing black and white photos with one or two color prints as accent pieces. The color ones draw your eye and create focal points.
Also really into mixing frame depths – some frames are deep box frames that stick out from the wall, others are flat. The dimensional variety makes the whole thing more interesting, especially with good lighting.
Oh wait I forgot to mention lighting – if you can add a picture light or some wall sconces, it makes such a difference. Even just making sure your gallery wall isn’t in a dark corner helps. I installed some Ikea picture lights (the URSHULT ones) on a client’s gallery wall and it went from looking nice to looking like an actual gallery.
The Stuff Nobody Tells You
You’re gonna need to dust these. Frames collect dust like crazy and it’s annoying to take them all down to clean. Get a microfiber duster and hit them every few weeks.
Photos fade in direct sunlight. If your gallery wall gets blasted with afternoon sun, either use UV-protective glass (expensive) or accept that you might need to replace prints every few years. Or use art prints instead of precious photos.
It’s okay to change things out. This isn’t permanent. I swap photos seasonally sometimes or when I get bored. The layout stays the same but new images keep it fresh.
Start smaller than you think. You can always add more frames later but taking a bunch down because it’s too crowded is depressing.
The whole thing takes longer than you expect – budget like 3-4 hours for a decent-sized gallery wall including planning, not just the hanging part.
And honestly? Sometimes the imperfect ones look the best. I have a gallery wall that’s slightly off-center and one frame is a different style than the others and it’s my favorite one because it looks collected and real, not like I bought everything in one trip to HomeGoods.
Just start with your paper templates on the wall, live with that arrangement for a day or two, and commit when it feels right. You got this.