Wall Art Guide, Wall Art Tutoriels
Printable Bathroom Wall Art: Free Download Bath Space
Apr
So I’ve been downloading and printing bathroom art for like three years now and honestly it’s one of those things that sounds easier than it actually is until you figure out the tricks. My sister asked me about this last month and I realized I had SO many opinions about paper types alone.
First thing – where to actually find decent free downloads. Pinterest is obviously where everyone starts but here’s the thing, half those links are broken or they take you to sites that want your email for a “free” download that’s actually 72dpi and will look pixelated the second you print it. I usually go straight to Unsplash or Pexels for high-res photos that you can just download and print. The botanical prints work surprisingly well in bathrooms – ferns, eucalyptus, those minimal line drawings of leaves.
Oh and Canva has a ton of templates now that are actually free, not the “free trial” nonsense. You can customize them which is nice if you want to change colors to match your towels or whatever. I did this whole series of vintage soap label prints for a client’s powder room and it took maybe 20 minutes.
The paper situation is where people mess up constantly. Regular printer paper is gonna look cheap and it’ll curl up from bathroom humidity within like two weeks. I learned this the hard way in my own bathroom – had to redo everything after a month because the corners were doing this weird wave thing. You want cardstock minimum, but honestly the best results I’ve gotten are with:
Heavyweight matte photo paper – 68lb or higher. It’s thick enough that it doesn’t feel flimsy behind glass and the matte finish looks more expensive than glossy in bathrooms. Glossy can look too… I dunno, like a school project? Unless you’re doing something really modern and intentional with it.
Cardstock with a slight texture – there’s this linen-finish cardstock that I’m obsessed with lately. It’s around 110lb and has just enough texture that it looks like you bought it from an art print shop. My cat knocked over my coffee onto a stack of it last week and I’m still annoyed but anyway, it prints beautifully.
For printing, if you’re doing 8×10 or smaller, your home printer is probably fine. I have an Epson EcoTank that I use constantly and the ink lasts forever which is key because nothing’s more annoying than running out of cyan halfway through printing. But for anything larger than 8×10, you gotta go to a print shop. FedEx Office, Staples, even Costco does photo printing cheap.
Costco’s photo center is actually lowkey amazing for this – you upload online, pick matte finish, and they’re ready same day usually. It’s like $3 for an 11×14 which is insane. The quality is legitimately good too, I’ve used their prints for client projects and no one’s ever questioned it.
Wait I forgot to mention – resolution is CRUCIAL. You need at least 300dpi for printing. When you’re downloading from free sites, check the image dimensions. For an 8×10 print, you need at least 2400×3000 pixels. For 11×14, you need around 3300×4200 pixels. If the image is smaller than that, it’ll look blurry or grainy when printed. I have a whole note in my phone with these calculations because I can never remember them.
Okay so funny story, I once printed this gorgeous abstract art for a bathroom and didn’t check the orientation properly, so I had to reframe everything sideways and pretend it was intentional. Make sure you’re checking if your art is portrait or landscape before you buy frames.
Frame Choices That Actually Work
Frames for bathrooms need to be moisture-resistant or at least not real wood that’s gonna warp. IKEA’s RIBBA frames are like the standard for this – they’re cheap, they come in every size, and they’re plastic so humidity doesn’t destroy them. I probably have 30 of these scattered across various projects.
The black ones look the most expensive, white can look good if your bathroom is really bright and airy. The wood-look ones… eh, they’re fine but they read as IKEA immediately if you know what to look for.
Another option is those thin metal frames from Amazon – search “gallery frames” and you’ll find a million. They’re usually around $15-25 depending on size and they look way more modern. I used gold metal frames in my powder room with black and white botanical prints and everyone asks where I bought them.
This is gonna sound weird but dollar store frames can work for small prints if you’re doing a gallery wall situation where you need like 6-8 frames. The quality is obviously not great but when they’re grouped together and you’re not looking at them up close, it’s fine. I did this in a rental bathroom once where I didn’t want to invest much.
What to Actually Print
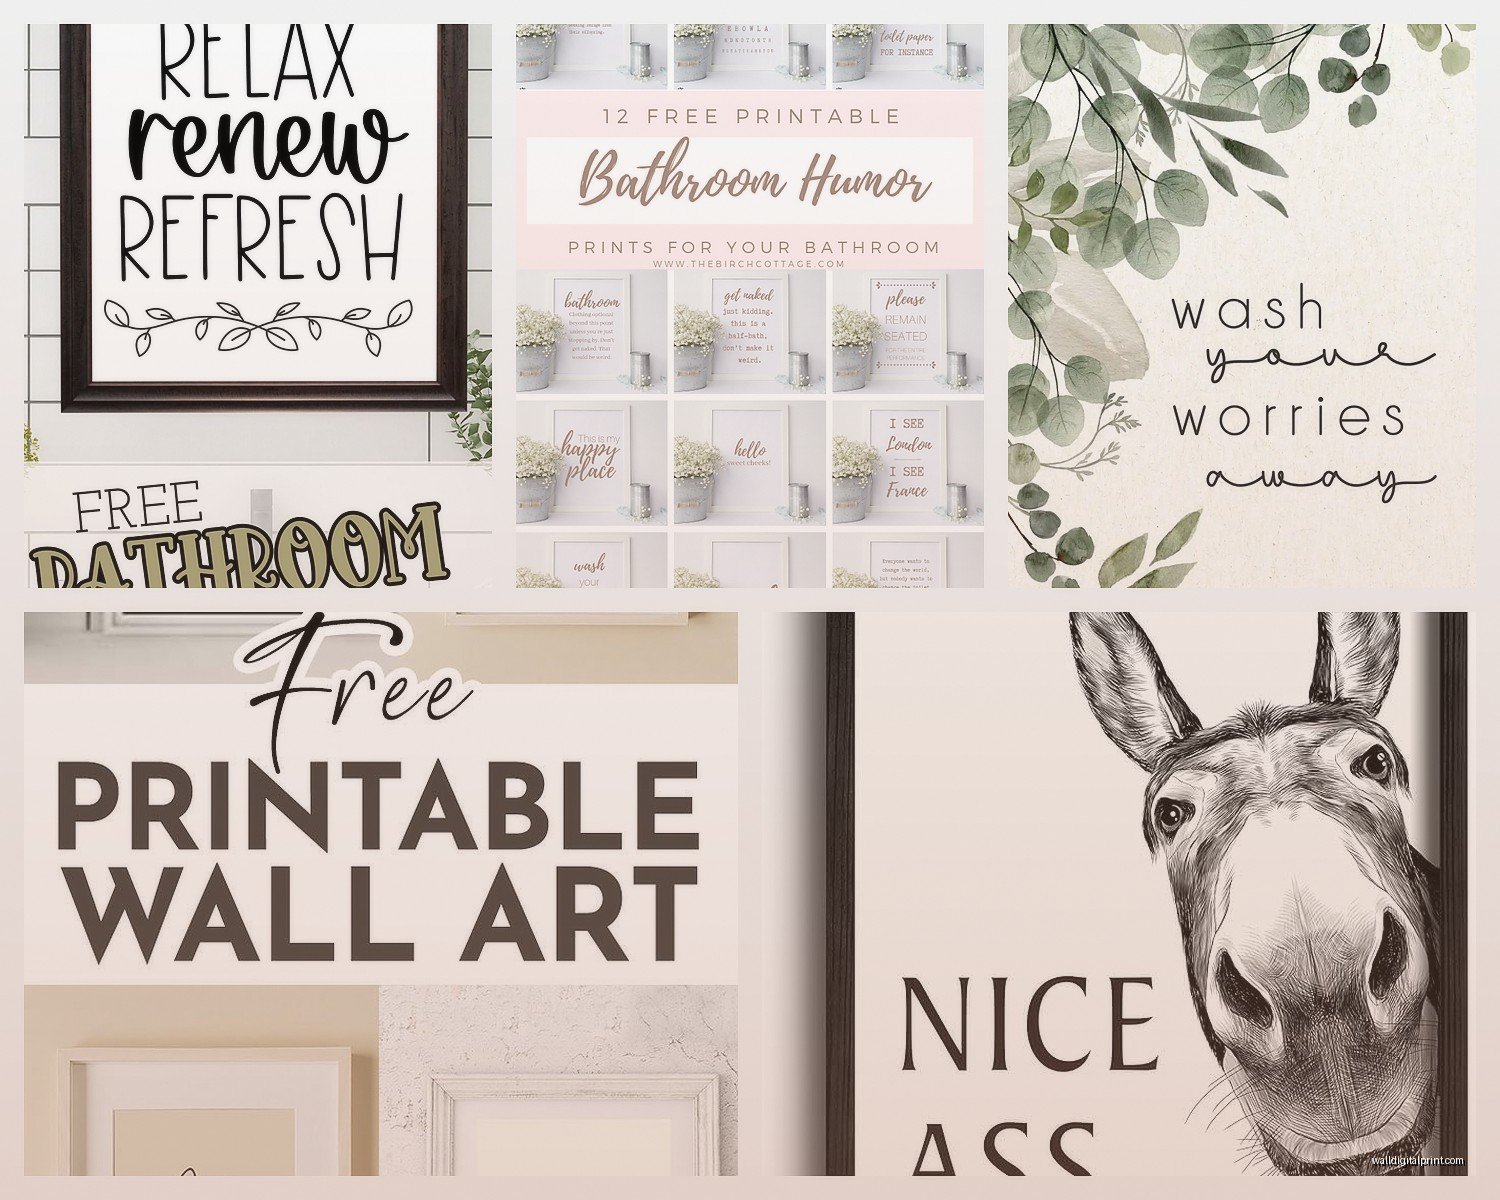
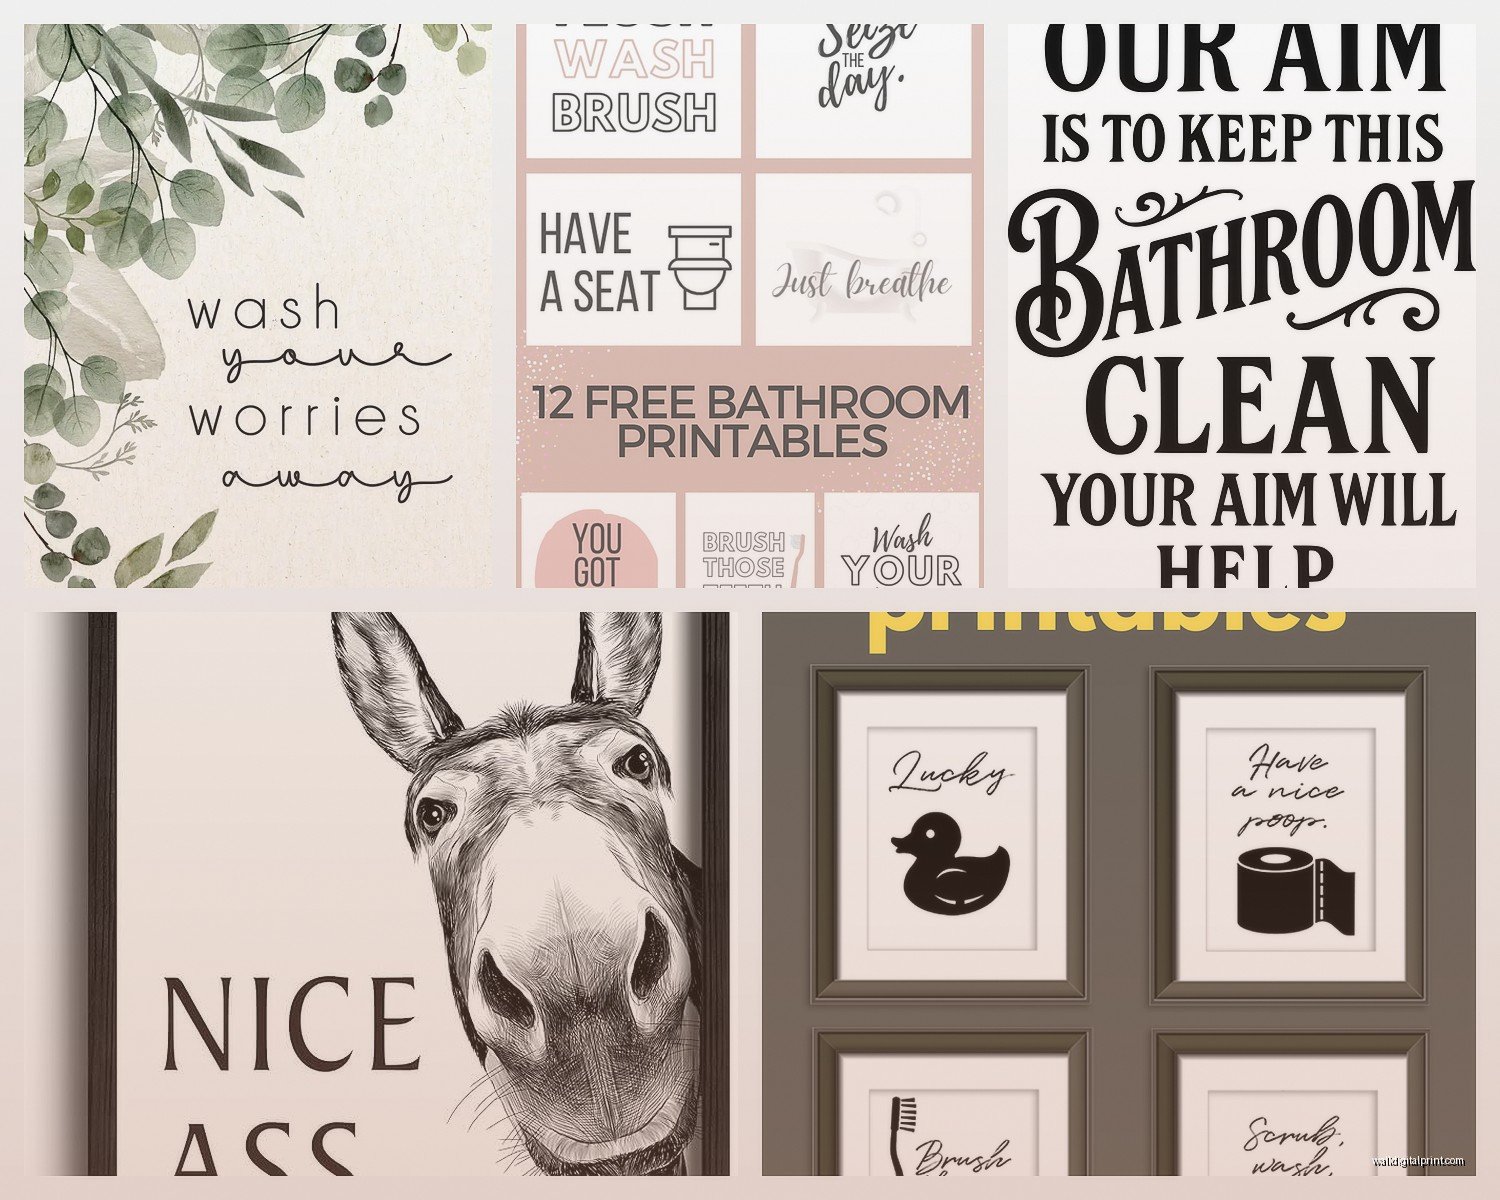
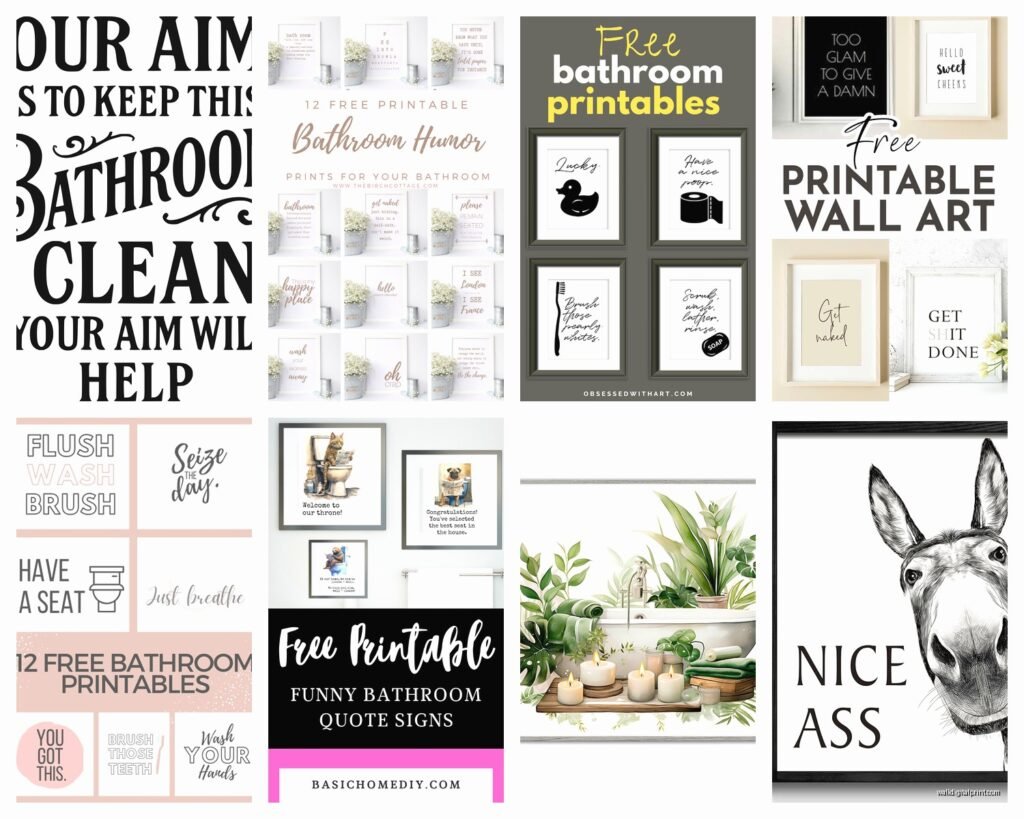
Content-wise for bathrooms, you want stuff that’s not gonna feel weird. Like I wouldn’t put inspirational quotes in there personally – it feels too “Live Laugh Love” – but some people love that. Typography prints can work if they’re minimal and modern.
Safe bets that I return to constantly:
- Botanical prints – ferns, palms, eucalyptus branches, pressed flowers
- Abstract geometric shapes in neutral colors
- Black and white photography – architecture, nature, minimal compositions
- Vintage illustrations – old botanical diagrams, maps, dictionary pages
- Line drawings – faces, bodies, abstract continuous line art
- Watercolor washes – just abstract color blocks, nothing too literal
I tend to avoid anything too literal like pictures of bathtubs or soap because it feels too on-the-nose. Unless you’re going for a really specific vintage apothecary vibe, then old soap ads can be cool.
Color-wise, think about your existing bathroom colors. If you have white walls and chrome fixtures, literally anything works. If you have colored tiles or painted walls, pull colors from those. I did a bathroom with sage green walls recently and used prints with terracotta and cream tones – looked so good together.
The Technical Printing Part
When you’re ready to print at home, adjust your printer settings. Don’t just hit print with default settings because it’ll waste your nice paper.
Set it to:
- Best quality or High quality (not draft or standard)
- Paper type: Photo paper or Heavy weight, depending what you loaded
- Color management: Let printer manage color (this prevents weird color shifts)
Do a test print on regular paper first if you’re unsure about sizing or if the image will be centered properly. I’ve wasted so much good cardstock by not doing this.
If you’re printing at a shop, save your files as high-quality PDFs or JPEGs. Some places are picky about file types. Bring a USB drive as backup even if you uploaded online because their systems crash sometimes and it’s easier to just hand them a drive.
Arrangement Ideas
For actually hanging this stuff, you have options. Single large print above the toilet is classic and easy – just center it and hang it at eye level when standing. Gallery walls are trickier in bathrooms because space is usually limited but they can look amazing if you plan it out.
I use painter’s tape to map out gallery walls before putting any holes in the wall. Cut pieces of tape the size of your frames, stick them on the wall, rearrange until it looks good, then hang the actual frames following your tape guide. This saved me so many times from creating walls that look like swiss cheese.
Another thing – use command strips if you’re in a rental or don’t want to deal with nails. The picture hanging strips hold up to like 16 pounds if you use enough of them. Just make sure your wall is clean before applying them or they won’t stick properly. I learned this when a frame fell off my wall at 2am and scared me half to death.
Protecting Your Prints
Bathroom humidity is real and it will damage paper over time if you’re not careful. A few things that help:
Make sure your bathroom has decent ventilation. Run the fan during and after showers. If you have a windowless bathroom, consider a small dehumidifier – they make tiny ones now that are perfect for bathrooms.
Don’t hang prints directly above the shower or tub where they’ll get constant steam exposure. The wall opposite the shower is usually safest, or above the toilet.
Frame everything under glass or acrylic. Don’t do canvas prints in bathrooms, they absorb moisture like crazy. The glass creates a barrier that protects the paper from humidity.
Oh and another thing – if you notice your frames are getting condensation inside the glass, that’s a sign of too much humidity. You might need better ventilation or to move the frames further from the moisture source.
Free Download Sites I Actually Use
Let me give you my actual list of sites I bookmark and return to:
Unsplash – high res photos, free for commercial use, huge selection
Pexels – similar to Unsplash, different collection
The Graphics Fairy – vintage illustrations and botanical prints
Rawpixel – mix of photos and illustrations, filter for free/public domain
Old Book Illustrations – exactly what it sounds like, great for vintage looks
Canva – templates you can customize, some require pro but lots of free options
Some museums have free download collections too – the Met, Rijksmuseum, Smithsonian. The quality is insane because these are high-res scans of actual artwork. You can print famous paintings for your bathroom which feels kinda fancy.
I spent like an hour last Tuesday when my client canceled going through the Rijksmuseum collection and downloading botanical illustrations. They have thousands of flower paintings from the 1600s that are just… *chef’s kiss* for bathroom prints.
The key with any of these sites is checking the license. Most are free for personal use, some allow commercial use. If you’re printing for your own home, you’re fine with pretty much anything. If you’re an interior designer printing for client projects (which I do constantly), make sure it allows commercial use.
Size and Scale Mistakes
People always go too small with bathroom art. An 5×7 above your toilet is gonna look like a postage stamp. Aim for at least 8×10, preferably 11×14 or larger if you have the wall space. The bigger the print, the more intentional and designed it looks.
That said, don’t go so big that it overwhelms the space. I did a 20×30 print in a tiny powder room once and it was too much – felt claustrophobic. Read the room, literally.
For gallery walls, mix sizes but keep them in the same family – like 8x10s and 5x7s together, or 11x14s with 8x10s. Don’t mix an 16×20 with a 4×6, the scale difference is too jarring.
Spacing between frames in a gallery wall should be consistent – I use 2-3 inches between frames usually. Closer than 2 inches starts to feel crowded, further than 4 inches and they don’t read as a cohesive group anymore.
Alright I think that’s everything I can think of right now. The main things are just: get high-res images, print on decent paper, frame under glass, and don’t hang stuff directly in the splash zone. It’s really not complicated once you do it once or twice, you’ll figure out what works for your space.