Wall Art Guide, Wall Art Tutoriels
Unique 3D Wall Art: Dimensional Statement Pieces
Mar
So I’ve been down this 3D wall art rabbit hole for like the past three months and honestly it started because a client wanted something “dramatic but not too weird” which is the most vague brief ever, but anyway here’s what I actually learned from installing probably 15 different pieces in various spaces.
Materials That Actually Work vs Materials That Look Good Online
Okay so first thing – metal 3D art is gorgeous in photos but you gotta know what you’re getting. The laser-cut steel pieces? Heavy as hell. I’m talking you need to find studs, use proper anchors, the whole thing. I hung this geometric mountain range piece in my own living room and my arms were sore for two days. But the shadow play is incredible, especially if you put it on a wall that gets indirect sunlight. The depth creates these shifting shadows throughout the day that photographs don’t capture at all.
Wood 3D art is way more forgiving weight-wise. I’ve been using a lot of layered wood pieces lately – like those geometric animals or abstract designs where different wood tones create the dimension. The thing nobody tells you is that cheap wood pieces warp. Like genuinely warp within six months if you live somewhere humid. Found this out the hard way with a piece I got on Etsy that was stunning initially but started looking wonky by fall. Now I only go with birch plywood or hardwoods for anything over 12 inches.
Resin and Acrylic Stuff
Resin pieces are having a moment and I get why – you can get these ocean wave designs or geode-inspired pieces that look expensive but aren’t always. The catch is they’re super reflective so placement matters more than with other materials. I put one in a hallway with overhead lighting and it just… it looked like a mirror, not art. Had to move it to a wall perpendicular to the window and suddenly it worked.
Acrylic layered pieces are lighter than glass but still give you that translucent effect. There’s this artist I follow who does botanical designs with like 4-5 layers of cut acrylic and the depth is insane. These work really well in spaces where you want something modern but not cold. My cat knocked into one once and it didn’t shatter which was a relief because I’d been paranoid about that.
Installation Real Talk
Nobody wants to hear this but most 3D pieces need more than command strips. I know we all want the easy solution but anything over 3 pounds is gonna come down eventually. I use a combination of methods depending on weight:
For lightweight pieces under 3 lbs: Okay yeah command strips work but use more than you think you need. Like if it says use 2, use 4. And the velcro command strips are better than the regular ones for 3D art because the piece can shift slightly without losing grip.
For medium weight 3-8 lbs: Picture hanging strips rated for the weight plus 2 extra pounds. Or if you can find studs, a single screw with a washer works great. The washer distributes weight better than just a screw head which matters when the piece has dimension and leverage working against it.
For heavy pieces over 8 lbs: You’re finding studs or using toggle bolts, there’s no way around it. I use a stud finder that also detects metal and electrical because the last thing you need is to drill into a wire. Been there, it’s expensive to fix.
The Spacing Thing Everyone Gets Wrong
3D art needs more breathing room than flat art. Like significantly more. If you hang it too close to furniture or too close to a corner, the shadows get cut off and you lose half the effect. I usually leave at least 8 inches of clear space on all sides if possible. This is gonna sound weird but I actually hold the piece up and take photos from different angles with my phone before I commit to placement because the camera shows you what the shadows will do better than just eyeballing it.
Where to Actually Buy This Stuff
West Elm has some decent mid-range options but they’re all pretty safe designs. Good if you want something that won’t freak out your homeowners association but not if you want truly unique.
Etsy is hit or miss – I’ve gotten some of my favorite pieces there but also some disasters. Always message the seller about materials and finish. Ask if it’s suitable for humid environments if that’s your situation. Check if they include hanging hardware because some don’t and then you’re trying to figure out how to mount something with no clear attachment points.
Oh and another thing – there are these sites that do custom 3D topographical maps of locations. I got one of a client’s hometown and it became the whole conversation piece of their office. The detail is wild, you can see elevation changes and everything. Those run around $200-400 depending on size but they’re worth it for the right space.
Styles That Actually Look Good IRL
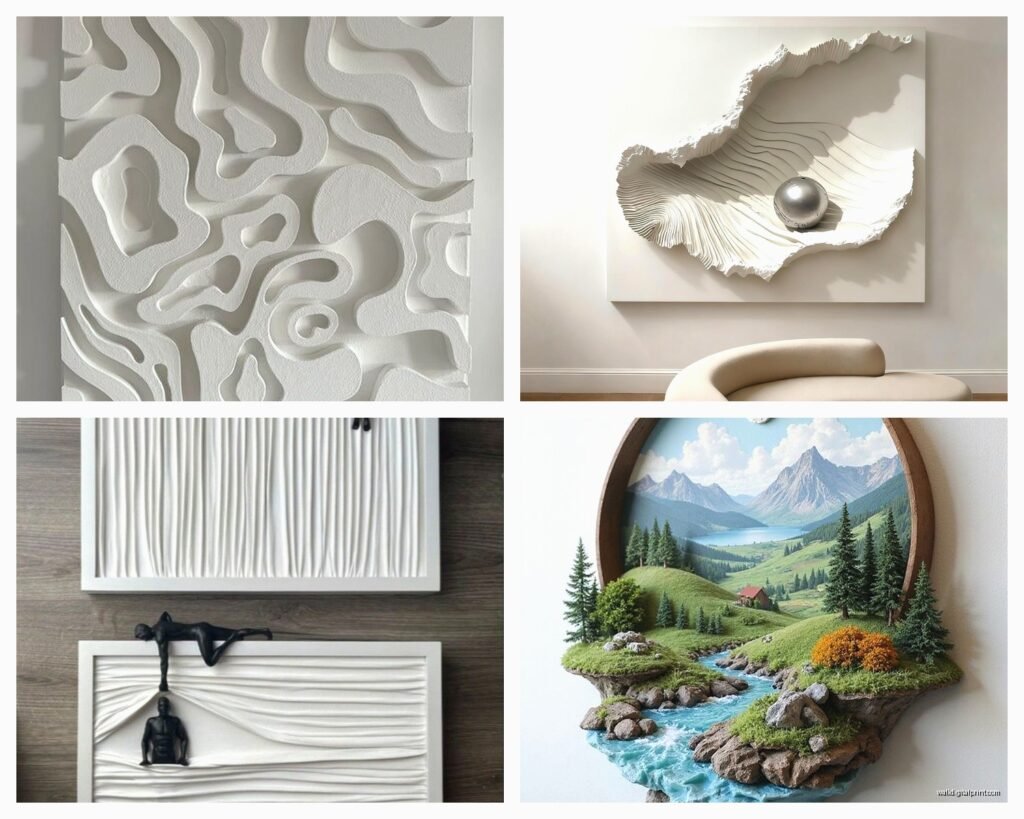
Geometric abstracts: These are everywhere right now and for good reason. The overlapping shapes create natural shadow patterns. I prefer ones with varying depths – like some pieces stick out 1 inch, others 3 inches – rather than uniform depth. More visual interest.
Botanical and organic shapes: Metal leaves, wooden branches, that sort of thing. These work in almost any space because they’re familiar shapes but the 3D element makes them special. Just avoid anything too literal – like a 3D metal tree that looks exactly like a tree is usually tacky. You want stylized.
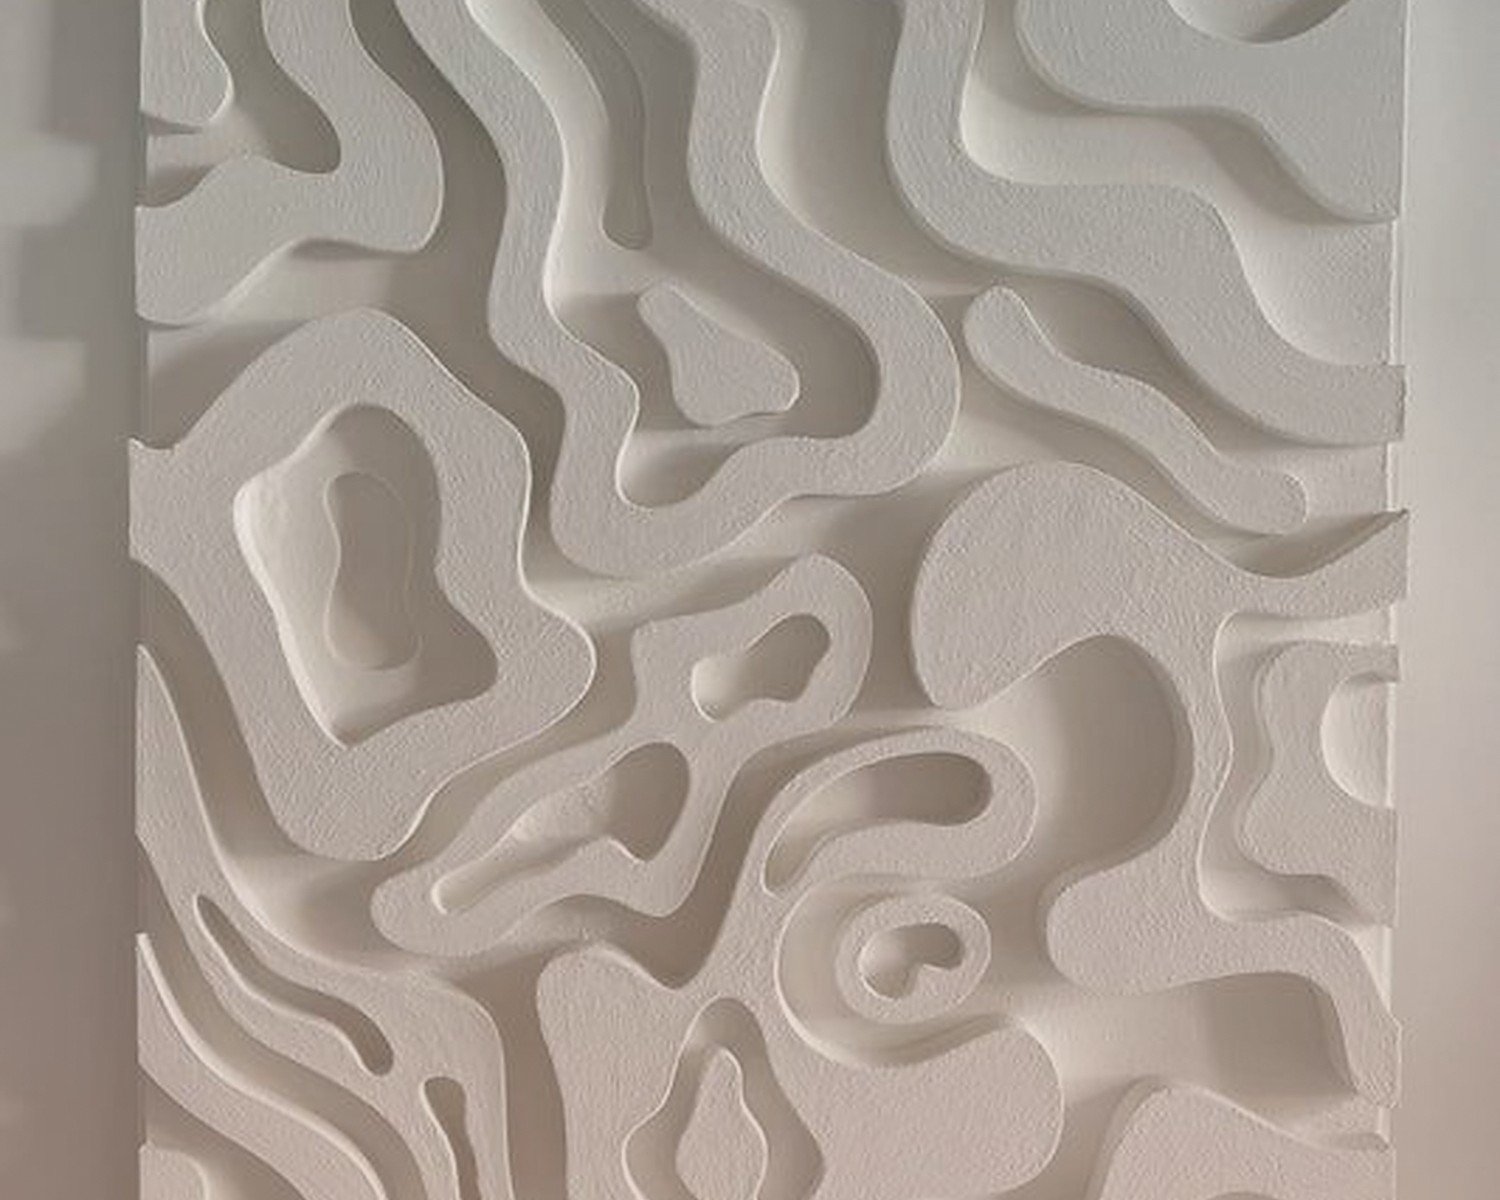
Topographic and layered landscapes: These are my current obsession. Multiple layers of material cut to show elevation or create a landscape scene. They cast the best shadows and work in both modern and traditional spaces depending on the color palette.
Sculptural text: Words or phrases in dimensional letters. These can go wrong fast if the quote is cheesy but done right they’re impactful. I did “breathe” in a yoga studio in this flowing script with 2-inch depth and it’s actually beautiful, not basic like it sounds.
Color and Finish Considerations
Wait I forgot to mention – the finish matters as much as the material sometimes. Matte finishes are way more forgiving with lighting. Glossy or metallic finishes need specific lighting or they just become glare spots. I made this mistake in a dining room with a shiny copper geometric piece and pendant lights and you literally couldn’t look at it during dinner because of the reflection.
If you’re going with wood, consider whether you want natural variation or uniform color. Natural wood grain adds another layer of visual interest but can look busy if the design itself is already complex. Painted or stained uniform pieces read cleaner from a distance.
For metal, brushed finishes > polished finishes in most residential settings. The brushed texture catches light in a softer way. Polished metal can look very commercial gallery unless that’s your vibe.
Mixing Materials in One Piece
Some of the coolest pieces I’ve seen combine materials – like wood with metal accents or resin with embedded objects. These tend to be pricier but they give you more flexibility with decor styles. A wood and metal piece can bridge industrial and organic aesthetics which is useful if you’re decorating a loft or open concept space.
Scale and Proportion Stuff
Okay so this is where people mess up the most. 3D art needs to be bigger than you think to make an impact. That piece you think looks substantial online? It’s probably gonna look small on your wall. I usually recommend going at least 30 inches in one direction for a statement piece. Anything smaller works better as part of a gallery wall situation.
For high ceilings, you need even larger pieces or you need to stack/layer multiple pieces. I did a two-story entryway with three separate 3D pieces arranged vertically and it finally felt proportional. One piece alone would’ve looked lost.
The depth matters for scale too. A piece that’s 36 inches wide but only projects half an inch isn’t gonna read as 3D from most viewing distances. You want at least 1-2 inches of depth for the dimensional effect to register. Some of my favorite pieces have 4-6 inches of depth and they become almost sculptural.
Maintenance Nobody Warns You About
Dust. So much dust. The crevices and layers of 3D art collect dust like crazy and you can’t just swipe at it with a cloth. I use a soft brush attachment on my vacuum on low setting every few weeks. For delicate pieces, compressed air works but you’re gonna wanna do that outside or near a window because the dust cloud is real.
Metal pieces can tarnish or oxidize depending on the finish. Some people like the patina but if you don’t, you need to know what you’re getting and whether it’s sealed. Unsealed copper and brass will change color over time.
Wood pieces in sunny spots will fade. UV-protective coatings help but aren’t foolproof. I rotate pieces sometimes if I notice uneven fading which sounds obsessive but whatever, I spent money on them.
Lighting That Makes It Work
The lighting can make or break 3D art honestly. Natural light is amazing but inconsistent. If you want the dramatic shadow effect all the time, you need dedicated lighting. I use picture lights for some pieces but my favorite setup is actually wall washers – lights that sit on the floor or mount above and angle across the wall. They emphasize the dimension way better than straight-on lighting.
Smart bulbs let you adjust color temperature which matters more than I expected. Warmer light makes wood pieces richer, cooler light makes metal pieces more dramatic. I have mine on schedules so they shift throughout the day which probably sounds extra but the art looks different at 7am vs 7pm and I like that variation.
DIY Options If You’re Into That
I’ve made a few 3D pieces myself and it’s actually not that hard for basic geometric designs. Foam board from craft stores is cheap and you can layer it with different heights, paint it, and mount it. Looks surprisingly legit if you take your time with clean cuts and use a good adhesive between layers.
Wood shims – like the tapered ones for construction – can be arranged in patterns and stained different colors for a cool dimensional effect. I saw someone do a whole sunburst design with these and it cost maybe $30 in materials.
Paper is another option people overlook. Heavy cardstock or watercolor paper can be folded, curled, or layered for sculptural effects. Very lightweight so easy to hang and you can paint or leave natural. More temporary than other materials but good for renters or if you like changing things up.
Okay so the main thing is just… go bigger than you think, plan for proper installation from the start, and consider the lighting situation before you buy. The worst purchases I’ve made were impulse buys that looked cool but didn’t fit the space’s reality. Take photos of your wall, measure properly, think about sightlines and where shadows will fall. It’s not rocket science but a little planning saves you from having expensive art sitting in your closet because it doesn’t work where you thought it would.