Wall Art Guide, Wall Art Tutoriels
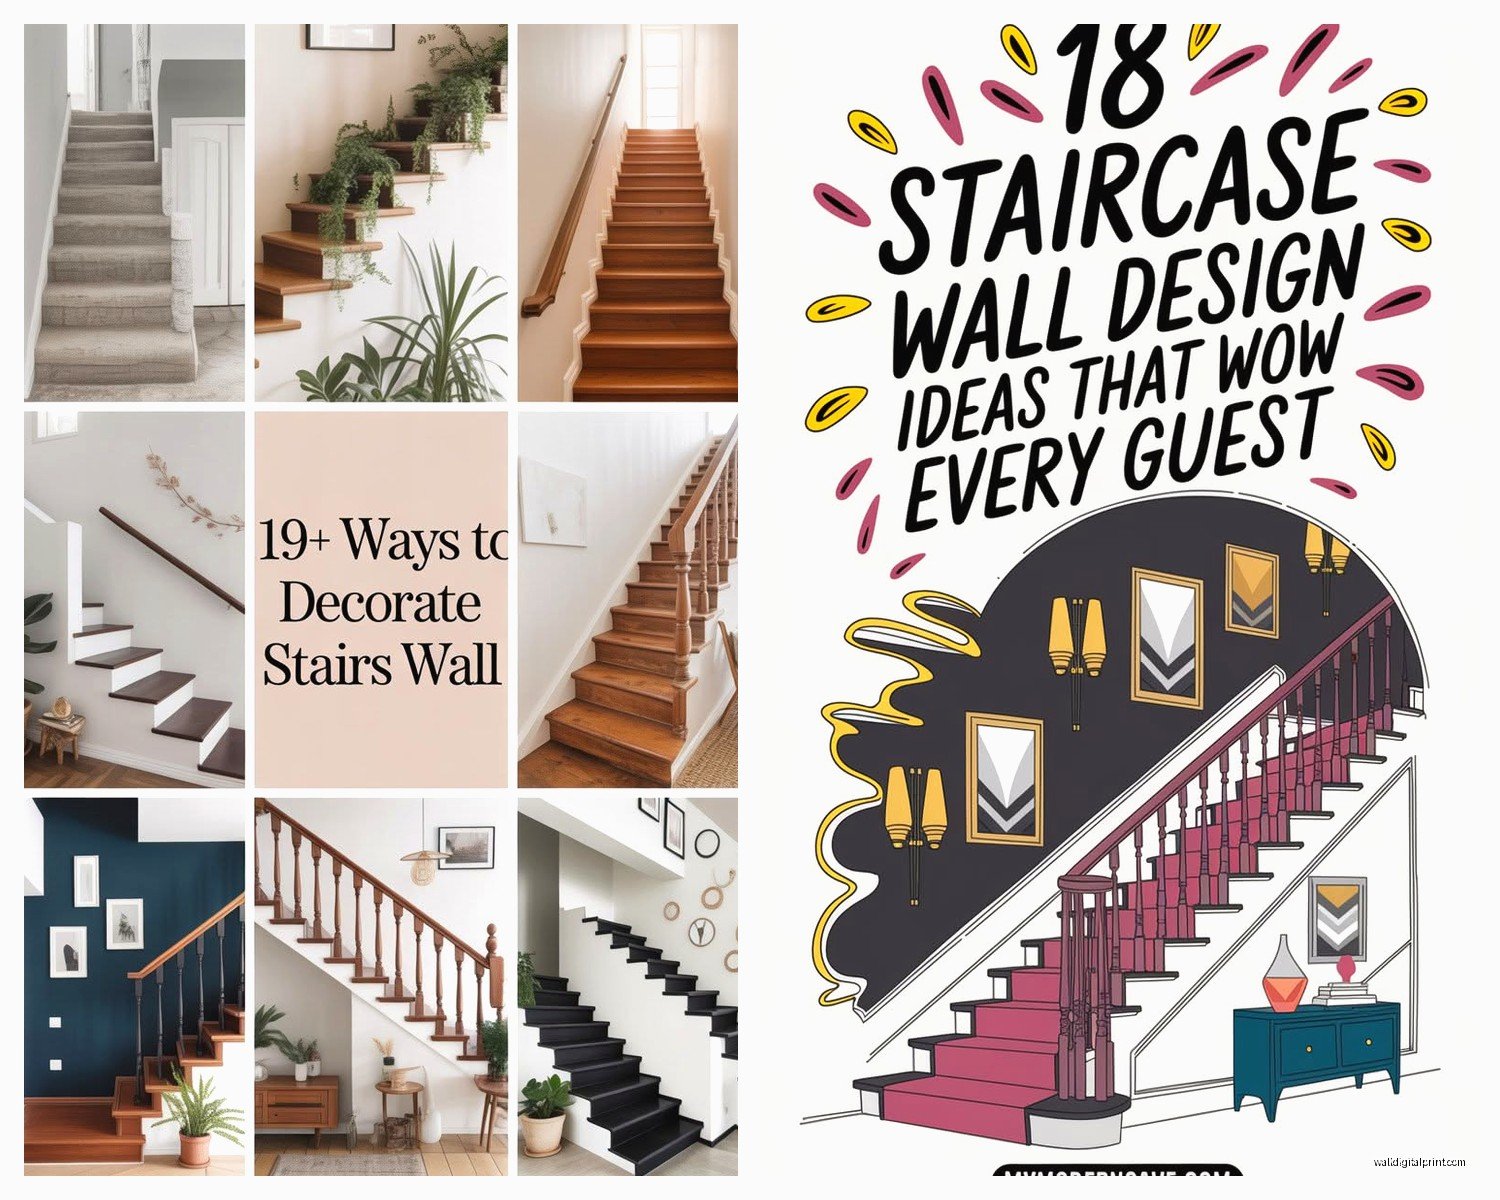
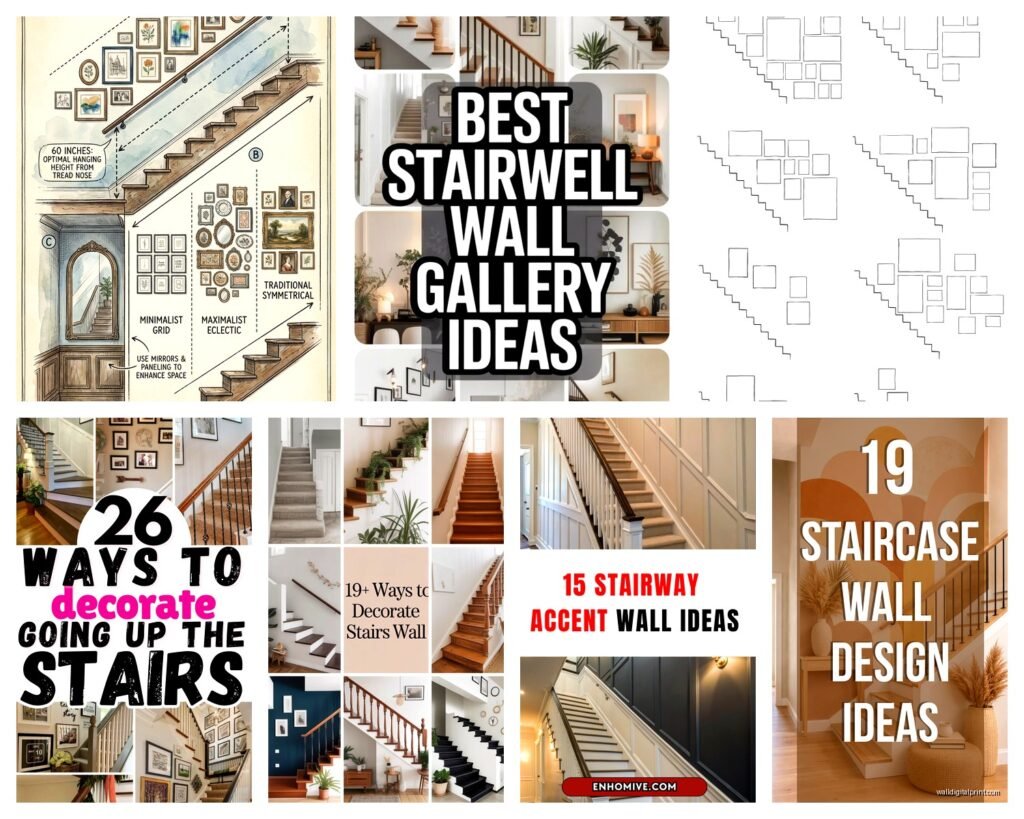
Wall Art for Stairs: Staircase Gallery Wall Ideas
Apr
So I’ve been obsessing over staircase gallery walls lately because honestly, stairs are such wasted potential in most homes. Like, you walk past them fifty times a day and they’re just… blank.
The thing nobody tells you about stair walls is that they’re actually way trickier than regular gallery walls. The angles are weird, you’re dealing with diagonal lines, and if you hang something at the wrong height someone’s gonna smack their head. I learned this the hard way when my neighbor’s kid walked face-first into a frame I hung too low. Oops.
First Thing: Measure Your Actual Usable Space
Okay so before you buy anything, you gotta map out where art can actually GO. I use painter’s tape for this and my dog thinks it’s a game where she tries to eat the tape off the wall but whatever.
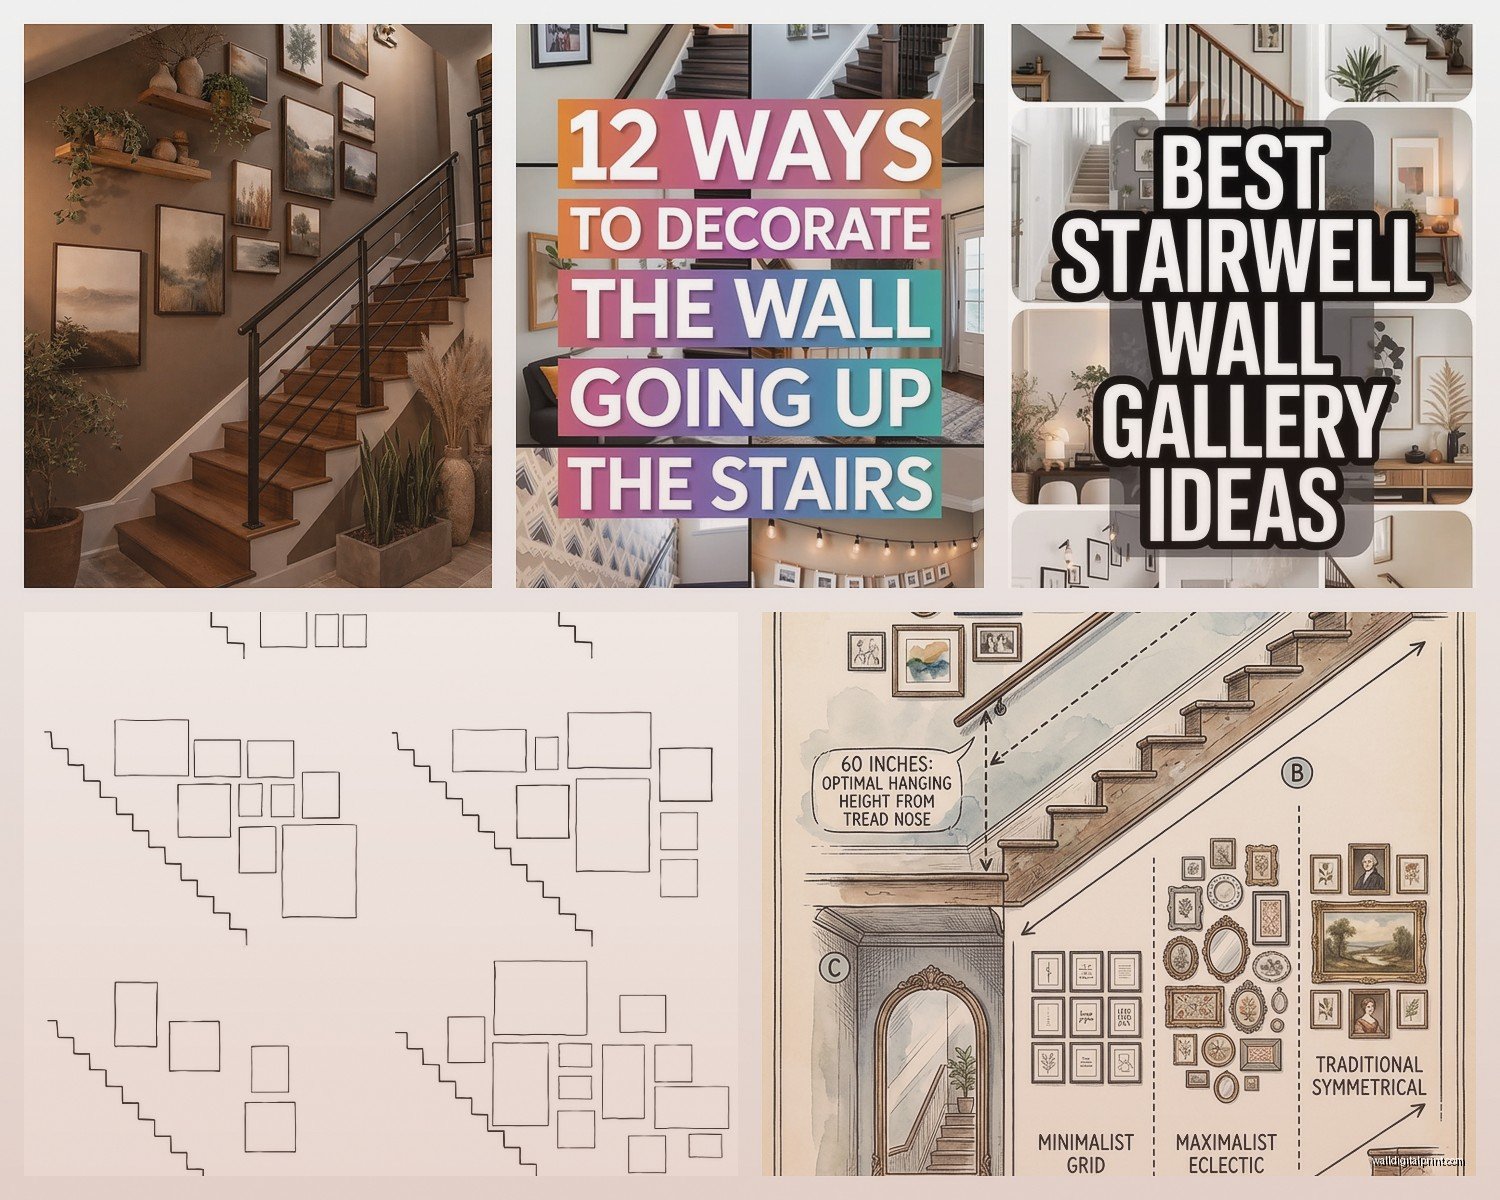
Start at the bottom of your staircase and measure from the edge of each step up to where the wall is. You want at least 6 inches of clearance from the highest point someone’s head would be. For most people that’s around 6’6″ from each step. Mark this diagonal line with tape – this is your “danger zone” bottom boundary.
The top boundary is easier, just don’t go so high that you can’t reach it with a stepladder. I usually keep things within 8 feet from the floor level of the landing.
The Diagonal Line Method vs The Horizontal Method
There are basically two ways to arrange art on stairs and everyone has OPINIONS about which is better.
Diagonal Arrangement
This is where you follow the angle of the stairs. Your frames create a diagonal line going up. It looks really clean and architectural. The center of each frame sits along an imaginary diagonal line that parallels your stair angle.
To do this: measure 60 inches from each step and mark it with pencil. Connect these dots – that’s your centerline. Hang frames so their centers hit this line.
Pros: looks intentional, works great with identical frames, very gallery-like
Cons: can feel rigid, harder to add to later
Horizontal/Scattered Arrangement
This is where you ignore the stairs completely and hang things like it’s a regular wall. Mix of heights, sizes, more organic looking.
I actually prefer this one because it feels less formal and you can keep adding pieces over time. My own staircase is this method and I’m still adding to it three years later.
Frame Sizes That Actually Work
Here’s what I’ve learned through trial and error (mostly error):
Best sizes for stairs:
- 8×10 and 11×14 for smaller spaces or if you’re doing a ton of frames
- 16×20 as your “medium” anchor pieces
- 20×24 or 24×30 if you have a really tall stairwell
Don’t go bigger than 24×30 unless your staircase is in a mansion. I tried a 30×40 once and it just looked… wrong. Too heavy visually.
The mix I use most often: three 16x20s, five 11x14s, and four 8x10s. This gives you enough variety without looking chaotic.
Materials and Frame Types
Okay so this is gonna sound weird but the frame material matters more on stairs than on regular walls. You’re passing by them constantly and touching the wall sometimes (especially if you have kids), so they need to be durable.
Wood Frames
My go-to. They’re sturdy, they don’t dent easily, and they look good with basically any art style. I buy a lot from Framebridge for custom sizes and IKEA for standard sizes when I’m on a budget.
The RIBBA frames from IKEA are actually pretty decent for stairs. They’re lightweight which matters when you’re hanging like 12 frames. I’ve had them up for years with no issues.
For something nicer, I love the simple oak frames from Frame It Easy – you can get custom sizes and they’re not crazy expensive.
Metal Frames
These work great for a modern look. Really thin black metal frames can make your art look like it’s floating. West Elm has good ones but they’re pricey. Amazon has dupes that are like… 60% as good for 30% of the price.
The downside is they show fingerprints like crazy. If you have kids, skip these.
Acrylic/Plexiglass
I’m obsessed with these for stairs lately. The Mixtiles things where you can stick them directly to the wall without nails? Actually genius for stairs because you can rearrange them easily.
But real talk – they only work if your walls are smooth. Textured walls and these don’t mix. Found that out at a client’s house where half of them fell off overnight.
What to Actually Put in the Frames
This is where people get stuck. They have the frames and then they’re like “now what.”
Photography Prints
Family photos are obvious but here’s the thing – mix them with other stuff or it looks too much like a shrine. I do maybe 40% family photos, 60% other things.
Black and white photos look more cohesive on stairs. Color photos can work but you need a consistent editing style or filter. I use VSCO filters on all mine so they have the same vibe.
Art Prints and Posters
Minted and Juniper Print Shop have really good affordable art prints. I also love grabbing vintage botanical prints from Etsy – search for “public domain botanical prints” and you can find free downloadable ones.
Abstract art works great because you’re not stopping to study it, you’re just getting a color/shape impression as you walk by.
Maps and Typography
These are underrated for staircases. Old maps, vintage travel posters, quotes in simple fonts. They add visual interest without being too busy.
I have this vintage Boston map in my stairwell and people always comment on it.
The Actual Hanging Process
Okay so you’ve got your frames and art, now you gotta get them on the wall without losing your mind.
Tools You Need
- Laser level (game changer, seriously)
- Pencil
- Measuring tape
- Hammer
- Picture hanging hooks (I use the OOK hangers, they come in weight ratings)
- Command strips for lighter frames under 3 pounds
- Stepladder
- Another person honestly, this is hard to do alone
My Process
First, I lay out the entire arrangement on the floor at the bottom of the stairs. Take a photo from above. This is your map.
Then I make paper templates of each frame – just trace them on kraft paper or newspaper and cut out. Number them to match your floor layout.
Tape these templates to the wall using your centerline or arrangement plan. Step back, go up the stairs, down the stairs, see how it feels. This is where you catch problems before you put 40 holes in the wall.
Once the templates look good, mark where the hooks need to go. Measure from the top of each frame to where the wire or hanger sits – that’s usually about 2-3 inches down. Mark this on your template.
Poke through the template with a pen to mark the wall. Remove templates. Hammer in hooks. Hang frames.
Spacing Guidelines
People always ask about spacing and there’s no perfect answer but here’s what looks good to my eye:
Between frames: 2-3 inches minimum, up to 6 inches if you want a more open feel
From the wall edge: at least 4 inches, otherwise it looks like they’re falling off
The diagonal rise: this depends on your stair angle but generally each frame should be 8-12 inches higher than the previous one
Lighting Considerations
This is something I forgot to mention – stairs are often dark. If your stairwell doesn’t have good natural light, you might want to add picture lights or LED strips.
I installed battery-operated LED puck lights above three of my larger frames and it made such a difference. The Brilliant Evolution ones from Amazon last like 6 months on batteries.
Common Mistakes I See All the Time
Hanging everything the same height – this looks weird on stairs, you gotta work with the diagonal
Using frames that are too matchy-matchy – a little variety in frame style actually looks better
Not securing frames properly – stairs have vibration from people walking, use proper hooks not just nails
Starting with expensive custom framing – use cheap frames first to test your layout, then upgrade
Forgetting about the view from the top – most people design looking from bottom up, but you also walk DOWN stairs, so check that view too
My Current Staircase Setup
Since you’re probably wondering what I actually did in my own house… I have 11 frames total. Mix of black wood and natural oak. About half are family photos (black and white), the rest are art prints I found on Etsy and Minted.
The arrangement is horizontal/scattered method. Took me three tries to get it right. First attempt was too sparse, second was too crowded. Third was Goldilocks.
Total cost was maybe $400 for frames and printing, spread out over like 6 months. You don’t have to do it all at once – actually it looks better if you add gradually because then it feels collected not decorator-y.
Budget-Friendly Options
If you’re not trying to spend a fortune:
Thrift store frames – spray paint them all the same color, instant cohesion. I did this for a client with 15 frames and it cost under $100
Free printables from museums – lots of museums have high-res downloads of public domain art
Your own photos – print them at Costco or Walgreens for like $2 each
IKEA frames – the RIBBA and FISKBO lines are totally fine
Dollar store frames for small sizes – I’ve used them, they’re not amazing but they work
Seasonal Switching
Oh and another thing – some people like to swap out their stair gallery seasonally. I think this is extra but if you’re into it, using matching frames makes it easier. Just swap the art inside.
My sister does this and she has a whole storage system with labeled folders for each season. I could never but it does look nice when she switches to her fall prints.
Special Situations
Narrow Stairwells
If your stairs are tight, go smaller with frames. All 8x10s or smaller. Fewer pieces total – maybe 5-7 instead of 10-12.
Really Tall Staircases
You might need to create multiple clusters instead of one continuous gallery. I did this in a three-story townhouse – one cluster per floor basically.
Curved Stairs
Honestly these are the hardest. The diagonal method doesn’t really work. I usually do a more scattered organic arrangement and embrace the chaos.
Maintenance
Dust them when you dust your house. A microfiber cloth works fine. Check the hooks every few months to make sure nothing’s loose – the vibration from people using the stairs can work hooks loose over time.
If a frame shifts crooked, just straighten it. Don’t obsess over perfection, slight variations actually make it look more natural.
That’s pretty much everything I’ve learned about staircase gallery walls. It’s not as hard as it seems once you just start, and you can always adjust things. Nothing is permanent with picture hooks, ya know? Just don’t overthink it.