Wall Art Guide, Wall Art Tutoriels
Wall Art with Lights: Illuminated LED Designs
Apr
So I’ve been testing these LED wall art pieces for like the past six months and honestly some of them are absolutely worth it and others are just… not. Let me break down what actually matters when you’re shopping for this stuff.
The Material Situation Nobody Talks About
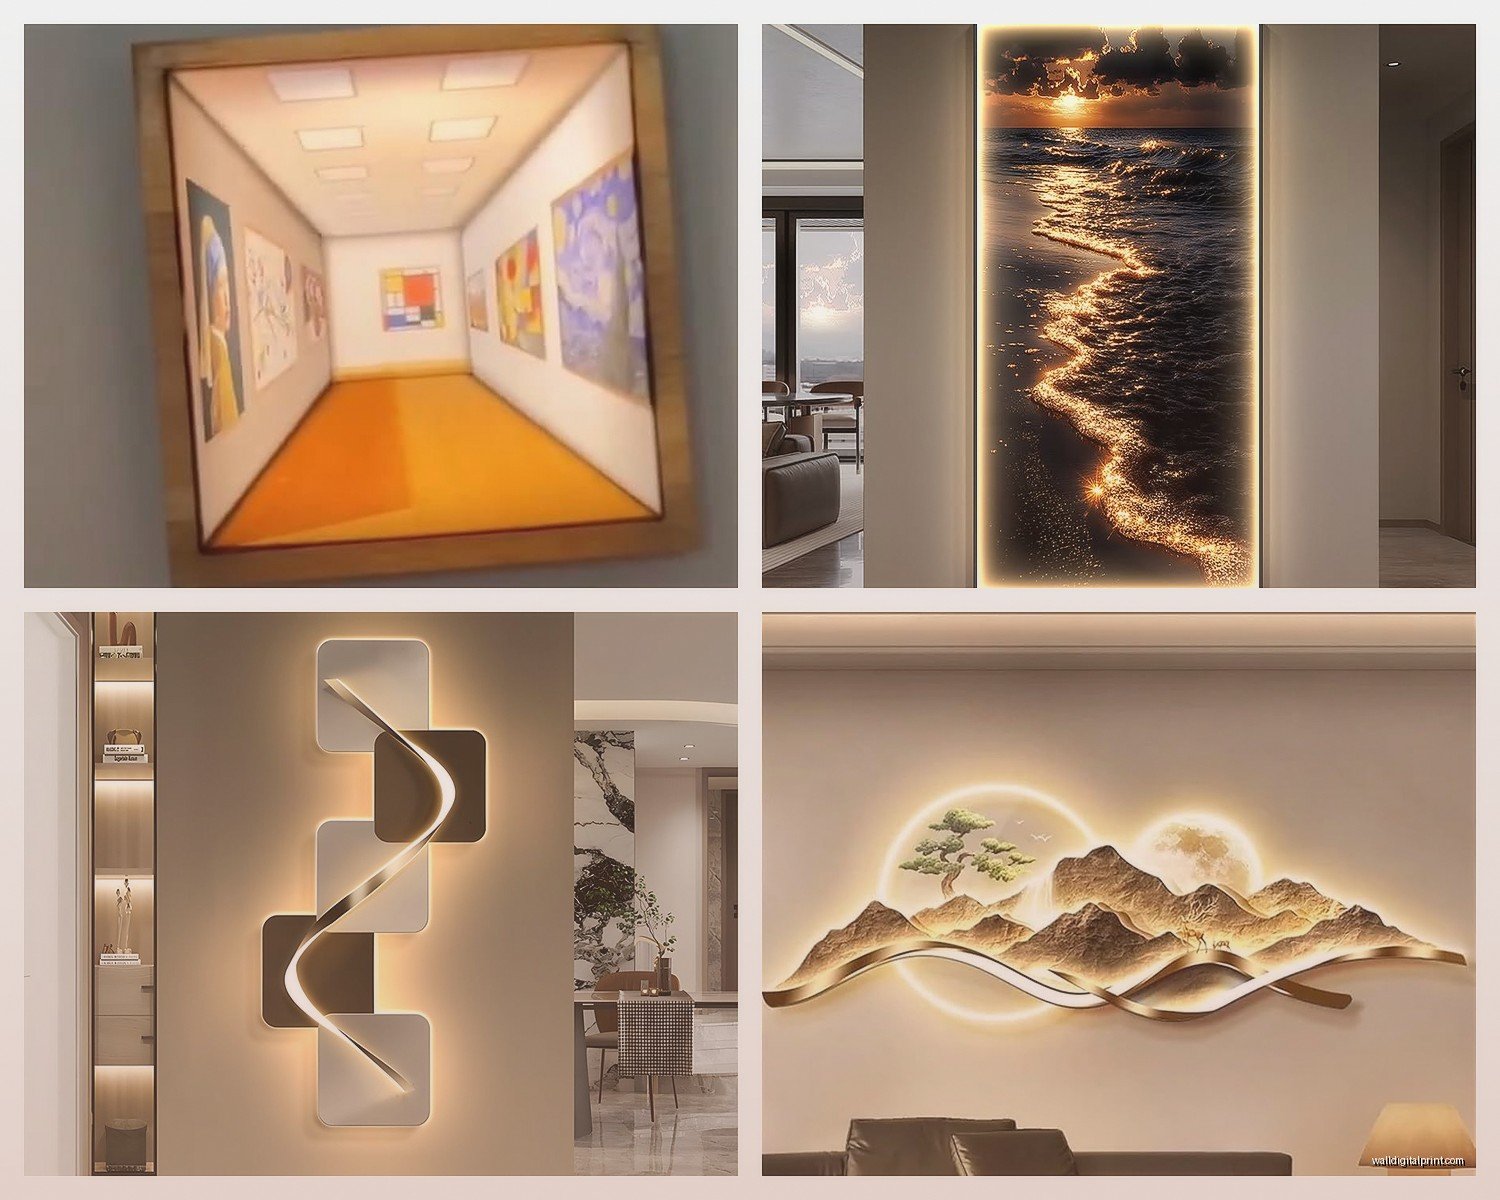
Okay so the backing material is huge. Most people just look at the design but like, acrylic is where it’s at for LED pieces. I tested this canvas one that looked gorgeous online and the light just got absorbed into the fabric and looked muddy. Acrylic though? The light diffuses properly and you get that nice glow effect you actually want.
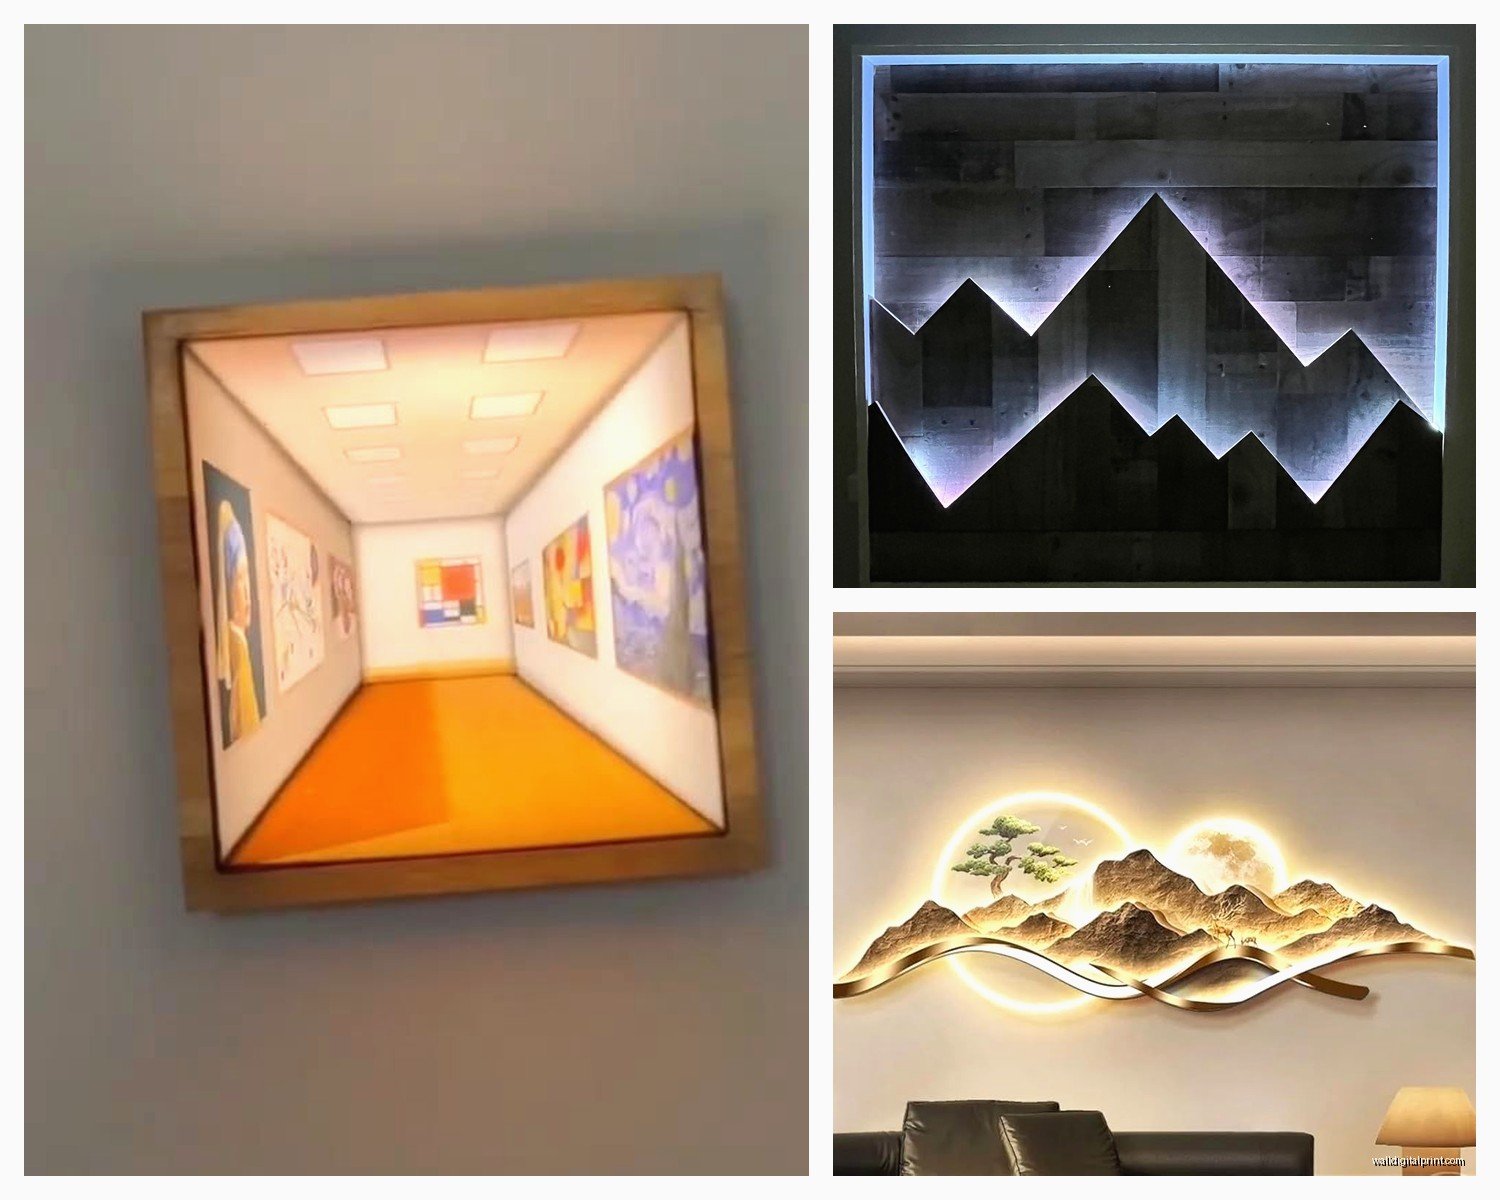
There’s also metal cutouts with LED backing which are super popular right now. The metal is usually powder-coated aluminum or steel. Aluminum is lighter obviously which matters if you’re hanging it on drywall, but steel feels more premium. I have this mountain range one in steel and it’s probably 15 pounds? Needed proper anchors for that.
Wood is having a moment too. They laser cut the design and put LED strips behind it. The wood needs to be thin enough for light to show through if they’re doing that, or they route out channels for the LEDs. Birch plywood works best from what I’ve seen, usually like 1/4 inch thick.
Neon Flex vs LED Strips
This is gonna sound weird but neon flex changed everything for me. It’s not actual neon glass, it’s LED strips inside flexible silicone tubing. Looks identical to real neon but doesn’t cost $800 and won’t shatter if you sneeze near it.
The tubing comes in different diameters. Standard is like 8mm or 10mm. The 8mm works for detailed designs with curves and text. I got this custom “coffee first” sign made and they used 8mm and you can actually read it clearly from across the room.
Regular LED strips are cheaper but you can see the individual diodes which honestly looks kind of cheap unless that’s the aesthetic you’re going for. Some people like that tech-y look. They work great if the LEDs are hidden behind something and you just want the glow effect.
Power Supply Stuff That Matters
Oh and another thing, the power adapter situation is annoying. Most pieces come with a wall adapter that’s rated for the specific wattage. Mine are all 12V or 24V systems. The 24V ones tend to be brighter but like, check your specific piece.
Some have battery options which sounds convenient but you’re changing batteries constantly if you actually use it. I tried a battery powered one in my bathroom and it lasted maybe 3 weeks with regular use. Just plan for plug-in unless it’s something you only turn on occasionally.
The good ones have in-line dimmer switches or remote controls. The remote controlled ones use RF or IR. RF is better because you don’t need line of sight. I can control mine from another room which is actually useful when you’re already in bed and forgot to turn it off.
Transformer Quality
This is boring but important – cheap transformers buzz. Like this annoying electrical hum. I had one that drove me absolutely crazy until I replaced it with a better quality transformer from an electrical supply store. Cost like $18 but totally worth it for my sanity.
Look for UL listed or CE certified power supplies. I know that sounds like overkill but these things are running electricity and heating up and you’re mounting them on your wall so like… don’t cheap out on the actual electrical components.
Installation Methods
So mounting these things depends entirely on the weight and backing. The lightweight acrylic pieces usually come with adhesive strips or command strips. Those work fine for anything under 5 pounds. I’ve had them stay up for over a year now with no issues.
For heavier pieces you’re looking at French cleats, keyhole hangers, or bracket systems. French cleats are my favorite because they’re secure and you can adjust the position before you commit. Basically it’s two interlocking pieces, one on the wall and one on the art.
Metal pieces often have integrated hanging brackets welded to the back. Make sure you’re hitting studs if it’s over 10 pounds. I use these heavy duty drywall anchors called snaptoggles for everything else and they hold up to like 250 pounds supposedly.
Wire Management
Nobody shows you this in the product photos but you’ve gotta deal with the power cord. Some pieces have the cord exit from the back center, others from a corner. Corner is way easier to hide honestly.
I use these flat extension cords that can run along baseboards and under rugs. Or there’s cord channels you can paint to match your wall. My living room has like three LED pieces and I spent an entire Saturday just routing cables properly because visible cords look terrible.
If you’re handy you can install an outlet behind the piece. I had an electrician do this for my bedroom piece and it was like $120 but looks so clean. The art just sits flush against the wall with no visible cords.
Color Temperature and RGB Options
Okay so this is where people make mistakes. LED color temperature is measured in Kelvins. Warm white is like 2700K-3000K and looks yellowish. Cool white is 5000K-6000K and looks blue-ish. Neutral/daylight is around 4000K.
For wall art I almost always prefer warm white unless it’s like a modern geometric piece. The warm light feels less harsh at night. Cool white can look really sterile unless that’s your whole vibe.
RGB pieces let you change colors which is fun but honestly I mostly just pick one color and leave it. The color changing feature seems cool but then you realize you have a favorite and never switch it. My cat is obsessed with the red setting for some reason, just sits and stares at it.
Color Quality Metrics
CRI (Color Rendering Index) matters if the piece has colored elements you want to look accurate. CRI of 80+ is decent, 90+ is great. Cheap LEDs have terrible CRI and everything looks washed out. I compared two similar pieces and the difference was shocking.
RGB quality varies wildly. Look for pieces that specify the chip type. WS2812B or SK6812 are individually addressable which means better color mixing and effects. Cheaper RGB strips use 5050 chips which are fine but less impressive.
Durability and Longevity
LEDs are rated in hours, usually 25,000 to 50,000 hours. That’s like… if you run it 8 hours a day that’s 8-17 years theoretically. In reality other components fail first. The power supply or the adhesive backing or whatever.
I’ve had pieces where the LED strips started showing different colors after like a year. That’s usually cheap components or voltage drop issues. Better quality pieces have consistent color across the entire design even after extended use.
UV resistance matters if it’s near a window. The acrylic or silicone can yellow over time with sun exposure. I made this mistake with a piece in my entryway and after 8 months it had this gross yellow tint. Now I specifically ask about UV stabilizers.
Cleaning and Maintenance
Dust buildup is real. Microfiber cloth works for most materials. Acrylic scratches easily so don’t use paper towels or anything rough. I learned that the hard way and now one of my pieces has these fine scratches across it.
Neon flex tubing can be wiped down with a damp cloth. Don’t spray cleaner directly on any electrical components obviously. I just use water or maybe a tiny bit of diluted dish soap if something’s actually dirty.
Custom vs Ready-Made
Ready-made pieces from places like Amazon or home decor stores range from like $30-$300. The quality varies massively. I’ve gotten decent pieces for $60 and terrible ones for $150. Reviews help but photos can be misleading.
Custom pieces from Etsy or specialized shops start around $100 and go up to… honestly I’ve seen $1000+ for elaborate designs. You’re paying for design time, materials, and craftsmanship. The custom pieces I’ve bought have all been noticeably better quality than mass produced stuff.
You can also get custom neon signs made with your own text or logo. Prices depend on size and complexity. My friend got a 24-inch custom sign for her salon and it was like $280 which seems reasonable for what it is.
DIY Options
If you’re crafty you can make your own. LED strip lights are cheap on Amazon, like $15-$25 for 16 feet. Then you need a backing material and some creativity. I made one with a wood silhouette and LED strips and it turned out… okay? Not amazing but it was a fun weekend project.
The hard part is getting the electronics right. You need to calculate power requirements and make sure your transformer can handle it. There are calculators online for this. And soldering if you’re cutting LED strips to custom lengths.
Neon flex is harder to DIY because you need specific tools to cut and cap the tubing properly. Possible but probably not worth it unless you’re making multiple pieces.
Smart Home Integration
Some LED art pieces are smart home compatible which is actually cooler than it sounds. I have one connected to Alexa and can turn it on/off with voice commands or schedule it to turn on at sunset.
Look for pieces that specifically mention WiFi connectivity or compatibility with smart plugs. Even if the art itself isn’t smart, you can plug it into a smart outlet for like $15 and get the same functionality.
The app-controlled ones let you set timers, adjust brightness, change colors if it’s RGB, and create scenes. I have mine set to dim automatically at 10pm because full brightness at night is kinda aggressive.
Safety Considerations
Low voltage LED systems (12V or 24V) are generally safe but still need proper installation. Make sure all connections are secure and insulated. I’ve seen cheap pieces where the wiring was just… exposed and sketchy looking.
Heat dissipation is usually fine with LEDs since they don’t get that hot, but cheap power supplies can get warm. Make sure there’s air circulation around the transformer. Don’t bury it under stuff or cover it with fabric.
For kids’ rooms I’d definitely stick with UL listed products and make sure cords are secured so they can’t pull on them. And maybe avoid anything with small detachable parts obviously.
wait I forgot to mention – some pieces are rated for outdoor use if you’re thinking about patio or garden art. Those need IP65 or higher weatherproof rating. The regular indoor ones will fail quickly outside from moisture and temperature changes.
Where to Actually Buy
Amazon has a huge selection but quality is hit or miss. Read reviews carefully and look at customer photos. The professional product photos always look perfect but customer photos show what it actually looks like in a normal room.
Etsy is great for unique custom pieces. You’re supporting individual makers and the quality tends to be higher. Shipping can take longer though since most are made to order.
Home decor stores like Target and West Elm are carrying more LED art now. Prices are higher but you can see them in person before buying which is valuable. I bought one from West Elm that looked way different in person than online – the colors were more muted which actually worked better for my space.
Specialized neon sign companies have online stores with customization options. These tend to be pricier but the quality is consistently good from what I’ve experienced.
Price vs Quality Reality
Under $50: Usually basic designs, okay for like a teenager’s room or temporary decoration. LEDs might not last more than a year of regular use.
$50-$150: Sweet spot for ready-made pieces. Good enough quality for main living spaces. This is where I buy most of mine.
$150-$300: Better materials, more complex designs, longer lasting. Worth it for statement pieces in prominent locations.
Over $300: Custom work, large scale pieces, or premium brands. Only worth it if you’re really committed to that specific design or need something unique.
The most expensive piece I own was $380 and honestly it’s beautiful but I’m not sure it’s $300 better than my $80 pieces if that makes sense? Diminishing returns at some point.
Anyway that’s basically everything I’ve learned from actually living with these things. The technology keeps improving so this stuff will probably be even better in like a year but for now those are the main things to consider when you’re shopping around.