Wall Art Guide, Wall Art Tutoriels
Modern Wall Art for Bathroom: Contemporary Bath Designs
Apr
So I’ve been completely obsessed with bathroom wall art lately because honestly? It’s the one room everyone forgets about and then wonders why their bathroom feels like a dentist’s waiting room.
Why Moisture-Resistant Materials Actually Matter
Okay so first thing – and I learned this the hard way after ruining a $300 print in my guest bath – you cannot just hang regular paper art in a bathroom. The humidity will destroy it. I watched this beautiful botanical print basically curl up and die over like three months, and I wanted to cry.
You need either acrylic prints, metal prints, or properly sealed canvas. Acrylic is my go-to now because it’s literally waterproof and looks super modern and clean. The colors pop more too because of how the acrylic reflects light. Metal prints are also amazing but they’ve got this industrial vibe that doesn’t work in every bathroom aesthetic.
Acrylic Prints
These are printed on photo paper and then mounted behind a sheet of acrylic glass. The depth this creates is actually really cool – like the image is floating. I use them in shower areas, right above toilets, anywhere that gets direct steam. They wipe clean with just water which is… chef’s kiss for a bathroom.
The main issue is weight. A large acrylic print is HEAVY and you’re gonna need proper wall anchors. Not those flimsy plastic things. I’m talking heavy-duty anchors rated for like 50 pounds minimum. My neighbor didn’t do this and her acrylic print fell at 2am and we both thought someone was breaking in.
Metal Prints
These are literally printed directly onto aluminum sheets and they’re insanely durable. They work great in modern, industrial, or minimalist bathrooms. The colors are vibrant but slightly different than acrylic – more matte, less glossy. Some people prefer this.
I’ve used metal prints in a client’s loft bathroom with concrete walls and exposed pipes and it was *perfect*. But when I tried the same print in a traditional bathroom with marble and brass fixtures? Looked totally wrong. Context matters so much.
Sealed Canvas
Regular canvas will absorb moisture and get moldy which is disgusting. But you can get canvas prints with a waterproof sealant coating. I use these in powder rooms or half baths where there’s no shower – less humidity to worry about.
The texture of canvas adds warmth that acrylic and metal don’t have. If your bathroom feels cold or clinical, sealed canvas might be what you need. Just make sure it’s actually sealed – ask specifically about moisture protection. Some companies say “water-resistant” which is not the same thing as “waterproof” and yeah, there’s a difference.
Framing Options That Won’t Self-Destruct
Oh and another thing – frames are tricky in bathrooms. Wood frames will warp unless they’re sealed properly. I’ve had the best luck with:
- Aluminum frames with a powder-coated finish
- Stainless steel frames (pricey but indestructible)
- Sealed wood frames specifically rated for high-humidity
- Frameless mounting (my personal favorite for modern looks)
That cheap IKEA frame you love? It’s gonna warp. Just trust me on this. The corners will separate and the whole thing will look wavy within six months if there’s regular shower steam.
I actually prefer frameless mounting for bathrooms now. You can get standoff mounts that hold the acrylic or metal about half an inch off the wall – creates this floating effect that’s super contemporary. Plus no frame means no warping to worry about.
Size and Placement Strategy
This is where people mess up constantly. They either go too small and it looks like an afterthought, or too big and it overwhelms the space.
For above the toilet, I usually do something between 24-36 inches wide. Depends on your toilet width but you want the art to be roughly 2/3 the width of the toilet tank. Not a hard rule but it’s a good starting point.
Above the bathtub is trickier because you’ve gotta consider sightlines. Like, are you gonna be looking at this while you’re in the tub? Then maybe go horizontal and wider. Is it more for when you walk into the bathroom? Then vertical might work better.
Wait I forgot to mention – in a shower enclosure, you can actually put art on the outside of the glass if it’s a glass shower. Sounds weird but it creates this cool layered effect and the art is protected from direct water. I did this in my own bathroom with a triptych of abstract ocean photos and everyone asks about it.
Gallery Walls in Bathrooms
Okay so gallery walls CAN work in bathrooms but you gotta be strategic. I only do them in larger bathrooms with good ventilation. And I use all the same type of material – like all acrylic or all metal – so they age consistently.
The mistake people make is mixing materials. Then one piece warps while others don’t and suddenly your carefully planned gallery wall looks wonky. Keep it uniform.
Subject Matter and Style Choices
This is totally personal but after doing like a million bathroom projects (okay maybe thirty but it feels like a million), here’s what actually works:
Abstract art is the safest bet. It goes with everything, won’t look dated in five years, and doesn’t get weird when you’re, you know, using the bathroom. Bold geometric prints in black and white are having a moment and they look insanely good in modern bathrooms.
Botanical prints are classic for a reason. Ferns, monstera leaves, eucalyptus – they bring that spa vibe everyone wants. Just avoid super detailed Victorian botanical illustrations in modern spaces. The style clash is real.
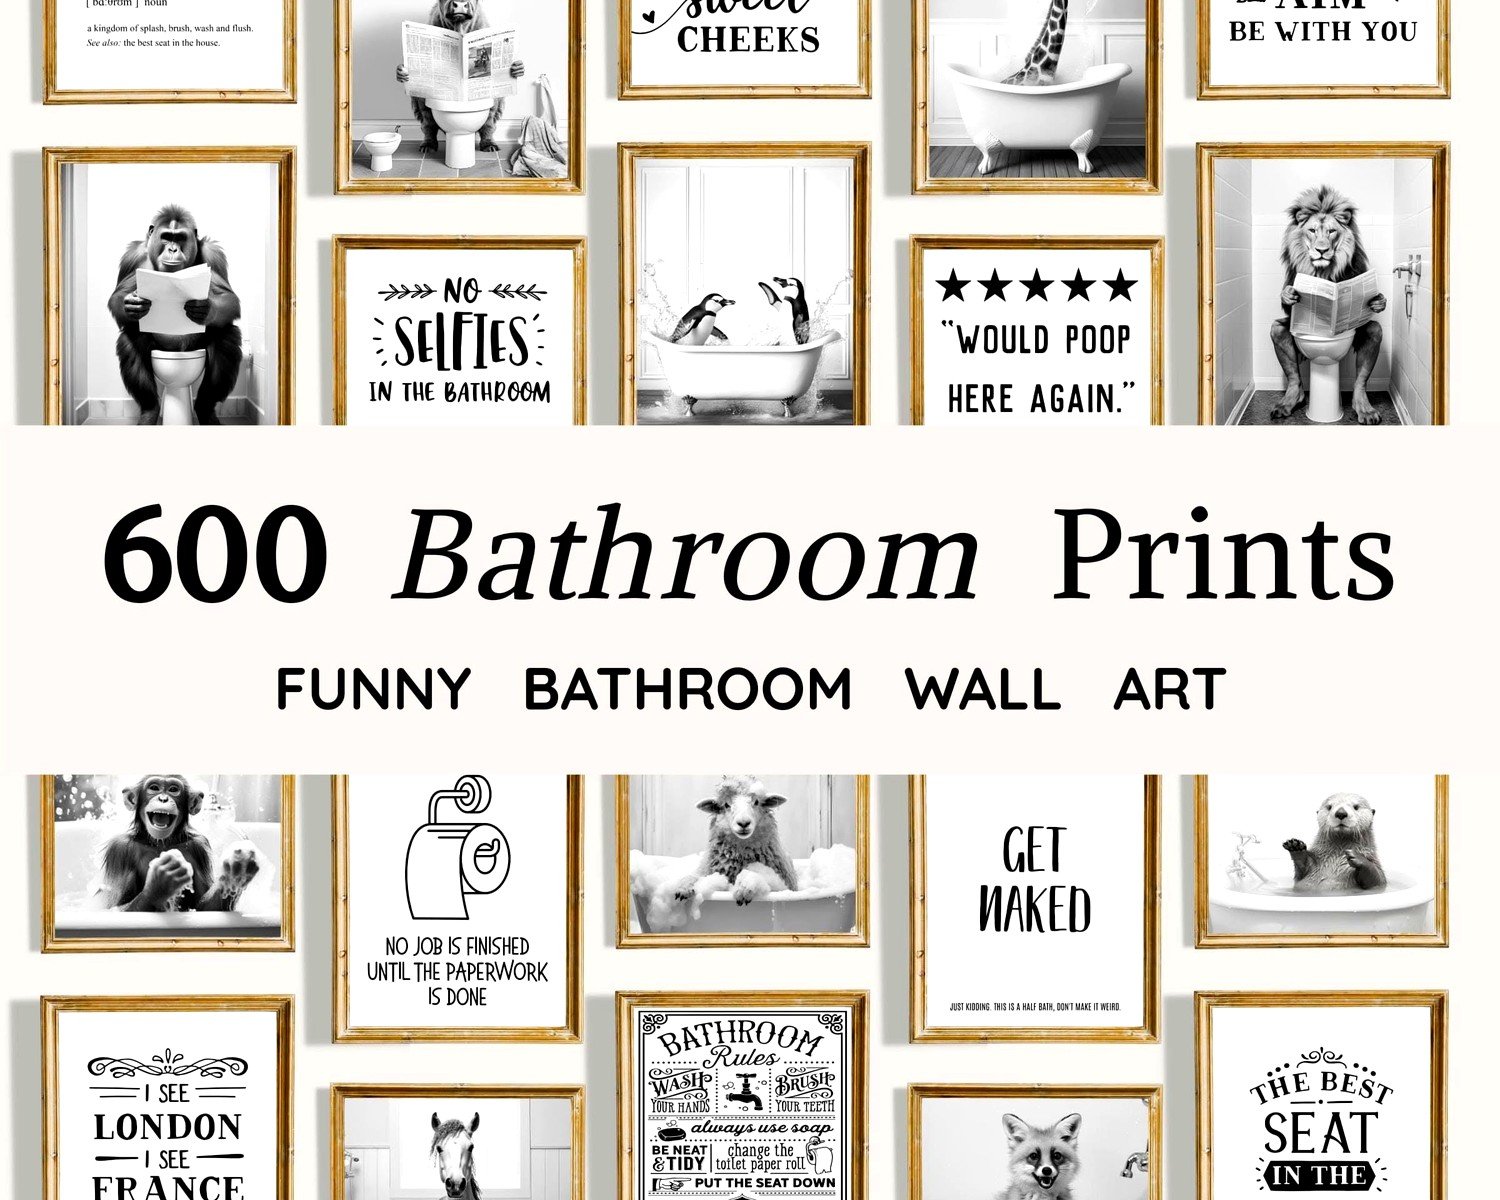
Photography works great but choose carefully. Ocean scenes, architectural shots, landscapes – yes. Family photos or portraits? That’s a no from me. Something about doing your business while Grandma watches you is just… no.
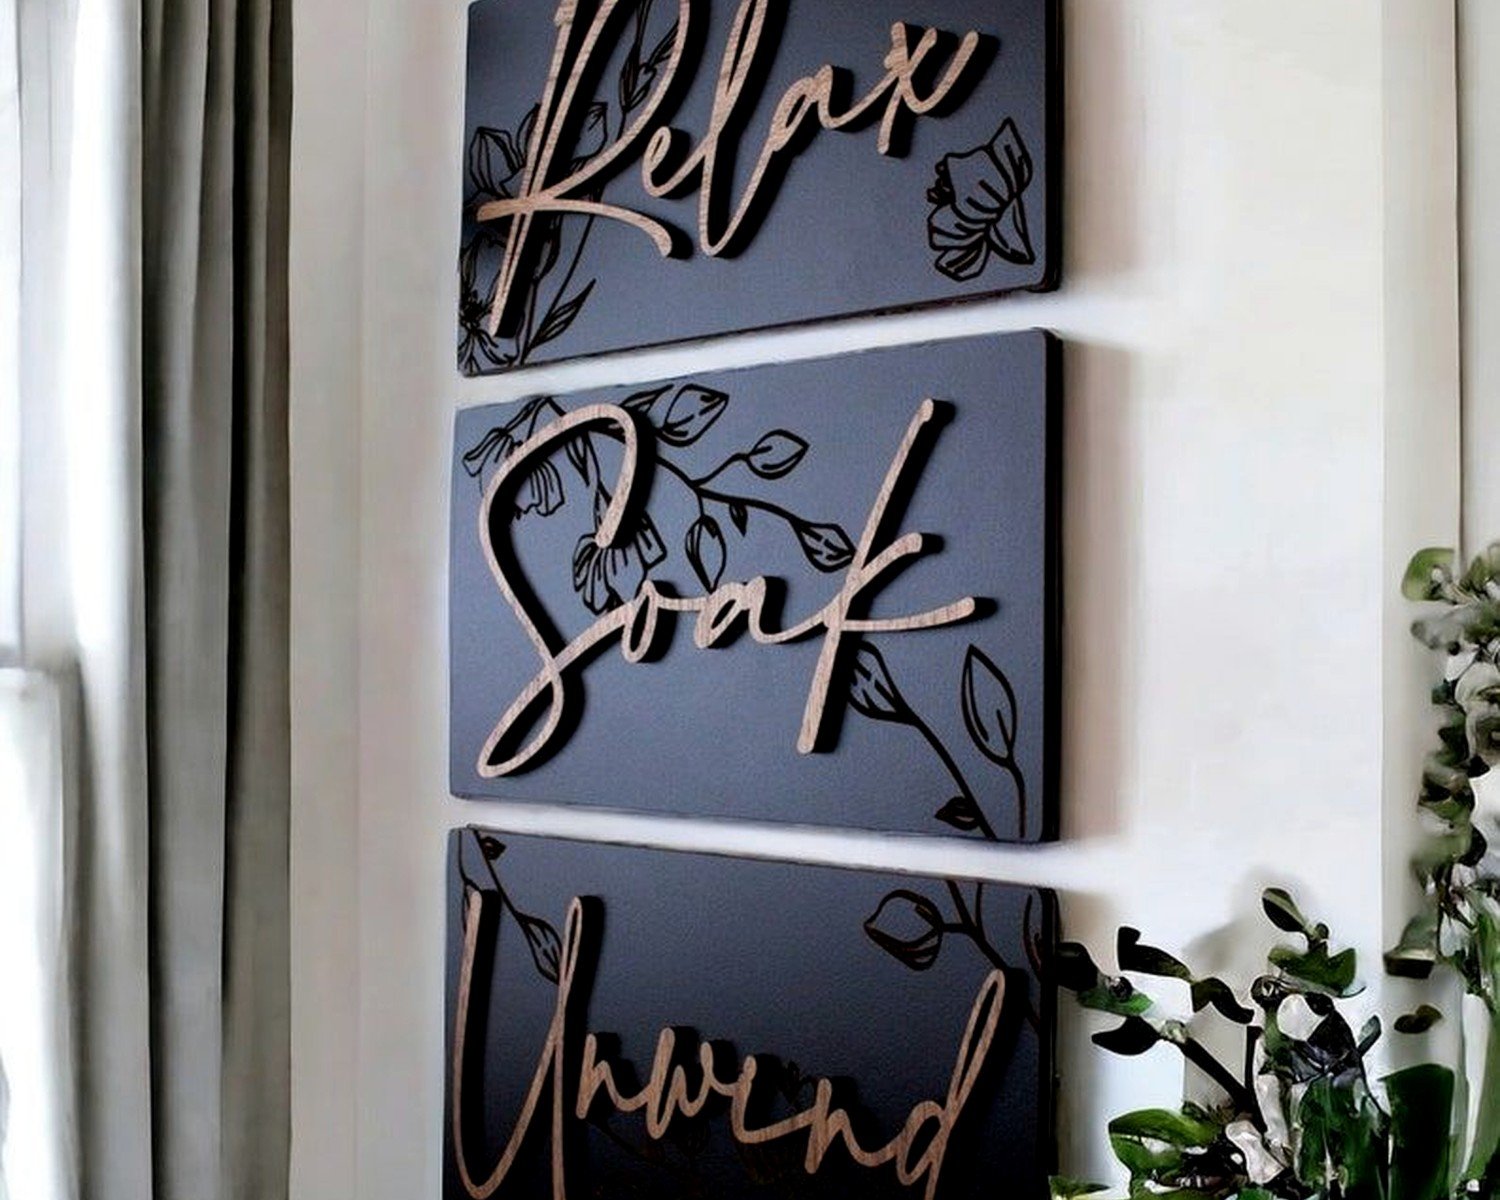
Typography art can be fun in a powder room. Like witty bathroom-related quotes or just single words in beautiful fonts. I did “RELAX” in huge letters for a client’s spa bathroom and it was perfect. But avoid anything too cutesy unless that’s genuinely your vibe.
Color Considerations
Your art should either complement your existing bathroom colors or provide contrast – but like, intentional contrast.
If you’ve got an all-white bathroom (which honestly most modern bathrooms are), you can go bold with color. I’m talking deep blues, emerald greens, burnt orange. The white acts as a gallery wall and makes the colors pop even more.
For bathrooms with colored tiles or fixtures, I usually stick with black and white art or very subtle colors. Too much color competition and it just looks chaotic.
This is gonna sound weird but I always consider what the art looks like when the lights are on versus natural daylight. Bathrooms have such specific lighting – often harsh overhead lights – and some colors look completely different. Blues can look almost gray under certain bathroom lighting, reds can look super intense.
Installation Tips Nobody Tells You
Okay so installation in bathrooms is different than regular rooms because of the moisture and also because bathrooms often have weird walls – like tile or that weird textured stuff.
On drywall: Use those heavy-duty picture hangers rated for the weight. I like the ones with multiple pins because they distribute weight better. And PLEASE use a level. I cannot tell you how many crooked bathroom art situations I’ve walked into.
On tile: You need special drill bits for tile and a lot of patience. Go slow or you’ll crack the tile – learned this the expensive way. Or use adhesive strips rated for heavy items, but only if the art isn’t super valuable because those strips can fail in high humidity.
Above the toilet: Make sure you’re drilling into studs if possible. Nobody wants a heavy frame falling onto the toilet tank. Measure twice, drill once, all that stuff.
The height thing trips people up too. For art above a toilet, I hang it about 6-8 inches above the tank. For art on a regular wall, 57-60 inches to the center of the art is standard gallery height and it works fine in bathrooms too.
Specific Product Recommendations
Since you’re probably wondering what to actually buy… I’ve got opinions.
For acrylic prints, I’ve used Shutterfly, Nations Photo Lab, and Bay Photo. Bay Photo is the most expensive but the quality is noticeably better. The acrylic is thicker and the mounting hardware is more robust. For a main bathroom you use daily, spend the extra money.
For metal prints, Printique (used to be called AdoramaPix) does really nice work. The colors are accurate and the aluminum is thick enough that it doesn’t feel flimsy. Metal prints from like Walgreens or whatever are gonna be disappointing – thin and the image quality isn’t great.
If you want ready-made modern art, I’ve bought from Minted, Desenio, and Society6. Desenio is super affordable and has tons of minimalist options. Minted is pricier but the quality is consistently good. Society6 is hit or miss – read reviews on specific products before buying.
Maintenance Reality Check
Nobody talks about this but bathroom art needs cleaning. The humidity means dust sticks to everything and if you use hairspray or other products, there’s gonna be residue.
Acrylic and metal you can just wipe with a damp cloth. Easy. Canvas you gotta be more careful with – I use a barely damp microfiber cloth and don’t scrub, just gently wipe.
I clean my bathroom art every month or so, takes like two minutes. But if you let it go for months it gets gross and then it’s a whole thing.
Budget Breakdown
Since money is real and matters… here’s roughly what you’re looking at:
- Small acrylic print (16×20): $60-120
- Large acrylic print (24×36): $150-300
- Metal print (similar sizes): $80-250
- Sealed canvas print: $50-200 depending on size and seller
- Custom framing for bathroom: $100-400
- Ready-made framed prints: $30-150
You can definitely do bathroom art on a budget. Desenio prints start at like $5 for small sizes. Put those in aluminum frames from Amazon and you’re under $30 total. Will it last forever? Probably not. But it’ll look good for a few years and then you can switch it up.
Common Mistakes I See Constantly
Going too matchy-matchy with the colors. Your art doesn’t need to perfectly match your towels. Actually it probably shouldn’t.
Hanging art too high. I see this ALL THE TIME. People think higher is fancier but it just makes the room feel weird and disconnected.
Using regular paper prints with regular frames. They WILL get damaged by humidity. Maybe not immediately but eventually yes.
Forgetting about scale. A tiny 8×10 print on a huge wall looks lost and sad. Go bigger than you think you need.
Not considering the view from different angles. You might be looking at that art while brushing your teeth, from the shower, from the doorway – does it work from all those spots?
Oh and one more thing – my cat knocked over a whole can of paint while I was writing this and I’m just gonna pretend it didn’t happen until later – people forget about lighting. If your bathroom has no natural light, you might want to add a picture light or make sure your art has enough contrast to show up under artificial light.
The truth is bathroom art is one of those things that seems simple until you actually try to do it well. But once you get it right, it completely transforms the space. My main bathroom went from boring white box to actual room-I-want-to-spend-time-in just by adding three acrylic prints of abstract landscapes. Cost me maybe $400 total and I look at them every single day and they still make me happy.
Just start with one piece, see how it feels, and build from there. You don’t need to do the whole bathroom at once.