Wall Art Guide, Wall Art Tutoriels
Beach Wall Art for Bathroom: Coastal Bath Spa Decor
Apr
So I’ve been testing beach wall art in my own bathroom for like two years now and helping clients pick pieces that won’t fall apart in humid spaces, and honestly the material matters SO much more than anyone tells you.
Canvas vs Metal vs Wood: What Actually Survives Bathroom Humidity
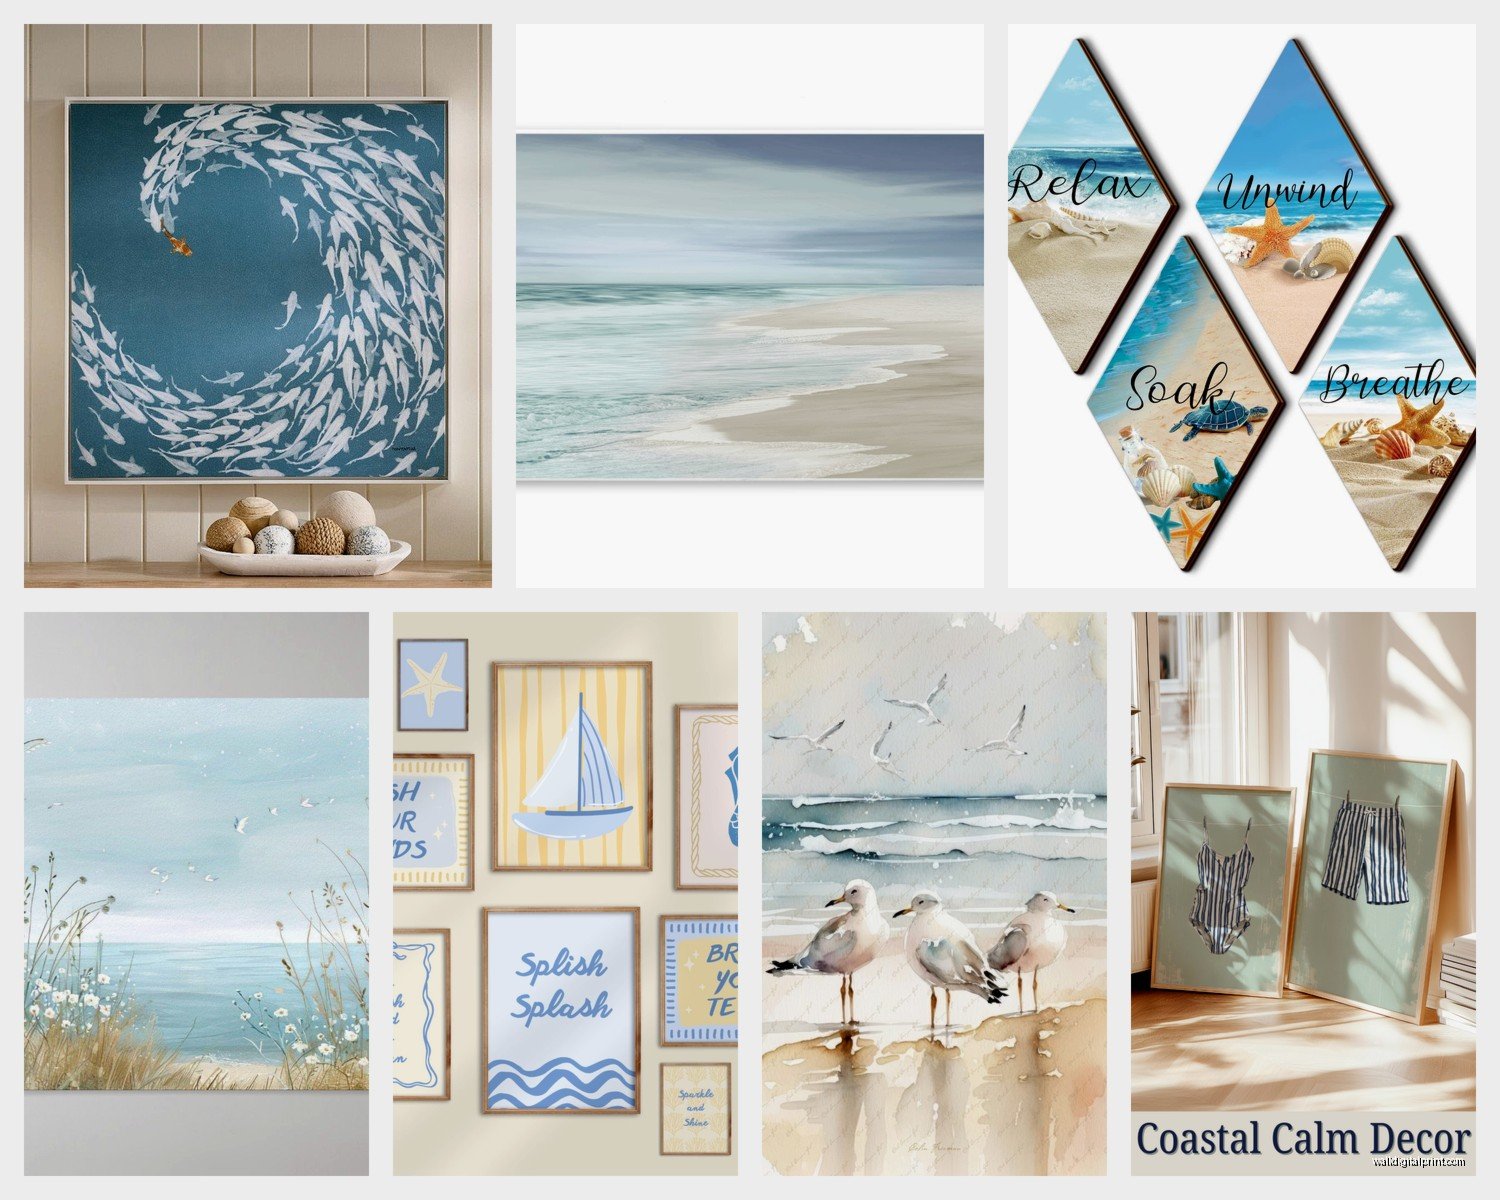
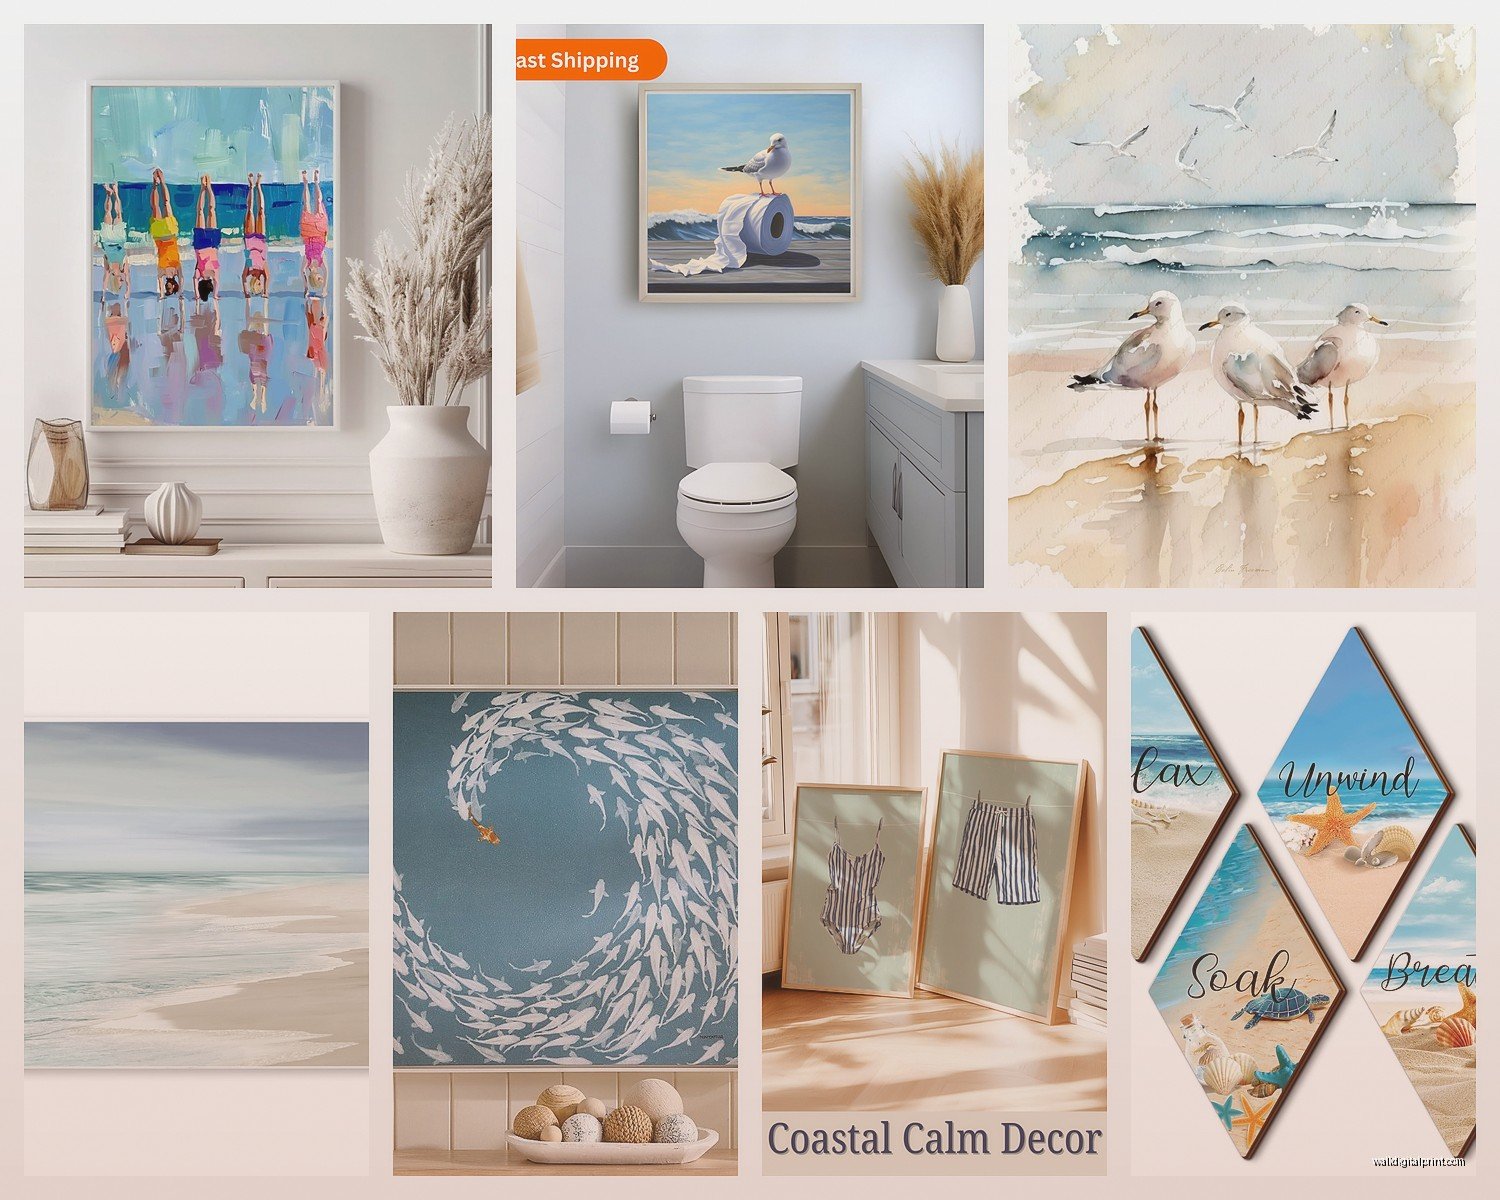
Okay first thing – regular canvas prints? They’re gonna warp. I learned this the hard way when I hung this gorgeous turquoise wave print above my tub and within three months the corners were doing this weird ripple thing. Canvas absorbs moisture and unless it’s specifically sealed for bathrooms, you’re just asking for trouble.
What actually works is aluminum or metal prints. I started using these after my dog knocked over a plant onto my original canvas piece (long story) and I had to replace it anyway. Metal prints have the image dye-sublimated directly onto aluminum panels, so there’s literally nothing to absorb moisture. They’re lightweight, the colors stay ridiculously vibrant, and you can wipe them down with glass cleaner. I’ve got one of a sandy beach scene that’s been directly across from my shower for 18 months and it looks exactly the same as day one.
Acrylic Prints Are Expensive But Worth It
Acrylic prints are basically your image printed on paper or metal, then mounted behind a thick sheet of acrylic glass. They have this depth to them that’s really cool – like the image is floating. I used one in a client’s master bath last year, this coral reef scene, and every time I visit she mentions how much she loves it. The acrylic protects everything from moisture and the colors just pop because of how the light hits them.
Downside is they’re heavy and pricey. You’re looking at $150-400 depending on size, versus maybe $50-80 for a metal print. But if you’ve got the budget and a really statement wall, they’re stunning.
The Wood Panel Situation
Wood prints sound like they’d be terrible for bathrooms but wait – there’s different types. Regular wood with a print glued on? Yeah no, that’s gonna peel and warp. But wood panels where the image is printed directly onto sealed wood or where they use marine-grade sealant? Those can actually work.
I’ve been using these planked wood beach signs (you know the ones with like weathered paint and nautical sayings) and if they’re properly sealed they hold up fine. Look for pieces that specifically say “moisture resistant” or “bathroom safe.” The cheaper ones from HomeGoods or whatever are usually just decorative indoor wood and the finish isn’t strong enough.
What About Framed Prints
Framed prints are tricky because you’ve got multiple failure points. The print itself, the mat if there is one, the frame material, the backing. I’ve seen so many warped mats from bathroom humidity.
If you’re gonna do framed prints, you need:
- A sealed print (not just regular paper)
- No mat, or a synthetic mat material
- A metal or sealed wood frame
- Plexiglass instead of regular glass (lighter and won’t shatter if it falls)
Honestly though? It’s more hassle than metal or acrylic prints. The only reason I use them is if I’m trying to match existing frames in a bathroom or if someone really loves a specific piece that only comes as a paper print.
Size and Placement Strategy
This is gonna sound weird but I actually measure humidity levels in different parts of bathrooms now. Got this little meter thing for like $15 on Amazon after I kept having issues. The area right across from your shower or tub gets hit hardest – that’s where you need the most moisture-resistant materials.
Above the toilet or on a wall far from water sources? You can get away with more material options. I’ve got a canvas print (gasp) on the wall by my bathroom door and it’s been fine for over a year because it’s far enough from moisture.
For sizing, I usually go bigger than people think. A tiny 8×10 piece on a large bathroom wall just looks lost. I aim for:
- Powder rooms: 16×20 or 20×24
- Full bathrooms: 24×36 or larger
- Master baths: 30×40 or go with a gallery wall of multiple pieces
Gallery Walls in Bathrooms
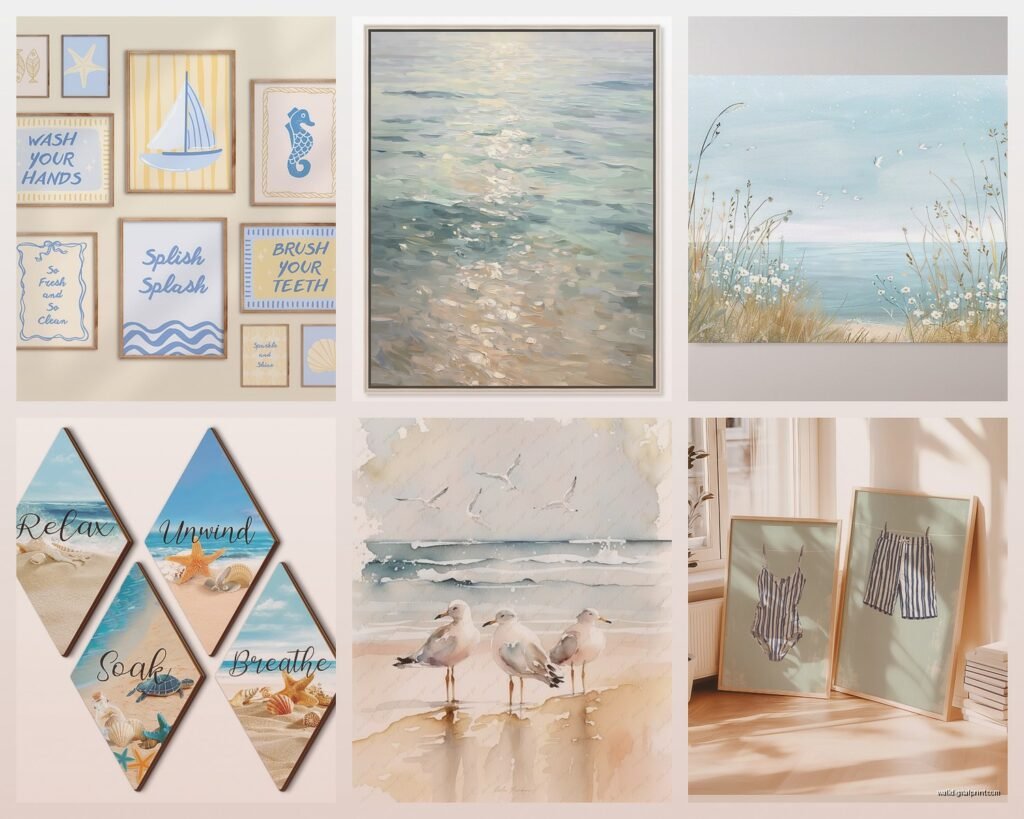
Oh and another thing – gallery walls work great in bathrooms if you mix your materials. I did one last month with three metal prints (different beach scenes in complementary blue tones) and two small floating shelves with beach glass jars. The variation in depth and material makes it more interesting than just five frames in a row.
The trick is keeping your color palette tight. All cool tones or all warm tones. Don’t try to mix a bright turquoise piece with a sunset orange piece unless you want it to look like a beach gift shop exploded on your wall.
What Images Actually Look Good
Not all beach images work in bathrooms. I’ve tested this extensively because my clients kept picking images that just felt… off. Here’s what I’ve learned:
Abstract ocean waves and close-ups of water work better than full beach landscapes. Something about the scale – a huge expansive beach scene can make a small bathroom feel cramped, but a cropped wave or water texture adds the coastal vibe without overwhelming the space.
Neutral beach scenes (think whites, beiges, soft blues) are way more versatile than those oversaturated tropical sunset photos. I mean unless your whole bathroom is maximalist, then go wild.
Macro shots of shells, coral, sea glass – these work surprisingly well. There’s this one print I use a lot that’s just extreme close-up of sand and it’s way chicer than it sounds.
Mounting Hardware That Won’t Rust
Okay so funny story – I hung a beautiful metal print with regular hardware and within six months the screws had rusted and left orange streaks down my white wall. Had to repaint the whole section.
Now I only use:
- Stainless steel or coated screws
- Plastic anchors instead of metal ones
- Command strips for lighter pieces (yes really, the waterproof ones work great)
For anything over 10 pounds, I use stainless steel D-rings and picture wire. The wire should be coated or stainless too. You can get a pack of bathroom-safe hanging hardware for like $12 and it’ll last forever.
Wait I forgot to mention – some metal prints come with float mounts that hold them off the wall about half an inch. These are perfect for bathrooms because air can circulate behind the print. Prevents any moisture from getting trapped.
Cleaning and Maintenance
Most people don’t think about this but you gotta clean bathroom art. Moisture means dust and soap residue stick to everything.
Metal and acrylic prints: glass cleaner and microfiber cloth, done. I clean mine every couple weeks when I’m already cleaning the bathroom.
Wood pieces: barely damp cloth, no cleaning products unless the sealant is really heavy-duty. I usually just dust them.
Framed prints: depends on the glass/plexiglass, but generally just dust. Don’t spray cleaner directly on the frame if it’s wood.
The Ventilation Factor Nobody Talks About
Your bathroom ventilation makes a huge difference in what materials will survive. I have a client with this amazing spa bathroom but terrible ventilation – no window, weak exhaust fan. We had to be super careful about materials because the humidity just sits there.
If you’ve got good ventilation (window you can open, strong fan), you can be a bit more flexible with materials. If not, stick to metal and acrylic prints exclusively.
Color Temperature and Lighting
This might seem off-topic but the lighting in your bathroom changes how beach art looks. Cool LED lights make warm-toned beach scenes look muddy. Warm lights make cool blue ocean scenes look greenish.
I learned this when I couldn’t figure out why a print looked amazing in the store but weird in my bathroom – it was the lighting. Now I either:
- Match the color temperature of art to my lighting
- Use neutral-toned beach images that work under any light
- Install adjustable lighting (those smart bulbs where you can change warmth)
Budget-Friendly Options That Don’t Look Cheap
You don’t need to spend $300 on acrylic prints. Some options that actually work:
Metal prints from Costco’s photo center – surprisingly good quality, like $60 for a 20×30. I’ve used them in rental properties and they hold up.
Shutterfly or Nations Photo Lab during sales – they run 50% off constantly. Their metal prints are decent if you’re not super picky about perfect color calibration.
Pottery Barn and West Elm clearance sections online – I’ve found beach art for 70% off that’s already sealed and bathroom-ready.
Local art fairs – found some of my favorite pieces from local photographers who print on aluminum. Usually $80-150 and they’re unique.
DIY Sealing If You Already Have Prints
If you already have beach prints you love but they’re not bathroom-safe, you can seal them yourself. I’ve done this probably twenty times now.
Get a spray sealant – Krylon makes one specifically for moisture protection. Take the print outside (seriously, my cat freaked out when I did this inside once and knocked over the can), spray 3-4 light coats letting each dry completely. It’s not as bulletproof as professional sealing but it helps.
For canvas, you can also brush on a clear acrylic sealer. Takes longer but gives better coverage on the textured surface.
Styles That Work vs Styles That Feel Forced
Not every bathroom can pull off beach decor. I’ve walked into bathrooms where the beach art just feels random because nothing else in the space coordinates.
Beach art works best when:
- Your color scheme already includes blues, greens, whites, or sandy neutrals
- The fixtures are chrome or brushed nickel (looks coastal), not oil-rubbed bronze
- You’ve got natural materials elsewhere – wood vanity, stone counters, plants
- The overall vibe is clean and uncluttered
It feels forced when you’ve got a very traditional bathroom with ornate gold fixtures and dark wood and then boom, random beach print. Either commit to making the whole space more coastal or pick different art.
Multi-Panel Prints
Those split canvas prints where one image spans 3-5 panels? I have mixed feelings. They can look really dramatic with ocean waves or beach panoramas, but in bathrooms the spacing between panels creates more edges where moisture can seep in.
If you’re gonna do multi-panel, go for metal or acrylic panels, and make sure there’s good ventilation in that area. I did a three-panel wave print in a client’s bathroom last year (metal prints) and it looks incredible, but we also upgraded their exhaust fan first.
Seasonal Swapping
One thing I started doing in my own bathroom is having two sets of beach art – one for warmer months with brighter blues and more energetic waves, one for winter with softer grays and calm water scenes. They’re all metal prints so they store easily in my closet.
Is this extra? Absolutely. But it’s fun and keeps the space feeling fresh. Plus it’s cheaper than redecorating the whole bathroom when you get bored.
Where to Actually Buy Quality Pieces
After testing prints from probably thirty different sources:
Best overall quality: Fracture (for glass prints), Pictorem (metal prints)
Best budget: Costco Photo Center, Nations Photo Lab sales
Best unique pieces: Etsy shops that specialize in coastal photography, local art fairs
Best ready-made: Pottery Barn (overpriced but quality), CB2 (more modern)
Avoid: Random Amazon sellers unless they have tons of verified reviews with photos, HomeGoods wood prints (not sealed properly), cheap canvas from discount stores
The main thing is checking the return policy because colors can look different in person and you won’t know how something works with your specific lighting until it’s on the wall.