Wall Art Guide, Wall Art Tutoriels
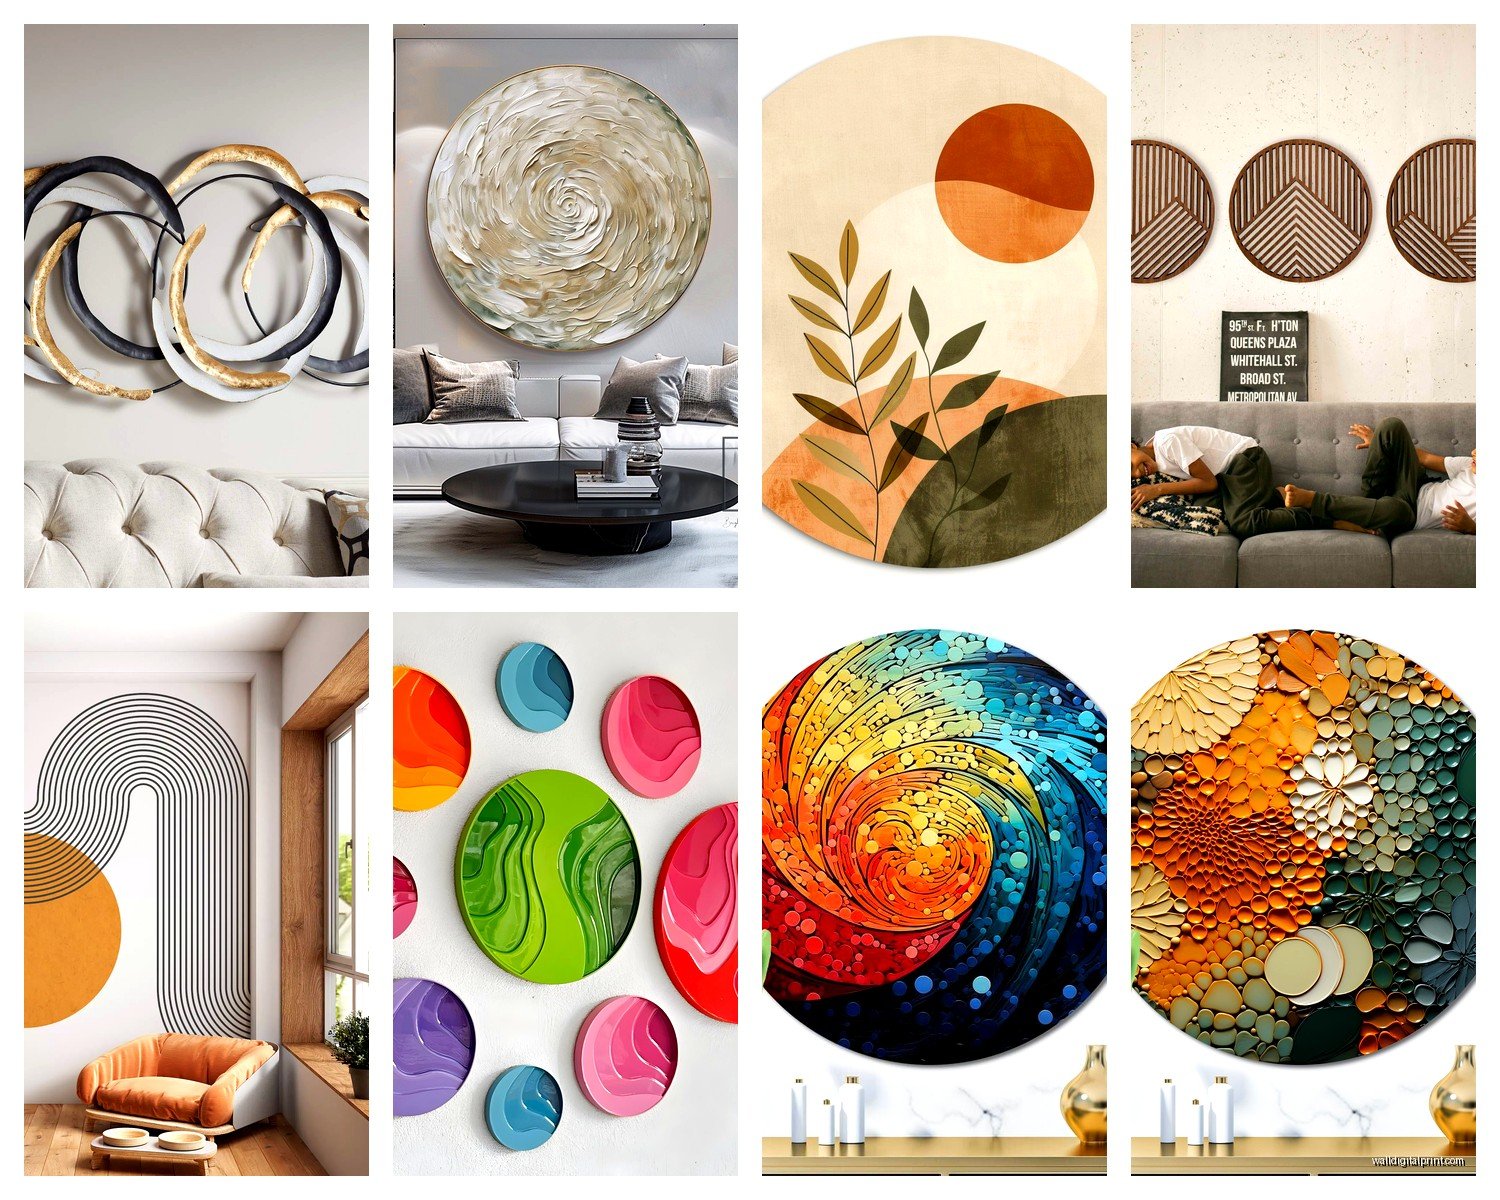
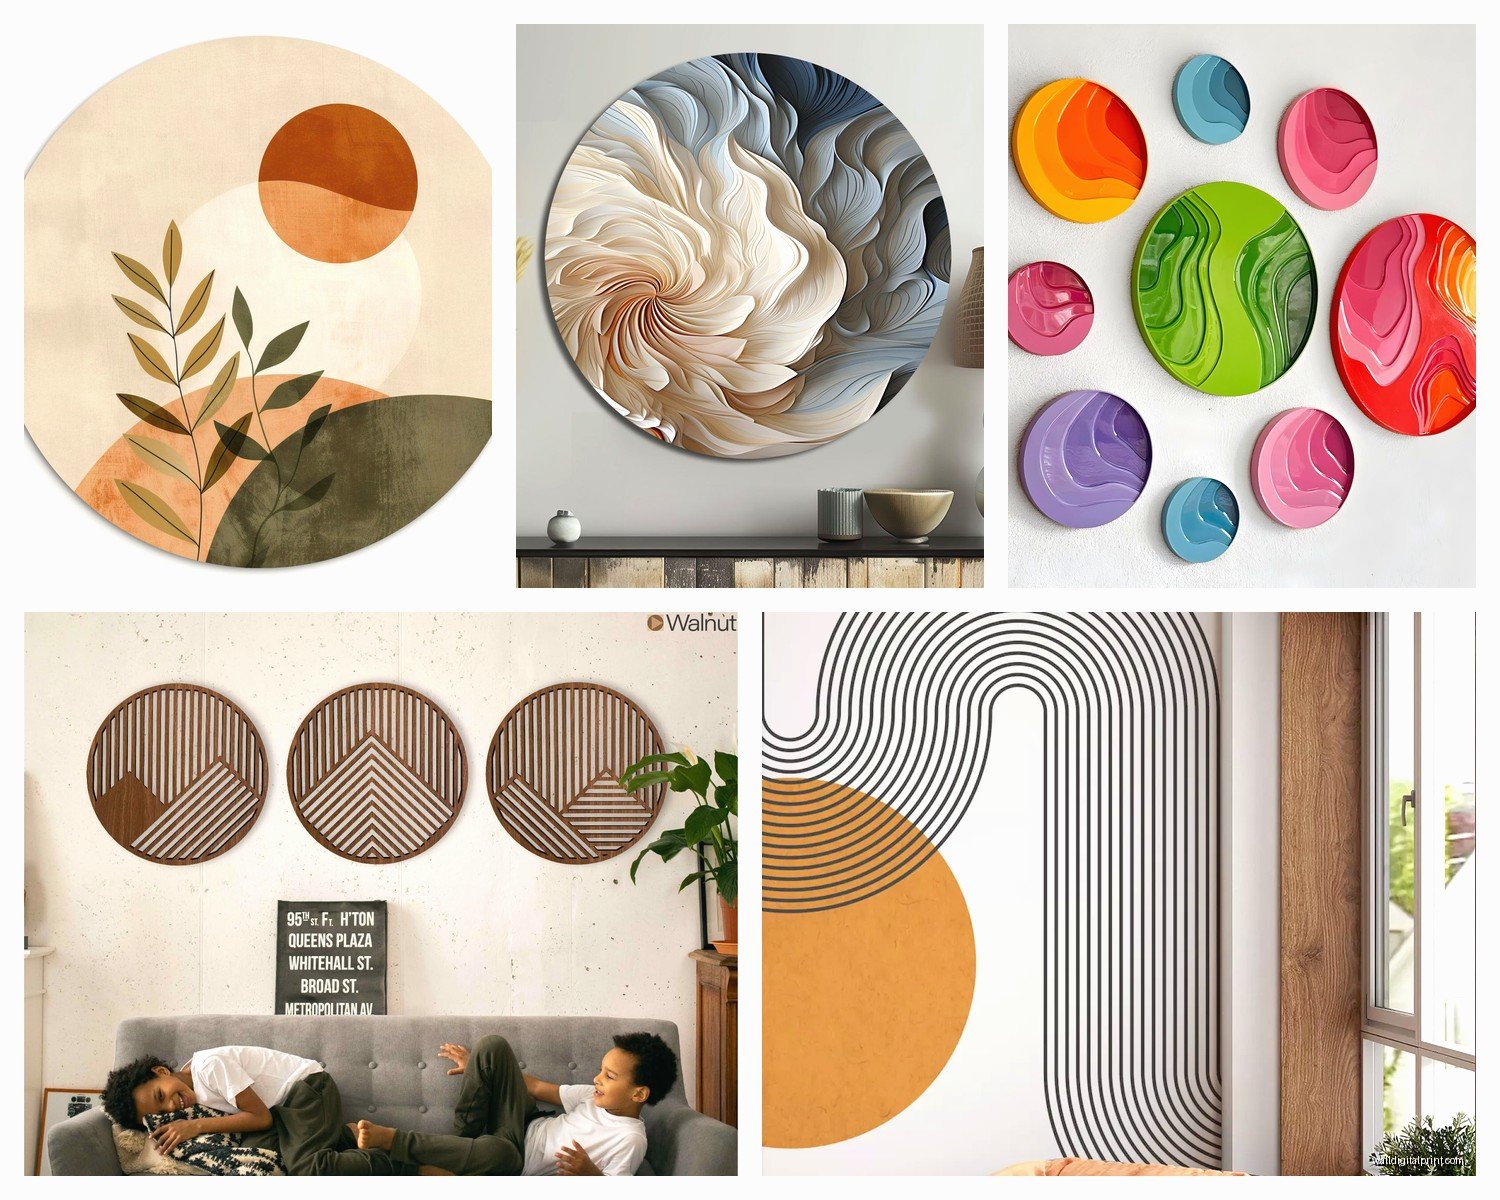
Circular Wall Art: Round & Radial Design Gallery
May
So I’ve been obsessing over circular wall art lately and honestly it’s kinda become my whole personality for the past month. My cat keeps knocking over my mood boards but whatever, I figured out some stuff that actually works.
Why Round Pieces Are Weirdly Harder Than You’d Think
Okay so here’s the thing nobody tells you – circular art is SO much trickier to hang than rectangular pieces because your eye has nothing to anchor to. Like with a rectangle you’ve got corners and straight edges that naturally align with your walls and furniture, but circles? They just float there and if you’re off by even two inches it looks wrong but you can’t figure out why.
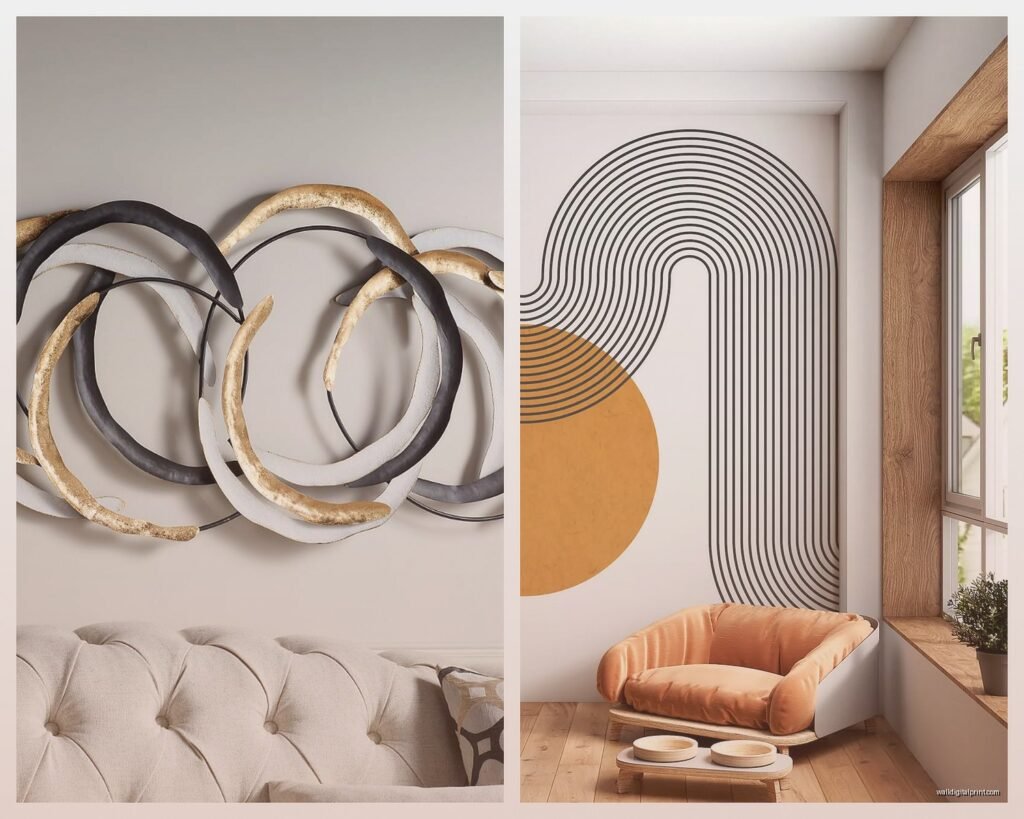
I learned this the hard way in my own living room where I hung this gorgeous round mirror above my console table and it looked… fine? But something was bugging me for WEEKS until I realized I’d centered it on the wall instead of centering it on the actual furniture piece below. Moved it three inches to the right and suddenly the whole room made sense.
The Size Thing That Everyone Gets Wrong
You’re gonna want to go bigger than you think. Like way bigger. I had a client last month who ordered this beautiful 18-inch circular canvas and when it arrived she was so disappointed because it looked tiny on her wall. The thing about circles is they don’t have that visual weight that rectangular art has, so they need extra diameter to make an impact.
My general rule now is:
- Above a sofa: go AT LEAST 30-36 inches diameter, honestly 40+ is better
- Gallery wall situation: mix sizes but your largest should be 24 inches minimum
- Small accent wall: 20-24 inches works
- Narrow hallway: 16-20 inches so it doesn’t overwhelm
The other day I was watching that renovation show (the one with the couple who flips houses in Austin?) and they used this massive 48-inch round piece and it was PERFECT. Sometimes you just gotta commit.
Hanging Multiple Circles Without Losing Your Mind
Oh and another thing – if you’re doing more than one circular piece, the spacing is critical. I use this weird method that probably sounds ridiculous but it works every time.
Get painter’s tape and make circles on your wall the same size as your art pieces. Move them around until it feels right, then measure the distances between them. You want at least 3-4 inches between pieces, but honestly 6-8 inches looks more intentional and less cluttered.
For a cluster of three circles, I almost always do an asymmetrical triangle layout. Two on the bottom, one on top, or vice versa. The symmetric straight-line thing rarely works because circles need more organic placement to feel natural.
Wait I forgot to mention – take photos of your tape layout before you commit! Your phone camera will show you stuff your eyes miss when you’re standing there staring at the wall for 45 minutes.
Mixing Circles With Other Shapes
This is gonna sound weird but mixing circular art with rectangular pieces is actually easier than doing all circles. The contrast helps both shapes stand out more.
I did this gallery wall in my office where I mixed two round pieces with three rectangular prints and one square, and the rounds became these natural focal points. The trick is to use the circles as your anchor points – place those first, then fill in around them with the angular pieces.
My favorite combo lately:
- One large circle (30-36 inches) as the centerpiece
- Four smaller rectangular pieces around it
- Keep everything within an invisible larger circle boundary so the whole arrangement has that radial feel
Where to Actually Buy This Stuff
Okay so you’re probably wondering where to find good circular art that doesn’t cost your entire paycheck. I’ve tested a bunch of sources and here’s what actually works:
Society6 has a ton of options and you can get the same design in different sizes, which is helpful when you’re trying to figure out scale. Quality is decent for the price point. Not gallery-level but totally fine for most spaces.
Etsy is hit or miss but when you find a good seller it’s GOLD. I’ve gotten some stunning handmade pieces there. Search for “round canvas art” or “circular wall art” and filter by your color scheme. Read the reviews though because some sellers use cheap printing methods that fade.
West Elm and CB2 have nice curated selections if you want something more upscale. Their stuff tends to be pricier but the framing quality is solid.
This is random but I also love checking HomeGoods and TJ Maxx. You have to dig but I’ve found incredible circular mirrors and art pieces for like $40. My client canceled last Tuesday so I spent an hour comparing the circular metal wall sculptures at HomeGoods and found this amazing brass sunburst thing that would’ve cost $300 elsewhere.
The Color Situation
Something I wish someone had told me earlier – the color palette in circular art reads VERY differently than in rectangular pieces. Because your eye travels around the circle, the colors blend together more optically.
What this means practically: bold contrasting colors in circular art can feel overwhelming. I usually go for either monochromatic circles or pieces with one dominant color plus neutral tones. Saves you from that dizzy feeling when you look at it.
Black and white circular photography is *chef’s kiss* though. The circular format emphasizes the tonal gradients and it works in literally any room style.
Radial Designs and Mandala-Type Stuff
Okay so radial designs are having a moment and I have Thoughts. These are the pieces with patterns that radiate out from a center point – think sunbursts, mandalas, geometric radials, that whole vibe.
They’re stunning but you gotta be careful about placement because they create a strong focal point. Like STRONG. Your eye gets pulled to the center immediately. This is great for:
- Above a bed as a headboard alternative
- In an entryway to draw people in
- As a meditation corner focal point
- Above a fireplace mantel
But NOT great for:
- Busy rooms with lots of pattern already
- Small spaces where it’ll overwhelm
- Next to other strong focal points that’ll compete with it
I made the mistake once of putting a detailed mandala piece in a room that already had patterned wallpaper and it was sensory overload. Moved it to a room with plain white walls and suddenly it was the most zen thing ever.
The Mandala Specifically
Real talk – mandalas can read very “college dorm 2015” if you’re not careful. To make them feel more sophisticated, go for:
- Muted colors instead of bright rainbow versions
- Metallic accents (gold, copper, silver)
- Larger scale (small mandalas definitely read younger)
- Framed properly in a substantial frame
Lighting Makes or Breaks This
Oh man, lighting is SO important with circular art and nobody talks about this enough. Because circles don’t have corners, shadows fall differently on them.
If you’re using picture lights, angle them carefully. I usually position them slightly above and in front of the piece rather than directly above. Creates this nice even glow instead of harsh shadows on the bottom curve.
Natural light is actually trickier with circles than rectangles. If you’ve got strong directional light from a window, it can create weird shadowing that emphasizes any imperfections in the mounting. Make sure your circle is PERFECTLY level (use an actual level, not your eyeball) or the shadows will betray you.
DIY Hanging Tips That Actually Work
Alright so hanging circles without a wire or sawtooth hanger on the back (which some come with, some don’t) requires a slightly different approach.
For lightweight pieces under 5 pounds, Command strips work surprisingly well on circles. Use two strips positioned at the “10 and 2 o’clock” positions rather than straight across horizontally.
For heavier pieces, you’re gonna need anchors if you’re not hitting a stud. I use these toggle bolt anchors that can hold up to 50 pounds and they’re a lifesaver. The key with circles is to position your hanging hardware where it won’t throw off the visual balance.
This sounds obvious but measure from the ceiling down rather than from the floor up. Floors are never level (seriously, check yours, it’s probably off) and you’ll end up with wonky placement.
Styling Around Circular Art
The furniture and decor around your circular art matters more than you’d think. Sharp angular furniture can create nice contrast, but you need SOME curves elsewhere in the room to echo the circular shape.
Easy ways to add curves:
- Round coffee table or side table
- Curved lamp bases
- Round throw pillows (sounds basic but it works)
- Arched doorways or windows if you’re lucky enough to have them
- Curved vases or decorative objects on shelves
I’m not saying go full circle-crazy, just like… two or three other round elements in the sightline helps everything feel cohesive.
The Unexpected Win: Bathroom Circles
Okay this is random but circular art in bathrooms is SO underrated. Bathrooms already have lots of curves (toilet, sink, tub) so circular art feels natural there. Plus bathrooms are usually small enough that you can get away with smaller pieces that might look dinky in a living room.
I hung a 16-inch circular pressed botanical print in my powder room and it’s the thing guests comment on most. Cost me $35 on Etsy.
What Doesn’t Work (Learned the Hard Way)
Okay so some things I’ve tried that were total fails:
Multiple circles of the same exact size in a row – looks too rigid and weird, like buttons on a shirt. Vary your sizes by at least 4-6 inches.
Tiny circles scattered randomly – just looks unfinished and messy. If you’re going small, group them tightly in a cluster.
Glossy finishes in bright light – creates glare spots that are super annoying. Matte or semi-gloss is way better for circles.
Hanging circles too high – the standard “57 inches to center” rule doesn’t always work with circles because they need to relate to your furniture. I usually go 6-8 inches above the furniture piece below, regardless of the “rules.”
My Current Favorite Looks
Just to give you some actual examples of what’s working right now:
Three graduated circles in the same color family, descending in size from left to right above a console table. Simple but SO effective.
One massive abstract circular canvas (like 42 inches) in navy and gold as a dining room focal point. Nothing else on that wall. Just that one statement piece.
A collection of vintage round mirrors in different finishes (brass, copper, silver) arranged asymmetrically in an entryway. Not technically “art” but creates the same effect.
Black and white circular photography prints of architectural details – these are everywhere right now and for good reason, they’re gorgeous and work with literally any style.
Anyway that’s basically everything I’ve figured out through way too much trial and error. The main thing is just to go bigger than your instinct tells you and actually use a level when you hang them because circles will betray even the slightest tilt.