Wall Art Guide, Wall Art Tutoriels
Round Wall Art: Circular Designs & Display Ideas

May
So I’ve been hanging round wall art for like six years now and honestly it’s one of those things that sounds simple until you’re standing there with a circle in your hand wondering why it looks so… wrong on the wall.
Why Round Art Actually Works Better Than You Think
The thing about circular pieces is they soften everything. I had this client last month who had the most angular modern apartment—all sharp corners and rectangular furniture—and we added three round pieces and suddenly the whole place felt less like a waiting room. Round art breaks up all those straight lines you’ve got going on with your doorframes, windows, shelves, whatever.
But here’s what nobody tells you: size matters SO much more with circles than rectangles. A round piece needs to be bigger than you think to have the same visual weight. I learned this the hard way in my own living room. Bought this gorgeous 16-inch circular print thinking it would work above my console table and it just looked like a decorative plate. Returned it, got the 30-inch version, perfect.
Figuring Out What Size You Actually Need
Okay so the formula I use is kinda loose but it works. For over a sofa, you want your round piece (or grouping) to take up about 50-60% of the sofa width. So if you’ve got a 90-inch sofa, you’re looking at something around 45-54 inches in diameter. That sounds huge but trust me.
Over a bed, go bigger. Like I usually do 36-40 inches minimum for a queen bed. My sister went with a 24-inch round above her king bed and we literally both stood there laughing because it looked like a frisbee someone threw at the wall.
For random wall spaces or galleries, you’ve got more flexibility, but I never go smaller than 20 inches unless it’s part of a bigger arrangement. Anything smaller just reads as “I couldn’t find the right size” rather than intentional design.
The Actual Measurements That Work
- Small spaces or tight wall areas: 20-24 inches
- Medium impact (hallways, above nightstands): 24-30 inches
- Statement pieces (living room, bedroom): 30-40 inches
- Drama level maximum: 40+ inches
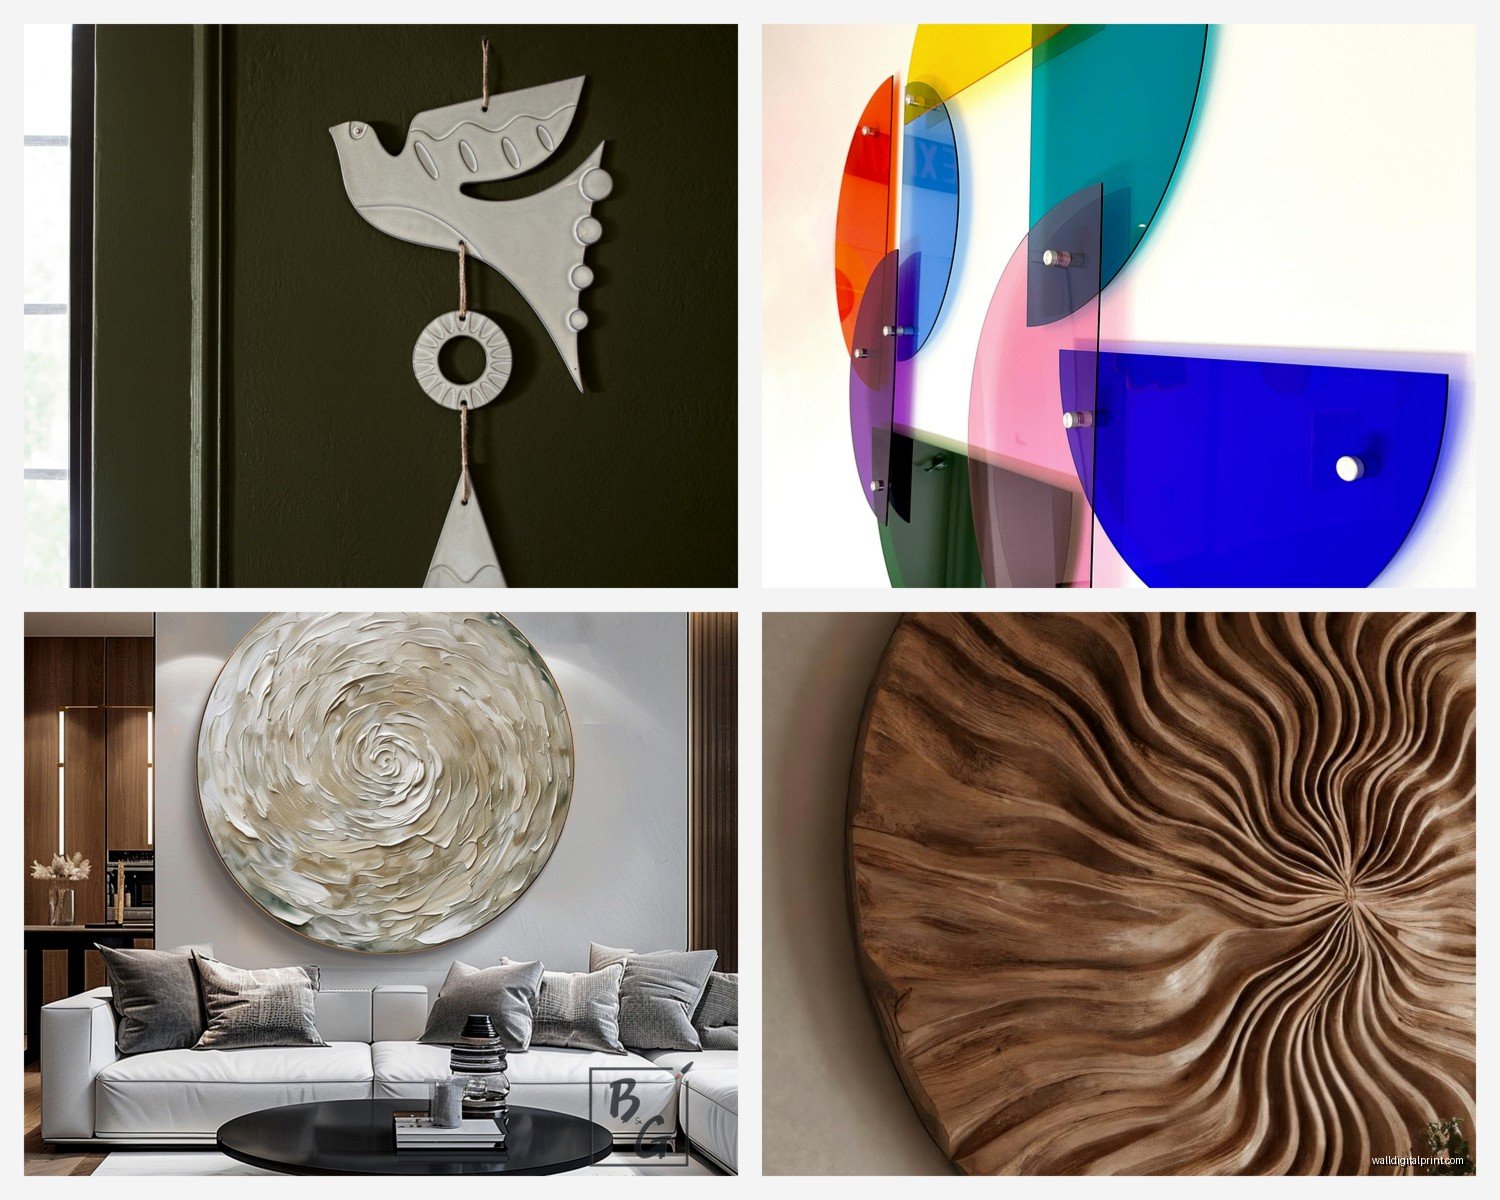
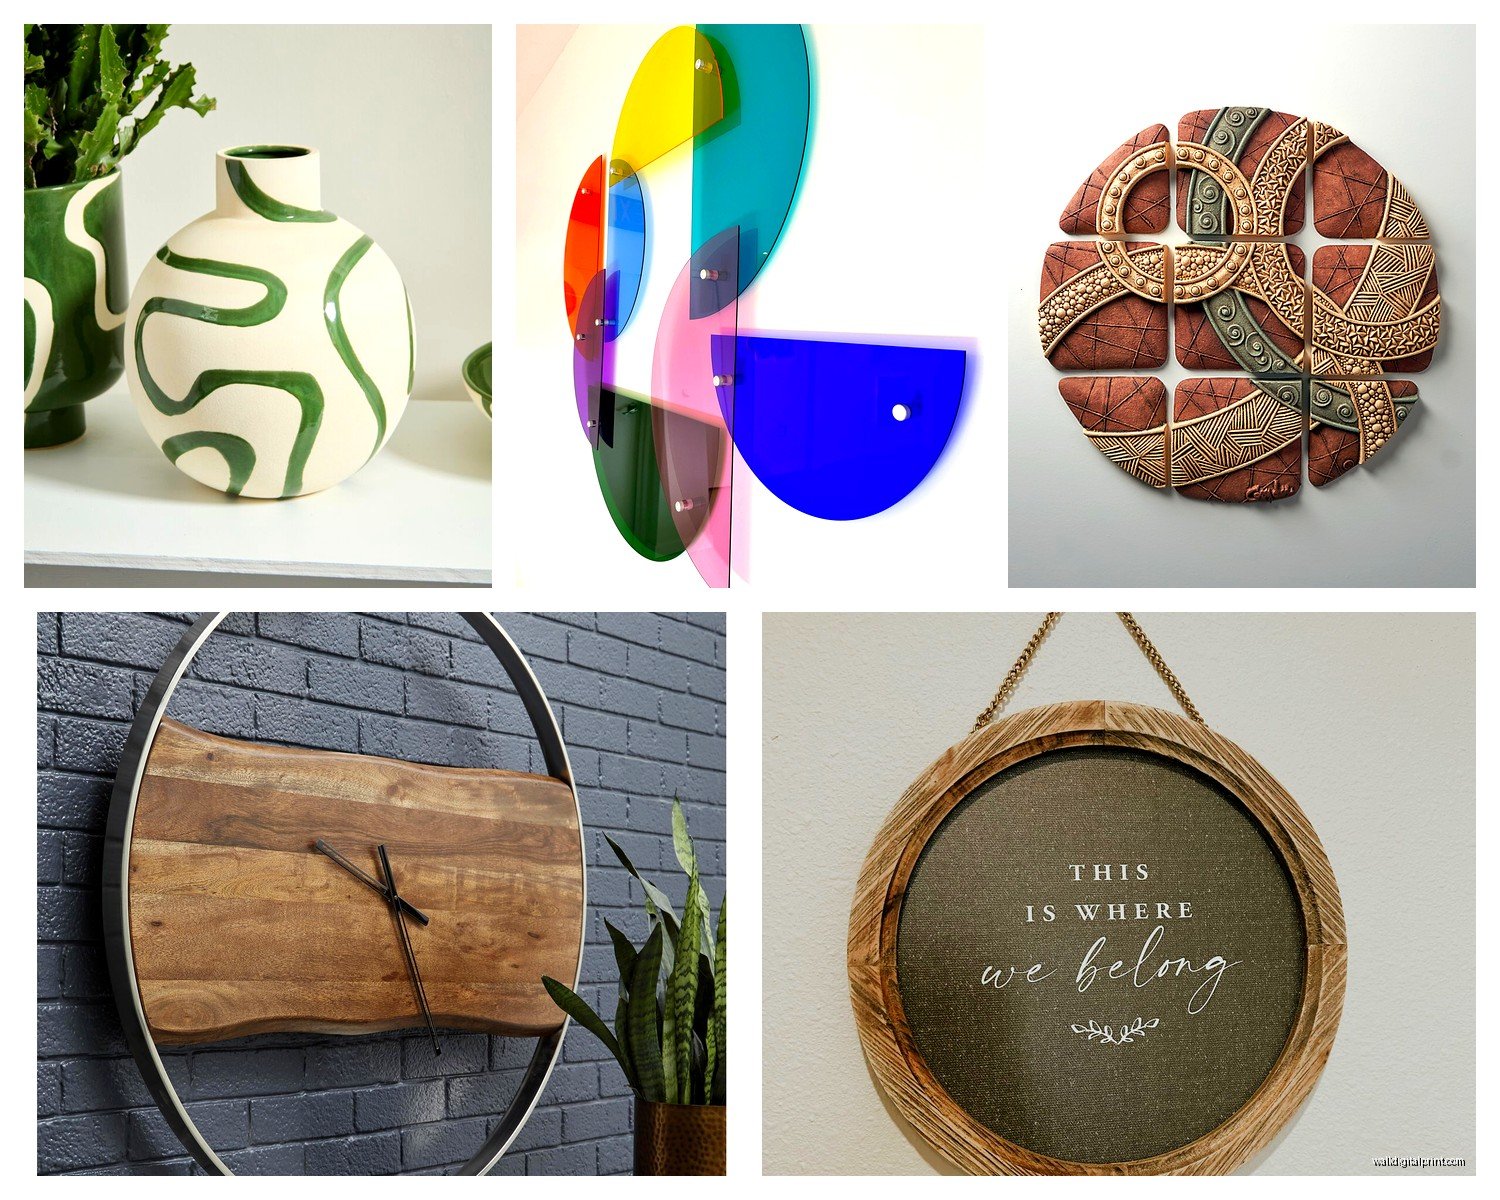
Materials and Textures I Keep Coming Back To
Canvas rounds are the easiest to hang because they’re lightweight. I’ve got probably fifteen of these in my storage unit right now for different projects. The wrapped edge thing works better on circles than rectangles somehow? Like the way the canvas curves around looks intentional.
Wooden round art is having a MOMENT right now. Carved wood, painted wood, whatever. I just installed this carved teak circular piece in someone’s entryway last week and every single person who comes over asks about it. The texture catches light differently throughout the day which sounds cheesy but it’s actually really cool. Only downside is they’re heavy. You’re gonna need proper anchors.
Metal rounds—okay so funny story, I was watching The Great British Baking Show while shopping online and accidentally ordered a 36-inch metal circle that was like $400 instead of the $150 one I meant to buy. Couldn’t return it (custom order), ended up using it in my dining room and it’s honestly my favorite piece now. Metal adds this industrial edge that keeps round art from feeling too soft or feminine.
Woven and rattan circles are perfect if you’re going for that boho-casual vibe. Lightweight, easy to hang, usually affordable. I see these everywhere on Instagram and they actually live up to the hype. My cat knocked one down once and it just bounced, didn’t even damage the wall.
Single Circle vs Multiple Circles (This Is Where It Gets Interesting)
One big circle is the safest move. Center it, hang it, done. But it can feel a little… boring? Not boring boring, just safe.
Multiple circles though—this is where you can get creative or mess it up completely. I’ve done both.
Groupings That Actually Work
The three-circle arrangement is classic. I do this probably once a month for someone. You want varied sizes—like 24″, 18″, and 14″ or something in that range. Arrange them in a triangle formation, not a straight line. The biggest one doesn’t have to be in the middle, actually I usually put it off to one side because asymmetry feels more modern.
Five circles in a cross pattern works great for bigger walls. One large center circle with four smaller ones around it, positioned like the five on dice. Sounds weird but it creates this focal point that’s really structured without being rigid.
The organic cluster is my favorite but hardest to execute. This is where you use like 5-7 circles of different sizes and just… arrange them. There’s no formula. I literally use painter’s tape to map out different configurations until something clicks. Sometimes takes me twenty minutes, sometimes takes an hour. Last month I spent way too long on this and missed my yoga class but the wall looked AMAZING so.
Hanging Methods Because This Is Where Everyone Struggles
Small rounds under 5 pounds—command strips are fine. I use them all the time in rentals. Get the ones rated for more weight than you need because walls are liars.
Medium rounds 5-15 pounds—picture hangers or wall anchors. If you’re going into drywall (which you probably are), use those threaded drywall anchors. The plastic ones that come with frames are garbage, throw them away.
Heavy rounds over 15 pounds—you need either a wall stud or serious anchors. I use toggle bolts for anything this heavy. They’re annoying to install but that art isn’t going anywhere.
The Actual Process
Mark your center point first. For above furniture, measure the furniture width, divide by two, mark that spot on the wall. Then measure up to your desired height (usually 6-8 inches above the furniture top).
For circles, you’re measuring to where the CENTER of the circle will be, not the top. This is different from rectangular art and I forget this ALL THE TIME.
Use a level. I know everyone says this but seriously. Your eye will lie to you about what’s straight. I’ve gotten into arguments with clients about whether something is level when I’m literally holding a level against it and they’re like “but it looks crooked” and I’m like “physics doesn’t care about your feelings.”
Color and Pattern Considerations
Neutral rounds (black, white, beige, wood tones) are the most versatile obviously. I keep a bunch of these on hand because they work in literally any room. If you’re just starting out or you’re not sure about your style yet, go neutral.
But colored rounds can be SO good. I did this thing recently where we used three coral-colored circles in a bathroom and it totally made the space. The trick with color is to pull it from something else in the room—a throw pillow, a rug, whatever. Don’t just add random colors.
Patterned circles (geometric, abstract, watercolor) work best as solo pieces. I find that grouping patterned circles together gets too busy unless the patterns are really similar in style and color palette. Like if you’ve got three watercolor circles in blues and greens, that can work. Three totally different patterns? Gonna look chaotic.
Room-Specific Ideas That I’ve Actually Done
Living Room: Large statement circle above the sofa is classic. Or do a big mirror in a round frame—this is technically not art but it has the same visual effect and makes the room feel bigger. I just did this in my own apartment actually because my living room is kinda small.
Bedroom: Round art above the bed is softer than rectangular art. Creates this calming vibe. I usually go for nature photography or abstract pieces here. Had a client who wanted a round world map above her bed and I was skeptical but it actually looked really good? Sometimes people’s random ideas work out.
Dining Room: Okay this is my favorite spot for round art because you’re echoing the shape of the table (if you have a round table) or breaking up the rectangles (if you don’t). I love a large textured piece here—carved wood or woven material. Something that creates conversation.
Entryway: Round mirror or art piece immediately softens that first impression. Entryways tend to be boxy and narrow so the curved shape helps. Keep it simple here, you don’t want to overwhelm.
Bathroom: Small rounds work great in bathrooms. Like 16-20 inches. Nature themes, abstract, botanical prints. Make sure it’s properly sealed if it’s near the shower because humidity will destroy regular prints. Learned that one the hard way.
Hallway: Gallery wall of different sized circles down a long hallway is really striking. I did this in my hallway with five circles ranging from 12 to 24 inches. Hung them at varying heights, not in a straight line. Gets so many compliments.
Budget Options That Don’t Look Cheap
You don’t need to spend $500 on round art. I mean you can, and some of it is worth it, but you don’t have to.
Large woven baskets from import stores work as wall art. Like those flat decorative baskets? Hang three of them, boom, you’ve got texture and dimension for under $100.
DIY painted rounds—get a round canvas from the craft store and paint it. Abstract art is forgiving. I did this when I was broke in my twenties and honestly some of those pieces are still hanging in my apartment.
Print shops online will print on round canvas for pretty reasonable prices. You upload your image (or use their designs) and they ship it ready to hang. I use this option for clients who want custom colors or specific images.
Thrift stores and estate sales sometimes have round mirrors that you can either use as-is or paint the frame. I’ve found some really good ones this way.
Common Mistakes I See Constantly
Hanging it too high. The center of your art should be at eye level, which is around 57-60 inches from the floor. Everyone hangs stuff too high. I don’t know why this is such a universal thing but it is.
Choosing too many different styles in a grouping. If you’re doing multiple circles, they need SOMETHING in common—color palette, style, frame type, whatever. Otherwise it looks like you just grabbed random circles and stuck them up there.
Ignoring the rest of the room. Your round art needs to relate to your space somehow. It doesn’t have to match exactly but there should be some connection—colors, style, vibe.
Forgetting about spacing in groupings. Circles need 2-4 inches between them depending on size. Too close and they look cramped, too far and they look unrelated.
Where to Actually Buy This Stuff
I source from all over the place honestly. Etsy has amazing handmade and custom options. West Elm and CB2 for more modern styles. World Market for affordable woven and imported pieces. Local artists if you want something unique—I always check Instagram for local creators.
Online print services like Printful or Minted will do custom rounds. Target actually has decent affordable options now. HomeGoods is hit or miss but sometimes you find something perfect.
wait I forgot to mention—if you’re buying online, really look at the dimensions in the photos. I’ve ordered things that looked huge in the listing photo and arrived tiny. Check the measurements against something you have at home for reference.
Mixing Round Art with Other Shapes
This is totally doable but you gotta be intentional. I usually do one round piece with several rectangular pieces in a gallery wall. The circle becomes the focal point and the rectangles support it.
Or you can do all rounds on one wall and rectangles everywhere else. This creates zones in your space which can be really effective in open floor plans.
What doesn’t work is randomly mixing shapes with no plan. Like one rectangle, one circle, one square all the same size in a row. That’s just confusing to look at.
Maintenance and Switching Things Up
Dust your round art regularly especially if it’s textured. I use a microfiber cloth or a duster. For wooden pieces, occasionally use wood polish.
I swap out my round art seasonally sometimes. Not like full seasonal decor mode, but I might switch from a bright colorful piece in summer to something more muted in winter. This is easier with lightweight pieces obviously.
If you get tired of a piece, move it to a different room before you get rid of it. I’ve had art that I hated in my bedroom but loved in my hallway. Location matters.
Okay so that’s basically everything I know about round wall art from actually doing this constantly. The main thing is just to try stuff—use painter’s tape to mock things up, take photos from different angles to see what works, don’t be afraid to move things around until it feels right. And go bigger than you think you need because tiny circles just look sad on most walls.