Wall Art Guide, Wall Art Tutoriels
Drake Wall Art: Hip Hop Rapper Music Fan Decor

Jun
So I’ve been down this exact rabbit hole with Drake wall art because honestly, my nephew asked me to help design his gaming room and he’s obsessed with Drake, and I was like okay, how do we make this look intentional and not like a teenager’s bedroom circa 2015, you know?
The Main Types You’ll Actually Find
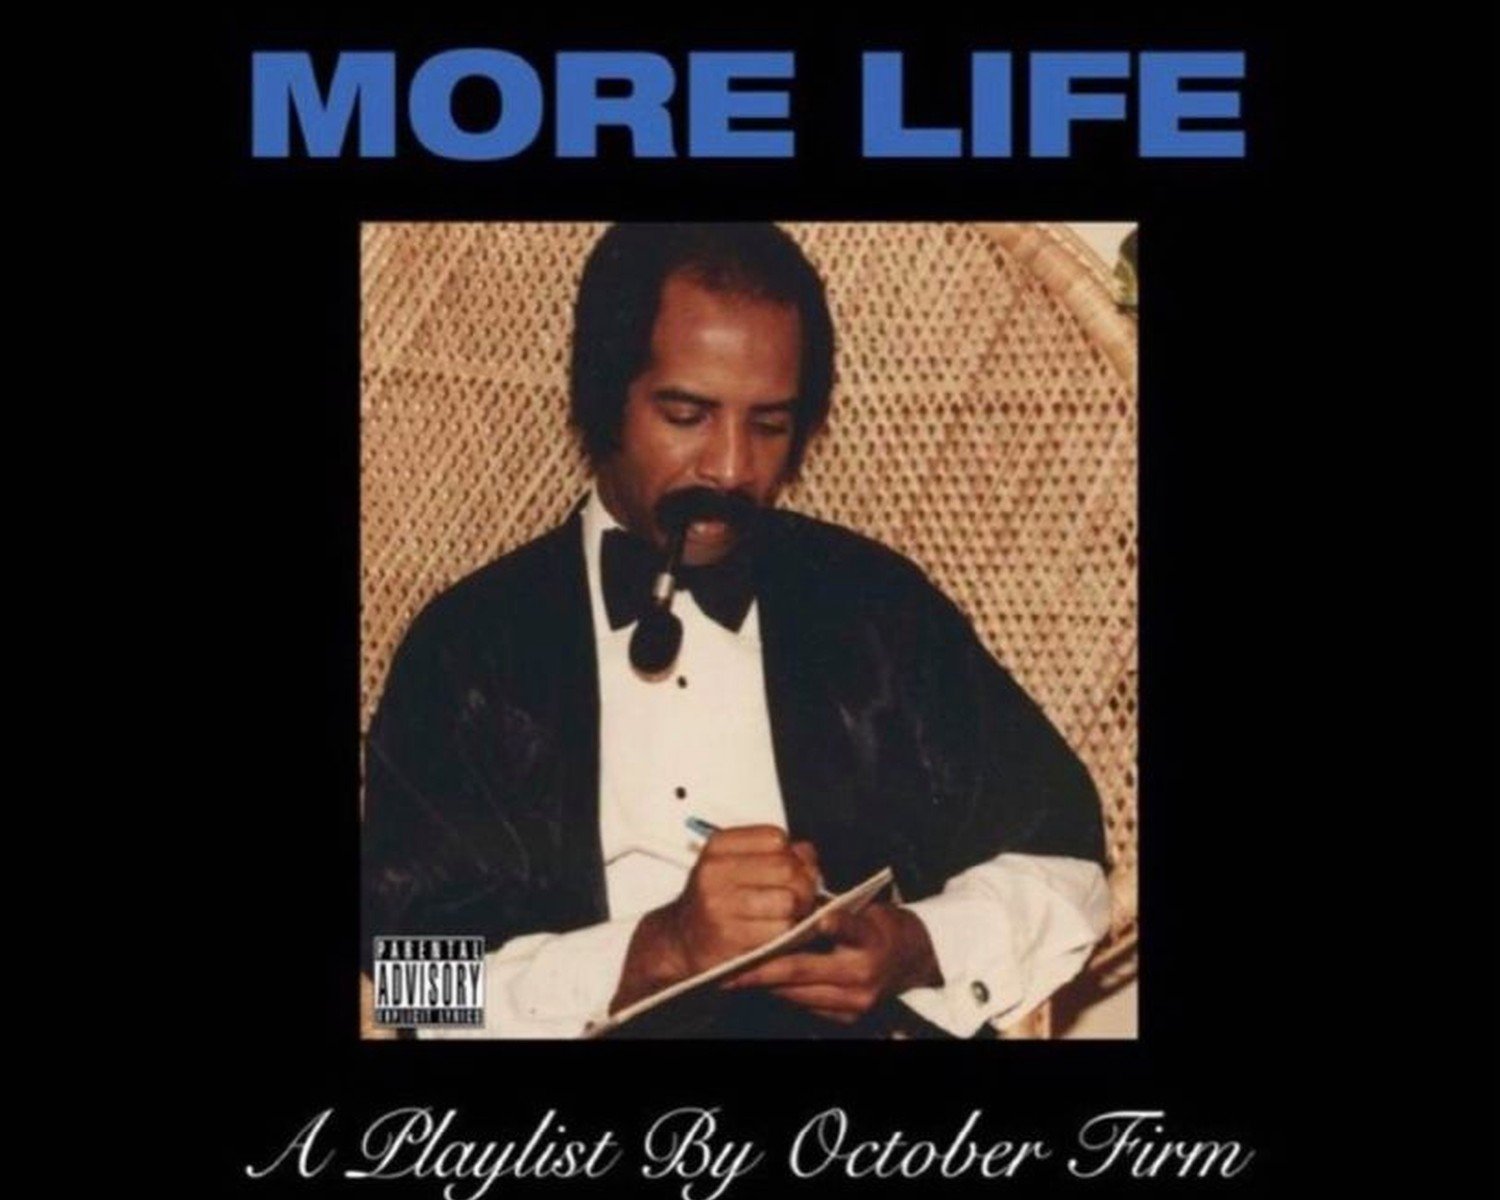
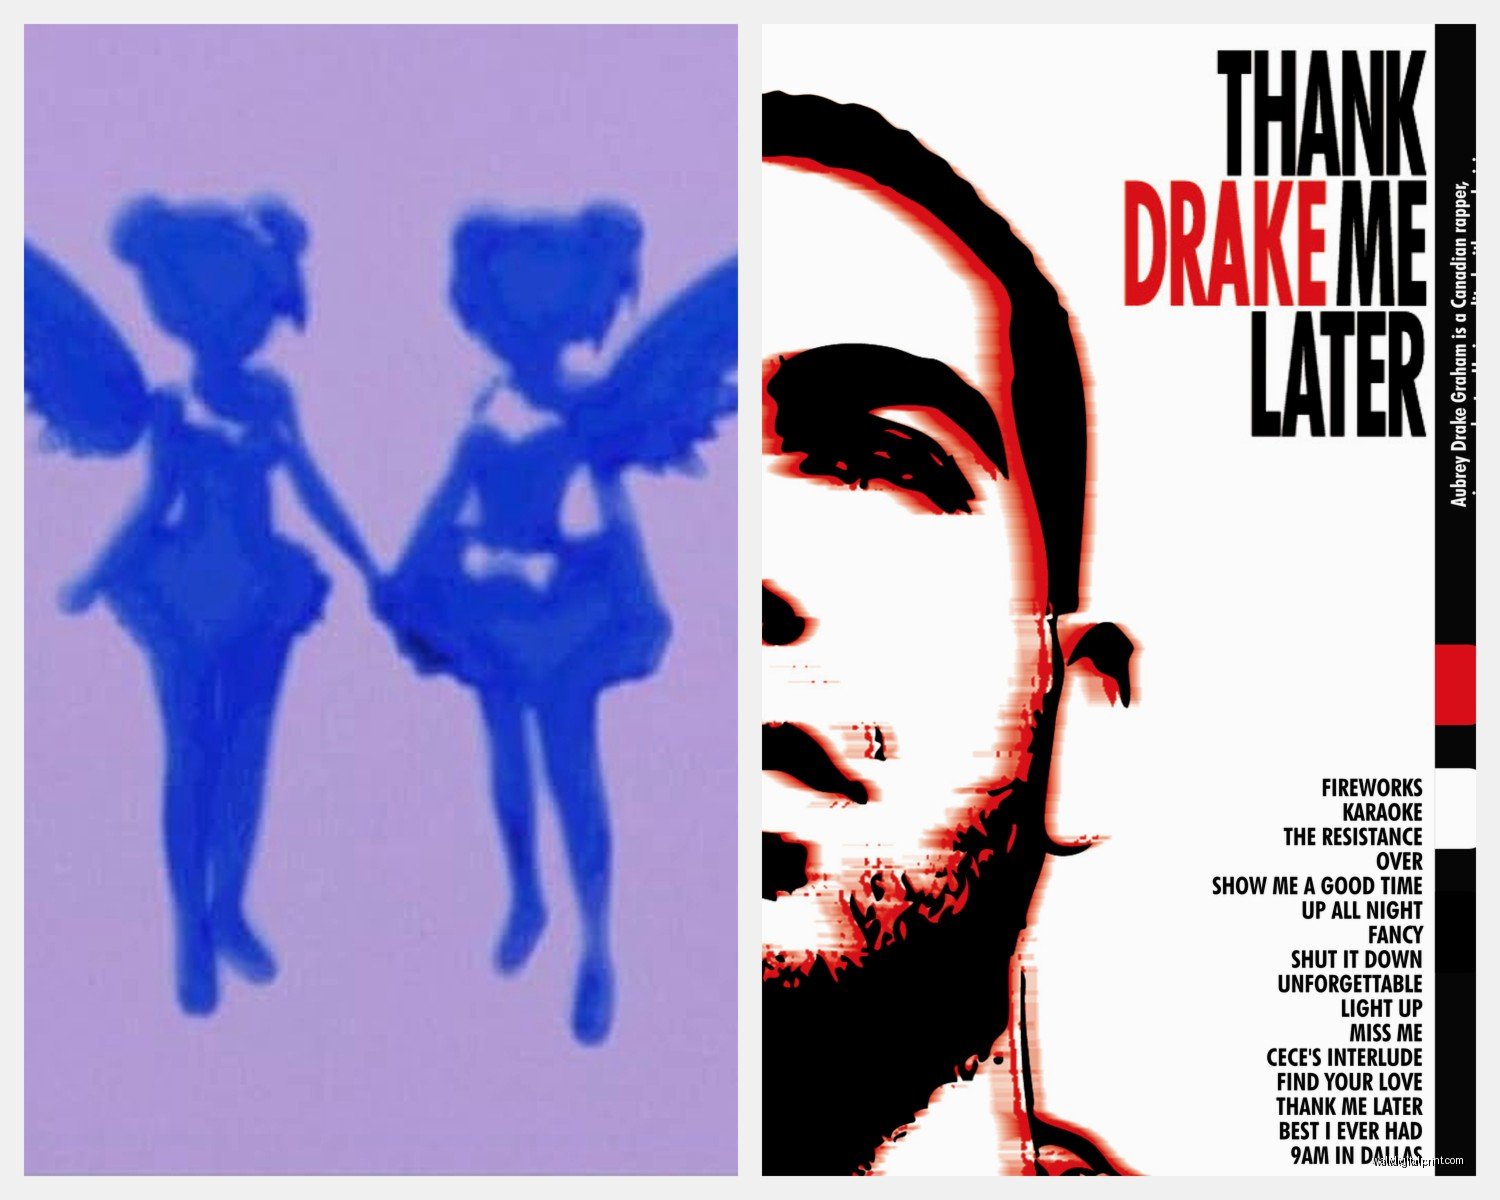
First off, there’s like four main categories of Drake wall art and they all give totally different vibes. You’ve got the concert posters and album covers, which are the obvious ones. Then there’s abstract/minimalist prints that just have lyrics or his silhouette. Third is the photo canvas prints, which can look really sophisticated if you pick the right ones. And lastly there’s the vintage-style posters that make it look more like collectible art instead of just fan merch.
The album cover prints are probably the easiest to work with design-wise because they’re already composed as art pieces. Nothing Was The Same with that side profile, Take Care with the gold aesthetic, Views with him sitting on the CN Tower. These already have color palettes built in that you can pull from for the rest of the room.
Where To Actually Buy This Stuff
Okay so I spent way too much time comparing prices and quality because my client budget was tight. Etsy is gonna be your best bet for unique stuff and custom work. You can find artists who do really cool minimalist interpretations or typography pieces with lyrics. The quality varies wildly though, so you gotta read reviews and check if they’re printing on actual canvas or just poster paper.
Redbubble and Society6 are solid for mid-range stuff. They print on demand which means you’re not getting some mass-produced thing that everyone has. I ordered a “Started From The Bottom” lyric print from Society6 and the quality was actually better than I expected. They have sales pretty regularly too, like wait for a 20% off weekend.
Amazon has a ton of options but it’s hit or miss. I ordered one canvas print that looked great in the photos and it arrived looking like someone printed it on a home inkjet printer. But I’ve also gotten some decent framed prints there. Just avoid anything under $25 because it’s gonna look cheap in person.
Oh and another thing, Displate does metal posters which sound weird but they actually look super modern and clean. My nephew’s friend has one and it doesn’t have that college dorm energy at all. They’re magnetic too so no nail holes.
Size Actually Matters More Than You Think
This is where people mess up the most. You can’t just throw any size anywhere and expect it to look good. I learned this the hard way when I ordered a 16×20 for above his desk and it looked like a postage stamp on the wall.
For above a bed or couch, you want something substantial. At least 24×36 or bigger. I usually tell people the art should take up about two-thirds to three-quarters the width of the furniture below it. So if you’ve got a queen bed that’s 60 inches wide, you want your art to be around 40-45 inches wide minimum.
For a gallery wall situation, you can mix smaller pieces but you still need at least one anchor piece that’s bigger. I did a setup with one 24×36 Take Care album cover as the center, then surrounded it with four 11×14 prints of different Drake eras. Looked way more curated than just slapping up a bunch of same-size posters.
Single prints in the 18×24 range work good for hallways or smaller wall spaces, like next to a door or in a narrow section between windows.
The Frame Situation
Okay so this is gonna sound bougie but frames make such a huge difference. An unframed poster just looks unfinished, even if you use those poster hangers. Canvas prints can work without frames if they’re gallery wrapped, which means the image continues around the edges.
Black frames are your safest bet because they work with literally any color scheme. I get most of my frames from Michael’s when they have their 50% off sales, or honestly IKEA frames are perfectly fine for this. Their Ribba and Fiskbo frames are cheap and look clean.
If you want it to feel more elevated, go with a floating frame or a thin gold/brass frame. I did a gold frame around a black and white Drake portrait print and it made it look like actual art gallery material instead of music merch.
Making It Look Intentional Not Obsessive
Here’s the thing, you can love Drake without making your space look like a shrine, right? The key is mixing it with other elements so it feels like part of a cohesive design instead of just fan worship.
Pair Drake art with other hip hop artists or musical references. I created a whole music-themed wall with Drake, a vintage Tribe Called Quest poster, and some abstract sound wave art. It told a story about loving hip hop culture, not just one artist.
Use consistent framing across all your pieces even if the art itself is different styles. All black frames or all natural wood frames will tie everything together visually.
Incorporate the color palette from the Drake art into other decor. If you’re using the gold tones from Take Care, add some gold accents in your lighting or furniture hardware. The pink from Hotline Bling era? Throw pillows or a small accent chair.
Wait I forgot to mention, my cat literally knocked over my coffee while I was hanging prints last week and it was a whole thing, but anyway…
Lyric Prints vs Photo Prints
Lyric prints tend to look more sophisticated and less “teenage bedroom.” Something like “Started From The Bottom” or “Know Yourself” lyrics in nice typography can pass as motivational art to someone who doesn’t even know Drake. I used a minimalist print that just said “The 6ix” in clean sans-serif font and my client’s mom didn’t even realize it was Drake related.
Photo prints need to be high quality or they look tacky fast. Black and white photography works better than color for this. There’s something about a well-shot black and white portrait that reads as artistic rather than celebrity worship. I found this amazing print on Etsy of Drake in the studio, shot from behind, all in black and white. Could’ve been any artist creating music, which made it feel more universal.
Color Scheme Planning
If you’re starting from scratch, pick your main Drake piece first and build around it. Views artwork has those cool blue and orange tones. Nothing Was The Same is gold and black. Scorpion is more neutral with beige and white.
For a masculine space, stick with blacks, grays, and one accent color pulled from the artwork. My nephew’s room was black walls (bold choice but it worked), dark gray furniture, and we used the gold from Take Care as the accent in frames, a desk lamp, and some small decor pieces.
If you want something more vibrant, the Hotline Bling aesthetic gives you pinks, purples, and blues to work with. This actually works really well in a more eclectic or modern space.
Monochrome is always safe. All black and white Drake prints with black frames on white walls looks clean and gallery-like. You can’t really mess this up.
Gallery Wall Layouts That Actually Work
Okay so gallery walls seem complicated but there’s basically three layouts that work every time. Grid layout is the easiest, everything’s the same size in a perfect grid pattern. Super clean and modern. I did this with six 12×16 prints, three across and two down.
The salon style is more organic, different sizes clustered together. This is what I did for my nephew. Started with the biggest piece in the center, then built outward with smaller pieces. Pro tip: lay everything out on the floor first and take a picture, then recreate that on the wall.
The linear layout is just pieces in a straight horizontal line, which works great above a couch or console table. Keep them at the same height even if the sizes vary.
Hanging Tips Because I’ve Messed This Up
Eye level is around 57-60 inches from the floor to the center of the artwork. That’s the museum standard and it actually does look best. When I hang things too high, the room feels off even if I can’t immediately tell why.
Use a level, seriously. I’ve tried to eyeball it and it’s never quite right. My phone has a level app built in which works in a pinch.
For gallery walls, use painter’s tape to mark out where each piece goes before you start hammering nails. Saved me so many extra holes in the wall. You can also make paper templates of each frame size and tape those up to visualize the layout.
Command strips work for lighter frames and you don’t have to put holes in the wall. I use them in rentals all the time. Just make sure you follow the weight limits or you’ll have art crashing down at 3am, which definitely hasn’t happened to me multiple times…
Budget Breakdown
If you’re going cheap, you can do a whole setup for under $100. Print your own posters from high-res images online, get frames from IKEA or the dollar store, and do a simple layout. It won’t look as polished but it’s functional.
Mid-range is $200-400. Buy quality prints from Etsy or Society6, get decent frames from Michael’s or Target, maybe one or two canvas pieces. This is the sweet spot for looking intentional without breaking the bank.
High-end is $500+. Custom framing, original artwork, metal prints, large-scale canvases. This is if you want it to look like a designed space, not just decorated.
Common Mistakes I See All The Time
Hanging things too high, I already mentioned this but it’s the biggest one. Art that’s too high makes your ceilings look lower and the whole room feels awkward.
Buying prints that are too small for the space. Bigger is almost always better. You want impact.
Not considering the lighting. Art needs good lighting to look its best. I added a picture light above my nephew’s main piece and it made such a difference. Even just making sure there’s a lamp nearby helps.
Mixing too many different frame styles. Pick a lane and stick with it.
Forgetting about the rest of the room. The art should complement your furniture and colors, not fight with them. If your room is already really busy with patterns, go for simpler art. If your room is minimalist, you can do bolder pieces.
Oh and another thing, don’t put art where it’ll get damaged. I had someone put a canvas right above their radiator and the heat warped it over time. Also avoid direct sunlight if you can because prints will fade.
The whole process took me about three weeks from planning to final install, but most of that was waiting for shipping and finding the right pieces. Once you have everything, you can get it up on the walls in an afternoon. Just measure twice, hammer once, and don’t be afraid to rearrange if something doesn’t look right the first time.