Wall Art Guide, Wall Art Tutoriels
Acrylic Glass Wall Art: Plexiglass Transparent Modern Prints
Aug
So I’ve been working with acrylic glass prints for like three years now and honestly they’re one of those things that look way more expensive than they actually are, which is why half my clients end up obsessed with them after I install one piece.
The thing about acrylic wall art is it’s basically your image printed and then mounted behind a sheet of plexiglass. That glossy front surface gives everything this depth that regular canvas just… doesn’t have. It’s like the difference between looking at a photo on your phone versus looking at it printed on matte paper, you know?
What Makes Acrylic Different from Everything Else
Okay so the construction matters way more than people think. You’ve got the printed layer which can be either directly printed on the back of the acrylic (direct print) or printed on photo paper/metallic paper and then face-mounted to the acrylic. Face-mounted is gonna give you richer colors because the print quality is better, but direct prints are more affordable and still look really good for most situations.
The thickness changes everything too. I usually go with 1/4 inch (6mm) for anything under 24×36 inches. But if you’re doing a statement piece that’s like 40×60 or bigger, you want 3/8 inch or even 1/2 inch because otherwise it can bow slightly over time, especially in humid environments or near windows.
The Transparency Thing Everyone Gets Confused About
When people say “transparent acrylic prints” they usually mean one of two things. Either they want a print where the background is literally transparent so you can see the wall color through it (which is cool for logos or silhouette art), or they’re just talking about regular acrylic prints which have that glass-like clarity on the surface.
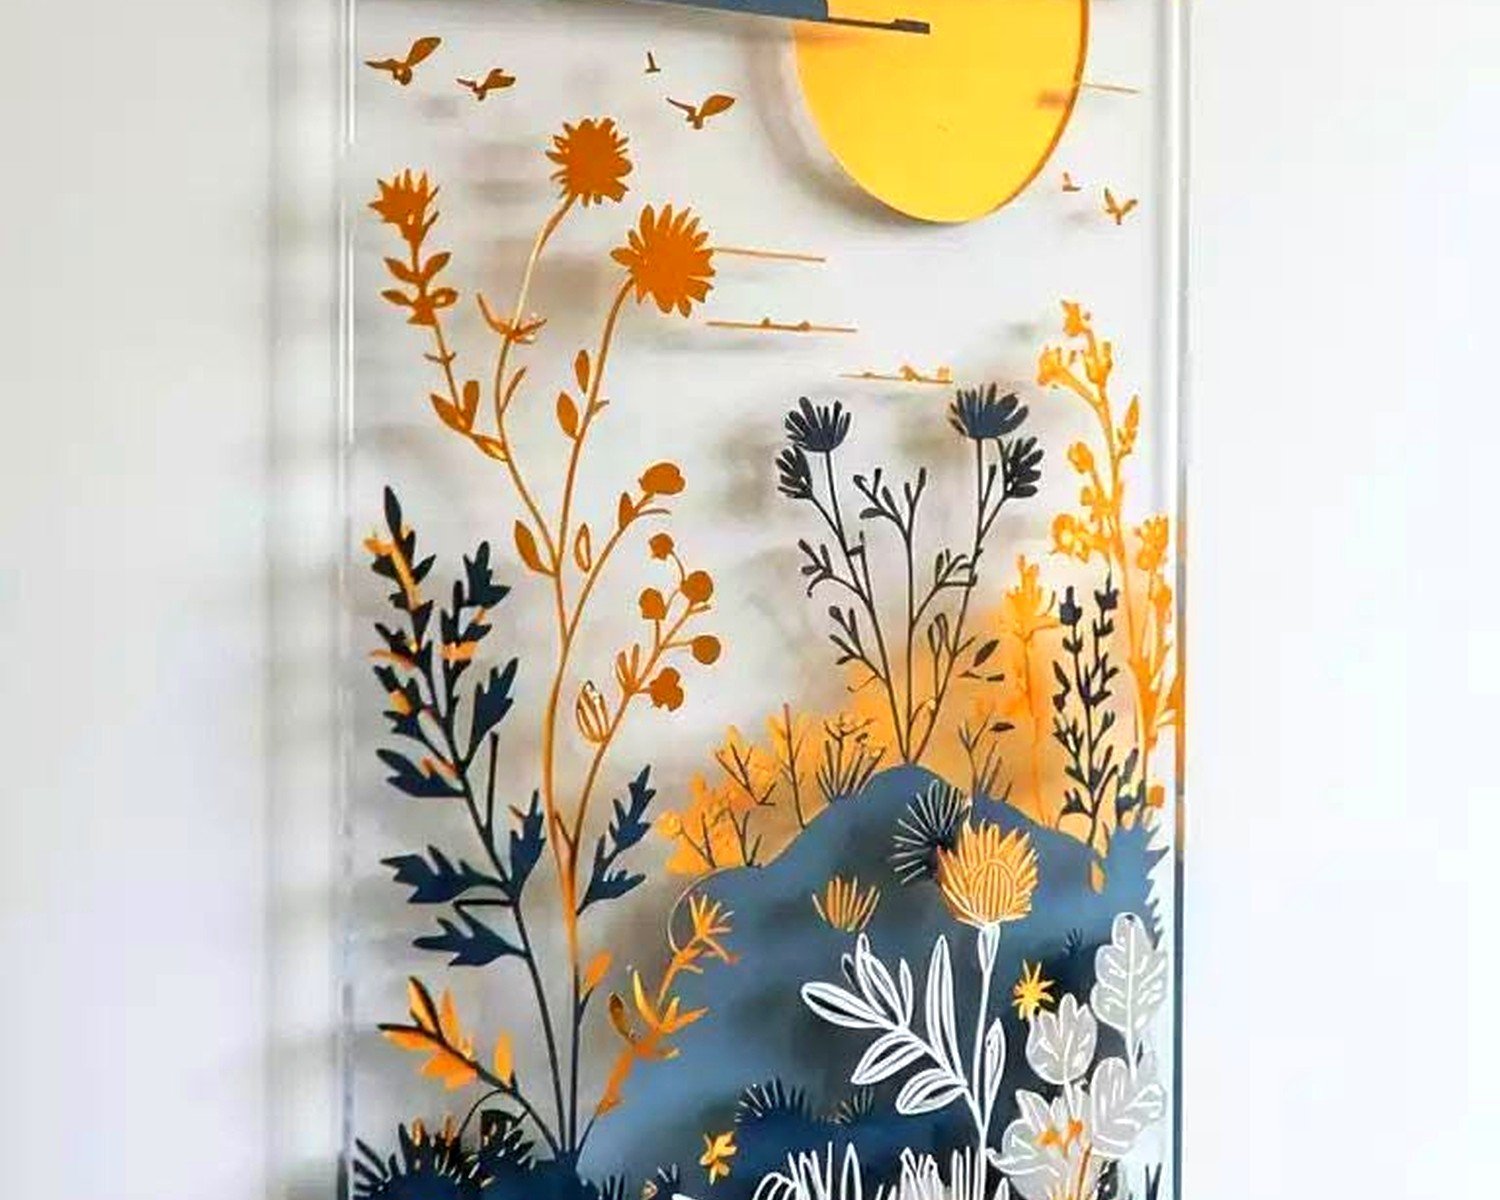
For actual transparent backgrounds, you gotta make sure your image file has transparency built in, like a PNG with no background. I did this for a client’s bathroom with these abstract leaf silhouettes and the wall color showing through made it look so custom. But here’s the thing… not all printing companies can do true transparent backgrounds on acrylic, so you need to specifically ask before ordering.
Where to Actually Buy These
I’ve tested probably a dozen companies at this point. My cat knocked over my coffee while I was comparing samples last month and I’m still finding prints under my desk, but anyway.
For budget-friendly options:
- Shutterfly and Nations Photo Lab do decent acrylic prints, especially when they have sales
- Quality is good enough for residential spaces, maybe not for like a corporate lobby
- Turnaround is usually 1-2 weeks
For professional grade:
- Fracture is my go-to for smaller pieces, their edge printing is really clean
- Acrylic Art Prints (the company is literally called that) does custom sizes without the insane upcharges
- WhiteWall if you want museum quality and have the budget for it
I’ve had clients order from Amazon too and honestly… it’s hit or miss. The prints themselves can be fine but the mounting hardware is usually garbage and you’ll need to replace it anyway.
Choosing Your Image
This is gonna sound weird but you want images with contrast and saturation. Acrylic makes everything more vibrant because of how light refracts through it, so those moody, desaturated aesthetic photos everyone loves on Instagram? They can look kinda flat on acrylic.
Bold colors, high contrast, strong composition, that’s what works. I learned this the hard way when a client insisted on printing this beautiful but subtle watercolor landscape and when we hung it, it just didn’t have the impact we wanted. We ended up swapping it for a vibrant abstract piece and the difference was night and day.
Resolution Requirements
You need at least 150 DPI at the final print size, though 300 DPI is better. If you’re working with digital art or photos from your phone, check the actual pixel dimensions. For a 24×36 print at 150 DPI you need 3600×5400 pixels minimum.
Most printing companies have calculators on their sites but I always double-check because I’ve seen them accept orders that are gonna print blurry and then act surprised when customers complain.
Installation and Hanging
Oh and another thing, the hanging system matters SO much. Acrylic is heavier than canvas, like significantly heavier. A 24×36 acrylic print can weigh 8-12 pounds depending on thickness.
Mounting options:
Standoff mounts are those metal posts that hold the acrylic about an inch off the wall. They look super modern and gallery-like but you need to drill into your wall and they’re permanent basically. I use these for clients who own their homes and want that floating effect.
French cleats are my favorite for larger pieces. Super secure, distributes weight evenly, and you can remove the piece if you want to move it. The cleat system is two interlocking pieces, one on the wall and one on the back of the print.
Standard wire hanging works for smaller pieces but make sure you’re using proper wall anchors. I’ve seen acrylic prints rip right out of drywall with those cheap plastic anchors. Use toggle bolts or molly bolts, trust me.
Wait I forgot to mention, some companies offer float mounting where the acrylic sits in a shallow frame that holds it from the edges. This is good if you want the modern look but don’t want to drill standoff holes in your wall.
Caring for Acrylic Prints
Acrylic scratches easier than glass, which people don’t realize. Don’t use paper towels or rough cloths to clean it. I keep microfiber cloths and either special acrylic cleaner or just diluted dish soap.
The static charge is real too. Acrylic attracts dust like crazy, especially in dry environments. I usually wipe down my client’s pieces every few months during maintenance visits, takes like two minutes but makes a huge difference.
Never use Windex or anything with ammonia because it can cause micro-cracks over time. Found this out when a client cleaned hers with whatever was under her sink and after six months it had this weird cloudy look that couldn’t be fixed.
Best Locations in Your Home
Acrylic looks incredible in bathrooms because it’s moisture-resistant and that glossy surface works with the other reflective elements. I did a series of three acrylic botanical prints in a powder room last year and the client still sends me photos when people compliment them.
Kitchens are tricky because grease and cooking splatters, but if you’re putting it away from the stove area it’s fine. Just gonna need more frequent cleaning.
Living rooms and bedrooms, obviously yes. The light reflection thing is important though… if you hang acrylic directly across from a window, you might get glare at certain times of day. I usually position them on perpendicular walls to windows or in spots where natural light hits them at an angle.
The Lighting Situation
Okay so funny story, I installed this gorgeous acrylic sunset print in a client’s dining room and didn’t think about their overhead lighting. The reflection of the chandelier was right in the center of the image and you could barely see the actual print. We ended up adding picture lights above it instead and dimming the overhead fixture during dinner.
If you’re using accent lighting, LED picture lights work great. The focused beam hits the acrylic and makes the colors pop without creating that overall surface glare.
Size and Proportion Guidelines
For above a sofa, you want your acrylic print to be about 2/3 the width of the furniture. So if your couch is 84 inches wide, you’re looking at around 56 inches of art width. You can do this as one large piece or a diptych/triptych.
Single statement pieces work best at 30×40 or larger. Anything smaller and acrylic doesn’t have the same impact, might as well just do a framed print honestly.
Gallery walls with multiple acrylic pieces look really modern but you gotta be careful with the weight distribution. I don’t usually recommend more than 4-5 acrylic pieces in one wall arrangement because the installation gets complicated and expensive.
Cost Breakdown Reality Check
Let me be real about pricing because this varies so much. A basic 16×20 acrylic print runs about $60-$100 depending on where you order. Once you get to 24×36, you’re looking at $150-$300. Large statement pieces like 40×60 can easily hit $400-$800.
Face-mounted prints cost about 40% more than direct prints. Custom sizes usually have a 20-30% upcharge. Rush orders, add another 25%.
The hardware and installation costs can add up too. Professional installation for a large acrylic piece might run $75-$150 depending on your area and if you need special anchoring.
Custom vs. Ready-Made Designs
Sites like Desenio, Minted, and Society6 sell ready-made acrylic prints which are cheaper than custom printing your own images. The downside is you’re limited to their catalog and sizes.
I usually recommend custom printing if you have specific colors you need to match in your space or if you want family photos, your own artwork, or something personal. The ready-made route works great for abstracts, landscapes, or trendy designs when you’re just filling wall space.
Working with Custom Sizes
Most companies offer standard sizes (16×20, 24×36, 30×40, etc.) but custom sizes are totally doable. I’ve ordered weird dimensions like 25×50 for narrow wall spaces or 36×36 squares for modern grid arrangements.
Just know that custom sizing means you can’t return it, so double and triple check your measurements. I messed this up once, ordered a 38×48 when the space could only fit 36×48, and ate the cost because it was my error.
Common Problems and How to Fix Them
Bowing or warping: Usually happens with thin acrylic in large sizes or in really humid environments. Prevention is way easier than fixing, so go thicker if you’re unsure.
Color shift: Sometimes what you see on screen doesn’t match the print. Most good companies offer color proofing for an extra fee. Worth it for important pieces.
Edge quality: Cheap acrylic prints sometimes have rough or unfinished edges. Check reviews specifically mentioning edge quality before ordering.
Hardware failure: I’ve had more issues with included hanging hardware than with the actual prints. Invest in proper wall anchors even if the company includes some flimsy ones.
Mixing Acrylic with Other Art Types
You can totally mix acrylic prints with canvas, framed prints, whatever. The key is being intentional about it. I usually group similar subjects together even if the mediums are different, or create contrast through the medium itself.
Like, all black and white photos but some on acrylic, some framed traditionally. Or all botanicals with different finishes. Just throwing random acrylic pieces next to random canvas pieces looks chaotic unless you’re really good at eclectic design.
The reflective quality of acrylic works really well next to matte finishes, creates nice visual interest. I did a bedroom where we had three matte canvas abstracts on one wall and one large glossy acrylic on the opposite wall, and the contrast made both walls more interesting.
Special Techniques Worth Knowing
Backlighting is insane with transparent acrylic. If you mount LED strips behind a transparent acrylic print, it glows. I’ve only done this twice because the installation is involved but the effect is stunning for the right space.
Layered acrylic where you have multiple sheets with different printed elements creating depth. Super artistic, super expensive, but incredible for statement pieces.
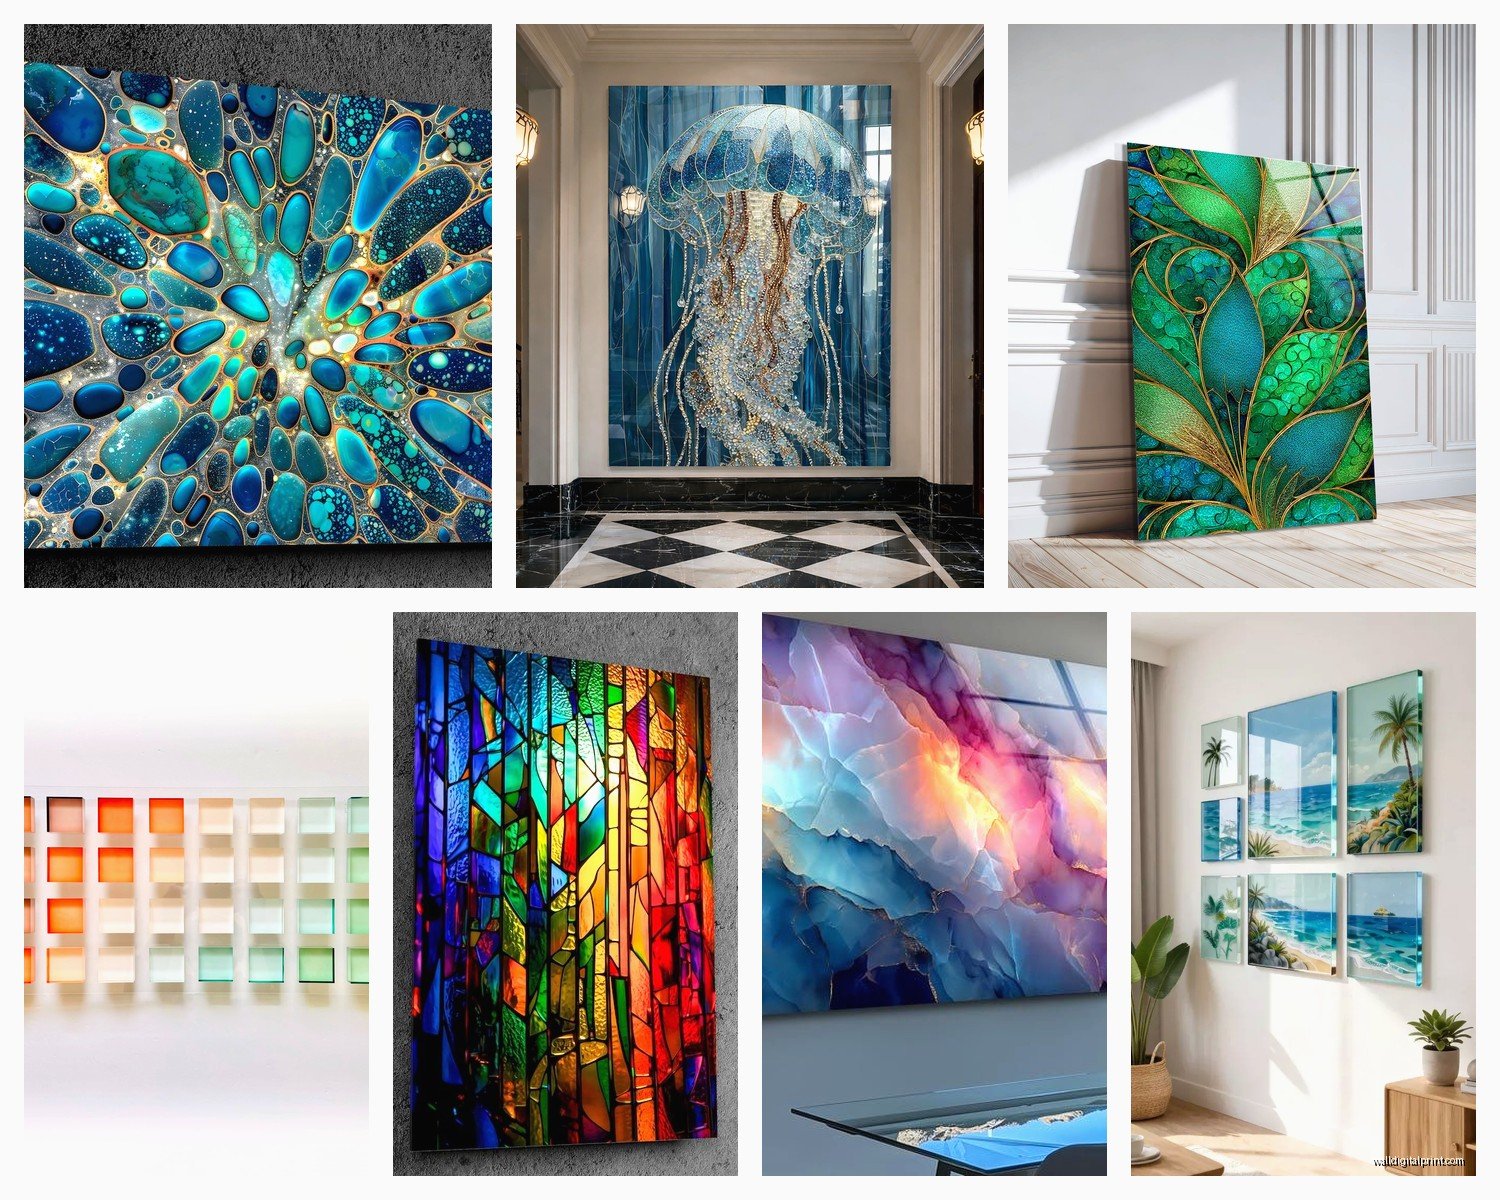
Metallic printing on acrylic combines the glossy surface with metallic ink and it’s just… a lot in the best way. Great for glam or art deco inspired spaces.
Anyway, if you’re just starting with acrylic prints, get something medium-sized first to see how you like it in your space. The 20×30 or 24×36 range is a safe bet, big enough to make an impact but not such a huge investment that you’ll stress about it. And honestly, once you see how the depth and vibrancy works in person, you’ll probably end up ordering more because they’re kinda addictive.