Wall Art Guide, Wall Art Tutoriels
Paper Mache Wall Art: Pulp Craft Sculptural Technique
Aug
So I’ve been messing around with paper mache wall art for like three years now and honestly it’s one of those things where once you figure out the basics, you kinda can’t stop making stuff. My studio wall is basically covered in experimental pieces at this point.
The Pulp Method vs Strip Method
Okay so there’s two main ways to do paper mache and for wall art you’re gonna want the pulp method most of the time. The strip method (where you dip newspaper strips in paste) is great for covering forms but pulp gives you way more sculptural control. Think of it like the difference between papier-mâché and actual clay.
For pulp, you’re literally making your own moldable material. I use toilet paper because it breaks down super fast and doesn’t have the ink issues newspaper has. The cheap single-ply stuff works best—my neighbor thinks I’m weird buying the worst toilet paper on purpose but whatever.
Basic Pulp Recipe I Actually Use
- 6-8 rolls of cheap toilet paper
- Hot water to cover
- 1 cup of white glue or wood glue
- ½ cup of joint compound (the drywall stuff)
- 2 tablespoons of linseed oil
The joint compound is my secret weapon that I learned from a sculptor friend. It makes the dried pulp way harder and gives it this almost ceramic quality. You can skip it but then your pieces stay kinda fragile.
Tear up the toilet paper into a bucket and pour boiling water over it. Let it sit for like 20 minutes while you watch TV or whatever. I usually do this part while my cat is having her evening zoomies so I don’t trip over her. Then you gotta squeeze out as much water as possible—this is the annoying part. I use an old colander and just press the hell out of it.
Mix in your glue, joint compound, and linseed oil. The linseed oil keeps it from cracking as it dries. Use your hands or a hand mixer if you don’t wanna get messy. It should feel like thick oatmeal texture.
Creating the Actual Wall Piece
For wall art you need some kind of base. I’ve tried a bunch of things:
Cardboard backing – Works fine for flat or low-relief pieces. Cut your shape from thick cardboard first. I raid the recycling bin at the art supply store because they throw out these huge sheets.
Wire armature – Better for anything with depth or that sticks out from the wall. Chicken wire or aluminum armature wire both work. The aluminum is easier to shape but more expensive.
Foam core – Good middle ground. Easy to cut, lightweight, sturdy enough.
Last month I made this big abstract face piece and I used a combination—foam core base with wire features for the nose and cheekbones. Worked perfectly.
You want to build up your pulp in layers. Don’t try to do everything at once or it’ll take forever to dry and might crack. I do like ¼ inch layers and let each one dry at least 24 hours. I know that sounds long but trust me on this.
Sculpting Tips That Actually Matter
Keep a bowl of water next to you while working. Wet fingers smooth the pulp way better than dry ones. But not too wet or everything gets mushy.
For fine details, the pulp can be too chunky. When I need sharp edges or small features I mix a separate batch with shredded paper towels instead of toilet paper. Breaks down finer.
Oh and another thing—texture tools. Don’t just use your hands. I have this whole collection now: old credit cards for scraping, chopsticks for making lines, sponges for texture, even those clay sculpting tools work great. The back of a spoon is perfect for smooth curved surfaces.
If you’re doing something that needs to be symmetrical (which I try to avoid because it’s hard) make a template first. Trace it onto your base layer so you have guidelines.
The Drying Process Nobody Warns You About
This is gonna sound weird but paper mache drying is like… a whole thing. It warps if you’re not careful. I learned this the hard way when my first big piece curled up like a taco.
Set up a fan but don’t point it directly at your work. Indirect airflow is what you want. And flip it every few hours if possible so both sides dry evenly.
It’s gonna take like 3-5 days for something substantial to fully dry. You’ll think it’s dry before it actually is—the surface dries first but inside stays damp. I poke the thickest parts gently to check. Should feel completely hard not spongy at all.
In humid weather add extra days. I made something in July once and it took a full week. My client canceled so I spent an hour comparing the drying times in my project notes and there’s definitely a seasonal pattern.
Sealing and Prepping for Paint
Once it’s bone dry you gotta seal it before painting or the paint just sinks in weird and you’ll use like five coats. I use either:
Gesso (the acrylic primer stuff) – Best option honestly. Two coats. Sands smooth between coats.
Or watered-down white glue – Cheaper but takes longer. Mix it 50/50 with water and brush it on thin.
Sand between seal coats with fine sandpaper. Like 220 grit. This is tedious but makes such a difference in the final look. You want that smooth gallery-quality surface.
For pieces with lots of texture that I want to keep, I skip sanding obviously and just make sure the seal coat gets into all the crevices.
Painting Techniques
Acrylic paint is your best friend here. It’s flexible enough that it won’t crack when you hang the piece and temperature changes happen.
I usually do a base coat in whatever my dominant color is. Then build up layers. For abstract stuff I love using a dry brush technique where you barely have paint on the brush and drag it across the high points—creates this really cool dimensional effect.
Metallic paints look amazing on paper mache. There’s something about the slight texture that catches light in this specific way. I did a whole series of gold leaf pieces last winter and people went nuts for them.
Wait I forgot to mention—if you want to add actual gold leaf or silver leaf, do it after your base paint but before any detail work. Use adhesive size (it’s like a special glue for leafing). Let it get tacky then press your leaf sheets on. Brush away excess with a soft brush.
Adding Dimension and Mixed Media
Okay so funny story, I accidentally discovered that you can embed stuff into wet pulp and it stays there permanently. I dropped some dried flowers into a piece I was working on and just… left them. Looked intentional. Now I do it on purpose.
Things you can add:
- Fabric pieces
- String or yarn
- Beads
- Small stones
- Dried botanicals
- Textured papers
Press them into your final layer of pulp and smooth around them. They become part of the structure.
For pieces that stick way out from the wall (like 3+ inches) you might wanna add some internal support. I’ve used crumpled aluminum foil as a core before. Keeps the weight down and prevents sagging.
Mounting and Hanging
This part stresses people out but it’s actually pretty straightforward. The method depends on weight:
Light pieces (under 2 lbs) – Command strips work fine. I use the picture hanging ones.
Medium pieces (2-5 lbs) – D-ring hangers attached to the back with strong glue. E6000 is what I use. Or screw them in if your backing is thick enough.
Heavy pieces – French cleat system. It’s a mounting system with two interlocking pieces. One screws into your wall studs, one attaches to your art. Super secure and the piece sits flush against the wall.
I always attach the hanging hardware before final painting so I can touch up any marks or glue spots.
For pieces that need to float off the wall (looks really modern and cool) glue small wooden blocks to the back. Like 1-inch cubes in each corner. Creates a shadow gap.
Sealing the Finished Piece
You’re not done after painting. Gotta protect all that work. I use spray sealers because brush-on can smear certain paints.
Matte finish for most things—looks more sophisticated and art gallery-ish. Satin if you want a slight sheen. Glossy only if that’s specifically your aesthetic.
Do like 3-4 light coats instead of one heavy coat. Heavy coats drip and look bad. Hold the can about 12 inches away and keep it moving.
Let it cure for 24 hours before hanging. The sealers say dry in 30 minutes but that’s just touch-dry not fully cured.
Design Ideas That Work Well
Abstract organic shapes are honestly the easiest and look the most impressive. Nobody knows if you messed up the shape because there’s no “right” shape.
Faces or portraits are harder but doable. Start simple—maybe just an outline profile or a mask-like frontal face. I did a series of elongated Modigliani-style faces that were pretty forgiving.
Geometric designs need precision but the pulp method makes it tricky to get super sharp edges. If you want geometric, consider combining techniques—use the pulp for texture areas and add painted geometric elements.
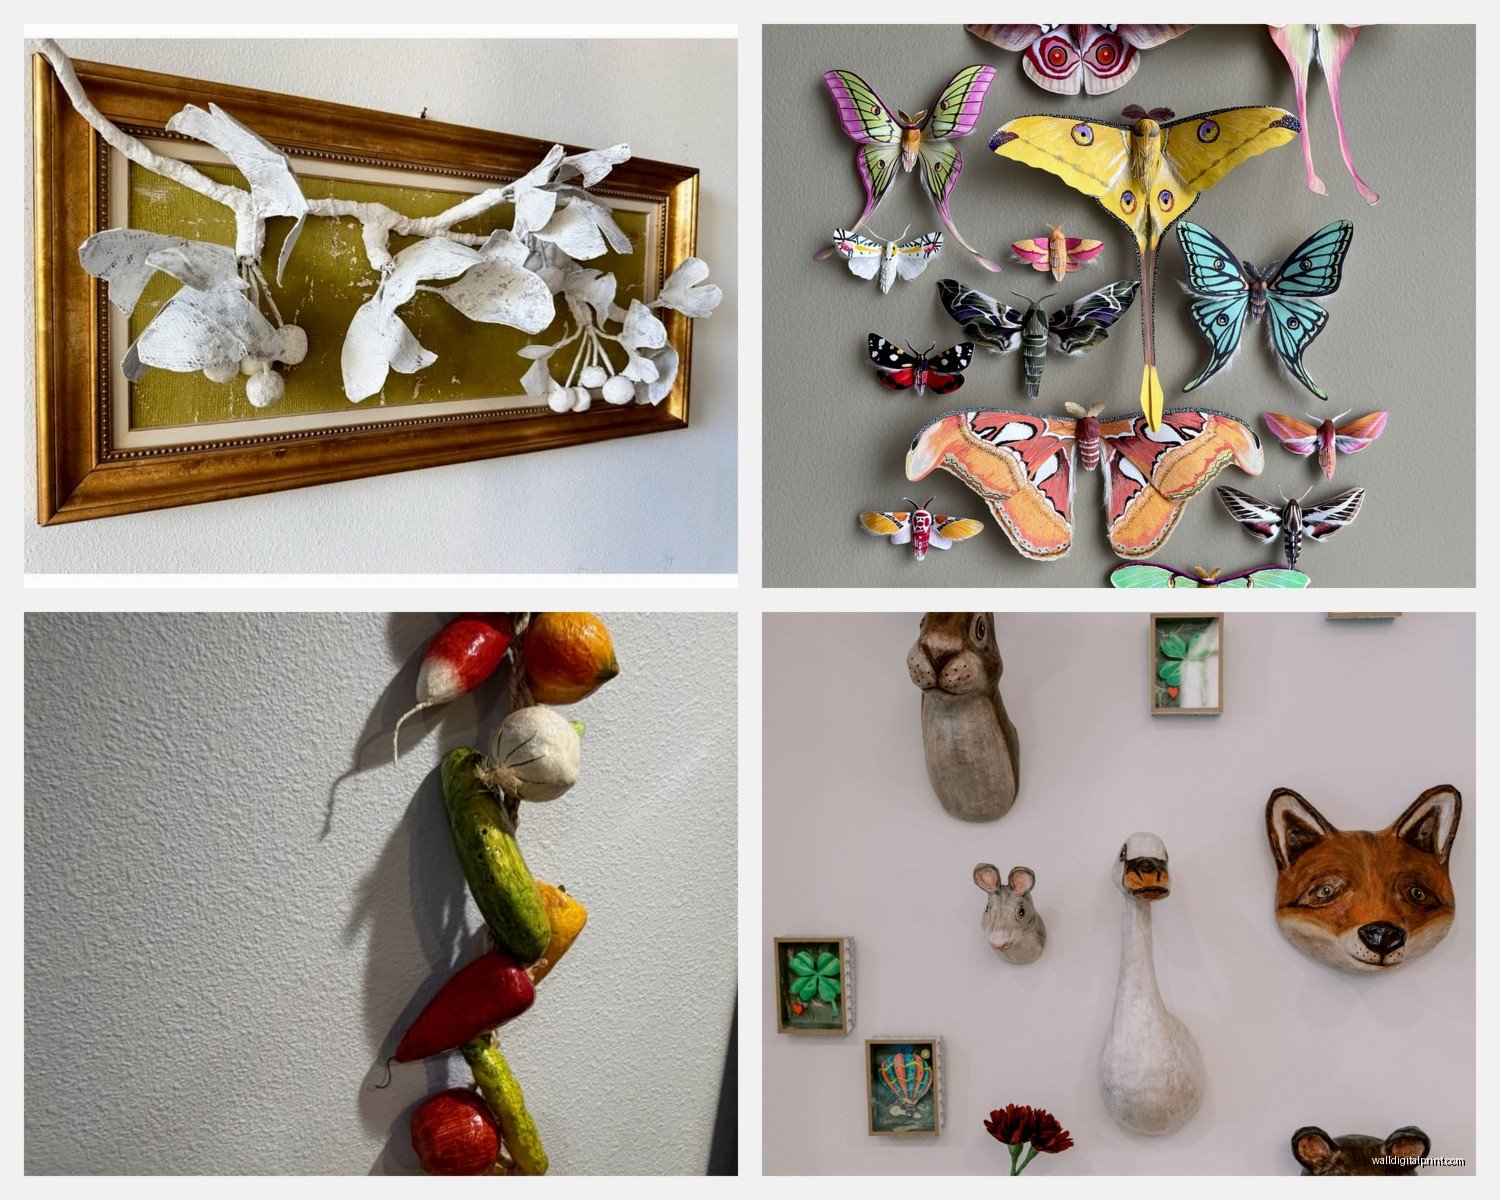
Nature stuff like leaves, flowers, or tree branches translates really well. You can make them realistic or stylized.
I’m working on this wave series right now inspired by Japanese woodblock prints. The pulp is perfect for creating that dimensional water movement effect.
Common Problems and Fixes
Cracking while drying – Your pulp was too dry or you applied it too thick. Add more water content next time or work in thinner layers.
Won’t stick to base – Base is too smooth or oily. Rough it up with sandpaper first or add a layer of glue.
Molding – Didn’t dry fast enough or too humid. Add a bit of salt to your pulp mixture (like a tablespoon) as a preservative. And definitely use that fan.
Surface too rough – More sanding or add an extra gesso coat. You can also do a final layer with paper mache paste (just glue and water) instead of pulp for a smoother finish.
Paint looks streaky – Didn’t seal properly first. Add another primer coat.
Storage and Workspace Setup
Mixed pulp stores in the fridge for about a week. Put it in an airtight container. It’ll smell weird if you leave it longer so just make what you need.
My workspace is basically a disaster—I’ve accepted this. But you do need a waterproof surface. I use a big plastic tablecloth that I can just throw away when it gets too crusty.
Keep paper towels everywhere. This craft is messier than it seems like it should be.
Wear old clothes. The glue gets on everything and doesn’t really wash out great.
The smell isn’t bad exactly but your space will smell like wet paper and glue for days while stuff dries. Open windows help.
I’ve found that working on multiple pieces at once makes sense because of all the drying time. While one layer dries you can start something else. My record is six pieces in various stages at the same time. It was chaotic but productive.