Wall Art Guide, Wall Art Tutoriels
Patio Wall Art: Outdoor Deck Weather-Resistant Decor

Aug
So I was literally standing on my deck last summer with this massive blank wall staring at me and I’m like, okay I need to do something here but everything I looked at online either looked like it would blow away in the first windstorm or just… wouldn’t survive a season. Let me tell you what actually works because I’ve tested way too much of this stuff.
The Weather Thing Nobody Talks About Honestly
First thing – and I’m gonna be real with you – most “outdoor art” is not actually outdoor art. It’s indoor art that someone slapped a protective coating on and called it weatherproof. I learned this the hard way when this gorgeous metal piece I bought basically rusted through in like 8 months.
You need to think about what your patio actually deals with. My deck gets full afternoon sun which sounds nice but it’s brutal on colors. My neighbor’s patio is covered but gets crazy humidity. Different problems need different solutions and honestly nobody tells you this upfront.
Materials That Actually Last
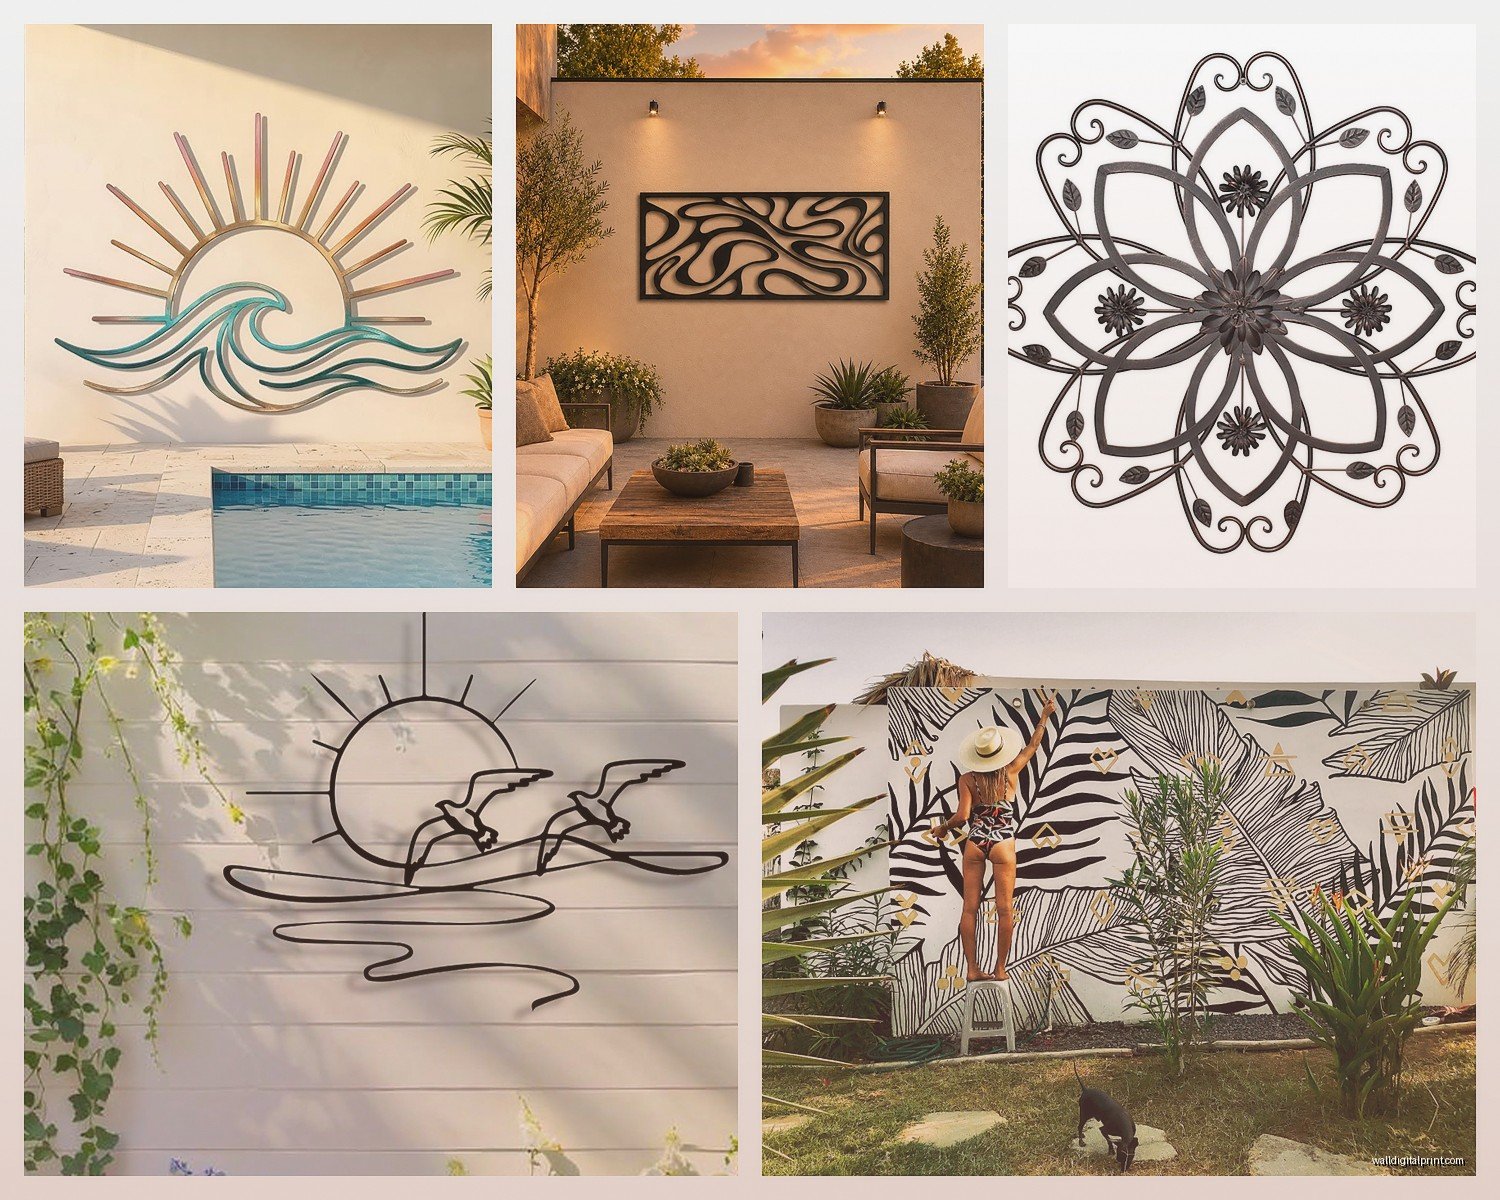
Powder-coated metal is your friend. Not just painted metal – powder coating makes such a difference. I have this abstract sun design that’s been through two winters and still looks perfect. The powder coating basically bakes into the metal so it doesn’t chip or peel like regular paint does.
Outdoor canvas is tricky though. You want UV-resistant inks and a proper sealant, not just any canvas print. I made the mistake of buying what looked like outdoor canvas art from this boutique place and the colors faded to basically sepia within one summer. Now I only buy from companies that specifically mention UV rating – look for UV 50+ protection if you can find it.
Ceramic and glazed terracotta are surprisingly amazing outdoors. I’ve got these ceramic wall plaques that have survived everything including that weird hailstorm last spring. The glaze protects them and they don’t fade. Plus they have this weight to them that feels substantial, you know?
Hanging Systems That Won’t Fail You
Okay so funny story – I hung this beautiful piece with regular picture hanging wire and it lasted exactly three weeks before a wind gust took it down. Shattered on my deck. I almost cried.
You need actual outdoor hanging hardware. Stainless steel hooks rated for outdoor use, or better yet, French cleats. French cleats sound fancy but they’re just these interlocking brackets that are stupidly secure. I use them for anything heavy now and they’ve never failed me.
For brick or stucco walls, get proper masonry anchors. The plastic ones from the hardware store work but the metal sleeve anchors are so much better. They don’t wiggle loose over time.
If you’re mounting on vinyl siding (which I know everyone says not to do but sometimes you gotta), use the vinyl siding hooks that slip behind the panels. They distribute weight better and you’re not putting holes in your siding. Just make sure whatever you hang isn’t super heavy.
The Command Strip Situation
Wait I forgot to mention – there ARE outdoor Command strips now and they actually work for lightweight stuff. I was skeptical but I’ve had a small metal sign up for like 6 months with the outdoor strips and it’s fine. The key is following the temperature guidelines when you apply them. Don’t try to stick them up when it’s cold or they won’t bond right.
What I Actually Have On My Patio That Works
So my setup right now is this mix of stuff that’s survived multiple seasons. I’ve got a large powder-coated metal tree silhouette that was honestly kind of expensive but worth every penny. It’s about 3 feet tall and creates this cool shadow effect when the sun hits it.
There’s also these three ceramic tiles arranged in a vertical line – they’re hand-painted and each one has a different geometric pattern. I got them from a local artist who fires them with outdoor glaze. They’ve been up for two years and still look brand new.
Oh and another thing – I have a piece of reclaimed wood with a simple painted design that I sealed myself with marine varnish. The wood weathering actually adds to the look instead of ruining it. That’s the thing about using actual wood designed for outdoor use… it’s supposed to weather and it looks better as it does.
DIY Sealing If You’re Feeling Brave
This is gonna sound weird but I’ve started making some of my own outdoor art pieces because I got tired of everything being so expensive. If you seal things properly you can make indoor-ish stuff work outside.
Marine-grade spar varnish is your best friend for this. Not polyurethane – marine varnish. It has UV blockers and stays flexible so it won’t crack when temperatures change. You need like 3-4 coats minimum, waiting for each to fully dry. My cat knocked over a can while I was doing this once and it was a whole disaster but anyway.
For metal pieces, Rust-Oleum makes this clear enamel spray that works really well as a protective topcoat. I’ve used it on some vintage metal signs and it keeps them from corroding.
The Fabric Art Problem
Okay so outdoor fabric art is possible but it’s annoying. You need solution-dyed acrylic fabric which is what they make outdoor cushions from. Regular fabric will fade and get moldy. I tried making a fabric wall hanging with Sunbrella fabric and proper grommets and it actually worked great, but the effort level was high.
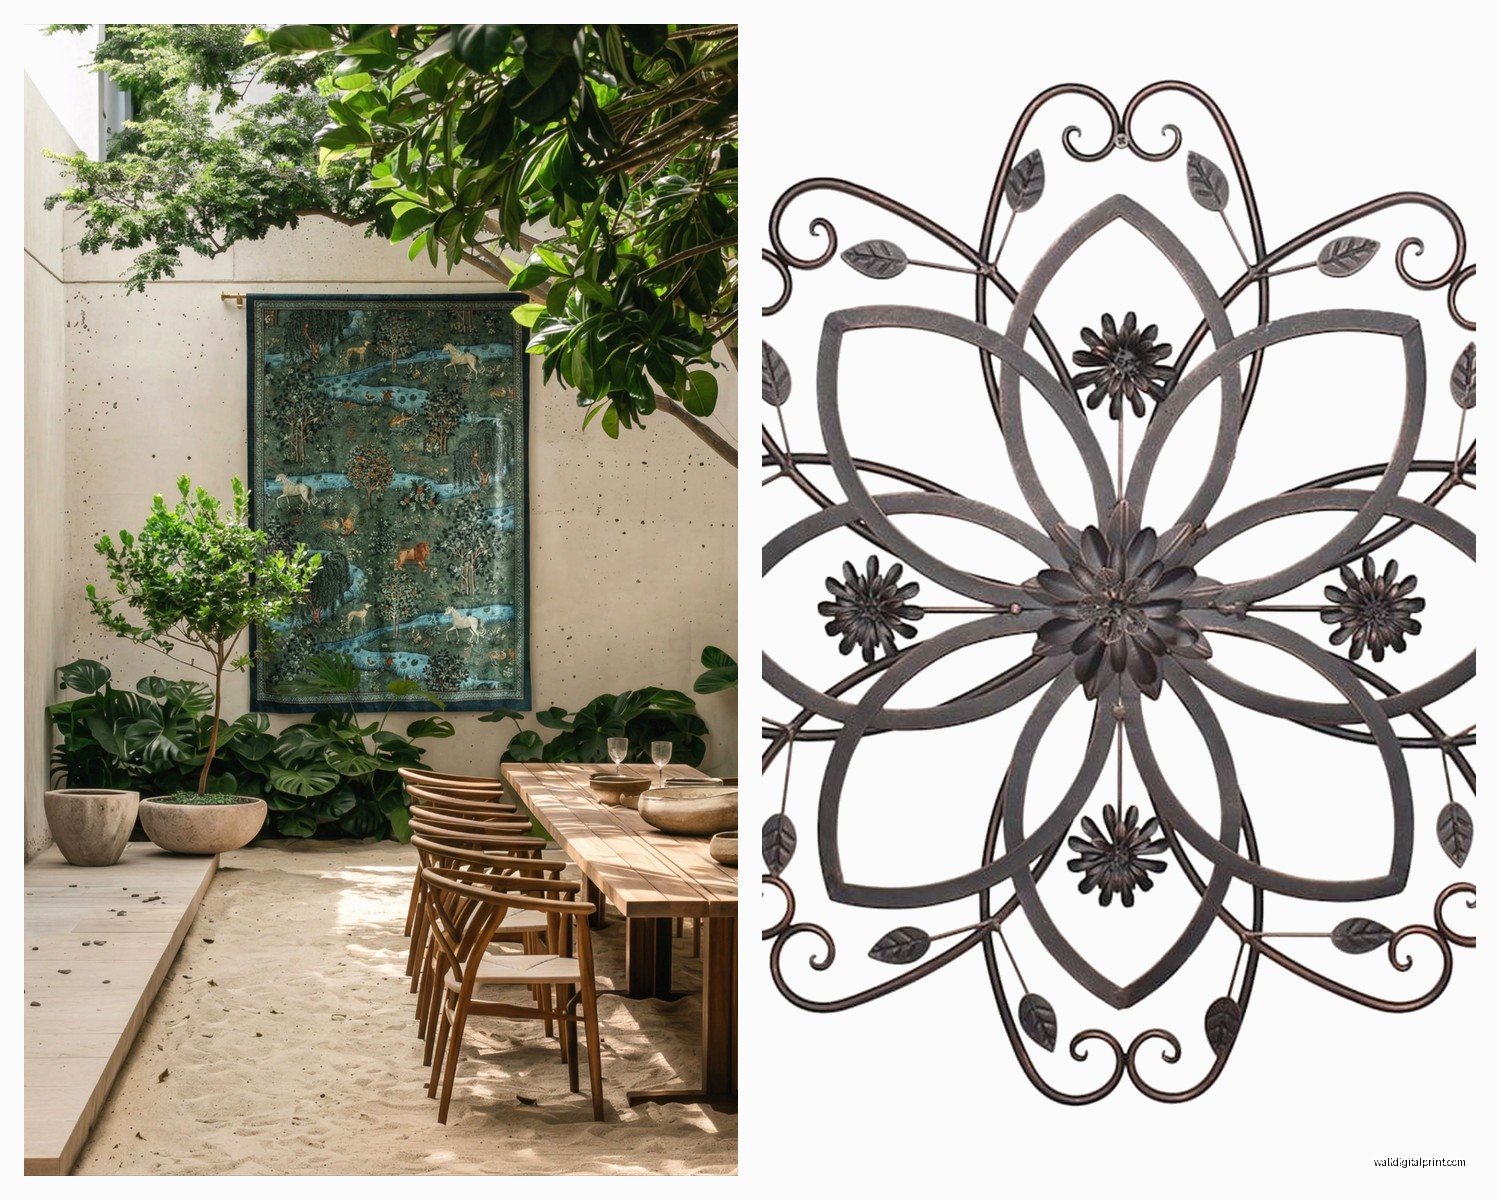
There are companies selling outdoor tapestries now that are made from this stuff. They’re not cheap but they add softness to a patio in a way that metal and ceramic can’t. Just make sure you can take them down easily because even weather-resistant fabric benefits from being stored during the worst weather.
Size and Scale Tips From Someone Who Got It Wrong
I went way too small with my first pieces. What looks big enough when you’re shopping online looks tiny on an actual outdoor wall. You’ve got all this open space and sky and stuff competing for attention. Go bigger than you think you need.
My rule now is that the main piece should be at least 2/3 the width of the furniture below it if you have any. So like if you have a bench that’s 4 feet wide, your art should be at least 32 inches wide. Otherwise it just looks lost.
You can also do groupings which I actually prefer now. Three or five pieces arranged together creates more visual impact than one medium piece alone. Odd numbers look better for some reason – something about visual balance that I learned from my styling work.
Color Considerations That Actually Matter
Bright colors fade faster in sun. This is just physics or chemistry or whatever. If you have a really sunny patio, consider going with deeper saturated colors or even black and white designs. They hold up better.
I’ve noticed that blues and greens tend to fade less quickly than reds and yellows in my experience. My yellow sunburst piece that I mentioned earlier? It’s more of a cream color now. Still pretty but not what I bought.
Metallic finishes can get super hot in direct sun which is something I didn’t think about. I had this copper-colored piece that would literally burn you if you touched it on a sunny afternoon. Not dangerous really but surprising.
Maintenance Reality Check
You’re gonna need to clean this stuff. Pollen, dirt, spider webs – it all accumulates. Most things can be hosed off gently or wiped with a damp cloth. I do this maybe once a month during spring and summer.
For metal pieces, check for any chips in the coating and touch them up with outdoor spray paint before rust starts. For ceramic, just make sure the hanging hardware isn’t corroding.
Wood pieces might need re-sealing every year or two depending on your climate. I usually do it at the start of spring before everything gets put back out.
Where to Actually Buy This Stuff
Wayfair has a huge outdoor art section and their reviews are usually honest about durability. I filter by 4+ stars and read the bad reviews to see what failed.
Etsy is great for unique pieces from artists who actually make outdoor-suitable work. Just message them and ask specifically about weather resistance and what materials they use. Most artists are super helpful about this.
Home Depot and Lowe’s have surprisingly decent options now in their garden decor sections. Not the most unique stuff but it’s reliable and you can return it easily if it doesn’t work.
Oh and estate sales sometimes have vintage outdoor pieces that have already proven they can survive. I got an amazing old metal peacock at one that’s probably from the 70s and it’s still going strong.
Things I Tried That Didn’t Work
Mirrors outside are mostly a bad idea unless they’re specifically made for it. Regular mirrors corrode from the back and look terrible. There are acrylic outdoor mirrors but they scratch easily and honestly just collect dirt.
Anything with paper elements is risky even if sealed. I tried this mixed media piece that had paper collage elements under resin and moisture still got in somehow. It bubbled and warped.
Really intricate pieces with lots of small details tend to just look muddy from a distance outside. Simple bold designs work better in outdoor spaces where you’re viewing from further away.
Light-colored grout on mosaic pieces gets dirty and stays dirty. Dark grout is way more forgiving.
The Covered Patio Advantage
If your patio is covered you have so many more options. You still need to think about humidity and temperature swings but UV damage is way less of an issue. My parents have a covered patio and they basically treat it like an indoor room in terms of what art they can hang.
Even partial coverage helps a lot. If you can position art under an overhang or awning it’ll last way longer.
Seasonal Rotation Is Actually Smart
I used to think taking art down for winter was too much work but it really does extend the life of everything. Now I have “summer pieces” and a few all-weather pieces that stay up year-round.
The summer pieces go in the garage during winter which also gives me an excuse to refresh the look each spring. It’s like redecorating without buying new stuff.
Just make sure you store things properly – not directly on concrete floors where moisture can reach them, and definitely not anywhere mice can get to if you have that problem. My garage definitely has mice so I learned this the hard way when something got nested in.
Anyway that’s basically everything I’ve figured out through trial and error and probably too much money spent on stuff that didn’t last. The main thing is just really thinking about your specific conditions and not trusting that “outdoor” label without asking questions about materials and construction. And honestly going a bit bigger and bolder than feels comfortable usually ends up looking better once it’s actually up there.