Wall Art Guide, Wall Art Tutoriels
Multi Panel Wall Art: Several-Piece Divided Set Designs
Oct
So I’ve been obsessing over multi panel wall art lately because my client basically gave me free rein on this massive blank wall in their living room and I went down this whole rabbit hole. Let me tell you what actually works versus what looks good in those Instagram photos but is a nightmare in real life.
The Spacing Thing Everyone Gets Wrong
Okay so first thing—spacing between panels is where most people completely mess up. You’d think it’s just like, hang them close together and call it a day, right? Wrong. I learned this the hard way when I installed a 5-panel set in my own place and it looked so cramped. The general rule I follow now is 2-3 inches between each panel. Some people go up to 4 inches but honestly that starts looking disconnected unless you’re working with a really large wall.
Here’s what I actually do: I cut strips of cardboard to my preferred spacing width and use those as guides. Way easier than measuring a million times with a tape measure. My cat keeps stealing the cardboard strips though so I gotta hide them now.
Triptychs vs Five Panel vs Everything Else
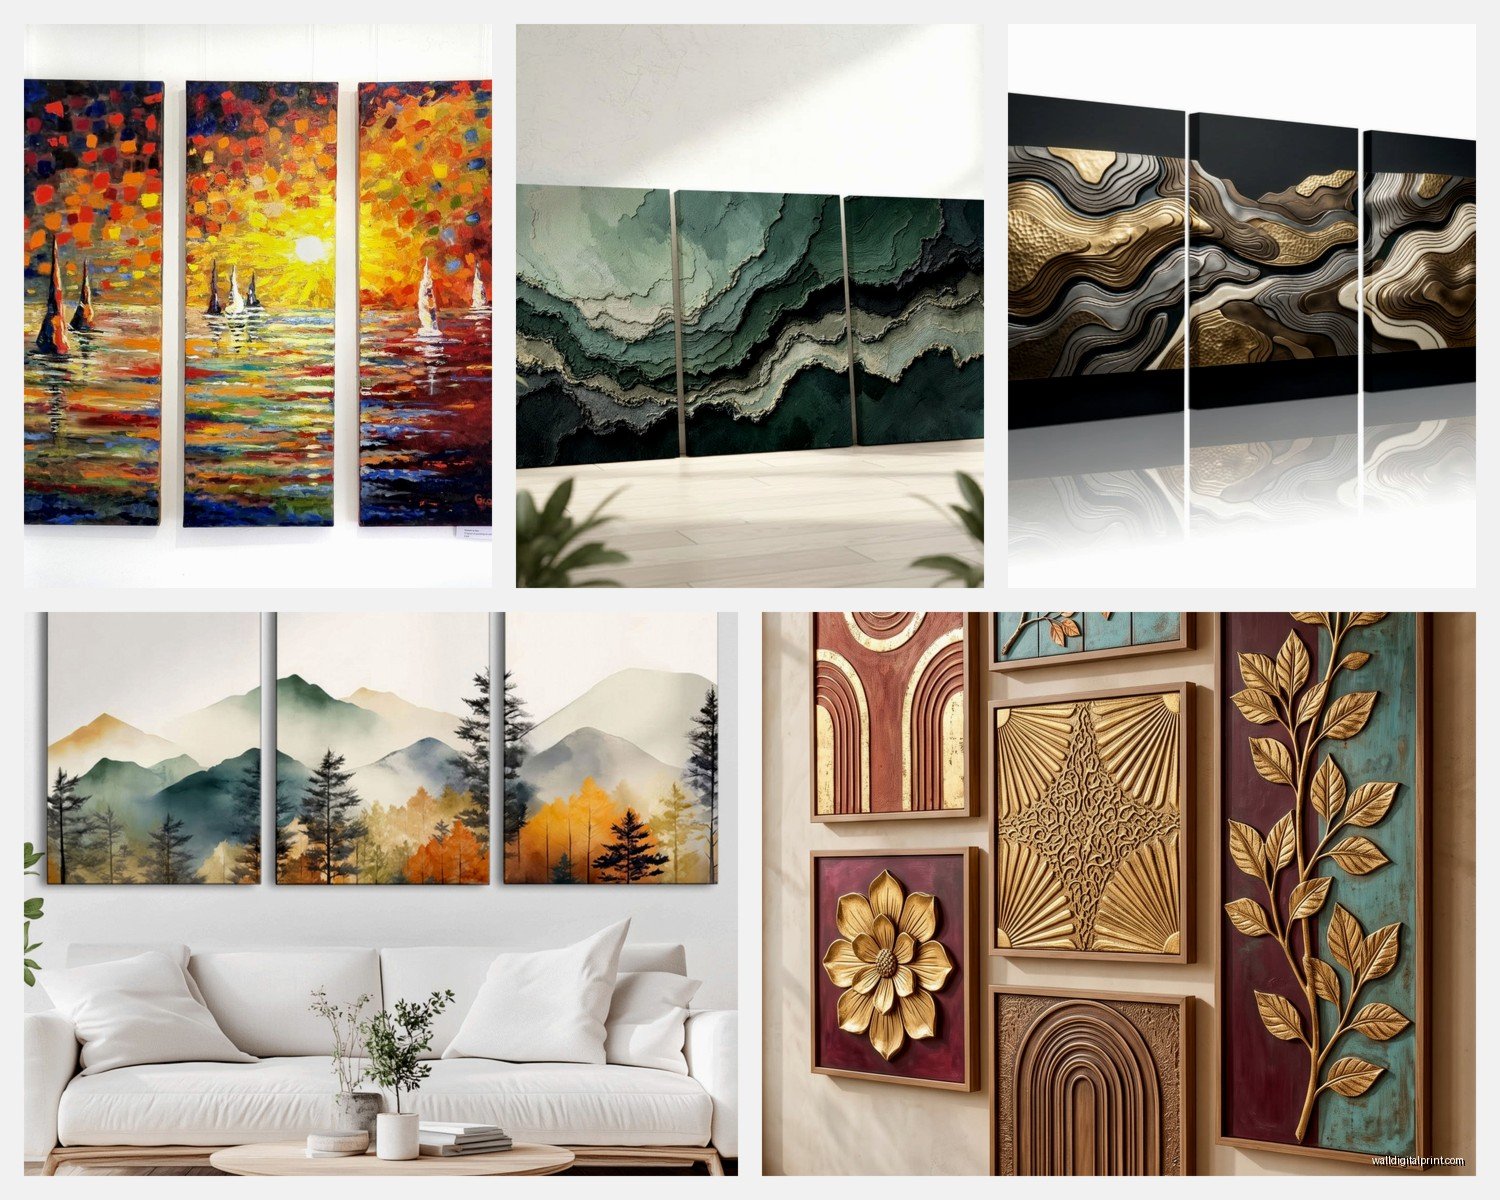
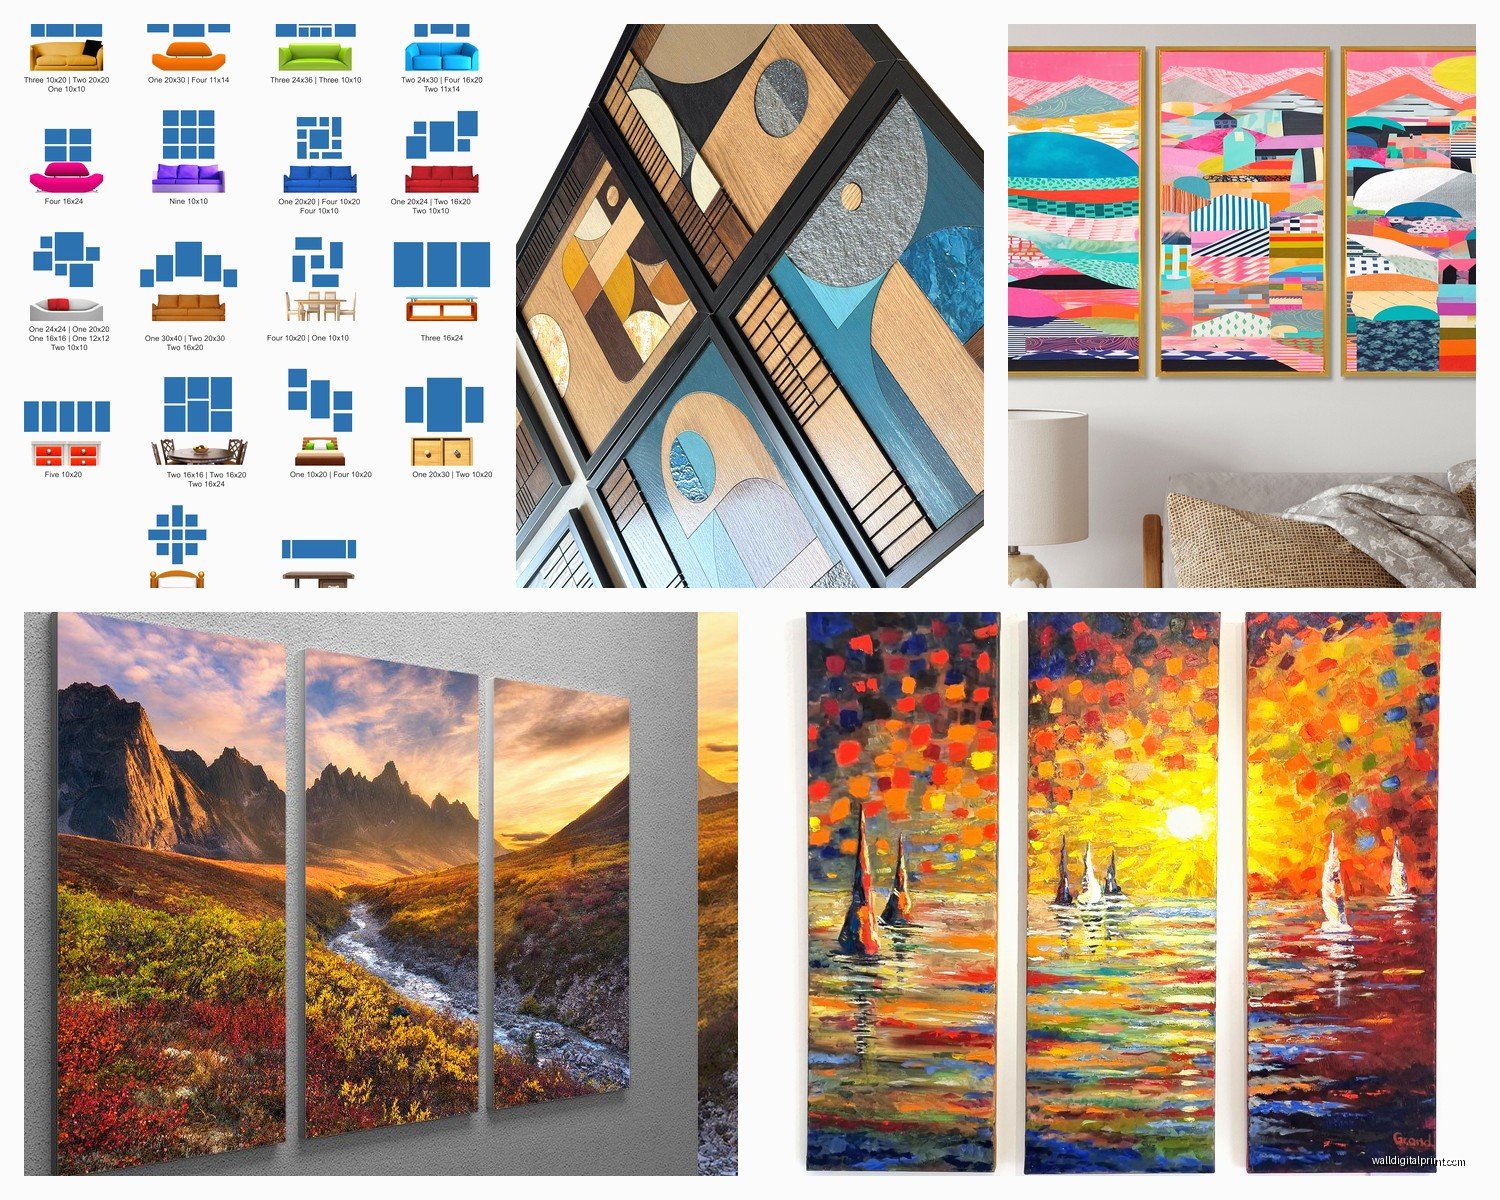
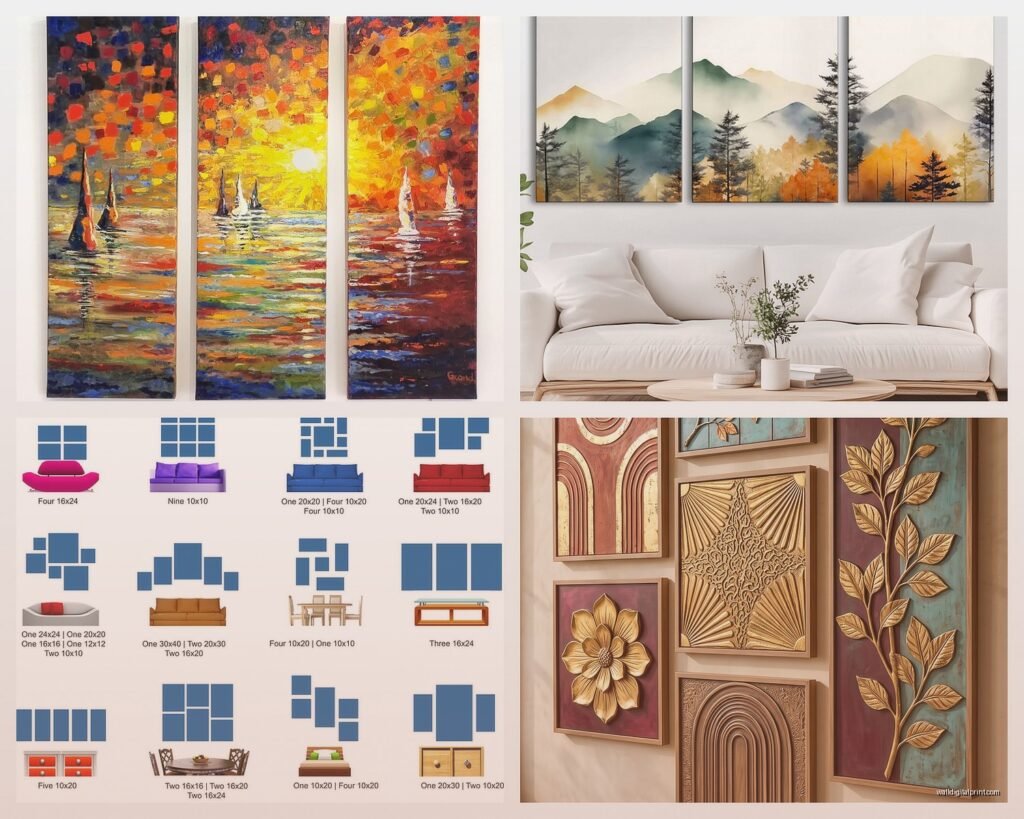
The three-panel setup (triptych) is honestly the sweet spot for most walls. It’s not too complicated to hang and it doesn’t overwhelm smaller spaces. I use these constantly for clients who have that awkward space above a couch that’s like… not quite big enough for one massive piece but too big for a single small frame.
Five panel sets look dramatic as hell but they need SPACE. I’m talking at least 8-10 feet of wall width to really work. I tried putting one in a narrow hallway once and it was just chaos. The design gets lost when everything’s too compressed.
Two panels can work but they always feel a bit incomplete to me? Unless you’re doing a diptych where the image is specifically designed to be split in two. I saw this gorgeous abstract piece split down the middle at a gallery last month and it actually made sense because the division was part of the art itself.
How to Actually Plan the Layout Before You Drill Holes
This is gonna sound weird but I use painter’s tape and paper templates. Cut paper to the exact size of each panel, tape it to the wall where you think you want it. Live with it for a day or two. I know that sounds excessive but I’ve saved myself so many times by realizing something was off before I committed.
Also—and I cannot stress this enough—find your center point first. Measure the total width of all panels PLUS the spacing between them. Then find the center of that measurement and mark your wall center. Work outward from there. When I skip this step and just eyeball it, things end up crooked and I wanna cry.
The Height Situation
Standard gallery height is 57-60 inches to the center of the artwork. But with multi panel sets, I usually go a bit lower if they’re going above furniture. Like 6-8 inches above the back of a couch. You don’t want a weird gap that makes everything float awkwardly.
For dining rooms or hallways where there’s no furniture, stick closer to that 57-60 inch center point. I measured this obsessively in my friend’s apartment last week because she kept insisting her panels looked “wrong” and yeah, they were hung at like 72 inches. Way too high.
What to Look for When You’re Actually Buying
Canvas is the most common and honestly the easiest to work with. It’s lightweight, you can usually hang it with just a nail or two, and it has that finished gallery look without needing a frame. I’ve bought sets from Amazon, Wayfair, even Etsy, and quality varies wildly.
Check the edges—wrapped canvas edges should have the image continue around the sides OR be a solid color. Nothing looks cheaper than white canvas edges showing.
Thickness matters too. I prefer 1.5 inch depth minimum because anything thinner looks kinda flimsy on the wall. The thicker ones have more presence.
Framed vs Frameless
Frameless (gallery wrapped canvas) is more modern and casual. Framed adds formality but also adds weight and complexity. If you’re going framed, make sure all panels have identical frames. I’ve seen people try to mix frame styles in a multi panel set and it literally never works.
Metal prints are having a moment and they’re actually pretty cool for modern spaces. They’re durable, the colors pop, but they’re heavy. You need proper wall anchors. I installed a 3-panel metal set last month and my arms were dead afterward.
The Hanging Process That Actually Works
You need a level. Not the app on your phone, an actual level. And a pencil. And probably a friend because doing this alone is technically possible but extremely annoying.
Start with the center panel if you have an odd number. Get that one perfectly level and positioned. Then work outward, using your spacing guides.
For even numbers, you’ll have two center panels. Hang those first, making sure they’re level with each other and properly spaced.
I use a laser level now after years of the regular kind and oh my god it’s so much faster. My brother got me one for Christmas thinking it was excessive but I use it constantly.
Hardware That Won’t Fail You
For lightweight canvas (under 5 pounds per panel), regular picture hanging nails work fine. Anything heavier needs wall anchors or you’re gambling with gravity.
I’m obsessed with those sawtooth hangers that come pre-attached to canvas backs, but make sure they’re actually secured well. I had one fall off a canvas once—just the hanger itself came loose from the frame—and it was a whole thing.
For plaster walls, definitely use anchors. Drywall can usually handle nails for lightweight stuff. Brick or concrete, you need masking tape to mark where you’re drilling and proper masonry bits.
Design Combinations That Actually Look Good
Landscapes work beautifully as multi panel sets because the continuation across panels feels natural. Ocean scenes, forests, mountain ranges—the eye follows across the whole composition.
Abstract art is probably the most forgiving because there’s no “correct” way to view it. If your spacing is slightly off, it’s way less noticeable than with something photographic.
I’m personally obsessed with black and white photography split across multiple panels. There’s something about the simplicity that makes the divided format feel intentional rather than gimmicky.
Oh and another thing—metallics look incredible in multi panel formats. Gold leaf abstracts, silver geometric designs. They catch light differently across each panel which creates this subtle variation that’s really beautiful.
Room-Specific Stuff I’ve Learned
Living rooms can handle the drama of 5-panel sets, especially above a sectional. I did a massive ocean sunset piece for a client and it completely transformed the room. But you need high ceilings for this not to feel overwhelming.
Bedrooms work better with 3-panel sets in calming colors. I tend toward horizontal orientations here because they echo the horizontal line of the bed. Makes everything feel more cohesive and restful.
Dining rooms are tricky. You want something interesting enough to look at during dinner but not so busy it competes with food and conversation. I usually go with 3-panel abstract or minimal landscapes here.
Hallways Are Their Own Beast
Long narrow hallways can actually be perfect for multi panel sets arranged vertically or in a unique configuration. I did a stairway once with panels ascending the wall following the stairs and it looked so intentional. Took forever to plan but worth it.
The Color Matching Reality
This is where things get real—matching multi panel art to your existing decor is harder than it looks online. Those room mockups lie. Colors on screens don’t translate perfectly to real life.
I always tell people to pull colors from the art rather than trying to match the art to existing colors. It’s backwards from what you’d think but it works better. Get the art you love, then add throw pillows or a vase that pulls one of the accent colors.
If you’re really worried about color accuracy, order samples if possible. Some Etsy sellers will send small prints. Or check return policies obsessively like I do.
Common Mistakes I See Constantly
Hanging panels too far apart—they lose cohesion and just look like separate pieces that happen to be near each other.
Going too small for the wall. Multi panel sets need room to breathe but they also need to fill the space adequately. A tiny 3-panel set on a massive wall looks lost.
Mixing orientations randomly. Unless you’re doing an intentional gallery wall (which is different), keep all panels the same orientation.
Not considering the room’s focal point. Multi panel art is dramatic and draws the eye, so make sure it’s actually where you want attention.
Maintenance and Long-Term Stuff
Canvas collects dust. I use a microfiber cloth every few months to gently wipe panels down. No cleaning products unless it’s glass-covered, just dry dusting.
Sun fading is real. UV-protective glass or coating helps but honestly the best solution is not hanging valuable art in direct sunlight. I learned this when a client’s gorgeous 5-panel set faded noticeably on one side after a year near a west-facing window.
Check the hanging hardware every year or so. Nails can loosen, especially in older walls. Takes two seconds and prevents disasters.
If you’re renting, Command strips make repositioning way easier. They make ones rated for heavier frames now. I use them in my own apartment because I rearrange constantly and my landlord appreciates not having a million holes.
Budget Real Talk
You can find decent multi panel sets starting around forty to sixty bucks for smaller canvas prints. Quality goes up significantly in the 150-300 dollar range. Above that you’re getting into art prints or original work.
I’ve bought from Amazon, Society6, Wayfair, and local artists. The local artist route costs more but the quality difference is noticeable. Plus you get something more unique.
Print-on-demand sites let you upload your own images which is cool if you have photography or digital art skills. I did this with some travel photos once and the result was actually really good for like 120 dollars total.
Wait I forgot to mention—sales are your friend. I have alerts set for a few home decor sites and I’ve snagged some amazing deals. That ocean piece I mentioned earlier? Got it for 60% off during a Labor Day sale.
The key is knowing what you actually want before the sale hits so you’re not just buying something because it’s cheap. I’ve definitely made that mistake and ended up with art I never hung because it didn’t actually fit anywhere.
Anyway, that’s basically everything I’ve figured out through way too many installations and a few failures. The spacing and centering stuff is really the most critical part—get that right and everything else is pretty forgiving.