Wall Art Guide, Wall Art Tutoriels
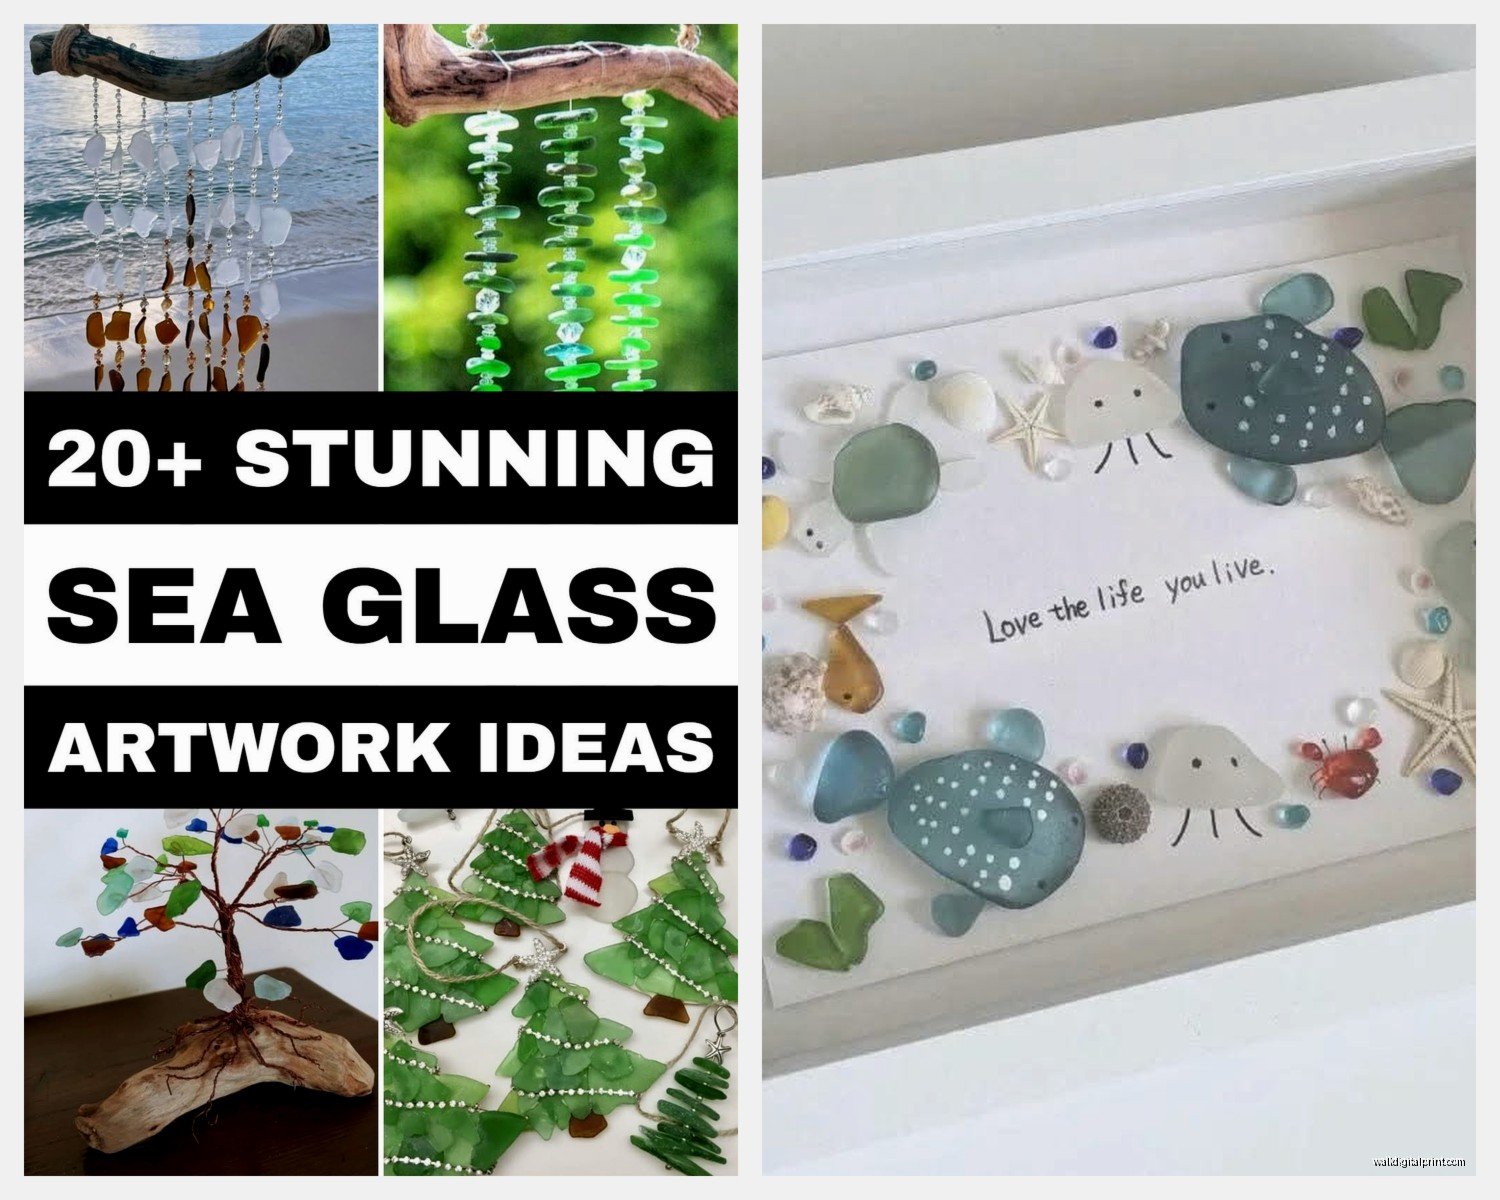
Sea Glass Wall Art: Beach-Found Frosted Glass Designs
Nov
So I’ve been collecting sea glass for like three years now and honestly the wall art thing kind of happened by accident when I had this massive jar of pieces sitting on my desk and thought… what am I actually gonna do with all this?
Finding the Right Sea Glass (and Not Getting Scammed)
Okay first thing – beach hunting is obviously the best but you gotta know where to go. I’ve had the most luck at beaches that used to have old dumping sites nearby, which sounds gross but that’s where all the vintage glass ends up. Lake Erie beaches are amazing for this, also the California coast near old industrial areas. You want spots with rocky shores rather than pure sand because the tumbling action is what creates that frosted look.
If you’re buying sea glass online because you don’t live near water or whatever, watch out for the fake tumbled stuff. Real sea glass has this specific texture that’s hard to describe but once you feel it you’ll know. The edges should be completely smooth, not sharp at all, and the frosting should be uniform. I bought a batch on Etsy once that was clearly just broken bottles thrown in a rock tumbler for like two days and I was so annoyed.
Colors Matter More Than You Think
Common colors are your whites, browns, and greens – you’ll find tons of these. But the rare colors are what make wall art actually interesting. I’m talking cobalt blue, red (super rare), orange, yellow, purple. My best find ever was this chunk of lavender glass that I’m pretty sure came from an old medicine bottle.
For wall art you actually want a mix though. All rare colors looks… trying too hard? I usually go for like 60% common colors as your base, then 40% interesting pieces for visual interest.
Design Planning Without Overthinking It
Here’s what I do and it works way better than trying to plan everything perfectly on paper first. Get a big piece of poster board or foam core and just start arranging pieces. Don’t glue anything yet obviously.
I usually work in these patterns:
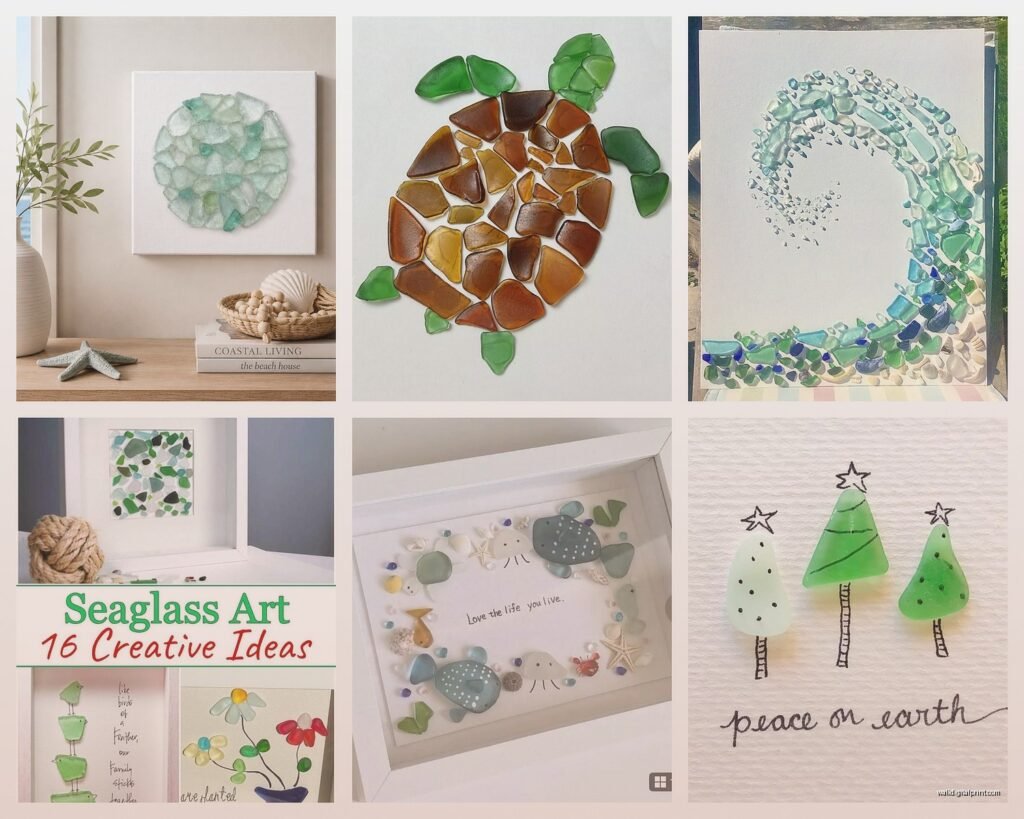
- Ombre gradients – light to dark of the same color family
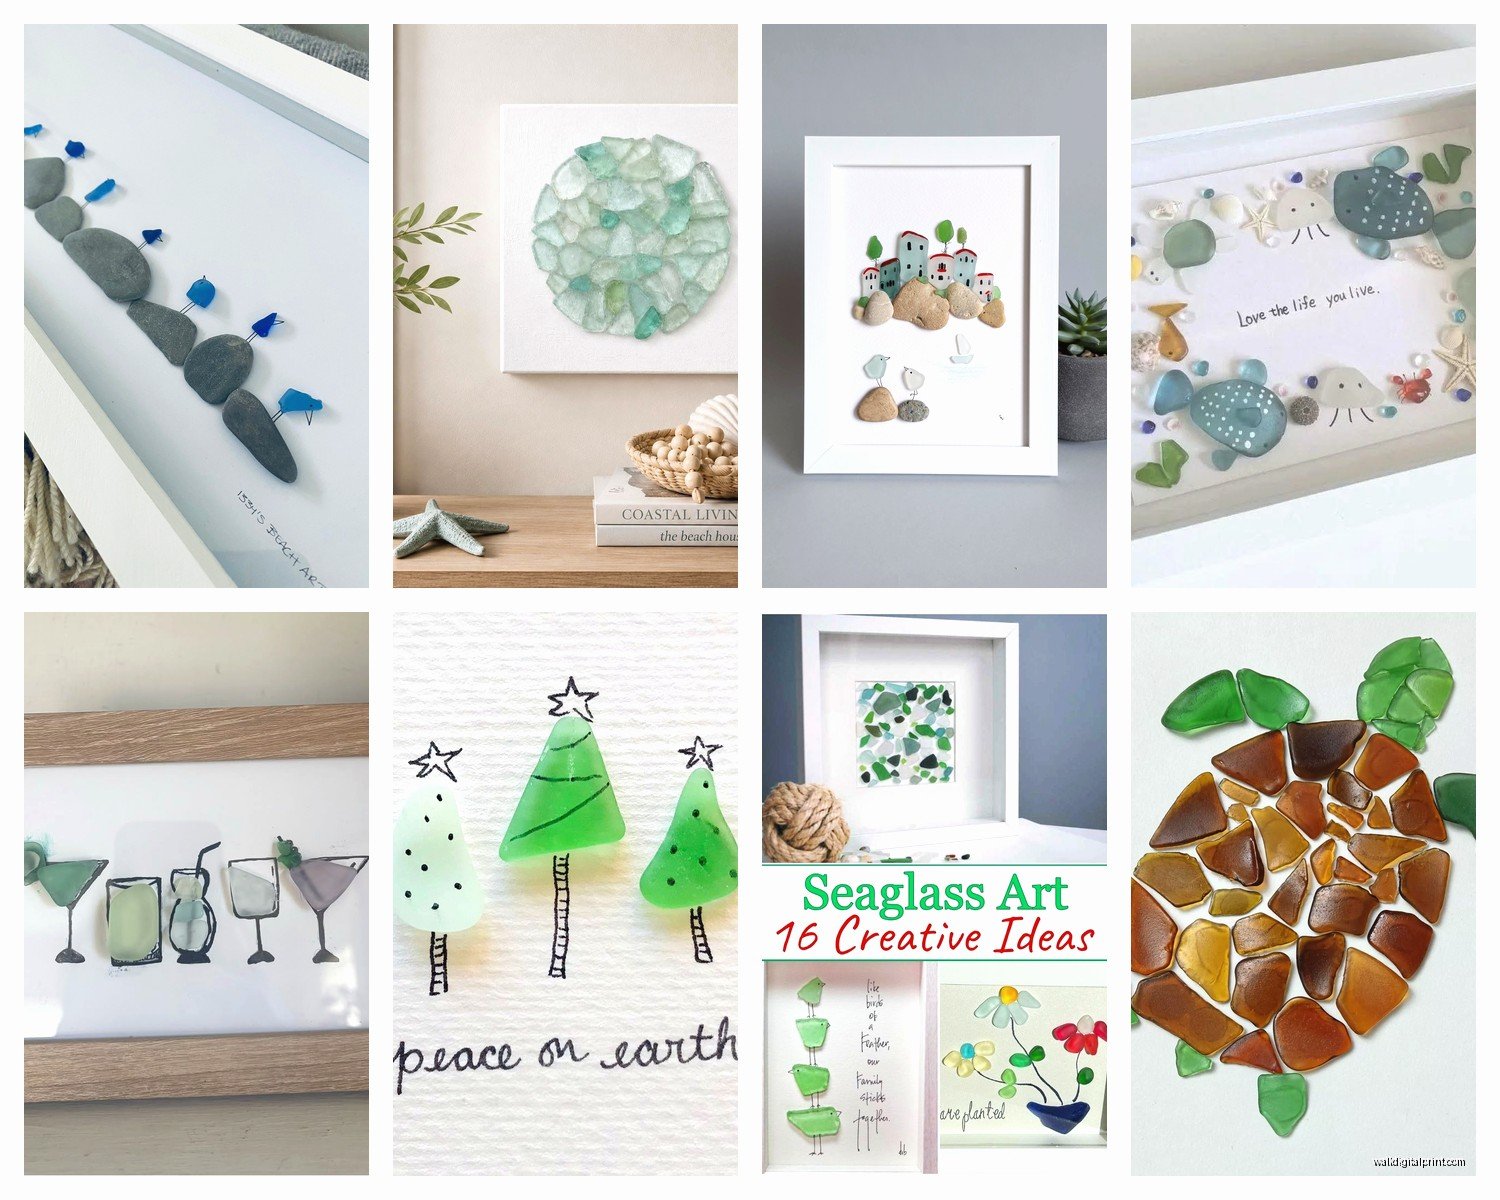
- Ocean waves – horizontal flowing lines that mimic water movement
- Random organic clusters – honestly sometimes this looks the most natural
- Geometric shapes filled in with glass – circles, triangles, whatever
- Actual pictures like fish or boats or anchors
The geometric thing is having a moment right now, I’ve done three commissions this month that all wanted hexagon patterns filled with sea glass. My cat knocked over one of them before the glue dried and I almost cried.
Size and Scale Things
Don’t make your first piece huge. I learned this the hard way with a 3×4 foot monstrosity that took me WEEKS and my arm was dying from holding it up to glue pieces. Start with something like 12×16 inches max.
Also you need way more glass than you think. For a 12×16 piece I probably use like 200-300 pieces depending on their size. When you’re collecting, grab everything even if it seems too small because those tiny pieces are perfect for filling gaps.
Backing Materials That Actually Work
I’ve tried so many things and here’s what doesn’t suck:
Wood boards – Probably the best option. Get them from craft stores, make sure they’re smooth. I usually paint mine first in a color that complements the glass. White or light blue are safe choices but I did one with a dark charcoal background that looked really dramatic.
Canvas – This works but you need to prep it differently. The texture of canvas can make gluing weird so I coat mine with a layer of white gesso first, let it dry completely, then add another coat. Makes it smoother for adhesion.
Driftwood or reclaimed wood – Looks super beachy and authentic but it’s harder to work with because the surface isn’t uniform. You’ll use more glue to compensate for the uneven areas.
What doesn’t work: cardboard (warps), fabric (glue bleeds through), regular paper (are you kidding me it’ll fall apart).
The Glue Situation
This is where people mess up the most. Regular craft glue is NOT gonna hold glass long-term, especially if you’re hanging it on a wall where temperature changes and humidity happen.
I use E6000 for almost everything. Yes it smells terrible and you need ventilation – I work in my garage with the door open even in winter. But it holds forever and it’s crystal clear once it dries. The trick is using just enough… you want a small dot on each piece that spreads slightly when you press it down but doesn’t ooze out the sides.
wait I forgot to mention – test your glue on your backing material first! I used E6000 on this painted wood once and it reacted with the paint and created this weird bubbling texture. Now I always do a test spot in the corner first.
Hot glue works in a pinch but it yellows over time and looks cheap. I only use it for temporary mockups.
Gorilla Glue expands as it dries which can actually push your pieces around. Not recommended.
Museum gel or quake putty is good for pieces you might want to rearrange later but it’s not permanent enough for wall art that’s gonna hang for years.
Application Process
Okay so once you’ve got your design laid out on the board, take a photo of it. Seriously, take like five photos from different angles because you WILL forget where pieces go.
I work in small sections, maybe 4×4 inches at a time. Apply glue to the backing, place your pieces, press down firmly for like 10 seconds each. Don’t move them around once they’re down because the glue starts setting up pretty quick.
Some people glue the glass pieces instead of the board but I find that messier. You get glue on your fingers, then on the front of the glass, then you’re trying to clean it off and everything’s a disaster.
Let each section dry for at least 30 minutes before moving to the next one, especially if pieces are touching. Otherwise they can slide into each other.
Dealing With Gaps and Spacing
This is gonna sound weird but gaps are good. Don’t try to fit every single piece perfectly edge-to-edge like a puzzle. Some negative space makes the design breathe and honestly it’s less stressful to create.
When I first started I was obsessed with filling every millimeter and it looked cluttered and kinda chaotic. Now I leave intentional gaps, usually like 1/8 inch between most pieces. For some designs I go wider, like 1/4 inch, especially if the background color is really pretty.
oh and another thing – you can fill gaps with other beach materials. I’ve used small shells, sand dollars, tiny pieces of driftwood, even beach pebbles. Just make sure everything is clean and dry before gluing.
Finishing Touches
Once everything is glued and fully dried (give it like 24 hours minimum), you have options for finishing.
Resin coating – This is trendy right now and makes everything super glossy and protected. But it’s tricky to work with. You need a self-leveling resin, you need to work in a dust-free environment, and you gotta deal with bubbles. I’ve done maybe six resin pieces and three of them had issues. My client loved one of the messed up ones though because the bubbles looked like actual ocean foam so… art is subjective?
Grout – Some people fill the gaps with grout like you would with tile mosaic. I personally think this looks too crafty, like something from a church basement workshop in 1987, but some people love it. If you do this, use unsanded grout in white or light gray.
Leave it natural – Honestly this is what I do most often. The sea glass already has that beautiful matte finish, why cover it up? Just make sure your backing is sealed or painted so it doesn’t warp over time.
Sealing the Back
Something nobody tells you – seal the back of your wood board too. Wood absorbs moisture from the air and can warp, which will make your carefully glued glass pieces pop off. I use a clear acrylic sealer spray, two coats minimum.
Hanging Methods
For lighter pieces under like 5 pounds, command strips work fine and don’t damage walls. I use the picture hanging ones, usually two strips for redundancy.
Heavier pieces need actual hardware. I attach sawtooth hangers to the back of the wood, centered and about 1/3 down from the top. Make sure you’re screwing into wall studs or using proper wall anchors because sea glass gets heavy fast.
French cleats are another option for really large pieces. They’re super secure and let you level the piece easily after hanging.
Design Ideas That Actually Look Good
Okay so beyond just random arrangements, here are some concepts I’ve done that turned out great:
Monochromatic collections – All blue glass in different shades creates this really serene, sophisticated look. I did one for a bathroom and it’s perfect in there.
Jewelry-inspired designs – Arrange pieces like a necklace pattern or bracelet layout. Sounds weird but looks elegant, especially with mixed colors.
Shadow box depth – Instead of flat mounting, use a deep frame or shadow box and layer pieces at different depths. Creates really cool dimension.
Functional art – I made a piece that’s also a jewelry holder by leaving some pieces slightly elevated on wire posts so you can hang earrings and necklaces on them. Sold immediately.
Typography – Spell out words or initials with sea glass. “BEACH” “OCEAN” or family names. These make great gifts.
My friend asked me to make one that said “SERENITY NOW” which is apparently a Seinfeld reference? I was watching that episode while gluing it and finally got the joke.
Preservation and Maintenance
Sea glass doesn’t really deteriorate but dust happens. I just use a soft paintbrush to dust pieces every few months. Don’t use water or cleaning products because they can mess with the glue over time.
Keep your art out of direct harsh sunlight. Won’t damage the glass itself but can fade your backing material or cause wood to dry out and crack.
If a piece falls off – and eventually one probably will – just clean off the old glue residue with rubbing alcohol, let it dry, and reglue it. Not a big deal.
Selling Your Work
If you get into this and want to sell pieces, price them higher than you think. I underpriced my first few and basically made like $3 an hour for my time. Now I calculate materials cost plus at least $30-50 per hour of work time.
People will pay good money for authentic sea glass art. The fake tumbled glass stuff sells for way less, which is how it should be. You’re offering something that required actual beach time, sorting, design skills, and careful construction.
I sell mostly through Instagram and local art fairs. Etsy takes too much in fees for my taste but some people do well there.
Common Mistakes to Avoid
Using glass that’s too sharp – seriously you’ll cut yourself and also it’s not real sea glass if it’s sharp
Overcrowding your design – less is more, give pieces room to shine
Skipping the planning photo – you will regret this when you forget your layout
Using too much glue – it squishes out and looks messy and unprofessional
Not letting glue fully cure before hanging – pieces will fall off and you’ll be sad
Forgetting to sign your work – put your name and date on the back, it’s art!
Working in humid conditions – glue takes forever to dry
I gotta say, this whole sea glass art thing started as just a way to use up my collection but it’s become this whole side business that’s actually kinda lucrative. Plus it gives me an excuse to go beach combing which is basically free therapy anyway.