Wall Art Guide, Wall Art Tutoriels
3D Wall Art Sculptures: Dimensional Relief Artistic Pieces
Nov
So I’ve been completely obsessed with 3D wall art lately and honestly it started because I walked into this boutique hotel in Portland and their lobby had these incredible dimensional pieces that just… made the whole space feel alive, you know? Like the walls were breathing or something. Anyway, let me dump everything I know about actually choosing and installing these things because I’ve made some mistakes and learned a ton.
Understanding What You’re Actually Looking At
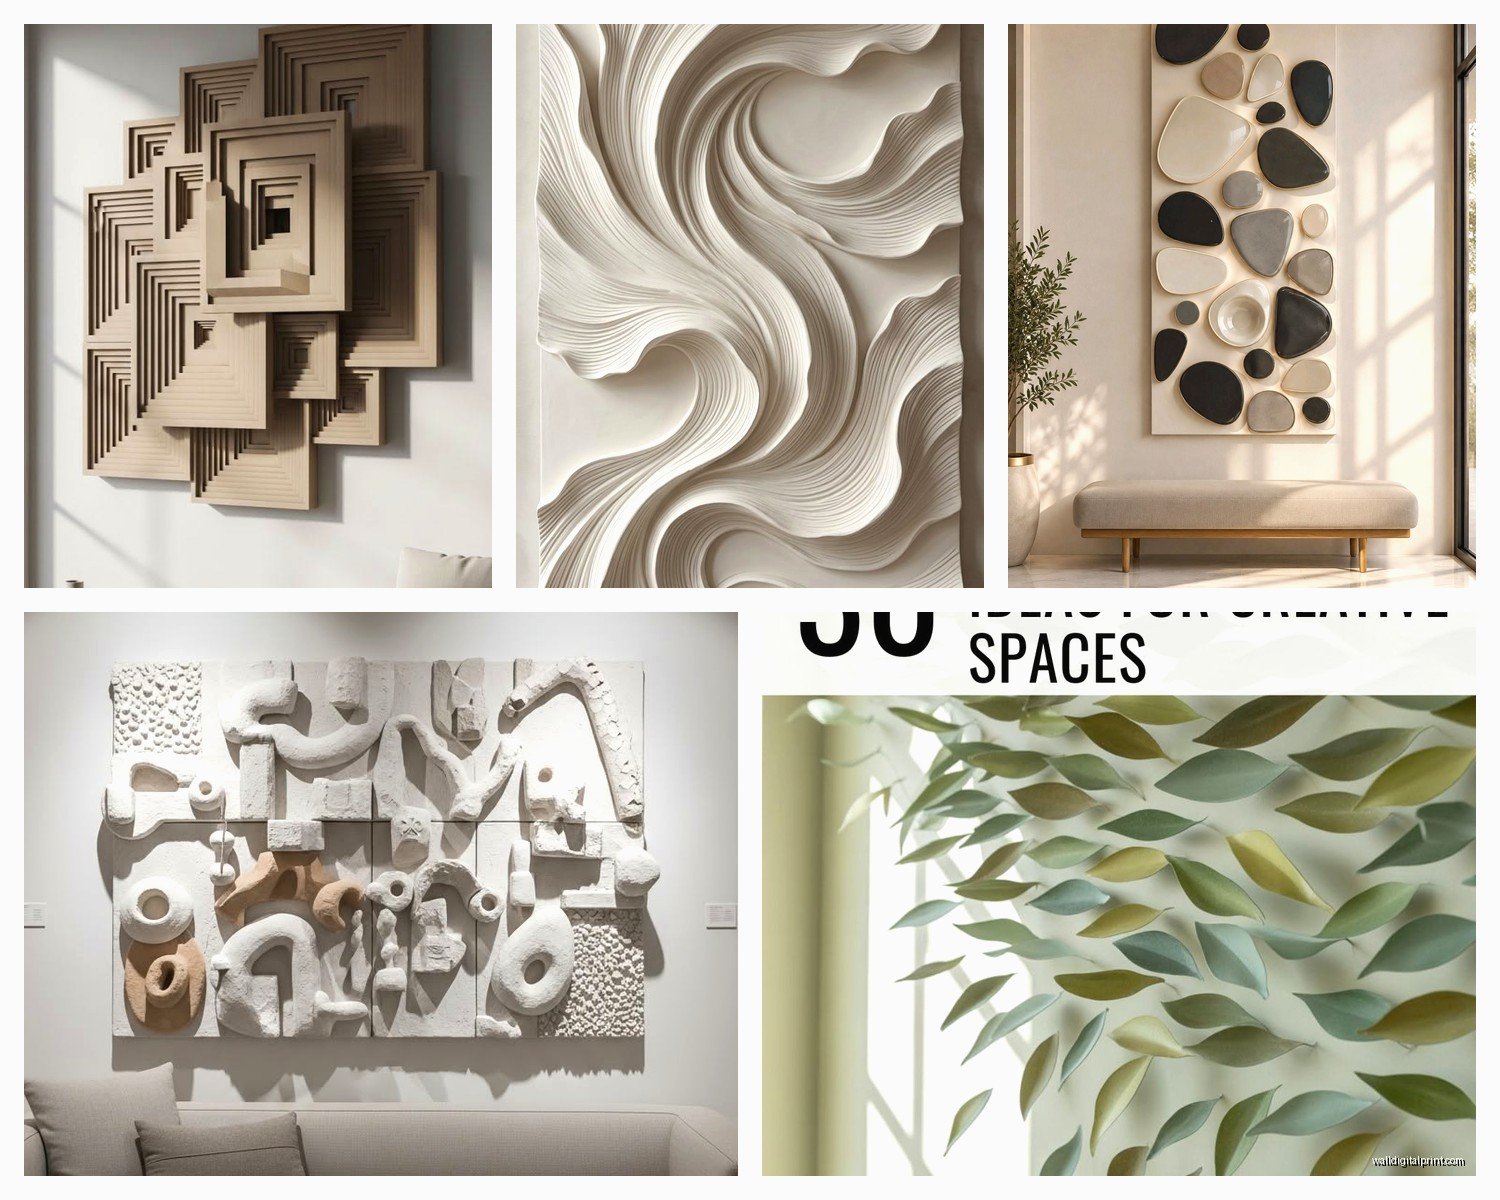
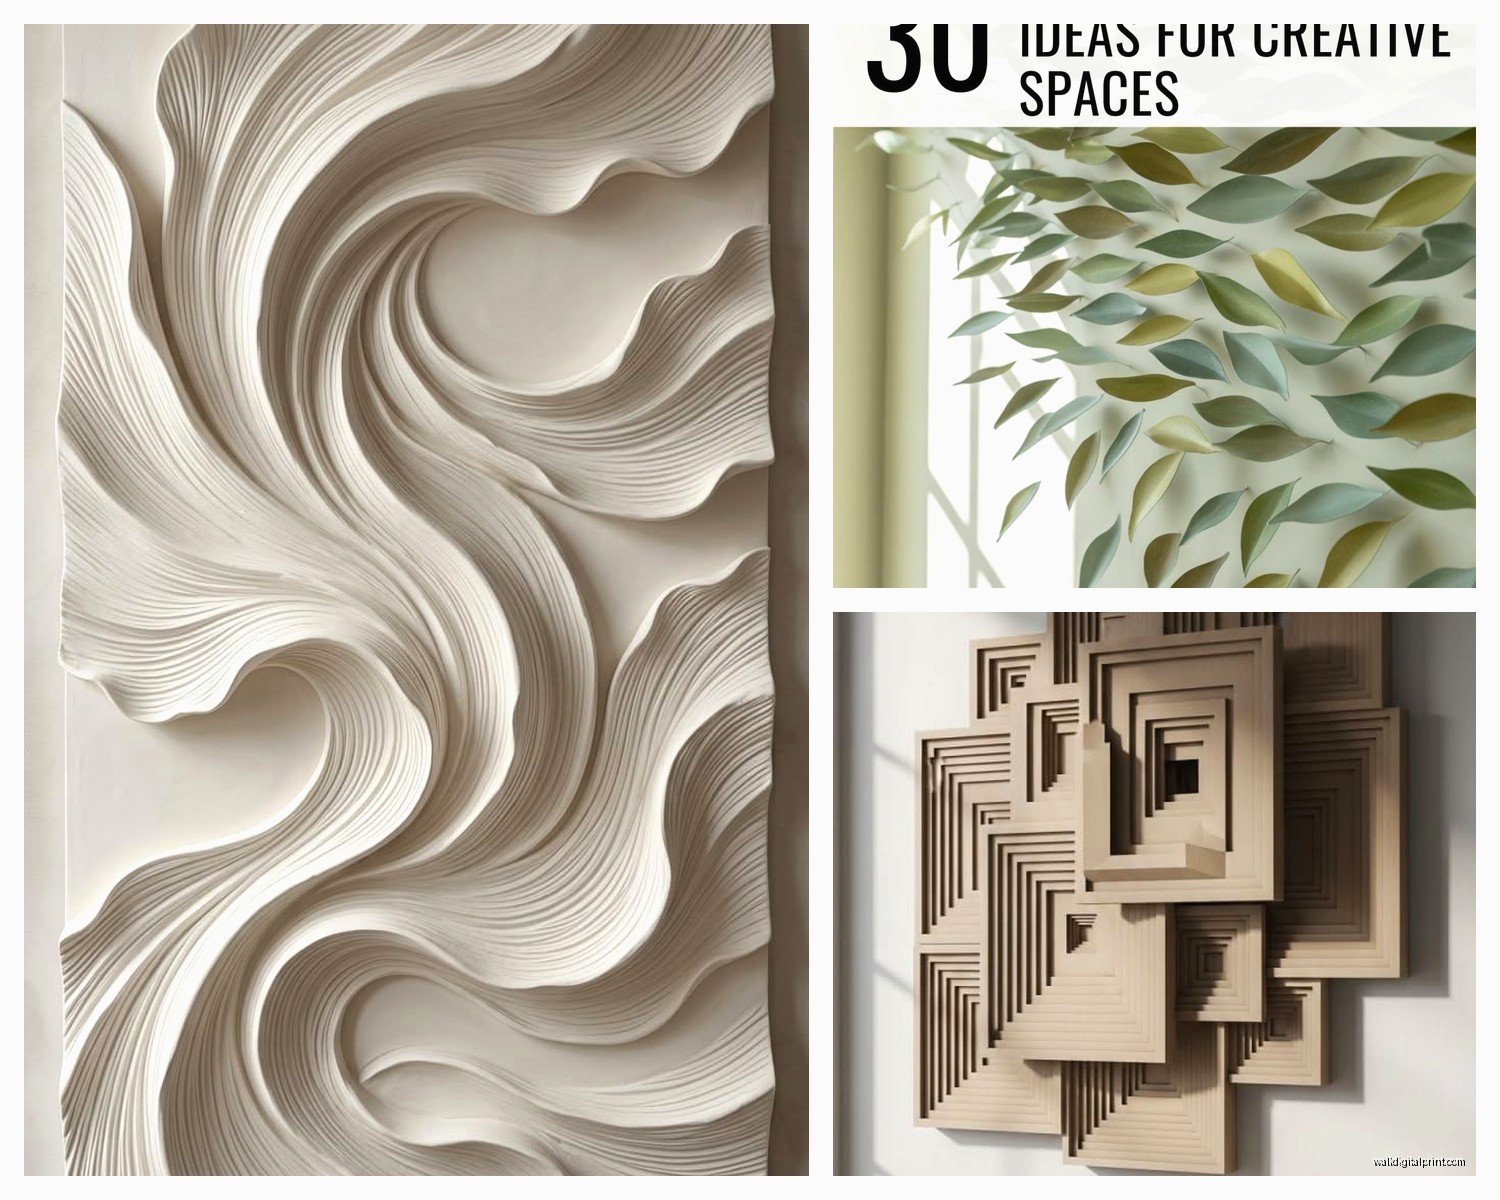
Okay so first thing – 3D wall art isn’t just one thing. There’s like five different categories and people mix them up all the time. You’ve got your actual sculptures that protrude like 6-8 inches from the wall, then there’s bas-relief stuff which is more subtle (maybe 1-3 inches), then there’s layered paper or wood art that creates depth, metal wall sculptures, and then this whole category of geometric modular pieces you can arrange however you want.
I personally love the metal ones because they’re durable and you don’t worry about your dog’s tail knocking into them (my golden retriever cleared a shelf once, whole other story), but the layered wood pieces have this warmth that metal just can’t match.
Material Breakdown From Someone Who’s Handled All of Them
Metal sculptures are usually aluminum or steel. The aluminum ones are lighter which matters SO much when you’re installing – I once tried hanging a 40-pound steel piece by myself and yeah, that didn’t go well. Steel looks more substantial though, has that weight and presence. They come powder-coated usually, which means the finish actually lasts.
Wood and MDF pieces are tricky because you gotta watch for quality. Real hardwood is gorgeous but expensive. MDF painted to look like wood is… fine? It’s lighter and cheaper but it can look cheap if the finish isn’t done right. I’ve seen both work beautifully though – depends on your budget honestly.
Resin is having a moment right now. You can get these incredible organic shapes, like abstract waves or geometric crystals. They’re surprisingly lightweight but here’s the thing – they can yellow over time if they’re in direct sunlight. Found that out the hard way with a client’s sunroom installation.
Choosing the Right Piece For Your Space
This is where people mess up constantly. They see something gorgeous online, buy it, and then it’s either way too small for their wall or so massive it overwhelms everything.
The rule I use is measure your wall space and aim for the artwork to take up about 60-75% of that area. So if you’ve got a wall that’s 8 feet wide, you’re looking at a piece (or arrangement of pieces) that’s roughly 5-6 feet across. This sounds huge when I say it but trust me, it looks proportional.
For height, if it’s going above furniture like a couch or console table, the bottom of the art should be 6-8 inches above the furniture. I’ve measured this so many times with painter’s tape before committing.
Style Matching Without Being Too Matchy
Okay so funny story – I used to think everything had to coordinate perfectly. Same finish, same era, same vibe. But the installations I’m most proud of now are the ones where I mixed it up a bit.
Like in my own living room, I have this industrial metal burst sculpture (very 3D, sticks out about 5 inches) but the rest of the room is pretty organic and soft. The contrast actually makes both elements stronger? If everything was industrial it would feel cold, if everything was soft it would feel boring.
That said, there’s a difference between intentional contrast and just chaos. Pick one element that ties it together – maybe it’s the color palette, or the shapes echo each other, or there’s a repeated material elsewhere in the room.
Installation Reality Check
Oh man, this is where it gets real. Most 3D wall art is heavier than you think it’s gonna be. Even the “lightweight” pieces.
What You Actually Need
First, forget those command strips for anything over like 5 pounds. Just forget it. I know the packaging says they hold more but with dimensional art that sticks out from the wall, there’s leverage and physics happening that makes them fail.
For drywall, you need proper anchors. I use toggle bolts for anything heavy – they distribute weight behind the drywall and actually hold. For medium weight stuff (under 15 pounds), good quality plastic anchors work fine. You drill a hole, tap the anchor in, then screw into it.
Stud finders are your friend but also super annoying because studs are never where you want them to be. If you can hit a stud though, just use a regular wood screw – it’s the most secure option.
The Actual Process I Use
I make a paper template first. Sounds tedious but it saves so much heartache. Trace the piece on kraft paper or tape together newspaper, mark where the hanging hardware is, then tape that template to the wall. You can move it around, see the scale, get the placement perfect before making any holes.
Use a level. Like actually use it. I thought I could eyeball it for years and every single time the piece ended up slightly crooked. Now I just use the level from the start.
For really heavy pieces (over 30 pounds), I install a french cleat system. It’s basically two interlocking pieces of wood or metal – one mounts to the wall, one mounts to the back of the artwork. They hook together and distribute weight horizontally. Super secure and you can still adjust left-right after installation.
Arrangement Ideas For Multiple Pieces
Modular 3D art is huge right now – like those geometric hexagon sets or the abstract panel sets where you arrange them however you want. This is gonna sound weird but I lay them out on the floor first in the exact configuration I want, take a photo from directly above, then recreate that on the wall.
The asymmetrical cluster arrangement is my go-to. You take odd numbers of pieces (3, 5, 7) and group them with varied spacing. The dimensional aspect makes this work even better than flat art because the shadows create additional visual interest.
Wait I forgot to mention – lighting makes SUCH a difference with dimensional art. The whole point is the shadows and depth, right? So if you light it wrong, you lose that. I usually use track lighting or picture lights positioned to hit the piece at an angle. Straight-on lighting flattens everything out.
Where to Actually Buy Quality Pieces
Online is tricky because you can’t see the actual depth and finish. I’ve ordered things that looked substantial online and they arrived looking cheap and flimsy.
West Elm and CB2 have decent mid-range options. Their metal work is usually solid quality. Anthropologie has more artistic pieces but they’re pricey – you’re paying for the unique designs though.
For budget stuff, honestly Target has stepped up their wall art game. I’ve found some surprisingly good dimensional pieces there under $100. Home Goods is hit or miss but when you find something good, the price is right.
Etsy is where I find the most unique pieces. There are metalworkers and woodworkers creating custom dimensional art that you literally cannot find anywhere else. It takes longer to ship and quality varies by seller, but I always read reviews and look for shops that show detail photos.
High-end galleries if you’re really investing – I’m talking $500+ pieces. But these are statement makers, often artist-signed, and the craftsmanship is noticeable.
Red Flags When Shopping
If the product photos only show straight-on views, that’s suspicious. You need to see the side profile to understand the actual dimension.
Check the weight specs. If a metal sculpture claims to be 3 feet wide but only weighs 2 pounds, it’s probably flimsy stamped metal that’ll look cheap in person.
Read the material descriptions carefully. “Metal-inspired finish” might mean it’s actually resin or plastic. Not necessarily bad, but know what you’re getting.
Styling Around Your 3D Piece
The art needs breathing room. Don’t crowd it with other wall decor right next to it – the dimensional aspect is the focal point, let it be the star.
I do like flanking a large dimensional piece with simple wall sconces though. The light plus the sculptural quality creates this really elevated look.
If you’re doing a gallery wall that includes some 3D elements mixed with flat art, put the dimensional pieces slightly off-center or in asymmetrical positions. It creates movement and keeps your eye traveling around the arrangement.
Color Considerations
Metallic finishes (gold, brass, copper, silver) work in almost any space because they read as neutral but interesting. My client’s dining room has this brass geometric piece and it works with her blue walls, would also work with white, gray, whatever.
If you’re going with colored pieces, pull the color from something else in the room – a throw pillow, a rug, artwork. It doesn’t have to be an exact match but there should be a color conversation happening.
Black dimensional art is super versatile but can disappear against dark walls. I learned this when I put a matte black metal piece on a charcoal wall and you literally couldn’t see the detail. Changed it to a bronze finish and suddenly the whole thing came alive.
Maintenance Reality
Dust accumulates in all those dimensional crevices and it’s annoying to clean. I use a soft brush attachment on my vacuum on low suction, or a microfiber duster. For metal pieces, sometimes I’ll use a slightly damp cloth but make sure it’s completely dry after.
The protruding parts are vulnerable to damage. I’ve had pieces get dinged when moving furniture or during that time my nephew was running through my house with a foam sword (kids, man). Just something to be aware of in high-traffic areas.
Some finishes patina over time, especially brass and copper. I actually like this look but if you want to maintain the original finish, you’ll need to use a metal polish occasionally.
Common Mistakes I See All The Time
Hanging it too high. The center of the artwork should be at eye level, which is usually around 57-60 inches from the floor. People think dimensional art should be higher for some reason but same rules apply.
Choosing pieces that are too small. I mentioned this earlier but it bears repeating – scale up more than you think you need to. A tiny dimensional piece on a big wall just looks lost.
Ignoring the room’s ceiling height. In rooms with super high ceilings (like 10+ feet), you can go with taller vertical pieces or stack elements vertically. Standard 8-foot ceilings, keep things more horizontal.
Not considering the viewing angle. 3D art looks different from different spots in the room. Stand where you’ll actually be most often – sitting on the couch, entering the doorway, whatever – and make sure it looks good from those angles.
My Current Favorite Applications
Entryways are perfect for dimensional art because it’s the first thing people see and it immediately sets a tone. I did this layered wood mountain range piece in my own entryway and people always comment on it.
Behind the bed as a headboard alternative. Way more interesting than a traditional headboard and you can go really dramatic with scale since you’re not gonna bump into it.
Dining rooms – there’s something about dimensional art in a dining space that makes it feel more formal and intentional. Maybe it’s because you’re sitting there for extended periods and can actually appreciate the shadows and depth.
Outdoor covered spaces if the piece is rated for it. I have a metal burst sculpture on my covered patio and it’s held up great for two years. Just make sure it’s specifically outdoor-rated.
Anyway, I’m realizing I’ve been typing for way too long but hopefully this helps? The main thing is just don’t overthink it but also do measure twice and drill once. And maybe have a friend help with the installation because holding a level while drilling into a wall is basically impossible alone.