Wall Art Guide, Wall Art Tutoriels
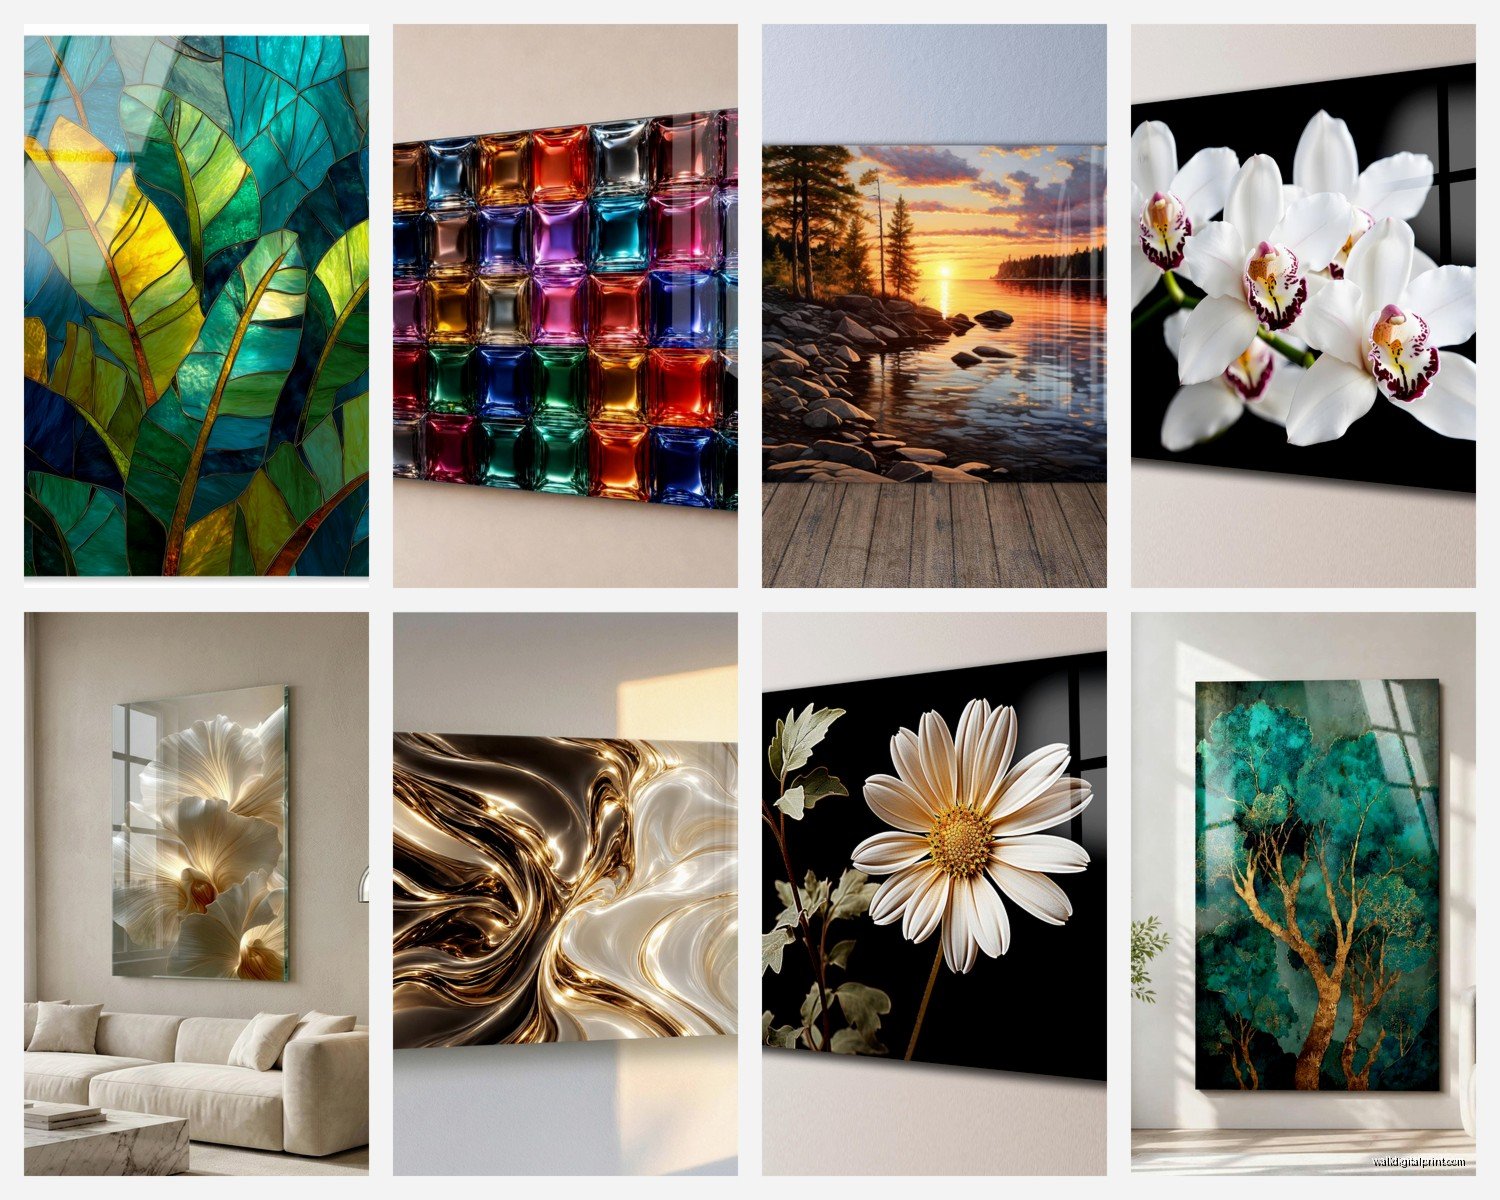
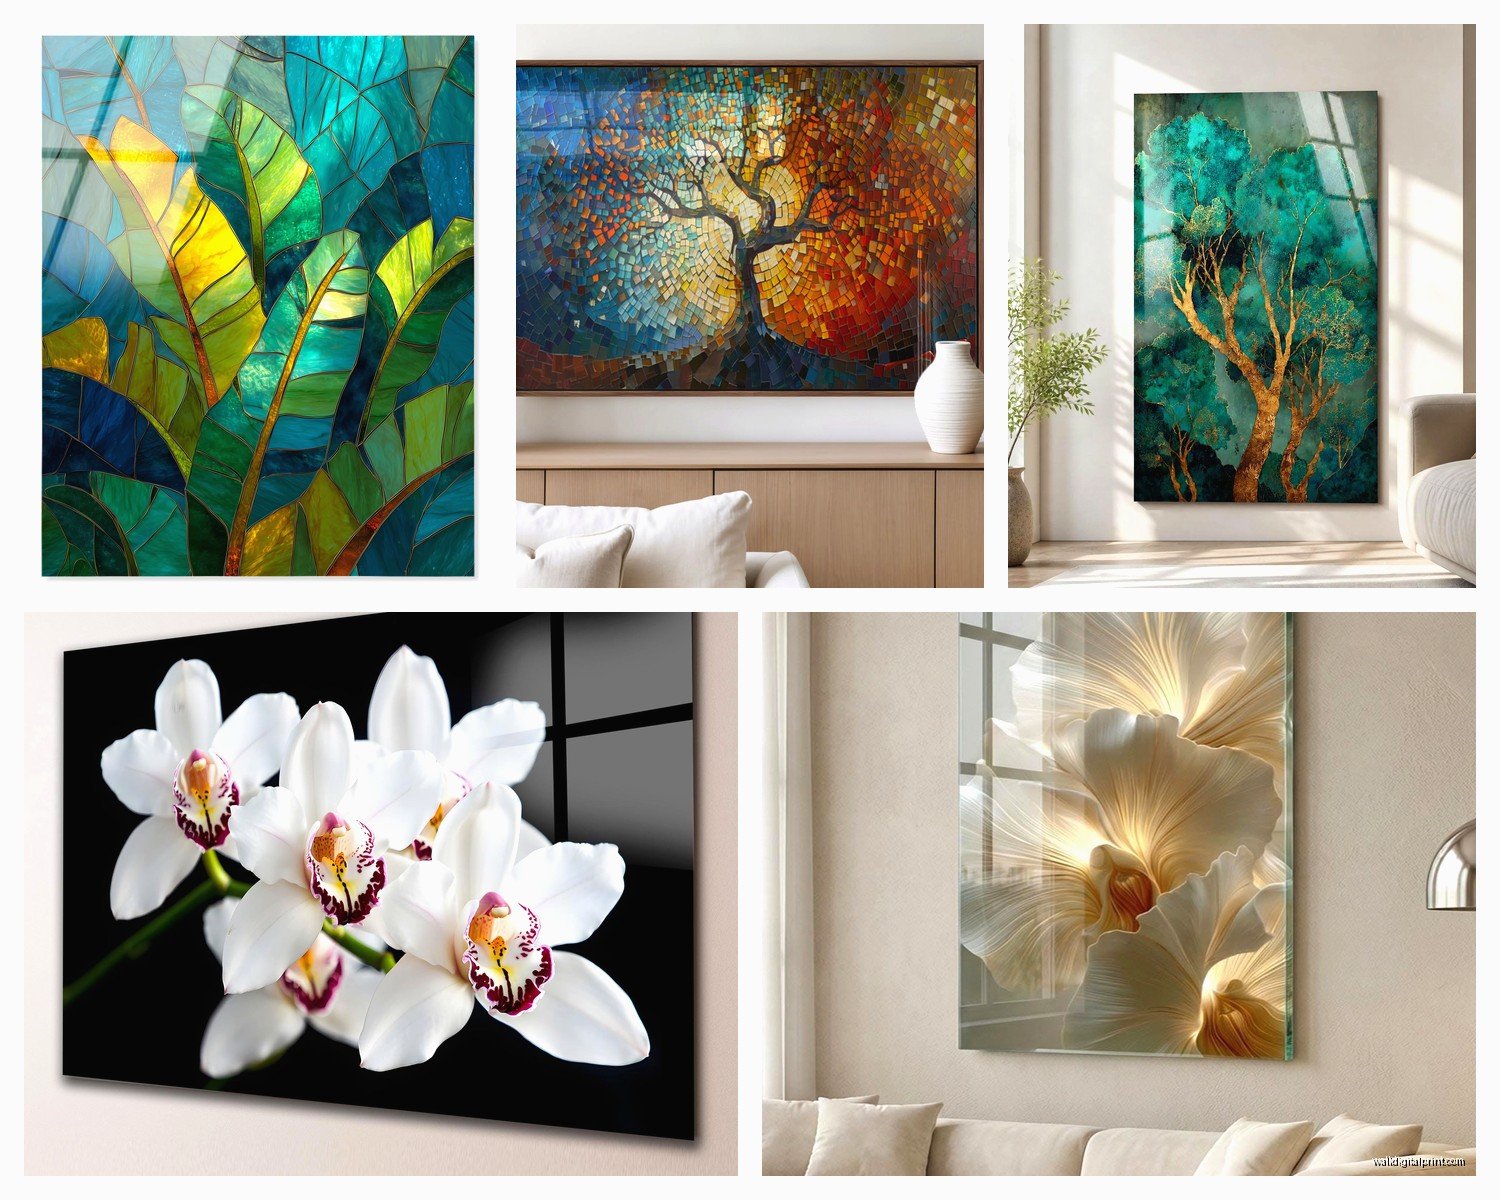
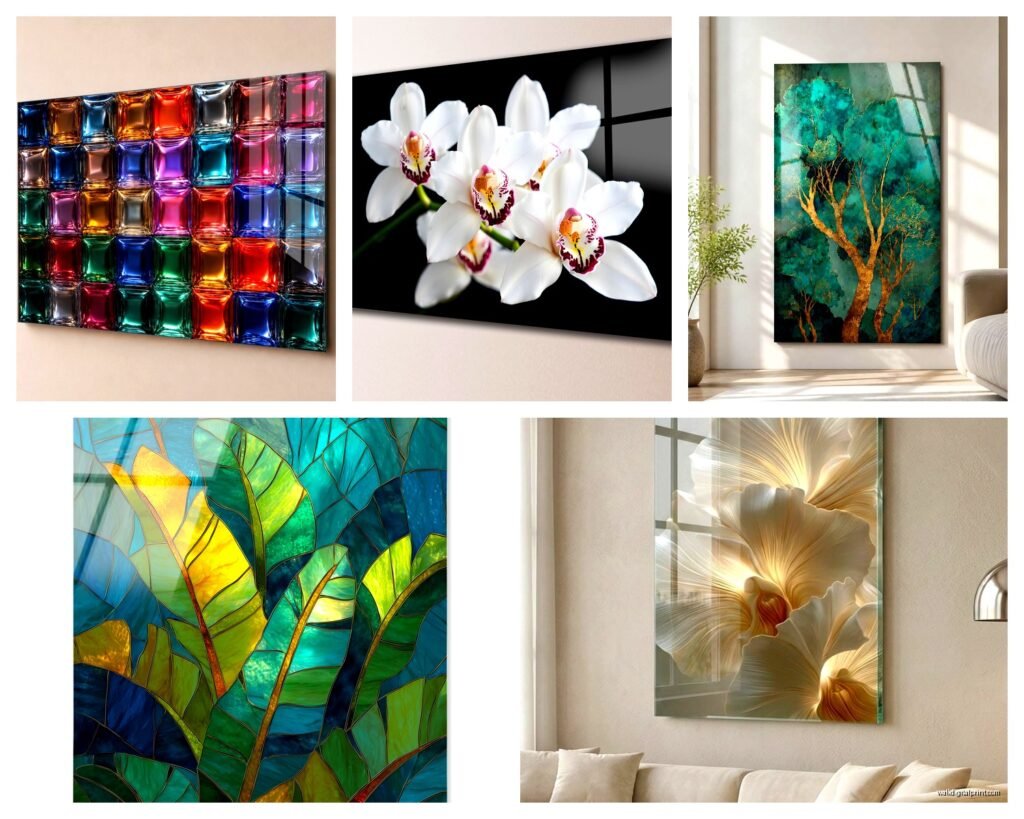
Glass Printing Wall Art: Transparent Printed Panel Designs
Nov
So I’ve been testing glass printed panels for like six months now and honestly, I wish someone had just laid this all out for me before I spent way too much money on samples that looked terrible on the wall.
What Actually Works for Glass Printing
Okay so first thing – not all glass printing is the same and this matters more than the companies want you to know. You’ve got UV printing which is what most places use now, and then there’s the older ceramic ink method that some high-end studios still do. UV printing is what you want for residential stuff because it’s more affordable and the color range is actually better for photos and art reproductions.
The thickness thing trips everyone up. Standard is 4mm or 6mm. I always go 6mm for anything larger than like 20×20 inches because the 4mm stuff can look kinda flimsy when you’re standing close to it, and if you’re spending money on custom glass art you don’t want it looking cheap. My neighbor got 4mm panels for her dining room and I can literally see them flex slightly when the air conditioning kicks on. Not enough that anyone else notices but once you see it you can’t unsee it.
The Transparency Question Nobody Explains Right
Here’s where it gets interesting – you can print on clear glass with full opacity ink OR you can do actual transparent printing where light passes through. Most people don’t realize you’re choosing between these two totally different looks.
Full opacity printing on glass basically gives you a smooth, glossy image that looks like it’s floating on the glass. This is what I use for client projects probably 80% of the time because it works with any wall color and any lighting situation. You mount it with standoffs so there’s that gap between the wall and the glass panel which creates this subtle shadow effect that’s really nice.
Transparent printing is trickier but when it works it WORKS. You need backlighting or you need the right wall color behind it. I did a project last year where we printed botanical designs in transparent inks on glass and mounted them on a white wall with LED strips behind the panels. Looked incredible during the day and even better at night when the backlighting kicked in. But here’s the thing – we had to do three test prints to get the ink density right because too light and it disappears, too heavy and you lose the transparency effect.
Choosing Images That Actually Print Well
This is gonna sound weird but not every image should go on glass. I learned this the hard way when a client insisted on printing this moody landscape photo with lots of dark shadows. On regular canvas or paper it looked amazing. On glass it just looked… muddy? The glossy surface does something to dark tones that makes them feel flat.
What works really well:
- High contrast images with clear subjects
- Botanical prints and line drawings
- Abstract art with bold colors
- Black and white photography with good tonal range
- Geometric patterns
- Anything with metallic or iridescent elements in the design
The metallic thing is actually a recent discovery for me. Some printing companies now offer metallic UV inks and they look insane on glass. Like the light hits it and you get this shimmer effect that changes depending on where you’re standing. I used metallic gold ink for an art deco inspired piece in my own living room and people always ask about it.
Resolution and File Requirements
You need 150 DPI minimum at the actual print size. Not 72 DPI that looks fine on your screen. Not 100 DPI because “it’s just going on a wall.” 150 minimum and honestly I push for 300 DPI whenever possible because glass is SO unforgiving with image quality.
Most print shops will tell you they can work with whatever you send them but that’s not really true. I sent a vintage botanical print that was only 100 DPI once and when the panel arrived you could see the pixelation from like six feet away. Had to reorder with a better source file. Cost me an extra week and money I didn’t budget for.
Oh and another thing – RGB vs CMYK doesn’t matter as much with UV printing as it does with traditional printing. Most UV printers work in RGB anyway. But you still want to check what color profile the print shop prefers because colors can shift if you’re not matching their workflow.
Mounting Options That Don’t Look DIY
Standoff mounts are the standard and for good reason. You get these metal posts that go through holes drilled in the corners of the glass and they hold the panel about 3/4 inch off the wall. Creates that floating effect and the shadow behind the panel adds depth.
But you gotta drill holes in the glass which means you need to know BEFORE printing where those holes will go. Most companies charge extra for drilling and it’s usually worth it because drilling tempered glass yourself is… I mean you can do it but it’s nerve-wracking and if you crack it you’re out the whole cost of the panel.
French cleat systems work too if you don’t want visible hardware. The glass panel sits in a metal frame that hangs on a cleat attached to the wall. Less modern looking but more traditional if that’s your vibe. I used this method for a client who wanted glass art in a craftsman style home and it felt more appropriate than the industrial standoff look.
Wait I forgot to mention – some companies now do magnetic mounting systems which is actually pretty cool. Strong neodymium magnets embedded in a wall plate and corresponding magnets on the back of the glass panel. Makes it super easy to swap out panels seasonally or whenever you want a change. Haven’t tested this long-term yet but short-term it seems solid.
Edge Treatment Actually Matters
Polished edges vs raw edges is not just an aesthetic choice. Raw edges can be sharp enough to cut you. Seriously. I have a scar on my thumb from handling a raw edge panel without gloves. Polished edges cost more but they’re worth it if anyone’s gonna be near the panel or if you’re ever gonna need to move it.
Beveled edges are the fancy option – they catch light in this really nice way and add another design element to the piece. Usually adds about 30-40% to the cost but for a statement piece in a main living area I think it’s worth considering.
Backlighting Setups That Work
If you’re doing transparent printing you probably want backlighting at some point. LED strips are the obvious choice and they’re cheap now but placement is everything.
I usually run LED strips around the perimeter of the panel, hidden behind the mounting hardware. You want the light to spread evenly across the back of the glass without creating hot spots. This means leaving at least 2 inches of space between the wall and the glass panel which affects your standoff choice.
Color temperature matters more than you’d think. Warm white (2700K-3000K) makes everything feel cozy but can shift colors in your printed image. Cool white (4000K-5000K) is more neutral and shows colors more accurately. I keep both types on hand and test before installation because it really depends on the specific image and the room’s other lighting.
Smart LED strips that change color or dim are fun for like artistic installations but honestly most clients end up just leaving them on one setting. The novelty wears off. Unless you’re doing something in a kid’s room or a home theater where changing lighting is actually functional.
The Cleaning and Maintenance Reality
Glass shows every fingerprint and every speck of dust. This is not me being dramatic – it’s the main complaint I hear from clients after installation. You’re basically committing to dusting these panels weekly if you want them to look good.
Regular glass cleaner works fine but microfiber cloths are essential. Paper towels leave streaks and regular cloths can scratch if there’s any grit on them. I keep a dedicated microfiber cloth for each glass panel installation and tell clients to do the same.
The printed surface is more durable than you’d expect with UV printing. I’ve had panels up for three years now with no fading or degradation. But you still don’t want to use abrasive cleaners or scrub too hard around the edges where the ink can be more vulnerable.
Cost Breakdown Nobody Talks About
So here’s the actual money part. Basic UV printed glass panels run about $25-40 per square foot from most online print shops. That’s for standard 6mm glass with basic mounting holes drilled. Add polished edges and you’re looking at $35-50 per square foot. Add beveled edges or metallic inks and it jumps to $50-75 per square foot.
Custom sizes cost more than standard sizes obviously. A 24×36 inch panel is usually cheaper per square foot than a 17×23 inch panel even though it’s bigger because standard sizes are more efficient for the manufacturer.
Mounting hardware runs another $20-60 depending on what system you choose. Standoffs are usually $30-40 for a set. French cleat systems are similar. Those magnetic mounting systems I mentioned earlier are like $80-100 because the magnets are expensive.
Installation is where costs can spiral if you’re not comfortable drilling into your walls. Professional installation for a single panel runs $100-200 in most markets. Multiple panels in one session brings the per-panel cost down.
Oh and shipping – tempered glass is heavy and fragile so shipping costs are not trivial. Expect $40-100 for shipping depending on size and distance. Some companies include crating which adds cost but seriously reduces the chance of damage in transit.
Working With Print Companies
I’ve used probably a dozen different glass printing companies at this point and the quality variance is real. Some questions you gotta ask before ordering:
- What’s your actual production time not including shipping
- Do you do in-house printing or outsource it
- What’s your policy on color matching
- Can I get a small test print before committing to the full size
- What’s your damage in shipping policy
That test print question is important. Most companies will do a 8×10 or 12×12 sample for like $50-75 and it’s worth it for expensive projects. You can check the colors, the ink density, the finish quality, everything before you drop $500 on a large panel.
Color matching is always tricky with printing but with glass it’s even harder because the substrate affects color perception. I always ask for a digital proof but I also know it’s not gonna look exactly like that in real life. The glossy surface of glass makes colors appear slightly more saturated and bright.
Design Layouts for Multiple Panels
Single large panels make a statement but multiple smaller panels give you more flexibility. I’m seeing a lot of people do three-panel installations with either a triptych image split across panels or three coordinating but separate images.
The spacing between panels matters. Too close and they read as one piece, too far apart and they don’t feel related. I usually go with 2-4 inches between panels depending on the overall size. For a three-panel installation where each panel is 20×30 inches, I’d use 3 inch spacing. For smaller panels like 12×18 inches, I’d go down to 2 inches.
Grid layouts work really well for botanical prints or abstract designs. Like a 2×2 grid of 16×16 inch panels or a 3×3 grid of 12×12 inch panels. This look is very modern and works great in contemporary spaces. Just make sure your image either spans the full grid or that each panel works as a standalone piece because the gaps between panels are gonna be visible.
Asymmetric layouts are having a moment – like three panels of different sizes arranged in a cluster. This is trickier to pull off because you need a good eye for balance but when it works it feels more artistic and less formulaic than traditional layouts.
Lighting Considerations for Installation
Where you place glass art relative to windows and light fixtures matters way more than with regular framed art. Direct sunlight can create glare that makes the image disappear at certain times of day. I learned this the hard way with a client’s entryway piece that looked amazing in the morning but was basically a mirror reflecting window glare every afternoon.
The fix is usually about angle and placement. Mount the panel on a wall that’s perpendicular to windows rather than directly across from them. Or use adjustable standoffs that let you tilt the panel slightly to redirect glare.
Overhead lighting creates its own challenges. Recessed ceiling lights aimed directly at glass panels can wash out the image. You want ambient lighting that illuminates the space without creating hot spots on the glass surface. Track lighting aimed at the wall around the panel works better than lighting aimed at the panel itself.
My cat just knocked something over gonna check that real quick – okay false alarm she’s fine just being chaotic.
Seasonal and Temporary Installations
One thing that’s cool about glass panels is you can swap them out way easier than traditional framed art. Those magnetic mounting systems I mentioned make this super practical. Print a few different designs and rotate them seasonally or when you just want a change.
I’ve got a client who has four different botanical print panels – spring florals, summer tropicals, autumn leaves, and winter evergreens. She swaps them quarterly and it’s like redecorating her whole living room for minimal effort. The magnetic mounts make it a five minute job.
This approach costs more upfront because you’re printing multiple panels but if you’re someone who gets bored with your decor or likes to refresh things regularly it’s actually more economical than constantly buying new art.
Outdoor and Moisture-Resistant Applications
UV printed glass can work outdoors or in bathrooms but you need to specifically request outdoor-rated inks and make sure the glass is tempered properly. Standard interior glass printing won’t hold up to weather exposure or constant humidity.
I did a covered patio project last year with glass panels featuring tropical leaf designs. We used automotive-grade UV inks which are formulated to withstand UV exposure and temperature fluctuations. Two years later they still look perfect. But these cost about double what interior printing costs.
For bathrooms the main concern is moisture getting behind the panel and creating mold or water spots. You want sealed edges and you want to mount the panel with enough air circulation behind it that moisture can evaporate. I usually recommend keeping glass art out of the shower area itself and sticking to walls that don’t get direct water exposure.
The reality is glass art in high-moisture areas is gonna require more maintenance. You’ll need to check behind the panels periodically to make sure everything’s staying dry and clean.
Look, glass printing isn’t for everyone and it’s definitely not the cheapest wall art option but when you want something modern and architectural and kinda unexpected it’s hard to beat. Just go in knowing what you’re getting into with maintenance and costs and you’ll be happy with the results.