Wall Art Guide, Wall Art Tutoriels
Wall Art Gaming Room: Video Game Decor Recreation Space
Nov
So I’ve been setting up gaming rooms for like three years now and honestly the wall art thing makes or breaks the whole vibe. My neighbor saw my setup last month and now everyone on the block wants their basement to look like an esports arena.
Starting with Your Actual Wall Space
Okay so first thing – and I messed this up SO bad in my first gaming room project – you gotta figure out what kind of walls you’re working with. Are they drywall? Concrete basement walls? That weird paneling from the 80s? Because I bought these massive metal poster frames once and realized I couldn’t hang them on my client’s basement walls without basically destroying everything.
For drywall you’re golden with pretty much anything. Get some proper anchors though, not those garbage plastic ones that come with frames. I use the self-drilling anchors from the hardware store, the ones in the yellow package? They hold like 50 pounds each and I’ve never had one fail.
The LED Poster Thing Everyone’s Doing
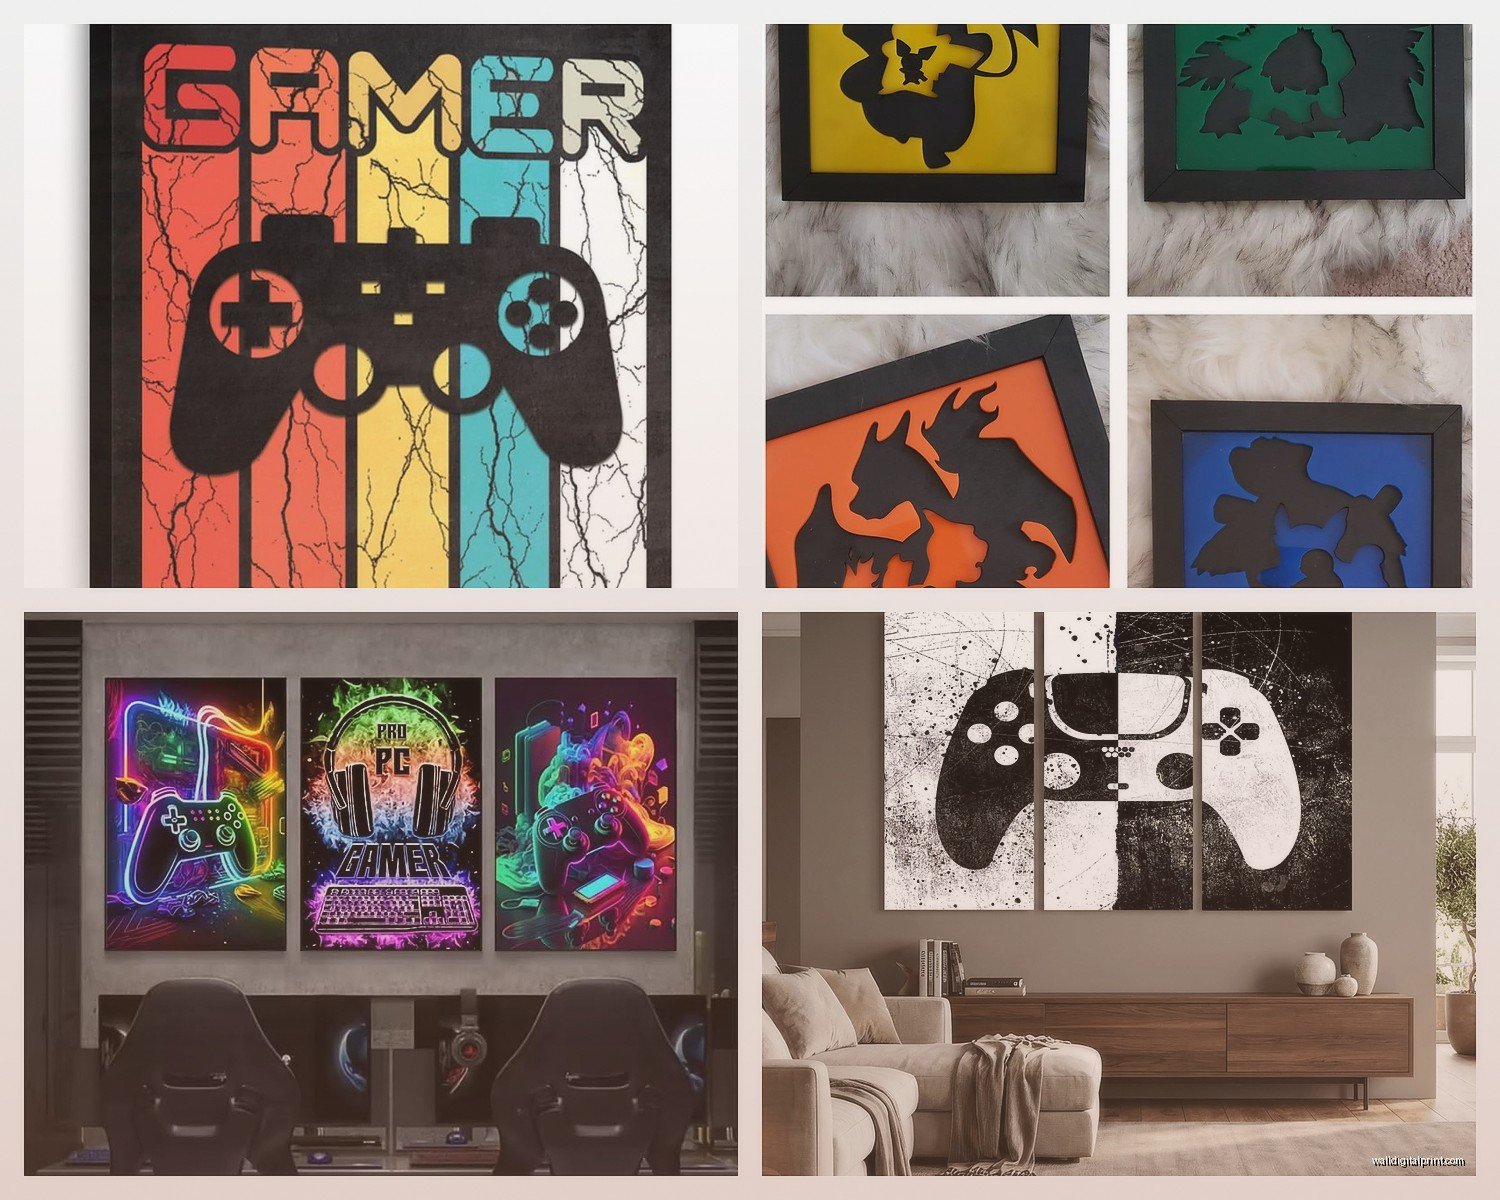
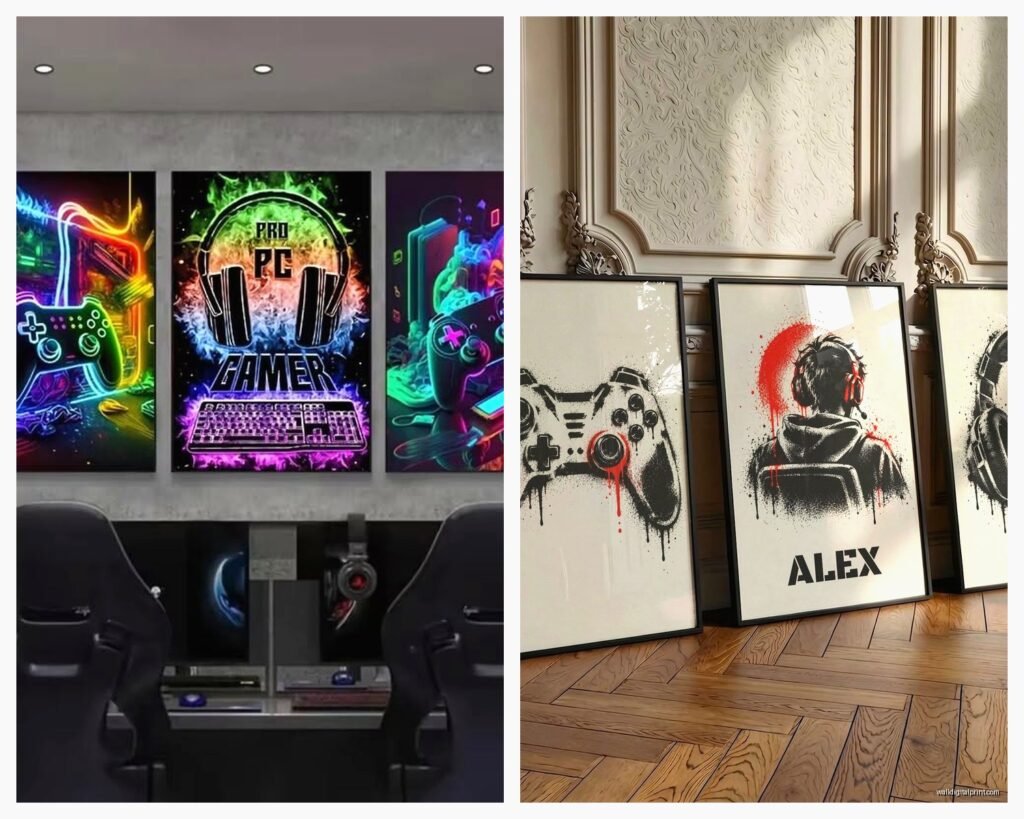
Wait I forgot to mention – those LED backlit posters are actually incredible for gaming rooms. I was skeptical because they looked gimmicky online but then I installed some behind my brother’s setup and the whole room just… transformed? You can get official ones from companies like Displate or there’s these cheaper acrylic ones on Etsy that honestly look almost as good.
The trick is mounting them about 2-3 inches off the wall so the LED strips behind them create that halo effect. I use command strips on the back corners plus one of those LED strip kits you can control with your phone. Cost me like $45 total for a 24×36 inch piece and it looks like a $300 installation.
Canvas Prints vs Metal Prints vs Everything Else
This is gonna sound weird but I actually prefer metal prints for gaming rooms now. Canvas always felt too… art gallery? Like you’re trying too hard. Metal prints have this modern tech vibe that fits better with all the RGB and monitors.
Displate is the big name everyone knows. They’re magnetic which is cool because you can swap them out, but they’re pricey. Like $40-50 for a medium size. I’ve used them for clients with bigger budgets and yeah they’re quality.
But real talk – I found this company called Posterbobs (or something like that) that does textured metal posters for way cheaper. Got three 18×24 inch prints for like $60 total during a sale. My dog knocked one off the wall and it didn’t even dent so that’s saying something.
What Games Actually Look Good as Wall Art
Not every game translates well to wall decor and this took me forever to figure out. You want stuff with strong visual identity and bold colors. Here’s what actually works:
- Cyberpunk 2077 – those neon cityscapes are perfect
- The Last of Us – the poster art is already designed to be displayed
- Hollow Knight – surprisingly good, very graphic design-y
- Street Fighter or Mortal Kombat character art
- Retro stuff like Mega Man, Castlevania, old Nintendo box art
- Minimalist game icons – think Journey, Inside, Limbo
What doesn’t work: screenshots from realistic games like Call of Duty or FIFA. They just look like… screenshots on your wall. Not good.
The Gallery Wall Approach
Oh and another thing – gallery walls are way easier than people think. I did one in my own gaming room with like 15 different pieces and it only took an afternoon once I figured out the system.
Get a roll of that brown craft paper and cut out templates the size of each frame. Tape them to the wall and move them around until it looks right. Take a photo with your phone. Then mark where the nails go through the paper, remove paper, hammer nails, hang frames. Done.
For gaming rooms I like mixing sizes – couple big 24×36 centerpieces, then smaller 12×16 and 8×10 pieces around them. Throw in some 3D elements too like controller mounts or those little floating shelves for amiibos or whatever collectibles you have.
The Color Coordination Problem
This is where people mess up constantly. They buy art from like seven different games with completely different color palettes and wonder why it looks chaotic.
Pick a color scheme. Seriously. I usually go with either:
Cool tones: Blues, purples, teals – works great with RGB lighting set to blue/purple. Games like Hades, Ori, Hollow Knight fit this.
Warm/neon: Oranges, pinks, yellow neon – cyberpunk aesthetic. Obviously Cyberpunk 2077, also Hotline Miami, Katana Zero, that vibe.
Monochrome with accent: Black and white prints with one accent color. Super clean, very modern. My client canceled so I spent an hour comparing monochrome game art prints last week and there’s actually tons of options.
DIY Options That Don’t Look DIY
Okay so funny story – I made some “custom” game art for my nephew’s room using literally just a good printer and some poster board from the craft store. Looked it up later and apparently this is called “fine art printing” when you do it properly.
You need:
- High resolution images – at least 3000 pixels on the long side
- A print shop that does poster printing (FedEx, Staples, local print shops)
- Decent frames – IKEA Ribba frames are perfect and cheap
- Optional: spray mount adhesive to mount prints on foam core
The whole setup costs like $15-20 per large print versus $50+ for official stuff. Just make sure you’re using images that are copyright-free or for personal use. There’s tons of official wallpapers and promotional art that game companies release for free.
Neon Signs Are Having a Moment
Those LED neon signs are everywhere now and honestly they’re perfect for gaming rooms. Real glass neon is stupid expensive but the LED versions look almost identical and cost like $50-150 depending on size.
You can get custom ones made with game quotes or logos. I did a “Would you kindly” sign from Bioshock for a client and it became the centerpiece of the whole room. Etsy has a million sellers doing these.
Mount them on a piece of stained wood or acrylic backing for extra polish. And they’re lightweight so you can use command strips – no drilling required.
Lighting Your Wall Art Properly
This matters more than the art itself sometimes. I’ve seen expensive prints look terrible because of bad lighting and cheap prints look amazing with good lighting.
Picture lights are the traditional option but they feel too formal for a gaming space. What works better:
LED strip lights: Run them along the top edge of the wall or behind floating shelves. Creates ambient glow that highlights everything.
Smart bulbs in corner lamps: Point them at the wall, set them to colors that complement your art. I use Philips Hue but the cheaper Govee ones work fine.
Uplighting: Small LED bars on the floor pointing up at the wall. Very dramatic, very esports arena vibes.
The key is avoiding direct overhead lighting that creates glare on frames. Angle your lights or use diffused lighting.
Floating Shelves for 3D Elements
Wait I should mention this – don’t make everything flat wall art. Breaking up the wall with floating shelves adds depth and gives you spots for collectibles, plants (yeah plants in a gaming room, it works), or even small monitors showing game stats or Twitch chat.
IKEA Lack shelves are like $8 each and hold a surprising amount of weight. I mounted four of them in a staggered pattern and put Funko Pops, game cases, and some of those LED mushroom lights on them. Added so much visual interest.
The Practical Stuff Nobody Talks About
Okay real talk about what actually happens in gaming rooms that affects your wall art choices:
Controllers get thrown. Not often, but it happens. Keep expensive art away from the rage-quit zone which is basically anywhere within 6 feet of the gaming chair.
Cables are everywhere. Plan your wall art around cable management. I use those cord cover channels painted the same color as the wall and route everything behind furniture when possible.
Furniture gets rearranged. Don’t commit to a permanent gallery wall until you’re 100% sure about your desk and chair placement. I learned this the hard way and had to patch like 30 nail holes.
Tastes change. This is why I love the magnetic Displates or frames with easy-open backs. Swapping art every few months keeps the room feeling fresh. My gaming interests change constantly so having flexibility matters.
Budget Breakdown That Actually Works
Here’s what I spent on my last gaming room project for a realistic budget:
- Five medium metal prints: $120
- Three IKEA frames with custom prints: $45
- LED strip lighting: $35
- Floating shelves and mounting hardware: $60
- One custom LED neon sign: $85
- Random small decorative stuff: $40
Total was around $385 for a completely transformed room. You could definitely do it for less if you skip the neon sign and go with more DIY prints.
Where to Actually Buy This Stuff
Places I actually use and recommend:
Displate: Premium metal posters, pricey but quality
Redbubble: Hit or miss but huge selection, good for finding obscure games
Etsy: Custom work, LED neon signs, unique handmade stuff
Society6: Lots of artist interpretations of games, not just official art
Local print shops: For DIY projects, often cheaper than online
Amazon: Frames, LED strips, mounting hardware – basically all the infrastructure stuff
Oh and another thing – check game developer websites directly. A lot of them sell official art prints that you can’t find anywhere else. Supergiant Games has amazing Hades prints, for example.
The Accent Wall Option
If you’re feeling ambitious, an accent wall can be incredible. I did one with removable wall decals – giant game character silhouettes in matte black vinyl. Cost like $60 and took two hours to apply but it looks professionally done.
Wallpaper is another option but make sure it’s the peel-and-stick kind if you’re renting. There’s some cool pixel art and retro game patterns available that work as backdrops for your other wall art.
Just don’t go too busy with the accent wall if you’re also hanging lots of art. One or the other should be the focus.
The main thing is just starting somewhere and building as you go. My gaming room evolved over like six months and I’m still tweaking stuff. Perfectionism kills more projects than bad taste ever will, so just put something up and adjust as you figure out what works for your space.