Wall Art Guide, Wall Art Tutoriels
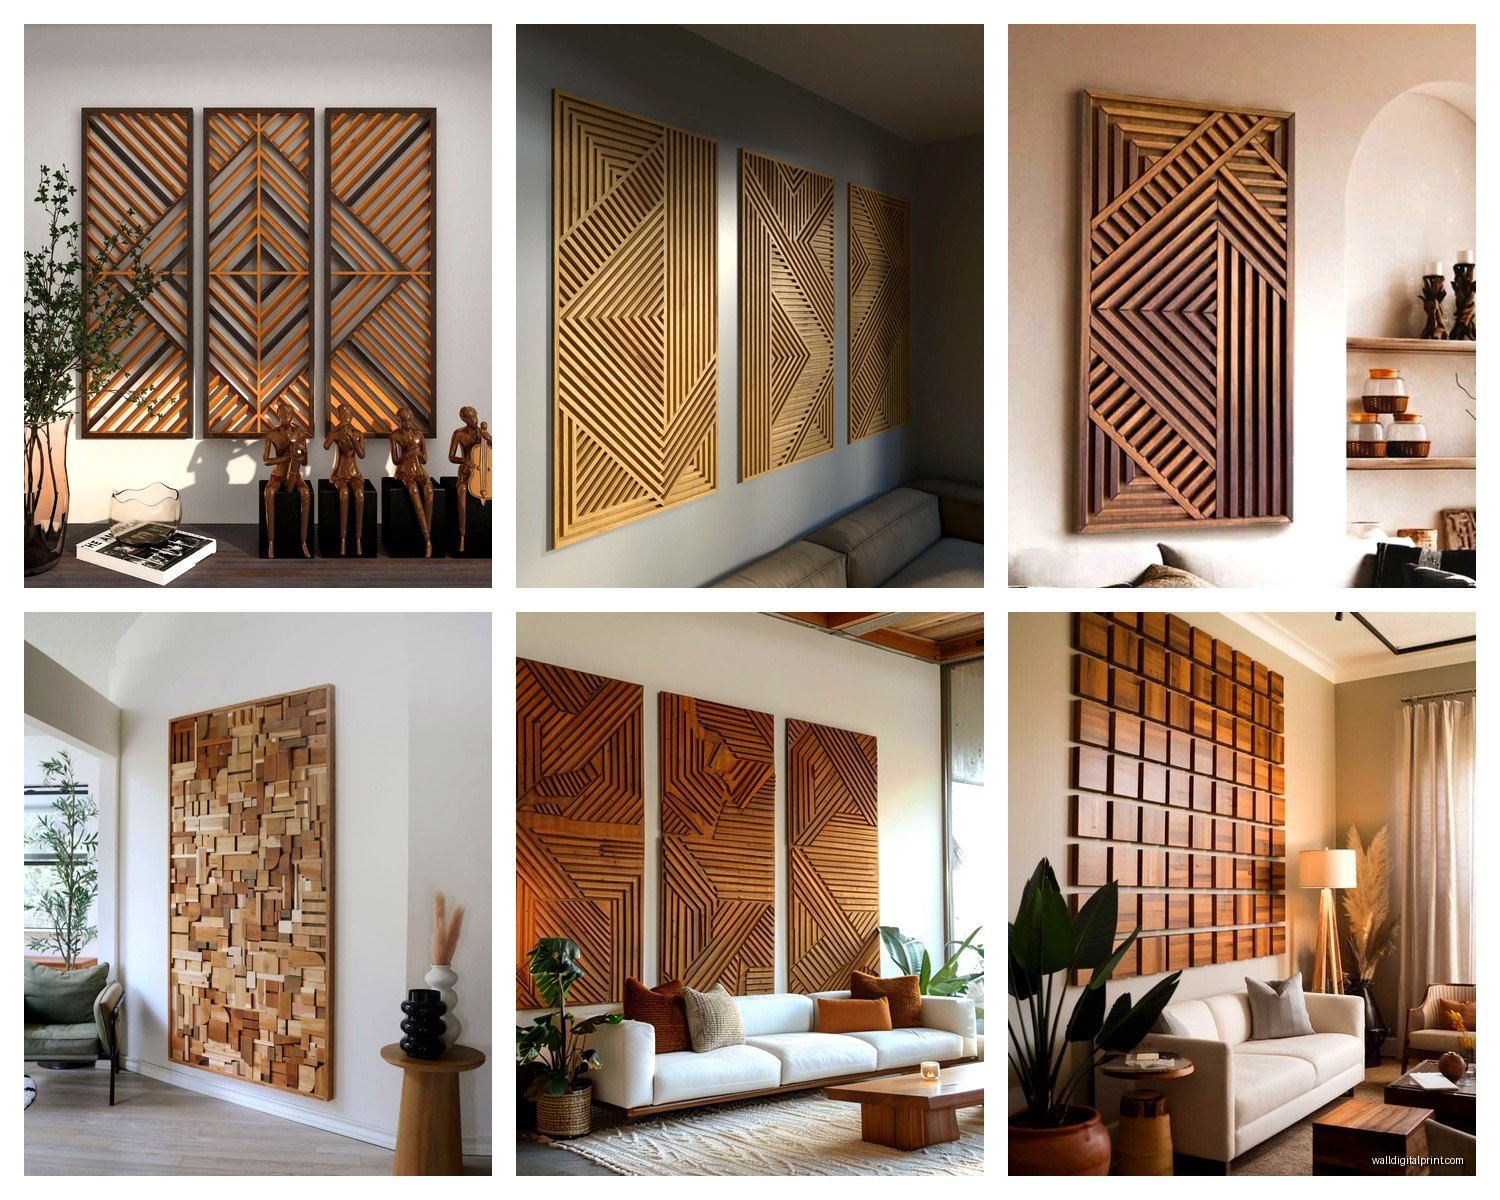
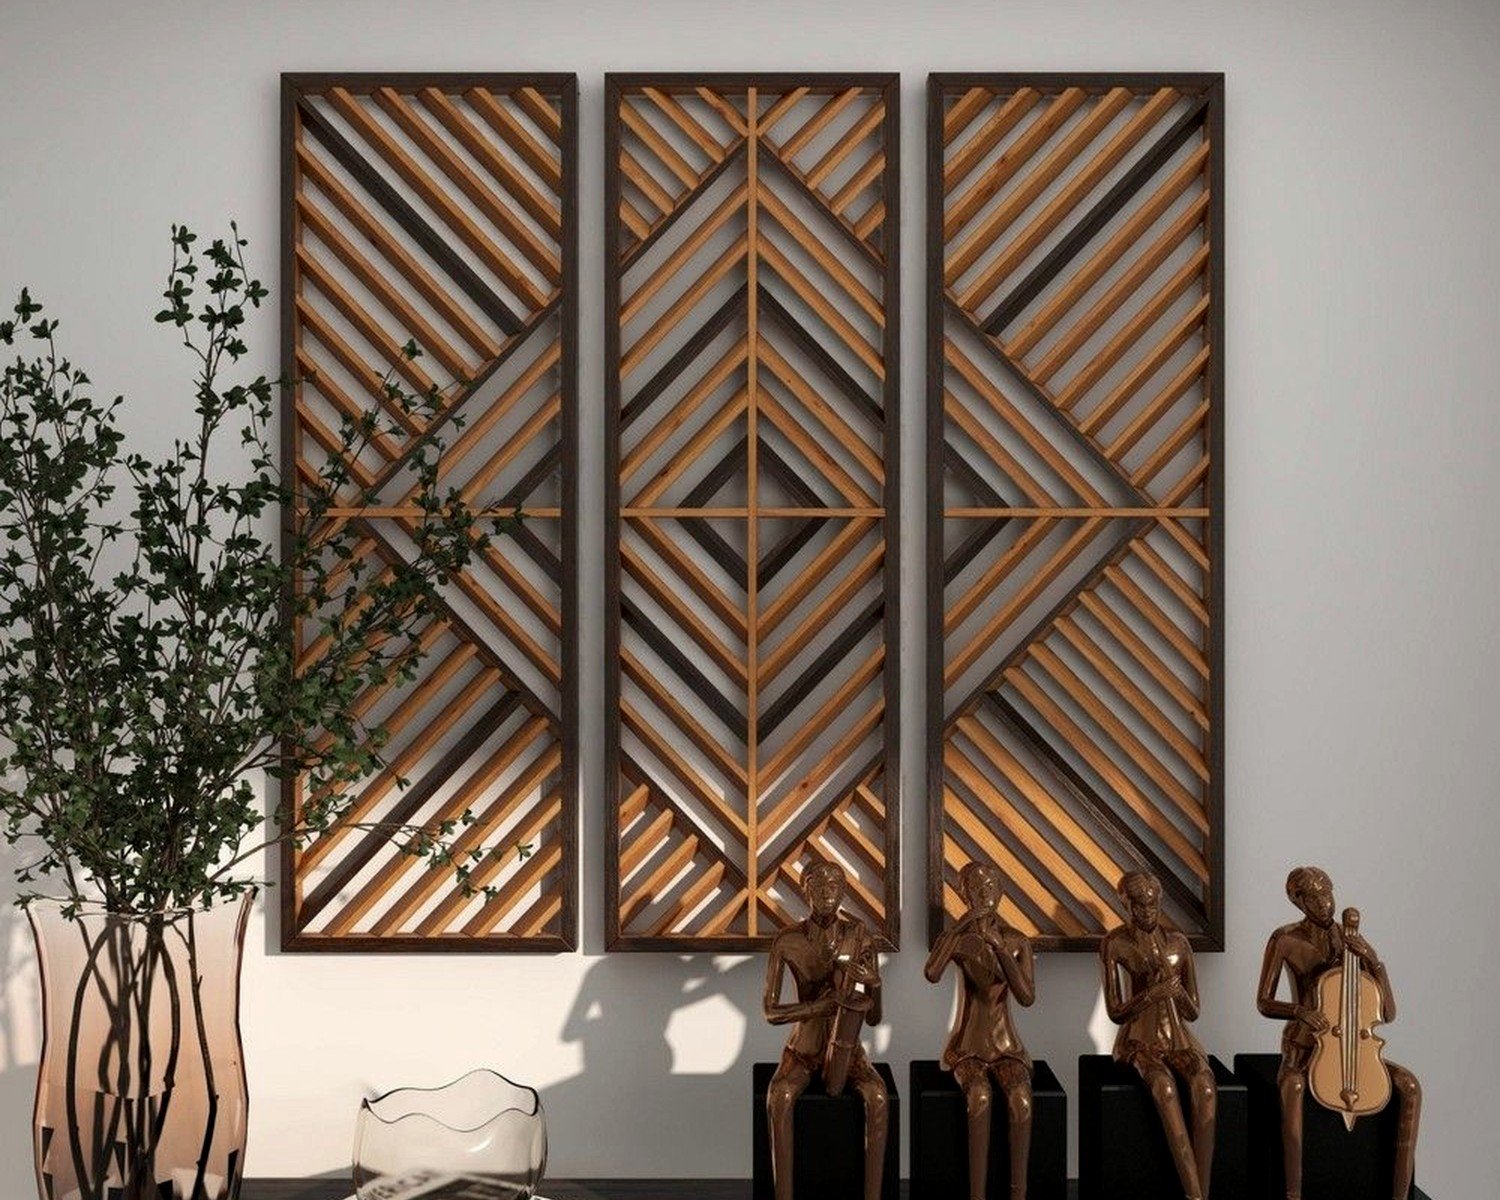
Wooden Wall Art Panels: Carved Natural Multi-Section Designs
Nov
So I’ve been obsessing over these carved wooden wall panels lately and honestly they’re not as complicated as everyone makes them out to be, but there’s definitely stuff I wish someone had told me before I bought my first set.
Picking the Right Type Without Losing Your Mind
Okay so first thing – multi-section designs basically means you’re getting several panels that work together, not just one big chunk of wood. I learned this the hard way when I ordered what I thought was a complete piece and it arrived in like 6 separate panels and I just stared at the box like…what now.
The carved natural ones are usually teak, mango wood, or acacia. Teak is gonna be your most expensive but it holds up forever and the grain is just *chef’s kiss*. Mango wood is what I actually have in my living room – it’s lighter in color, has this really cool variation in the wood tone, and costs maybe 60% of what teak does. Acacia falls somewhere in the middle price-wise but it’s harder wood so the carving details can be super crisp.
What “Natural” Actually Means
Natural finish doesn’t mean raw wood, which confused me for like three different purchases. It usually means they’ve applied a clear sealant or oil finish that protects the wood but lets the grain show through. Some are literally just waxed. You want some kind of finish because otherwise dust settles into every carved crevice and it becomes this whole thing with a toothbrush situation that I don’t recommend.
Sizing This Stuff Out
Here’s where people mess up constantly – they see a panel that’s listed as “48 inches” and think oh perfect for that wall, but that’s often the measurement of ALL the panels combined when arranged. Each individual section might only be 12 inches wide.
I always sketch it out now. Like actually grab paper and draw your wall to scale…or okay I use my iPad but same concept. My standard rule is the panel set should take up about 60-75% of your wall width. Going bigger looks weird unless you’re doing like a full feature wall situation.
Oh and another thing – measure the space between your furniture and ceiling. You need at least 6-8 inches of clearance above whatever’s below it (couch, console table, whatever). I hung panels too low once above a credenza and every time someone walked by they knocked into them. Very bad.
The Arrangement Situation
Multi-section panels come in different configurations and this is where it gets fun but also potentially chaotic:
- Linear – all panels in a straight row, easiest to hang
- Staggered horizontal – different heights but generally horizontal flow
- Geometric cluster – scattered arrangement, looks cool but you NEED the template
- Vertical stack – panels arranged in columns
Most sets come with a paper template showing you where to place each piece. Do not lose this template. I lost mine for a set I bought and spent 2 hours with painter’s tape trying to recreate the arrangement from the website photo. My dog thought it was a game and kept pulling the tape off the wall.
The Template Method That Actually Works
Wait I forgot to mention – even with a template, here’s what you gotta do. Tape the template to your wall exactly where you want the final position. Then hammer small nails through the template at each hanging point. Remove template, hang your panels on those nails. Adjust as needed.
Some people say use a level for each piece but honestly if you do that with a 5-panel set you’ll be there all day and they’ll still look slightly off because walls aren’t perfectly flat. I level the center panel and then eyeball the rest relative to that one. Works better because you’re creating visual balance not mathematical perfection.
What to Hang Them With
This is gonna sound weird but the hanging hardware that comes with these panels is usually trash. Like they’ll include these tiny sawtooth hangers that work fine for a 2-pound frame but your carved wooden panel weighs 8-12 pounds per section.
I replace them with D-rings rated for at least double the panel weight. Get the kind that screw in, not the nail-in type. You want two D-rings per panel positioned about 1/3 down from the top edge, spaced evenly.
For the wall side, forget those plastic anchors. If you’re going into drywall, use toggle bolts or those snap-toggle things. They distribute weight way better. I’ve had panels up for three years with toggle bolts and zero issues. The one time I trusted the included plastic anchors, a panel fell at 2am and I genuinely thought someone broke in.
Stud vs No Stud
Obviously if you can hit a stud, do it. But with multi-section arrangements you’re usually not gonna get every panel on a stud unless you get lucky. My living room set has 2 panels on studs and 3 on toggle bolts – totally fine, been hanging since 2022.
Use a stud finder that also detects electrical and pipes because my client canceled last month so I spent an hour comparing different models and the Franklin ProSensor is worth it. You don’t want to drill into a wire with a half-inch drill bit, trust me on this.
Carved Details and Depth
The carving depth matters more than I realized at first. Shallow carvings (like 1/4 inch deep) are more subtle, catch light differently throughout the day, super elegant. Deep carvings (1 inch or more) create dramatic shadows and make a bigger statement but also collect more dust.
I have shallow-carved panels in my bedroom and deep-carved ones in the entryway. The bedroom ones almost disappear in low light which is actually what I wanted – texture without distraction. The entryway ones are like BAM here’s art, which works for that space.
Mandala patterns are everywhere right now and they’re gorgeous but make sure you like circular/radial symmetry because you’ll be looking at it constantly. I’m more into the organic flowing patterns myself – lotus flowers, leaves, abstract waves. There are also geometric modern carved panels that read less bohemian if that’s your thing.
Color and Staining Drama
Natural finish shows the wood grain best but here’s something – different batches of wood can vary in color even from the same manufacturer. My mango wood set has one panel that’s noticeably more golden than the others. It bothered me for exactly three days and then I stopped noticing.
If color consistency is critical for you, ask the seller for photos of the actual set you’re getting, not stock photos. Some Etsy sellers are really good about this.
You can stain them yourself if you want a different color but oh my god the carving details make this so time-consuming. You need to work stain into every crevice with a brush, wipe excess, make sure it’s even. Took me an entire Saturday to stain a 3-panel set. Looked amazing though – I went with a dark walnut stain over light mango wood and the contrast in the carved areas was *really* nice.
Painting Carved Panels
People do paint these and it can look incredible but you lose the natural wood grain which is kind of the whole point? I’ve seen white-painted carved panels that are stunning in like a coastal modern space. The technique is spray paint in light coats so you don’t fill in the carved details, then sometimes dry-brush a contrasting color just on the raised surfaces.
Where to Actually Buy These
I’ve bought from probably a dozen different sources at this point and here’s the breakdown:
Etsy – best for unique designs and custom sizes, shipping takes forever if it’s coming from overseas, read reviews carefully because quality varies wildly
Wayfair/Overstock – decent mid-range options, easier returns, less unique designs, sometimes the photos are way more dramatic than the actual piece
Local import stores – if you have a HomeGoods, TJ Maxx, or World Market nearby, check their wall decor section, I’ve found incredible panels for like 40% less than online
Direct from artisan sites – there are workshops in Bali and Thailand that sell direct, best prices but you’re taking a gamble on shipping damage
I found my favorite set at a random home goods store while buying entirely different things. Sometimes you gotta just browse in person because the photos don’t show you the actual wood texture and weight.
The Spacing Between Panels Thing
Okay so funny story, I hung my first multi-panel set with like 6 inches between each panel because I thought they needed breathing room. Looked ridiculous. Way too scattered.
Standard spacing is 2-4 inches between panels for most arrangements. Closer spacing (2 inches) makes it read as one cohesive piece. Wider spacing (4 inches) gives each panel more individual presence. I usually go with 3 inches as a safe middle ground.
For geometric/scattered arrangements you can vary the spacing more but keep it consistent within the design logic – like all horizontal gaps are 3 inches, all vertical gaps are 4 inches, something like that.
Creating the Layout on the Floor First
This is non-negotiable for me now. Lay out all your panels on the floor in the arrangement you want. Take a photo from directly above. Use that photo as your reference when hanging. You can see immediately if the spacing looks weird or if one panel should be rotated or swapped.
My cat knocked over two panels during this process once and I had to restart but it’s still worth it.
Maintenance Real Talk
These need dusting but not like…often. I dust mine maybe once a month with a microfiber cloth. For the deep carvings I use a soft paintbrush to get into the grooves. Takes maybe 10 minutes for a 5-panel set.
Every 6-12 months depending on your climate, you might want to condition the wood. I use Howard Feed-N-Wax on my natural finish panels – just rub it on with a cloth, let it sit for 20 minutes, buff it off. Makes the wood look fresh and adds a layer of protection.
If you’re in a super humid climate, watch for any warping. Wood expands and contracts with humidity changes. I had slight warping on one panel and just flipped it around so the warp was against the wall – problem solved.
Lighting These Properly
Wall panels look completely different depending on lighting and nobody talks about this enough. Side lighting (like from a nearby window or wall sconce) creates the most dramatic shadows in the carved areas. Overhead lighting kind of flattens them out.
I installed two small picture lights above my entryway panels and wow, the difference. You don’t need expensive art lighting – I got basic LED picture lights from Amazon for like $30 each. They’re on a dimmer so I can adjust based on time of day.
Natural light throughout the day will change how the panels look too. My bedroom panels catch morning sun and the shadows shift as the light moves across them. It’s kind of mesmerizing honestly, very worth considering which wall gets what light when you’re planning placement.
Mixing Panels With Other Wall Art
You can definitely mix carved panels with other art but give them space. I have photos on the opposite wall from my panels – having both on the same wall felt too busy. Some people do a carved panel as the centerpiece with smaller frames flanking it, that can work if the panel is substantial enough to anchor the arrangement.
Don’t put carved panels right next to anything with a lot of visual texture – like a macrame hanging or a busy patterned wallpaper. The textures compete and it just looks chaotic. I learned this while watching some home reno show and immediately moved my panels away from my textured accent wall.
The panels work really well above beds as a headboard alternative, above sofas, in dining rooms, entryways – basically anywhere you’d put a large piece of art. Just make sure there’s enough wall space that they don’t look cramped.