
Wall Art Guide, Wall Art Tutoriels
Gamer Wall Art: Video Game Controller Geek Decor
Jul
So I’ve been styling gaming spaces for the past couple years and honestly the wall art thing is where most people mess up because they either go way too literal with it or they spend money on stuff that looks cheap even though it wasn’t cheap, you know?
Start With What You Actually Play
This sounds obvious but I can’t tell you how many times someone buys like generic “gamer” posters when they literally only play two games. I had this one client who spent $300 on a massive collage of random game controllers and characters and then I found out he exclusively plays Dark Souls and Elden Ring. We ended up returning most of it and getting him these really cool minimalist boss design prints instead and his whole setup looked so much better.
The thing is you gotta pick a vibe first. Are you going for that nostalgic retro arcade thing? Modern sleek gaming aesthetic? Specific game franchise? Because mixing all of them usually ends up looking like a GameStop exploded on your wall.
Controller Art That Doesn’t Look Terrible
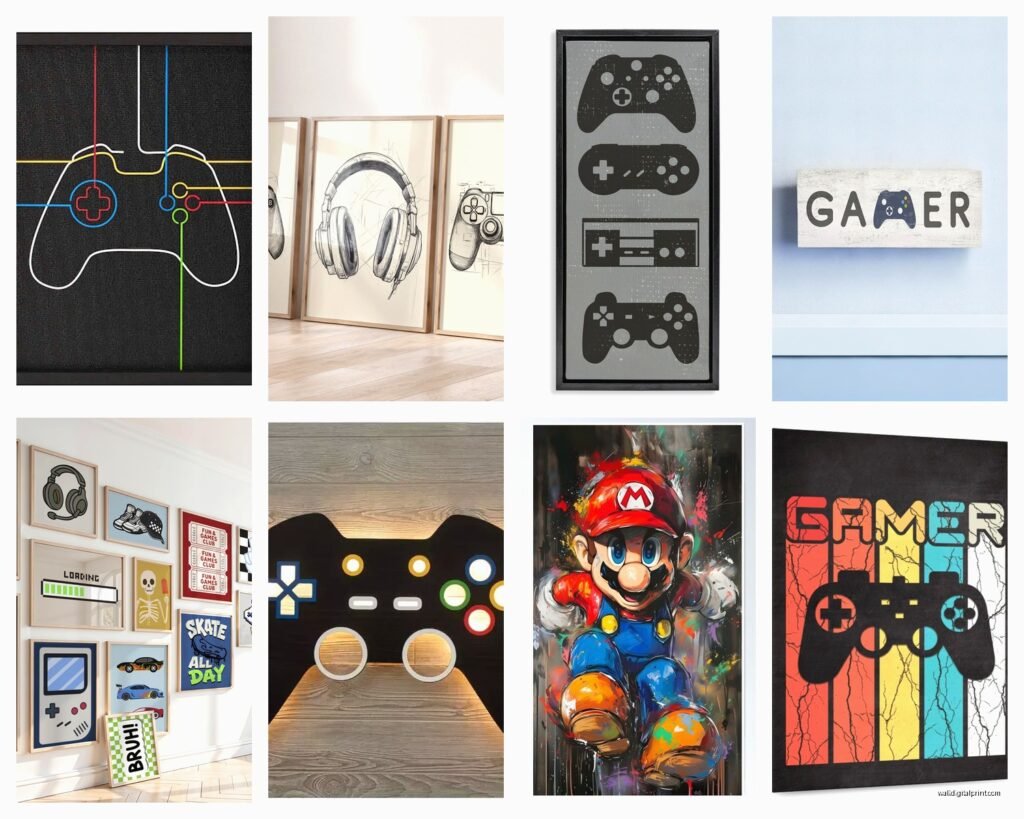
Okay so controller wall art is tricky because there’s SO much of it out there and like 80% looks super dated or just bad. Here’s what I’ve learned actually works:
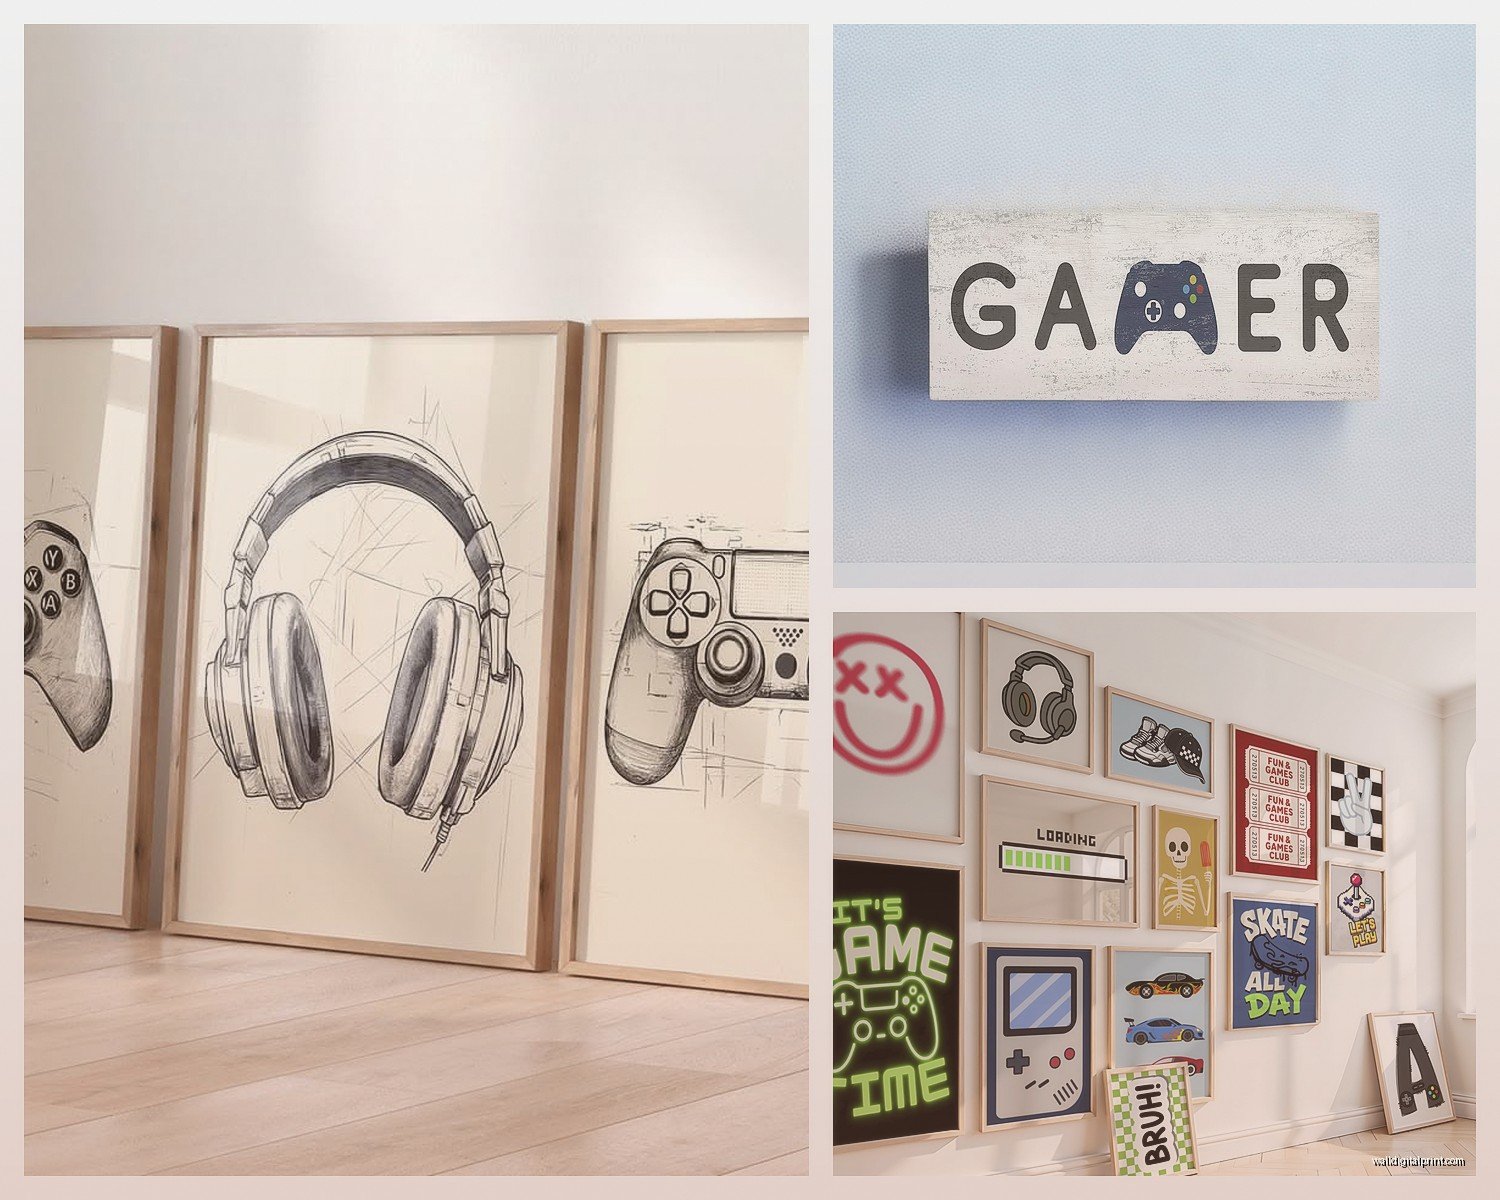
The exploded view technical drawings are probably my favorite. You know the ones that look like patent drawings or engineering schematics? They show all the internal components of like a PS5 controller or an old NES controller laid out. These work because they’re genuinely interesting to look at even if someone isn’t a gamer. I found some really good ones on Etsy from this shop that does blueprint-style prints and they come in different colors so you can match your room.
Evolution prints can be cool but they’re done to death at this point. The ones that show controller progression from Atari to modern day. If you’re gonna do this, at least get one that’s well designed. I saw one recently that was just the silhouettes in a single color and it was way better than those busy ones with all the buttons colored in.
3D Controller Displays
Wait I forgot to mention the actual physical controller displays. This is where it gets fun. You can mount your actual controllers on the wall as art and if you do it right it looks intentional instead of just… messy? Shadow boxes work but they’re kind of expected now. What I’ve been doing lately is using floating shelves with LED strip lighting behind them. You arrange the controllers at different heights and the backlighting makes them pop.
I did this in my own office actually and used controllers I don’t even use anymore. That transparent purple N64 controller? Looks amazing on a wall. Old Xbox Duke controller? It’s huge and weird and makes a statement. My cat knocked one off the shelf last month and I almost had a heart attack but it was fine.
Neon Signs and LED Stuff
Okay this is gonna sound weird but neon signs have gotten way more affordable and they’re not just for bars anymore. You can get custom neon or LED neon-style signs with gaming stuff. I’m talking controller outlines, game logos, even custom gamertags.
The LED ones are better than actual neon for a bunch of reasons. They don’t get hot, they use less power, and they don’t break as easily. Plus you can usually change colors with a remote which is sick when you want to match different moods or games you’re playing.
I set up one for a client that said “RESPAWN” in this electric blue and it became the focal point of his whole gaming corner. Cost like $150 which sounds like a lot but compared to what actual neon costs it’s nothing. Just make sure you plan where the cord is gonna go because that’s always the thing that ruins the look if you’re not careful.
Canvas Prints vs Metal Prints vs Posters
So here’s where people waste money. Regular posters in frames are fine but they look exactly like what they are, right? If you’re going for a more grown-up gaming space you gotta upgrade.
Metal prints are my go-to now for most gaming art. The colors pop different on metal, especially if it’s got that glossy finish. They work really well for anything with bright colors or neon effects. I got this Cyberpunk 2077 cityscape one and the way the lights reflect off the metal surface is chef’s kiss. They’re also way more durable and you don’t need to frame them which saves money and looks cleaner.
Canvas prints are good for softer images or if you want that gallery feel. They work better for concept art or atmospheric game scenes. I wouldn’t do controller art on canvas though, it just doesn’t have the same impact as metal or even a good quality poster in a sleek frame.
Oh and another thing, size matters way more than people think. One large statement piece is almost always better than a bunch of small prints scattered around. Unless you’re doing a gallery wall but that’s a whole different thing.
Gallery Walls for Gaming Setups
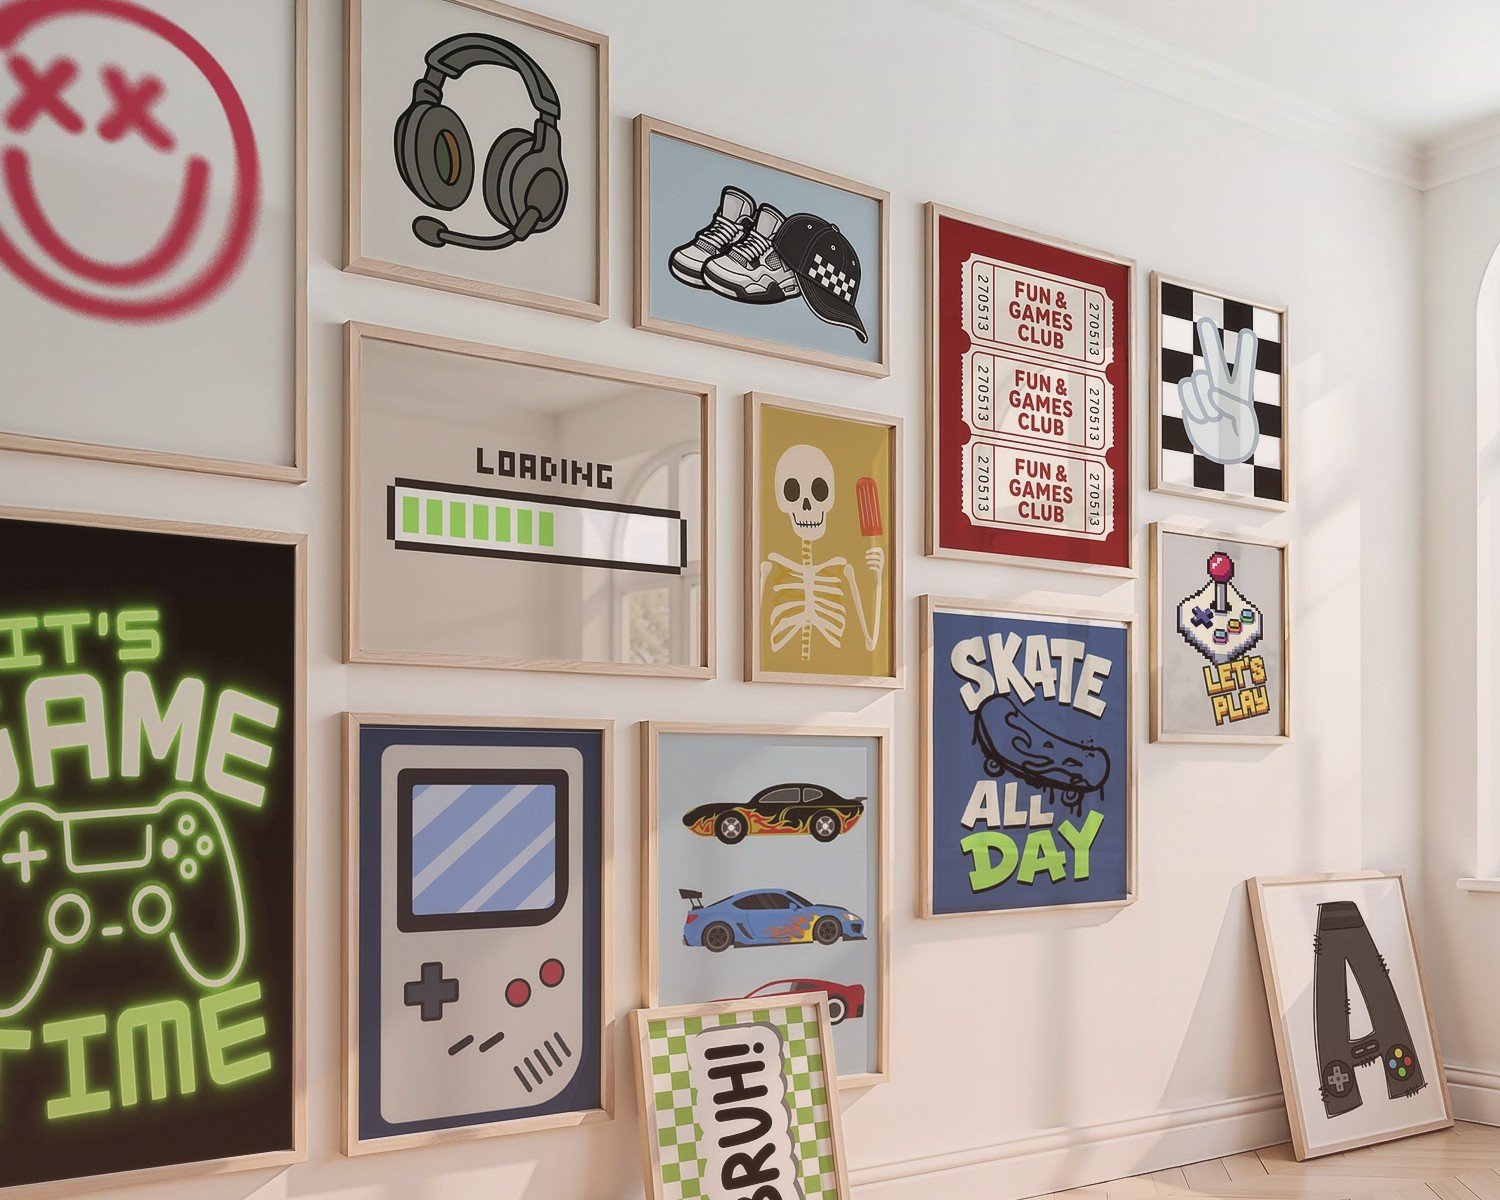
If you’re gonna do a gallery wall, you need like 6-9 pieces minimum for it to look intentional. I usually mix sizes but keep the frames consistent. All black frames or all white frames, don’t mix them unless you really know what you’re doing.
For gaming gallery walls I like mixing controller art with screenshots from games, maybe some pixel art, and if the person streams or creates content I’ll throw in some of their achievement prints or milestones. The key is leaving equal spacing between everything. I use painters tape to mark out the layout on the wall before putting any holes in it because I’ve messed this up before and it’s annoying to fix.
Pixel Art and Retro Gaming Aesthetics
Pixel art is having this massive moment right now and honestly it’s timeless if you pick the right pieces. The thing with pixel art is it can go really cheesy really fast, so you gotta be selective.
I love the minimal pixel art stuff. Like just a pixelated version of a character or item on a solid color background. There’s this artist who does single-color pixel designs of iconic game items, like the Master Sword or a Pokeball or whatever, and they’re simple but they work in basically any space.
Perler bead art is another option if you’re crafty or know someone who is. You can make custom controller designs or game characters and frame them. They have this cool texture and depth that regular prints don’t have. Plus they’re conversation starters which matters if you have people over.
Where to Actually Buy This Stuff
Okay so where you buy matters because quality varies SO much. Etsy is great for unique and custom stuff but you gotta read reviews carefully. Some sellers just steal designs and print them on cheap material. Look for shops that show actual photos of their products in real spaces, not just mockups.
Displate is solid for metal prints. They have a ton of gaming designs and the quality is consistent. A bit pricey but they go on sale pretty regularly. I wait for their sales and stock up.
Society6 and Redbubble have massive selections but quality can be hit or miss depending on what product you choose. Their regular prints are fine but I wouldn’t get their canvas prints, they’re too thin. Stick to their art prints or tapestries.
For official licensed stuff, places like Cook and Becker do high-quality game art prints. They work directly with game studios so you’re getting actual concept art and promotional material. More expensive but if you’re a serious fan of a specific game it’s worth it.
Custom Prints from Your Own Screenshots
This is something I’ve started doing more. If you play games with photo modes, you can take your own screenshots and get them printed. Ghost of Tsushima, Red Dead Redemption 2, basically any game with a good photo mode gives you these incredible shots.
I use a local print shop for these because I can see the paper quality and talk to them about sizing. Online is fine too but color calibration can be weird. What looks good on your monitor might print darker or with different color tones. Always get a test print first if you’re doing something large and expensive.
Lighting Makes Everything Better
I cannot stress this enough, lighting transforms wall art from “yeah that’s cool” to “okay that’s actually really impressive.” Picture lights are obvious but they can be expensive. What I do instead is use those battery-operated LED puck lights behind frames for a backlit effect, or I run LED strips along the top edge of the wall to wash light down over the art.
Smart bulbs are also clutch if you have the budget. Being able to change the color of your room lighting to match what game you’re playing is extra as hell but it looks sick when you have people over. I’ve got Philips Hue bulbs in my gaming space and I’ve set up scenes for different games. Playing Halo? Blue lighting. Playing something horror? Dim red. It’s dumb but I love it.
What to Avoid
Okay real talk, some things just don’t work no matter how much you love gaming. Those vinyl wall decals that are supposed to look like brick walls or whatever? They always peel and look cheap after like six months. I tried them once in my first apartment and regretted it immediately.
Also avoid anything that’s trying too hard to be “gamer culture” with like aggressive fonts and random references to Doritos and Mountain Dew. That stuff was maybe funny in 2010 but it ages poorly and makes your space look immature.
Generic motivational gaming quotes are usually cringe unless they’re from a specific game you actually care about. “Eat Sleep Game Repeat” type stuff just makes your room look like a teenager’s space even if you’re thirty.
Mixing Gaming Art with Regular Decor
If you live with someone who isn’t into gaming or you just don’t want your whole place to scream GAMER, you can be more subtle about it. Abstract art that’s inspired by games but doesn’t obviously show controllers or characters works well. Color palettes pulled from games, geometric designs based on UI elements, that kind of thing.
I did a living room last year where we used a color scheme entirely based on Portal, the game. Blues and oranges, clean lines, modern furniture. Had one piece of actual Portal art but everything else was just inspired by it. The client’s partner who doesn’t game at all loved it because it just looked like a well-designed modern space, but the client got to have their gaming reference.
Oh and funny story, I was watching The Last of Us show while planning out a gaming room redesign and ended up incorporating some post-apocalyptic industrial elements that weren’t even from the game originally but they worked so well together.
Framing Actually Matters
Don’t sleep on frames. A good frame makes cheap art look expensive and a bad frame makes expensive art look cheap. For gaming stuff I usually go with simple black or white frames, sometimes metallic silver if we’re doing a futuristic theme.
Floating frames are cool for certain types of art, especially if you have something with transparent elements or you want that modern gallery look. They cost more but the effect is worth it for statement pieces.
If you’re on a budget, IKEA frames are honestly fine. Their RIBBA frames are like $10-15 and they look way more expensive than they are. I use them all the time and just swap out the mats if I need different sizing.
Matting adds a professional touch too. A simple white or black mat around your print creates visual breathing room and makes the whole thing look more intentional. You can get custom mats cut at most frame shops for pretty cheap, or DIY it if you’re patient and have a steady hand.
Rotating Your Collection
Last thing because I gotta wrap this up, but consider rotating your art seasonally or when new games come out. You don’t need to display everything all the time. I keep some prints stored and swap them out every few months. Keeps things fresh and lets you change the vibe of your space without buying new stuff constantly.
This works especially well if you’re into different genres. Horror games in October, cozy games in winter, whatever. Makes your space feel dynamic instead of static and you get more value out of everything you’ve collected over time.
