Wall Art Guide, Wall Art Tutoriels
Metal Kitchen Wall Art: Sculptural Cooking Space Decor
Nov
So I’ve been obsessing over metal wall art for kitchens lately because my friend Sarah just bought this gorgeous copper piece and honestly it transformed her entire cooking space and now everyone’s asking me about it. Let me just dump everything I know because I literally spent three hours yesterday comparing pieces for a client’s kitchen renovation.
Why Metal Actually Works Better Than Canvas in Kitchens
Okay so first thing – kitchens are humid, greasy environments and canvas just… doesn’t hold up. I learned this the hard way in my own place when I had this beautiful fabric piece that got all weird and spotted after like six months. Metal doesn’t absorb cooking smells, you can actually wipe it down, and it doesn’t warp from steam. Plus the reflective quality adds light which most kitchens desperately need.
The sculptural element is key here because flat art can look boring in a kitchen where you’ve got all these dimensional objects – pots hanging, appliances, dish racks. You need something with actual depth to hold its own.
Types of Metal Art That Actually Work
I’m gonna break this down by what I’ve actually installed and lived with:
Laser Cut Metal Panels
These are probably the most popular right now and for good reason. They’re usually steel or aluminum with intricate patterns cut through them. I put one behind my stove last year – geometric pattern, matte black finish – and it’s become this focal point that people always comment on.
What to look for:
- Powder coated finish so it doesn’t rust or corrode
- At least 16 gauge thickness or it looks flimsy
- Pre-drilled mounting holes because trying to drill through metal yourself is annoying
- Patterns that don’t have tiny details that’ll just collect grease
The brand I keep recommending is Nikky Home because their quality is consistent and they’re actually affordable. Like $40-80 range instead of $300.
3D Sculptural Pieces
These stick out from the wall and create actual shadows. I have this wave pattern piece in copper above my breakfast nook and depending on the time of day it looks completely different because of how light hits it.
Warning though – these collect dust like crazy in the crevices. I use a microfiber duster every couple weeks or it gets gross. Also make sure whatever you get has sturdy mounting because 3D pieces are heavier than they look.
Mixed Metal Assemblages
Oh and another thing – those pieces that combine different metals like copper, brass, and steel? They’re having a moment and I’m here for it. The color variation adds warmth without needing to paint your walls. Just mounted one in a client’s white kitchen and it pulled together her copper kettle, stainless appliances, and brass cabinet pulls perfectly.
Size and Placement That Doesn’t Look Weird
This is where people mess up constantly. I see kitchens with tiny art pieces that just disappear or massive ones that overwhelm the space.
My general rule: measure your wall space and go for art that fills about 60-75% of the available width. So if you have a 48-inch wide wall between your window and cabinet, you want something around 30-36 inches wide.
For above the stove or sink – this is gonna sound weird but I actually prefer going slightly smaller here because you’ve already got the hood or faucet as a focal point. Like 24-30 inches wide max unless you have a commercial-sized range.
Height placement: center of the piece should be at eye level when you’re standing, which is usually around 57-60 inches from the floor. But in kitchens I cheat this up a few inches because you’re usually moving around, not standing still staring at art.
Spots That Actually Work
- Above the stove between the hood and ceiling – but nothing that’ll get direct heat
- That awkward wall next to the fridge that’s too narrow for cabinets
- Above a breakfast nook or small dining table
- On the side of a cabinet end panel if you have an open floor plan
- Inside a butler’s pantry or coffee station area
Wait I forgot to mention – never put metal art directly behind or above your cooktop where actual flames or serious heat hit it. The finish will discolor and if it’s painted it’ll peel. Ask me how I know… yeah that was an expensive mistake.
Finishes and What Actually Holds Up
I’ve tested basically every finish type at this point:
Powder coated black – My personal favorite because it hides minor splatters and doesn’t show fingerprints. Super durable. Goes with literally everything.
Brushed stainless – Looks expensive, matches appliances, but shows every smudge. If you have kids or you’re messy like me, skip it.
Copper or bronze patina – Gorgeous and adds warmth but the patina will continue to develop over time. Some people love this, others freak out when it changes color. Just know what you’re getting into.
Painted metals – Can be beautiful but make sure it’s powder coated not just spray painted. Regular paint chips off from temperature changes and cleaning.
Raw steel with clear coat – Industrial look that’s very trendy but can still rust if the coating isn’t perfect. I only recommend this for kitchens with good ventilation.
Installation Without Destroying Your Walls
Okay so funny story – I once hung a 20-pound metal piece using those command strips because I didn’t want to drill into tile and it crashed down during a dinner party. Don’t be me.
For drywall you need proper anchors. I use toggle bolts for anything over 10 pounds and they’ve never failed me. The kind that fold up behind the wall and distribute weight.
For tile or brick you gotta drill with the right bit – masonry bit for brick, carbide-tipped for tile. Go slow, use tape to mark your spot so the bit doesn’t slip. Use plastic anchors designed for masonry.
My process:
- Hold the piece up and have someone tell you if it’s level while you mark spots with pencil
- Double check measurements because moving holes is annoying
- Drill pilot holes
- Insert anchors
- Hang the piece with screws or whatever hardware came with it
- Use a level to confirm it’s straight because your eye will lie to you
Pro tip: most metal art has a lip or keyhole on the back. Figure out the hanging system BEFORE you buy because some are way easier than others.
Cleaning and Maintenance Reality Check
Let’s be real – kitchen art gets dirty. Cooking grease becomes airborne and settles on everything.
I wipe down my metal pieces once a month with just warm water and mild dish soap on a soft cloth. For stuck-on stuff I use a degreaser but test it on a hidden spot first because some finishes are sensitive.
Never use abrasive scrubbers on metal art. You’ll scratch the finish and it’ll look terrible. Microfiber cloths only.
If you have a piece with lots of crevices or 3D elements, honestly a can of compressed air works great to blow dust out before wiping.
Where to Actually Buy This Stuff
I’ve ordered from probably 15 different places at this point. Here’s my honest breakdown:
Wayfair – Huge selection, easy returns, but quality is hit or miss. Read reviews carefully and check the gauge thickness in specs.
Etsy – Best for custom pieces and unique designs. I found an amazing artist who does custom herb designs in copper. Takes longer to ship but worth it for something special.
Amazon – Fast shipping, good for basic geometric patterns. The Amazon Basics metal wall art is actually decent quality for like $35.
HomeGoods/TJ Maxx – If you’re lucky you can find high-end pieces for cheap but it’s totally random. I check every time I’m there.
Local metal workers – This is gonna sound extra but if you have a specific vision, local fabricators can create custom pieces. I had one make a giant fork and spoon sculpture for a client and it was only $200.
Styles That Don’t Look Dated in Two Years
Trends come and go but some designs have staying power:
Geometric patterns – clean lines, modern, works with most decor styles
Botanical themes – herbs, leaves, olive branches feel timeless in kitchens
Abstract waves or curves – adds movement without being too literal
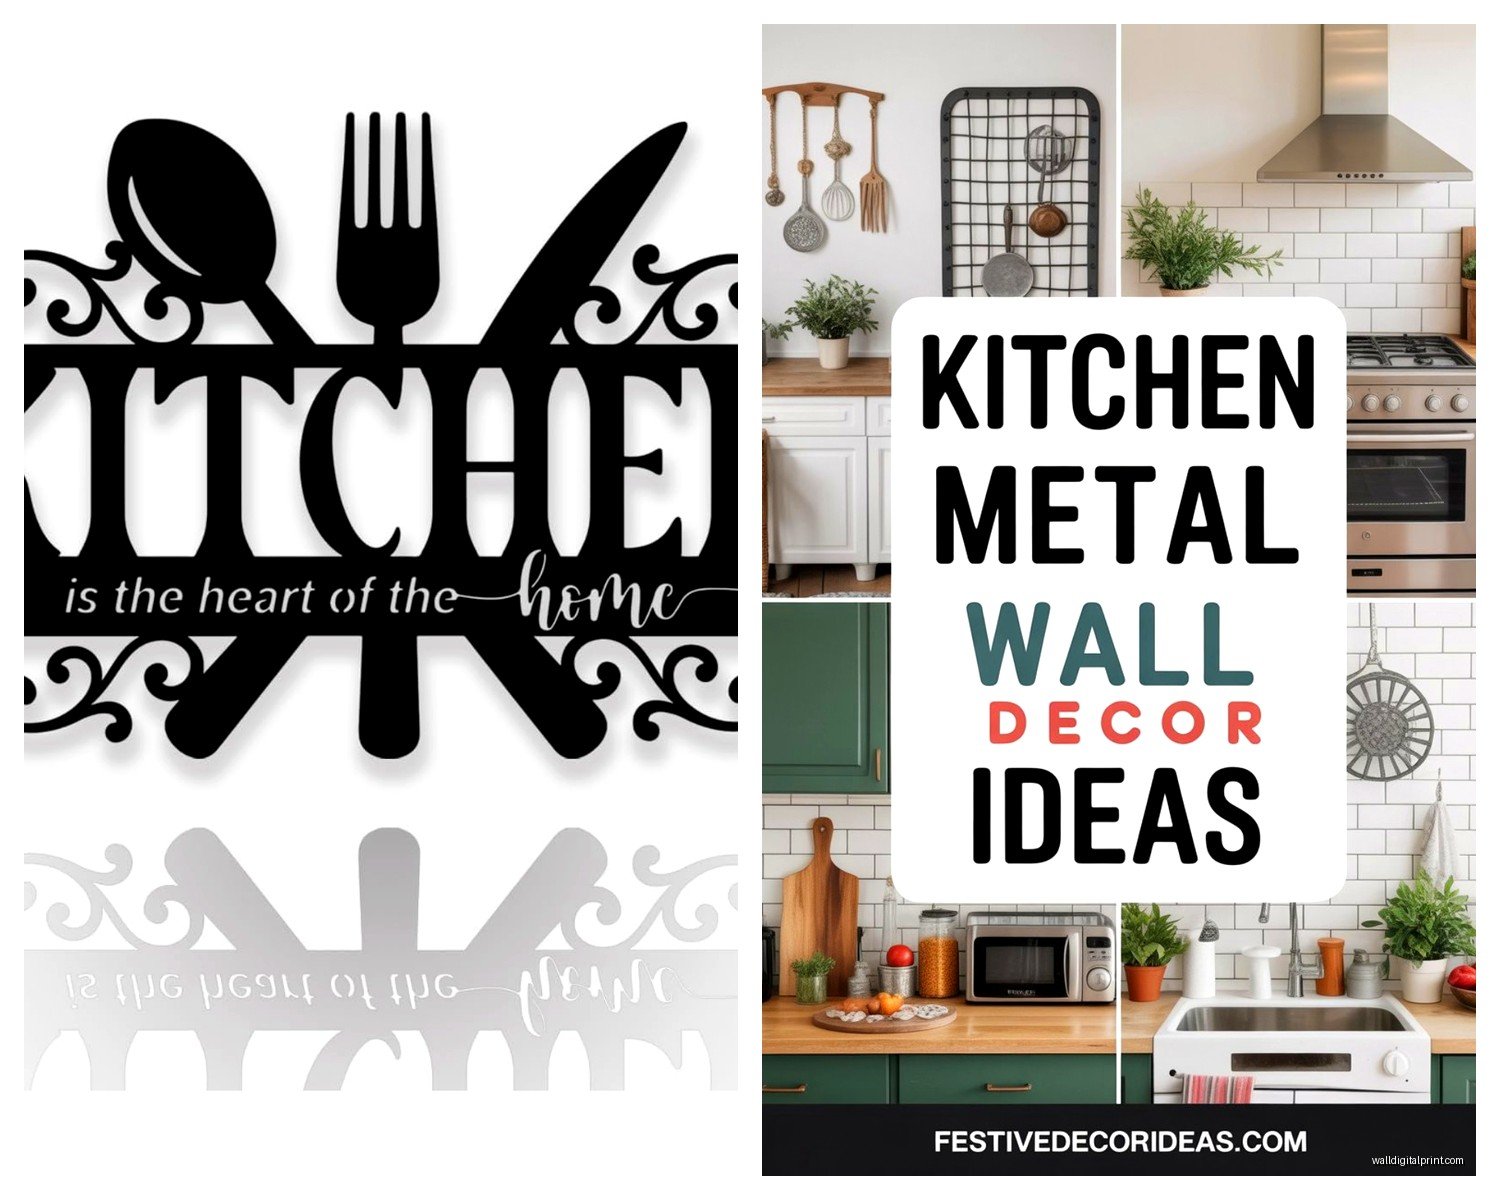
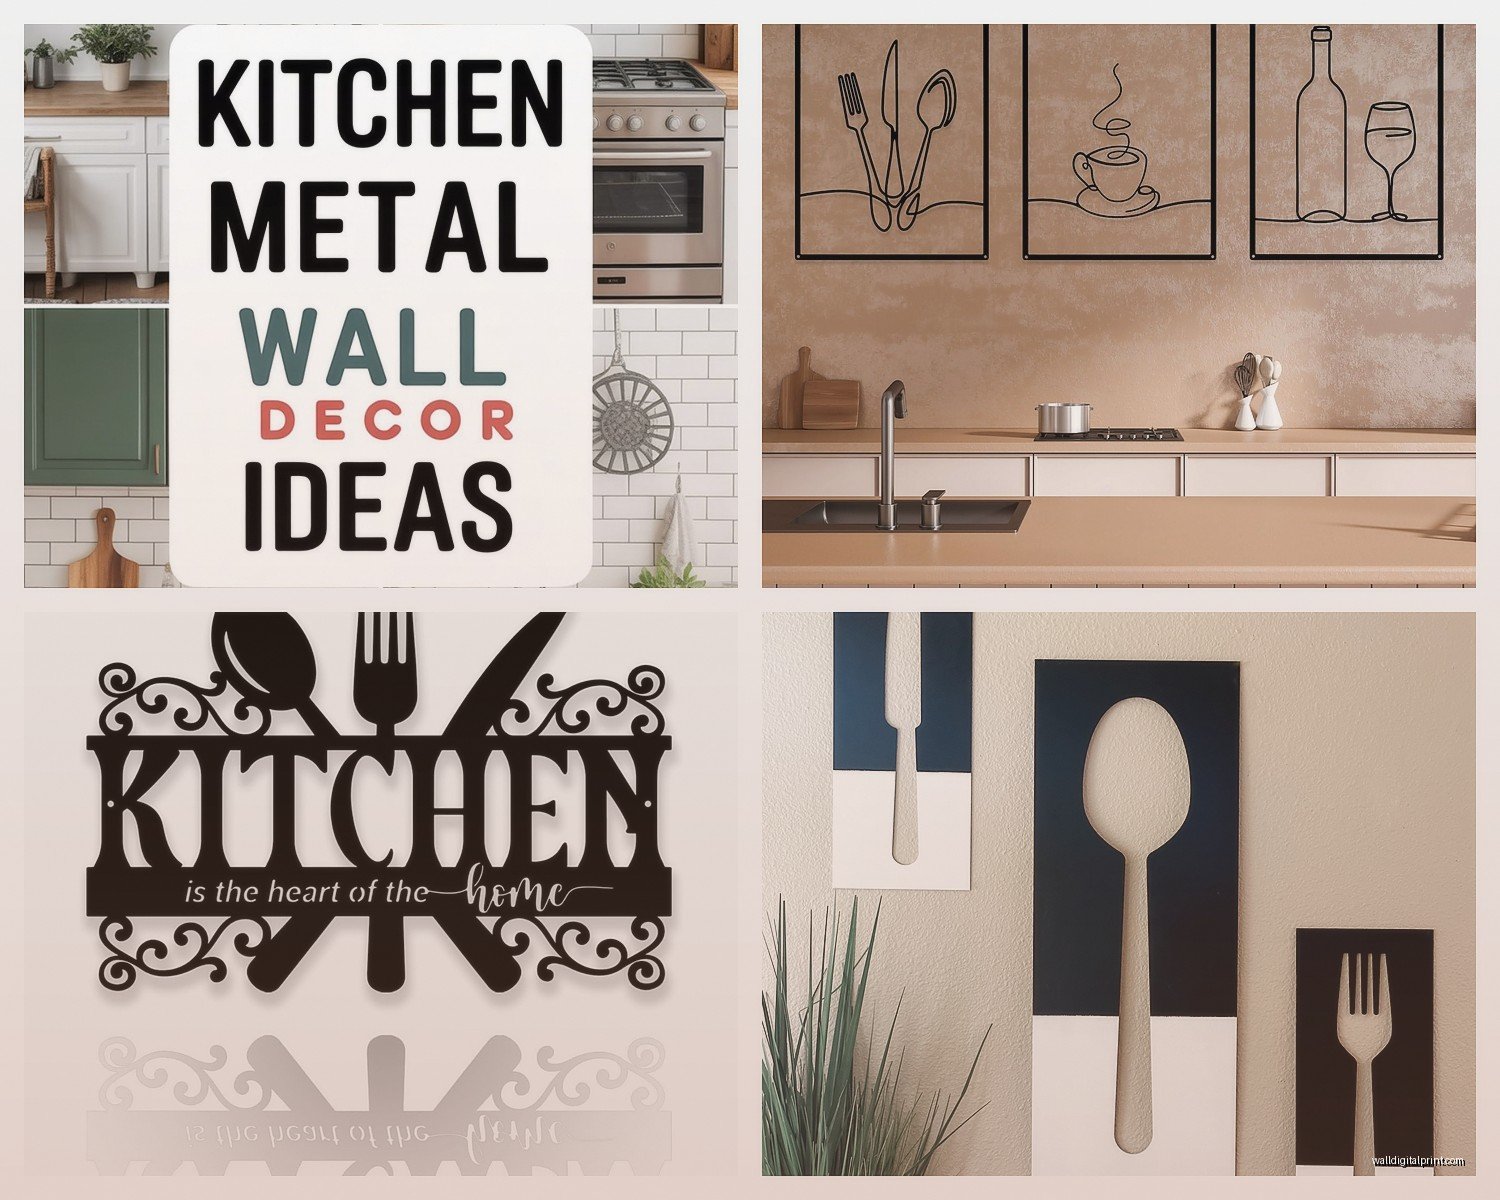
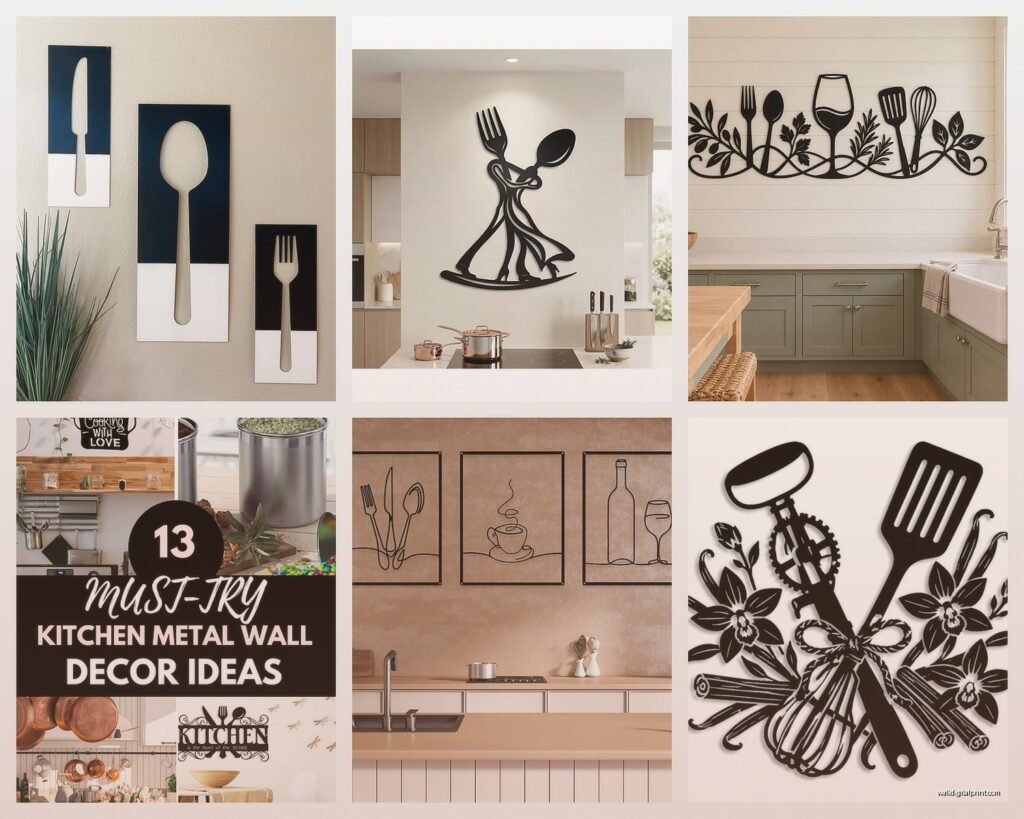
Culinary tools as art – oversized utensils, coffee cups, wine bottles but done sculptural not cutesy
What I’d avoid: words and phrases (the whole “eat” “gather” thing is so overdone), roosters unless you’re committed to farmhouse style, anything too literal like a metal pizza slice.
Color Schemes That Work
My cat just knocked over my coffee cup but anyway – color wise stick with metals that either match your existing finishes or create intentional contrast.
White kitchen: literally any metal looks good but black makes a statement
Wood-heavy kitchen: copper and bronze add warmth
Gray kitchen: brushed silver or mixed metals
Colorful kitchen: stick with neutral metals so it doesn’t compete
Budget Ranges and What You Actually Get
Under $50 – Small pieces, simpler designs, thinner metal. Fine for small walls or if you’re gonna upgrade later.
$50-150 – Sweet spot for quality. Better finishes, more intricate designs, proper thickness. This is where I shop most.
$150-300 – Premium pieces, often handmade, unique designs, exceptional quality. Worth it for a statement wall.
Over $300 – Custom work or designer pieces. Only necessary if you want something totally unique or have a huge wall to fill.
I spent $89 on the piece above my stove and $45 on the one in my breakfast nook and honestly both look equally good. Price doesn’t always equal visual impact.
Combining Multiple Pieces
Wait I forgot to mention gallery walls with metal art. This works but you gotta be careful it doesn’t look cluttered.
Rules I follow:
- Stick to one or two metal finishes max
- Vary sizes but keep similar thickness/weight
- Leave at least 2-3 inches between pieces
- Layout everything on the floor first and take a photo from above
- Use paper templates taped to the wall before drilling
Three pieces arranged in a triangle looks more intentional than random scattering. Or do a linear arrangement if you have a long narrow wall.
Mistakes I’ve Made So You Don’t Have To
Bought a piece without checking the actual dimensions and it was tiny – always look at measurements not just the photo
Hung something above the dishwasher steam vent and the finish got ruined
Didn’t consider the weight and used inadequate hardware – it fell and dented
Chose a super detailed design that’s impossible to clean properly
Put copper too close to a window and it faded from sun exposure
Mixed too many metal finishes in one space and it looked chaotic
The thing about metal kitchen art is it’s actually pretty forgiving once you understand the basics. It’s durable, it adds personality without permanent commitment like tile or paint, and when you get it right it makes your kitchen feel intentional instead of just functional. My friend who inspired this whole thing? She’s already planning her second piece because now she’s obsessed too.
Just measure twice, use proper anchors, and pick something that makes you happy when you’re doing dishes at 10pm on a Tuesday. That’s honestly the best test.