
Wall Art Guide, Wall Art Tutoriels
Modern 3D Wall Art: Contemporary Dimensional Relief Designs
Oct
So I’ve been completely obsessed with 3D wall art lately and honestly it started because a client wanted to fill this massive blank wall in their dining room and flat paintings just felt…boring? Like we needed something that would catch light differently throughout the day and actually make you stop and look.
What Actually Works in Real Spaces
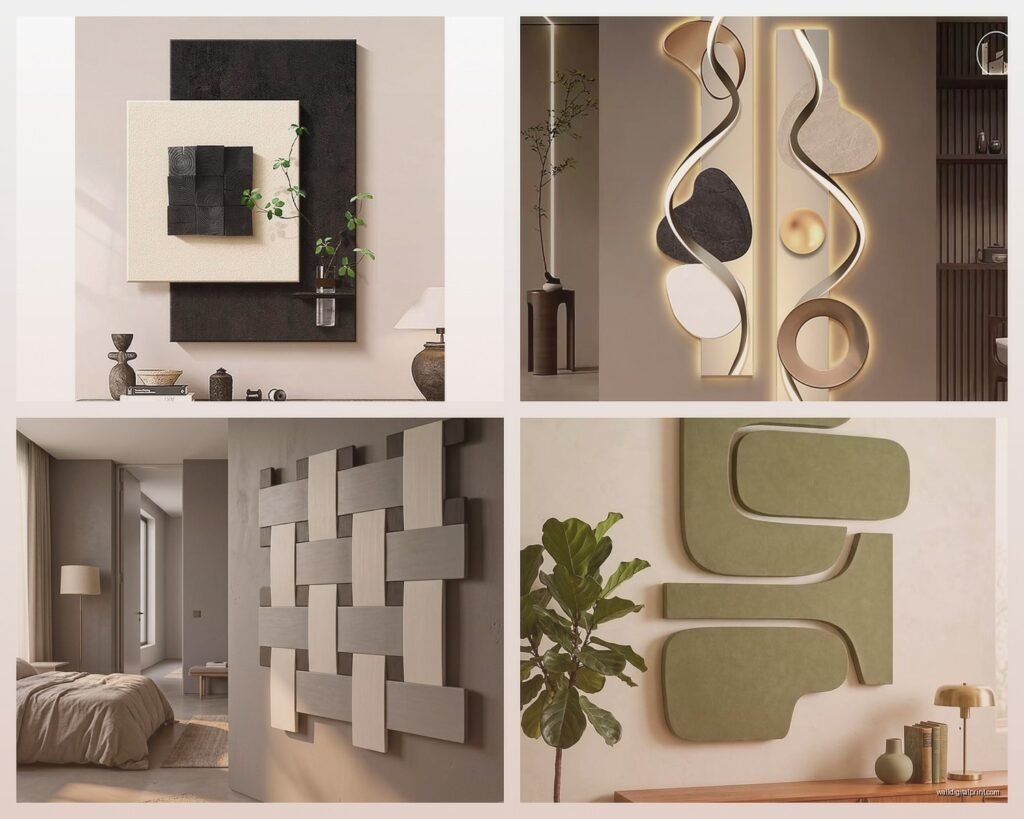
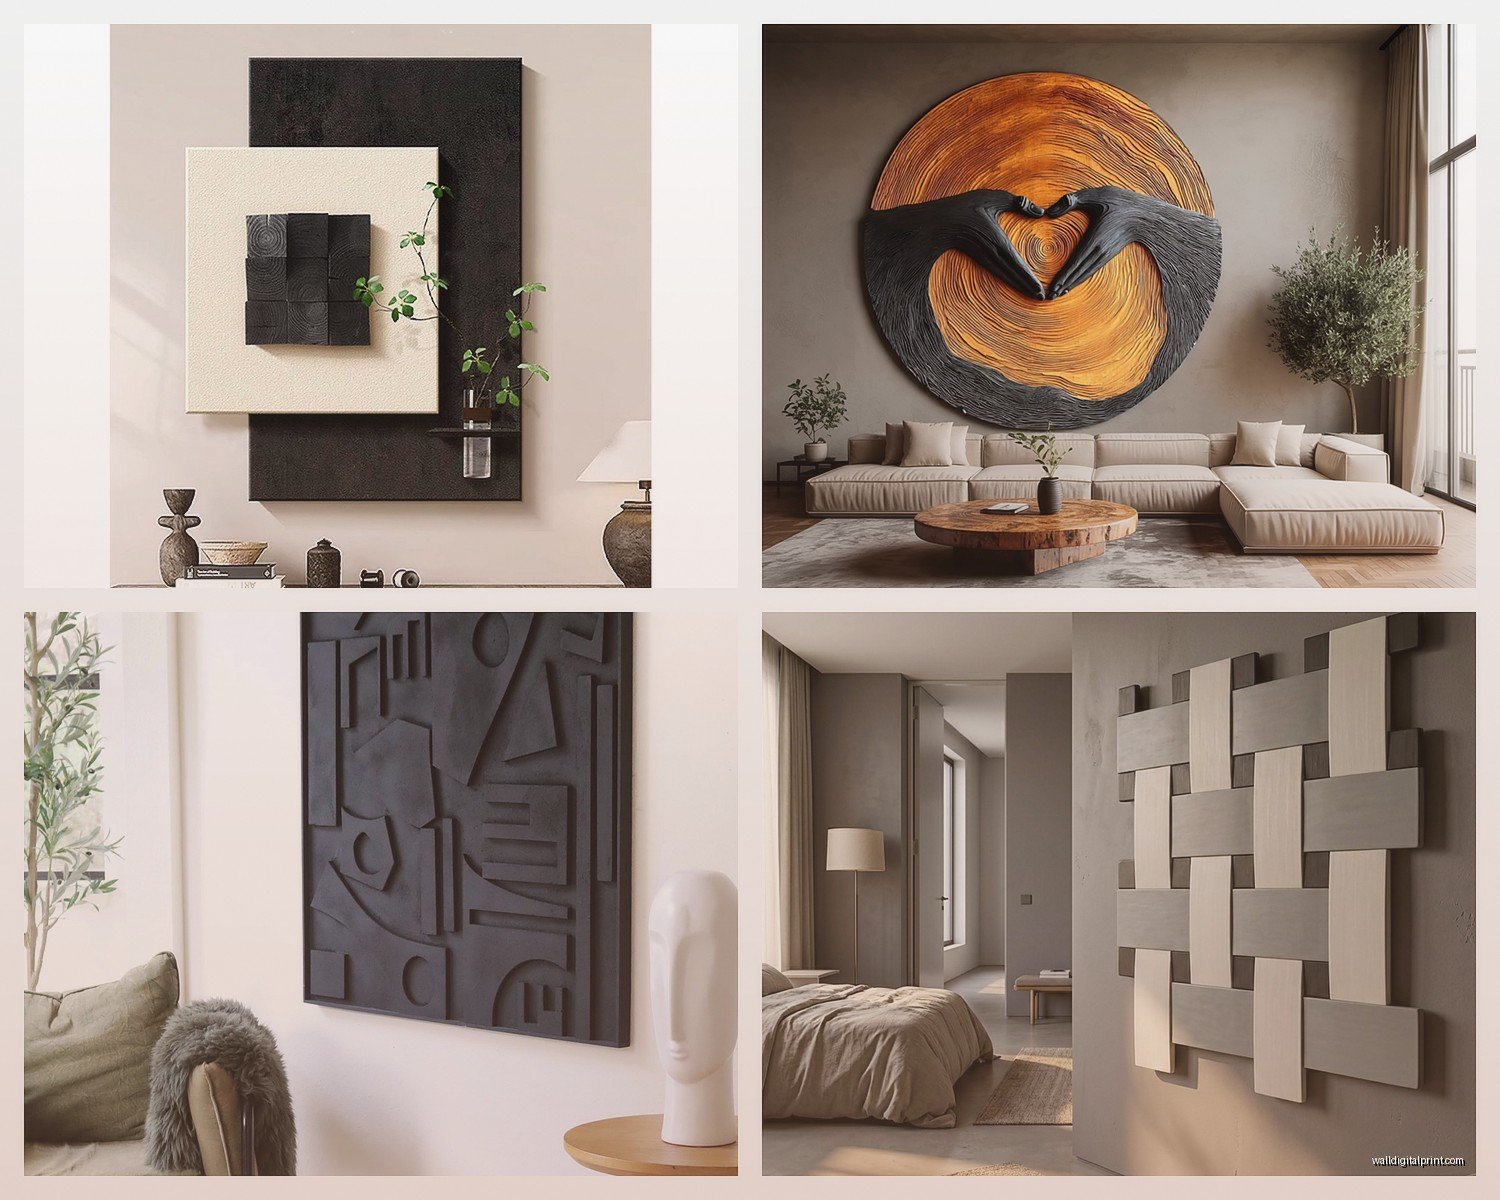
Okay so first thing – dimensional wall art isn’t just those geometric paper things from 2015. The modern stuff is way more sophisticated. I’m talking layered wood panels, metal reliefs that cast actual shadows, resin pieces with depth. My friend just installed this sculptural piece in her entryway and depending on when you walk past it looks completely different because of how the shadows move.
The key thing I learned after installing like probably fifteen of these in different homes is that scale matters SO much more than with regular art. A 3D piece needs to be bigger than you think. I made this mistake in my own living room – got a 24×24 inch piece thinking it would be substantial and it just looked…sad. Ended up returning it and getting something 40×30 and suddenly the whole room made sense.
Material Choices That Don’t Look Cheap
Wood is probably the easiest to work with if you’re new to this. You can find layered wood art on Etsy and a bunch of other places, and the nice thing is it adds warmth without being too dramatic. I’ve got this one source – small shop in Portland – where they do custom topographic designs. You send them coordinates of a place that matters to you and they create these layered elevation maps. Did one for a client’s cabin location and she literally cried when we hung it.
Metal is trickier but looks incredible in modern spaces. The thing nobody tells you is that metal pieces are HEAVY. Like way heavier than you’d expect. You absolutely need to find studs or use those heavy duty drywall anchors. I watched my neighbor try to hang a metal geometric piece with regular picture hooks and…yeah it fell at 3am and scared the hell out of everyone. Her dog wouldn’t go near that wall for weeks.
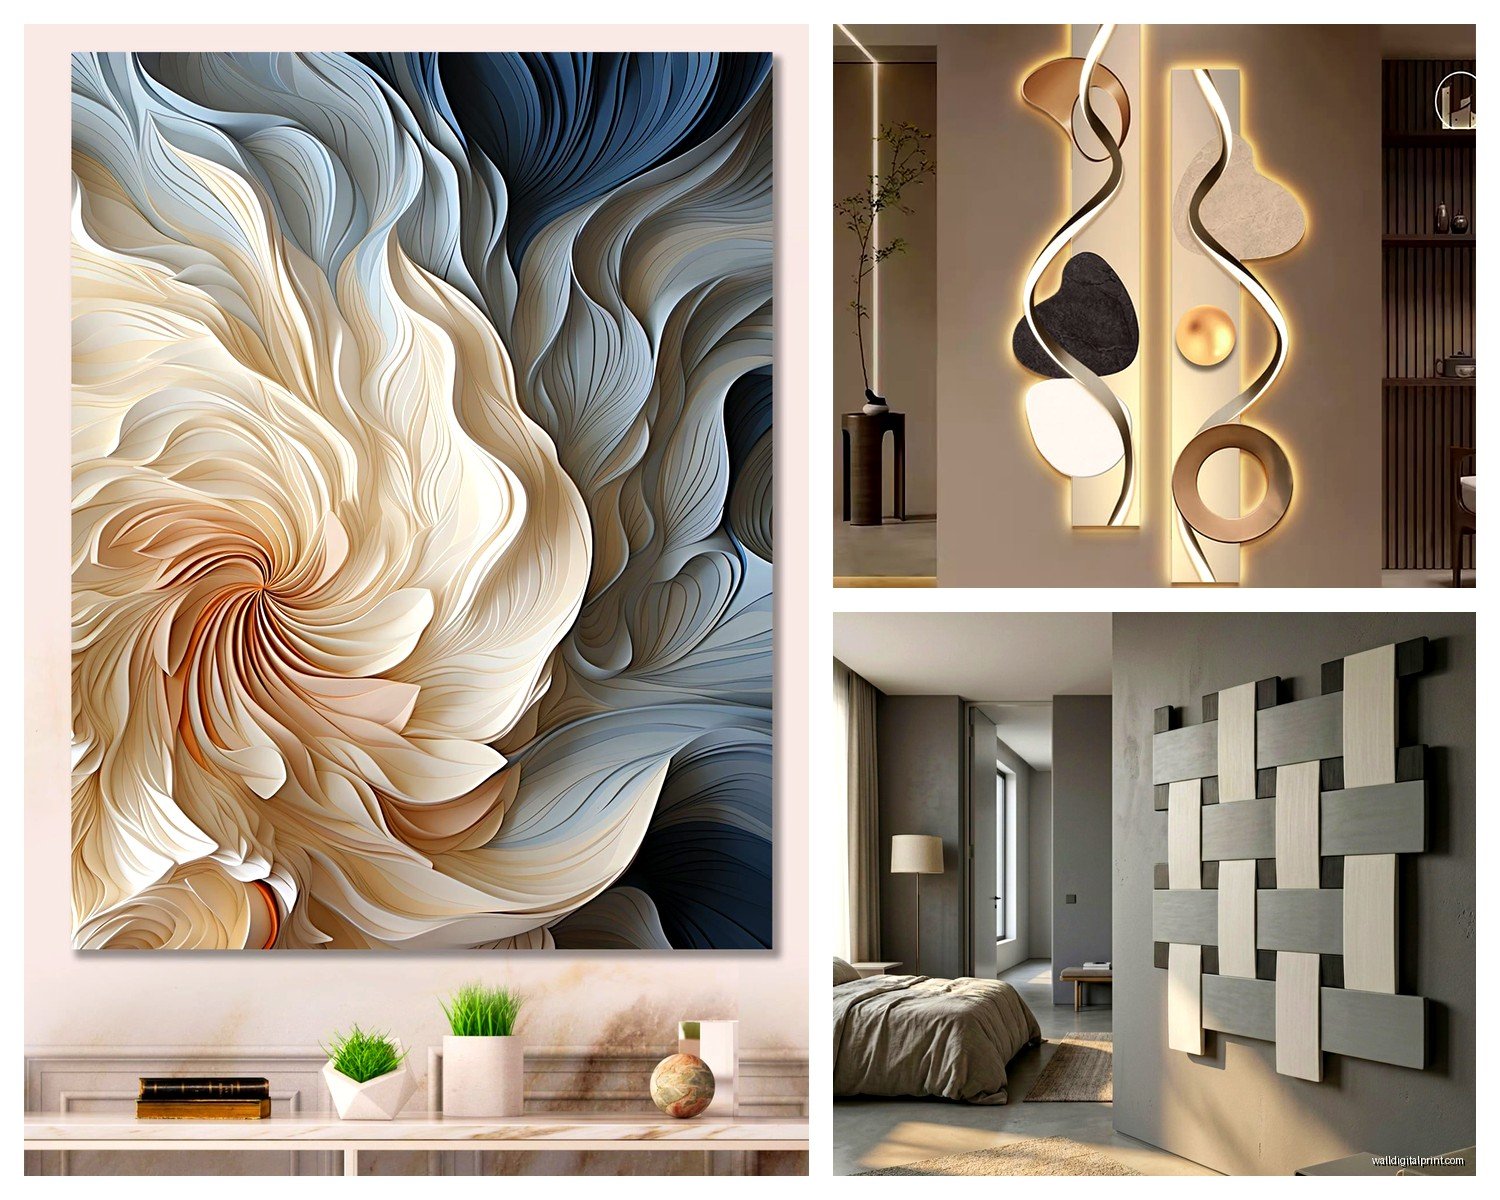
Resin and acrylic pieces are having a moment right now. They can be backlit which is super cool for creating ambiance. But – and this is important – they show dust like crazy. If you’re not someone who dusts regularly (no judgment, I’m not either), maybe skip the glossy resin pieces.
Installation Reality Check
Nobody talks about how annoying these are to hang. A regular painting you can eyeball pretty easily but 3D pieces need to be PERFECT because any tilt is super obvious with the shadows. I always use a laser level now after spending 45 minutes with a regular level trying to hang a piece that kept looking crooked even when it was technically straight.
You‘re gonna need:
- Stud finder – get a decent one, the cheap ones lie
- Laser level or at minimum a really good regular level
- Heavy duty picture hanging kit with multiple anchor options
- Someone to help you hold it while you step back and check – this is non-negotiable for anything over 30 inches
- Pencil and painter’s tape for marking
The painter’s tape trick changed my life btw. Before you make ANY holes, cut tape the size of your piece and stick it on the wall. Live with it for a day or two. Move it around. I can’t tell you how many times I thought I knew exactly where something should go and then realized nope, six inches to the left is actually better.
Lighting Makes or Breaks the Whole Thing
This is where most people mess up and I did too initially. 3D art NEEDS proper lighting or you lose like 70% of the impact. The shadows and depth are the whole point, so if your piece is in a dim corner it’s basically just a weird lumpy wall decoration.
Best lighting setup I’ve found is picture lights mounted above the piece. Yeah they’re kinda expensive – decent ones run $80-200 – but the difference is dramatic. You want them angled at about 30 degrees. Too steep and the shadows are harsh, too shallow and you don’t get enough dimension.
If you can’t do picture lights, strategically placed track lighting or even a floor lamp positioned right can work. I have this one sculptural piece in my office that’s lit by a cheap IKEA lamp on the bookshelf next to it and it actually looks pretty good. The lamp was like $15 so sometimes you can hack it.
Where to Actually Find Good Pieces
Okay so I’ve spent way too much time hunting for sources because my clients always want something unique. Here’s what I’ve learned:
Etsy is honestly great for wood pieces and handmade stuff. Search for “dimensional wall art” or “layered wall sculpture” and filter by shops that have good reviews. I usually look for sellers who show installation photos from actual customers not just their studio shots.
West Elm and CB2 have surprisingly good modern 3D pieces. They’re not cheap but the quality is consistent and returns are easy if it doesn’t work. I got this amazing brass geometric piece from West Elm that’s basically indestructible and looks way more expensive than it was.
Local art galleries if you want something truly special. I found this artist who does incredible paper relief work – she cuts and layers everything by hand. It’s investment-level pricing but her pieces are actual art not just decoration.
Oh and another thing – check out architectural salvage places for vintage relief panels. Found this old ceiling medallion that I mounted as wall art and it’s one of my favorite pieces ever. Cost like $40 and looks like a museum piece.
DIY Options If You’re Crafty
I’m not super crafty but I’ve done a couple DIY dimensional pieces that turned out decent. The easiest is geometric wood blocks. You literally buy wood squares from Home Depot in different sizes, stain them various shades, and mount them in a pattern on a backing board. Took me a Sunday afternoon while watching that documentary about the Fyre Festival and it cost maybe $50 in materials.
There’s also foam board layering which sounds cheap but can look really sophisticated if you do it right. Cut shapes, stack them with spacing in between, paint everything one color. The monochrome thing makes it look intentional and architectural rather than crafty.
Paper quilling is having a renaissance too. You can buy kits with pre-cut strips and tools. I made a piece for my powder room and guests always ask where I bought it. It’s delicate though so not great if you have kids who might poke at it.
Style Matching Without Overthinking It
The question I get most is “how do I know if it’ll match my space” and honestly…you kinda just gotta trust your gut? But here are some guidelines that actually help:
For minimalist modern spaces, go geometric. Clean lines, monochromatic or subtle color variations. Metal or painted wood works best. Nothing too organic or flowing because it’ll clash with the clean aesthetic.
Mid-century modern can handle more playful shapes. Circles, starbursts, abstract organic forms. Wood tones that match your furniture era – so walnut or teak finishes. There’s this one sunburst mirror-sculpture hybrid thing from Article that’s perfect for MCM spaces.
Industrial spaces need the contrast of softer dimensional pieces actually. Everyone thinks metal-on-metal but a textured fiber piece or layered wood adds warmth that industrial spaces desperately need. I did a massive woven rope piece in a loft with exposed brick and concrete and it completely softened the whole vibe.
Transitional spaces are easiest because they can go either way. Pick based on your color scheme and the other art you have. The 3D element adds interest without committing to a super specific style.
Color Decisions Nobody Warns You About
So here’s the thing about color with dimensional art – it’s way more intense than flat art because the shadows create additional tonal variations. A bright blue 3D piece will have light blue areas, dark blue shadowed areas, and everything in between depending on lighting.
I usually tell people to go more neutral than they think they want. Whites, grays, natural wood tones, metallics – these all work because the interest comes from the dimension not the color. Then you can switch up your accent colors in pillows and accessories without the wall art clashing.
That said I have this one client who went full bold with a coral-orange dimensional piece and it’s stunning. But her whole room is designed around it. If you’re gonna do bold color, make it THE focal point and keep everything else supporting it.
Maintenance Stuff Nobody Mentions
Dust. So much dust. The dimensional aspects create all these little ledges and crevices where dust settles. I use a microfiber duster for most pieces and a soft brush attachment on the vacuum for deeper texture.
Wood pieces might need occasional conditioning depending on the finish. I use a barely-damp cloth and sometimes a tiny bit of wood soap if they’re sealed properly. Never soak anything or spray directly on the piece.
Metal can tarnish or oxidize which sometimes looks cool in an intentional patina way but sometimes just looks neglected. Depends on the piece and your aesthetic. There’s metal polish specifically for art that doesn’t damage finishes.
Common Mistakes I See All The Time
Hanging it too high. The center of your piece should be at eye level which is around 57-60 inches from the floor. I see so many pieces hung way up near the ceiling like they’re trying to escape.
Not considering the viewing angle. Walk past where you’re gonna hang it and see where you’ll actually look at it from. Is it above a sofa where you’ll mostly see it from sitting? Is it in a hallway you walk past? The angle changes what works.
Buying something too trendy. Geometric patterns are kinda timeless but like…if you get something super specific to 2024 trends you might hate it in three years. I try to pick pieces that feel contemporary but not dated to a specific moment.
Ignoring the room’s architecture. If you have interesting molding or architectural details, your 3D art should complement not compete. Sometimes a simpler piece is better.
Budget Real Talk
You can totally do this on a budget but you gotta be strategic. Small pieces under 20 inches you can find for $50-150. Medium pieces 24-40 inches usually run $150-400. Large statement pieces can be anywhere from $400 to thousands depending on if it’s mass-produced or art.
My advice is invest in one really good large piece rather than several mediocre small ones. The impact is so much better. I’d rather have one wall with an incredible dimensional piece and the rest with simple framed prints than a bunch of okay 3D art scattered around.
Watch for sales at the big retailers – West Elm does 20% off pretty regularly. End of season sales at places like Crate & Barrel can have good dimensional pieces marked down.
And honestly don’t sleep on Facebook Marketplace and estate sales. Found a vintage brutalist metal wall sculpture for $60 that probably cost $800 new. People don’t always know what they have.
wait I forgot to mention – measure your wall and the piece like three times before buying. I ordered something online once that looked perfect in the photos and when it arrived it was literally twice the size I thought. Couldn’t even return it because it was final sale. Now it’s in my garage judging me.
The whole 3D wall art thing is really about adding texture and interest to spaces that feel flat. Once you get one piece up and see how it changes the room, you’ll probably want more. Just pace yourself and think about the whole space not just filling every wall. Sometimes one really good dimensional piece is all you need.
